ignition CHEVROLET OPTRA 5 2007 1.G Service Manual
[x] Cancel search | Manufacturer: CHEVROLET, Model Year: 2007, Model line: OPTRA 5, Model: CHEVROLET OPTRA 5 2007 1.GPages: 422, PDF Size: 2.39 MB
Page 172 of 422
Malfunction Indicator Lamp
Check Engine Light
Your vehicle has a
computer which
monitors operation
of the fuel, ignition,
and emission control
systems.
This system is called OBD II (On-Board
Diagnostics-Second Generation) and is intended
to assure that emissions are at acceptable
levels for the life of the vehicle, helping to produce
a cleaner environment. The Check Engine light
comes on to indicate that there is a problem and
service is required. Malfunctions often will be
indicated by the system before any problem is
apparent. This may prevent more serious damage
to your vehicle. This system is also designed to
assist your service technician in correctly
diagnosing any malfunction.Notice:If you keep driving your vehicle with
this light on, after awhile, the emission controls
might not work as well, your vehicle’s fuel
economy might not be as good, and the engine
might not run as smoothly. This could lead
to costly repairs that might not be covered by
your warranty.
Notice:Modi�cations made to the engine,
transaxle, exhaust, intake, or fuel system
of your vehicle or replacement tires that do not
match your vehicle’s original tires can affect
your vehicle’s emission controls and may
cause this light to come on. Modi�cations to
these systems could lead to costly repairs not
covered by your warranty. This may also
result in a failure to pass a required Emission
Inspection/Maintenance test. SeeAccessories
and Modifications on page 249.
When the ignition is on, this light should come on
and should go out after a few seconds as a
check to show you it is working. If the light does
not come on, have it repaired.
172
Page 175 of 422
Oil Pressure Light
If your vehicle has low
engine oil pressure, this
light will stay on after
you start your engine, or
come on when you
are driving.
This indicates that your engine is not receiving
enough oil. The engine could be low on oil,
or could have some other oil problem. Have it
fixed immediately by your dealer.
The oil light could also come on in three other
situations:
•When the ignition is on but the engine is not
running, the light will come on as a test to
show you it is working. The light will go
out when you turn the ignition on. If it does
not come on with the ignition on, you
may have a problem with the fuse or bulb.
Have it fixed right away.
•If you are idling at a stop sign, the light may
blink on and then off.
•If you make a hard stop, the light may come
on for a moment. This is normal.
{CAUTION:
Do not keep driving if the oil pressure is
low. If you do, your engine can become so
hot that it catches �re. You or others could
be burned. Check your oil as soon as
possible and have your vehicle serviced.
Notice:Lack of proper engine oil maintenance
may damage the engine. The repairs would
not be covered by your warranty. Always follow
the maintenance schedule in this manual for
changing engine oil.
175
Page 177 of 422
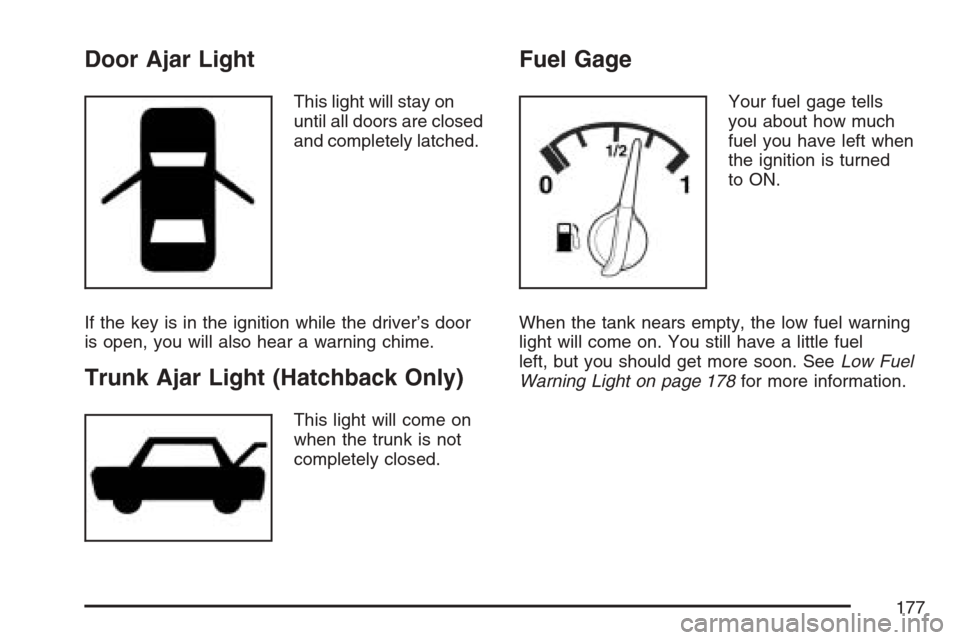
Door Ajar Light
This light will stay on
until all doors are closed
and completely latched.
If the key is in the ignition while the driver’s door
is open, you will also hear a warning chime.
Trunk Ajar Light (Hatchback Only)
This light will come on
when the trunk is not
completely closed.
Fuel Gage
Your fuel gage tells
you about how much
fuel you have left when
the ignition is turned
to ON.
When the tank nears empty, the low fuel warning
light will come on. You still have a little fuel
left, but you should get more soon. SeeLow Fuel
Warning Light on page 178for more information.
177
Page 178 of 422
Here are four things that some owners ask about.
None of these show a problem with your fuel gage:
•At the service station, the gas pump shuts off
before the gage reads full.
•It takes a little more or less fuel to fill up than
the gage indicated. For example, the gage may
have indicated the tank was half full, but it
actually took a little more or less than half the
tank’s capacity to fill the tank.
•The indicator moves a little when you turn a
corner or speed up.
•The gage goes back to empty when you turn off
the ignition.
Low Fuel Warning Light
This light comes on
when the fuel tank is
low on fuel.The low fuel warning light comes on when there is
about 2.0 gallons (7.5 liters) of fuel remaining in
the tank.
To turn the light off, add fuel to the fuel tank.
SeeFilling the Tank on page 254.
Audio System(s)
Determine which radio your vehicle has and then
read the pages following to familiarize yourself
with its features.
Driving without distraction is a necessity for a
safer driving experience. SeeDefensive Driving on
page 206. By taking a few moments to read this
manual and get familiar with your vehicle’s
audio system, you can use it with less effort, as
well as take advantage of its features. While your
vehicle is parked, set up your audio system by
presetting your favorite radio stations, setting the
tone and adjusting the speakers. Then, when
driving conditions permit, you can tune to
your favorite stations using the presets and
steering wheel controls if the vehicle has them.
178
Page 183 of 422
Playing a CD
Insert a CD partway into the slot, label side up.
The player pulls it in and the CD should begin
playing. Insert a CD with the ignition off.
When a CD is inserted, CDP displays. As the CD is
loading, Filecheck displays. As each new track
starts to play, Track and the track number displays.
If the ignition or radio is turned off with a CD in
the player, it stays in the player. When a CD is in
the player and the ignition is turned on, the
radio must be turned on before the CD starts
playback. When the ignition and radio are turned
on, the CD starts playing where it stopped, if it
was the last selected audio source.
The CD player can play the smaller 3 inch (8 cm)
single CDs with an adapter ring. Full-size CDs
and the smaller CDs are loaded in the same
manner.
If playing a CD-R, the sound quality can be
reduced due to CD-R quality, the method of
recording, the quality of the music that has been
recorded, and the way the CD-R has been
handled. There can be an increase in skipping,
difficulty in finding tracks, and/or difficulty in loadingand ejecting. If these problems occur, check the
bottom surface of the CD. If the surface of the CD
is damaged, such as cracked, broken, or
scratched, the CD will not play properly. If the
surface of the CD is soiled, seeCare of Your CDs
on page 203for more information.
If there is no apparent damage, try a known
good CD.
Do not add any label to a CD, it could get caught
in the CD player. If a CD is recorded on a
personal computer and a description label is
needed, try labeling the top of the recorded CD
with a marking pen.
Notice:If a label is added to a CD, or more
than one CD is inserted into the slot at a time,
or an attempt is made to play scratched or
damaged CDs, the CD player could be
damaged. While using the CD player, use only
CDs in good condition without any label,
load one CD at a time, and keep the CD player
and the loading slot free of foreign materials,
liquids, and debris.
If an error displays, see “CD Messages” later in
this section.
183
Page 184 of 422
2 RPT (Repeat):Press this button to repeat the
current track. RPT displays. Press this button
again to turn off repeat play.
3 RDM (Random):Press this button to hear the
tracks in random, rather than sequential, order.
RDM displays. Press this button again to turn off
random play.
4 INT (Scan):Press this button to listen to the
first few seconds of each track on each loaded CD.
INTRO displays. To stop scanning press this
button again. The current track begins to play.
()TUNE (Previous/Next Track):Press the
down arrows to go to the start of the current
track or press the up arrows to go to the next track.
The track number displays. The player continues
moving backward or forward through the CD
with each press of the up or down arrows.
AM:Press this button to listen to the radio while a
CD is playing. The inactive CD remains inside
the radio for future listening.FM:Press this button to listen to the radio while a
CD is playing. The inactive CD remains inside
the radio for future listening.
CD/AUX:Press this button to play a CD while
listening to the radio. CDP displays when the CD
player has been selected. The CD symbol
displays when a CD is loaded.
Press this button while a CD is playing to pause
the CD. PAUSE flashes on the display. Press
this button again to start playing the CD.
EJECT:Press this button to eject a CD. This is
the only way a CD can be ejected from the player.
The CD can eject when the ignition or the radio
is turned off.
Playing an MP3/WMA CD-R Disc
If you have a radio with a single CD (MP3), it is
capable of playing an MP3/WMA CD-R disc.
For more information on how to play an MP3/WMA
CD-R disc, see “Using an MP3” in the index.
184
Page 190 of 422
Playing a CD(s)
LOAD:Press this button to load CDs into the CD
player. This CD player holds up to six CDs.
1. Press and release the load button. A message
to select a slot number from 1 through 6
displays.
2. Press the desired slot number. Wait for the
message to insert the disc.
3. Load a CD. Insert the CD partway into the slot,
label side up. The player pulls the CD in.
To insert multiple CDs, do the following:
1. Press and hold the load button for
two seconds. A beep sounds and a
message to load multiple discs displays.
2. Follow the displayed instruction on when to
insert the discs. The CD player takes up to
six CDs.
3. Press the LOAD button again to cancel
loading more CDs.
As each CD is inserted, CDP displays. As each
CD is loading, Filecheck displays.
Once playback begins, the track and track number
displays.If the ignition or radio is turned off with a CD in
the player, it stays in the player. While a CD is in
the player and the ignition is turned on, the
radio must be turned on before the current CD
starts playback. When the ignition and radio
are turned on, the CD starts playing where it
stopped, if it was the last selected audio source.
The CD player can play the smaller 3 inch
(8 cm) single CDs with an adapter ring. Full-size
CDs and the smaller CDs are loaded in the
same manner.
If playing a CD-R, the sound quality can be
reduced due to CD-R quality, the method of
recording, the quality of the music that has been
recorded, and the way the CD-R has been
handled. There can be an increase in skipping,
difficulty in finding tracks, and/or difficulty in loading
and ejecting. If these problems occur, check the
bottom surface of the CD. If the surface of the CD
is damaged, such as cracked, broken, or
scratched, the CD will not play properly. If the
surface of the CD is soiled, seeCare of Your CDs
on page 203for more information.
If there is no apparent damage, try a known
good CD.
190
Page 192 of 422
Press this button while a CD is playing to pause
the CD. PAUSE flashes on the display. Press
this button again to start playing the CD.
EJECT:Press this button to eject the CD. Press
and hold this button to eject all CDs. This is
the only way a CD can be ejected from the player.
The CD can eject when the ignition or the radio
is turned off.
Playing an MP3/WMA CD-R Disc
If your vehicle has a radio with a six-disc CD
player, it is capable of playing an MP3/WMA CD-R
disc. For more information on how to play an
MP3/WMA disc, see “Using an MP3” in the index.
CD Messages
CHECK CD:If this message displays and/or the
CD comes out, it could be for one of the
following reasons:
•It is very hot. When the temperature returns to
normal, the CD should play.
•You are driving on a very rough road.
When the road becomes smoother, the CD
should play.
•The CD is dirty, scratched, wet, or
upside down.
•The air is very humid. If so, wait about an
hour and try again.
•The format of the CD might not be compatible.
SeeUsing an MP3 (Radio with CD Player) on
page 194orUsing an MP3 (Radio with
Six-Disc Player) on page 198later in this
section.
•There could have been a problem while
burning the CD.
•The label could be caught in the CD player.
If the CD is not playing correctly, for any
other reason, try a known good CD.
If any error occurs repeatedly or if an error
cannot be corrected, contact your dealer. If the
radio displays an error message, write it down
and provide it to your dealer when reporting
the problem.
192
Page 196 of 422
Playing an MP3/WMA
While the ignition is on, insert a CD partway into
the slot, label side up. The player pulls it in,
Loading, then Filecheck, and then MP3 or WMA
displays. The CD should begin playing. A CD plays
only while the ignition is on or ACC (accessory).
As each new track starts to play, the track number,
and the song name displays.
If the ignition or radio is turned off with a CD in
the player, it stays in the player. When a CD is in
the player and the ignition is turned on, the
radio must be turned on before the CD starts
playback. When the ignition and radio are turned
on, the CD starts playing where it stopped, if it
was the last selected audio source.
The CD player can play the smaller 3 inch (8 cm)
single CDs with an adapter ring. Full-size CDs
and the smaller CDs are loaded in the same
manner.
If playing a CD-R, the sound quality can be
reduced due to CD-R quality, the method of
recording, the quality of the music that has been
recorded, and the way the CD-R has been
handled. There can be an increase in skipping,
difficulty in finding tracks, and/or difficulty in loadingand ejecting. If these problems occur, check the
bottom surface of the CD. If the surface of the CD
is damaged, such as cracked, broken, or
scratched, the CD will not play properly. If the
surface of the CD is soiled, seeCare of Your CDs
on page 203for more information.
If there is no apparent damage, try a known
good CD.
Do not add any label to a CD, it could get caught
in the CD player. If a CD is recorded on a
personal computer and a description label is
needed, try labeling the top of the recorded CD
with a marking pen.
Notice:If a label is added to a CD, or more
than one CD is inserted into the slot at a time,
or an attempt is made to play scratched or
damaged CDs, the CD player could be
damaged. While using the CD player, use only
CDs in good condition without any label,
load one CD at a time, and keep the CD player
and the loading slot free of foreign materials,
liquids, and debris.
If an error displays, see “CD Messages” later in
this section.
196
Page 200 of 422
Playing an MP3/WMA
While the ignition is on, insert a CD partway into
the slot, label side up. The player pulls it in,
Loading, then Filecheck, and then MP3 or WMA
displays. The CD should begin playing. A CD plays
only while the ignition is on or ACC (accessory).
As each new track starts to play, the track number,
and the song name displays.
If the ignition or radio is turned off with a CD in
the player, it stays in the player. When a CD is in
the player and the ignition is turned on, the
radio must be turned on before the CD starts
playback. When the ignition and radio are turned
on, the CD starts playing where it stopped, if it
was the last selected audio source.
The CD player can play the smaller 3 inch (8 cm)
single CDs with an adapter ring. Full-size CDs
and the smaller CDs are loaded in the same
manner.
If playing a CD-R, the sound quality can be reduced
due to CD-R quality, the method of recording, the
quality of the music that has been recorded, and the
way the CD-R has been handled. There can be an
increase in skipping, difficulty in finding tracks,and/or difficulty in loading and ejecting. If these
problems occur, check the bottom surface of the
CD. If the surface of the CD is damaged, such as
cracked, broken, or scratched, the CD will not play
properly. If the surface of the CD is soiled, seeCare
of Your CDs on page 203for more information.
If there is no apparent damage, try a known
good CD.
Do not add any label to a CD, it could get caught
in the CD player. If a CD is recorded on a
personal computer and a description label is
needed, try labeling the top of the recorded CD
with a marking pen.
Notice:If a label is added to a CD, or more
than one CD is inserted into the slot at a time,
or an attempt is made to play scratched or
damaged CDs, the CD player could be
damaged. While using the CD player, use only
CDs in good condition without any label,
load one CD at a time, and keep the CD player
and the loading slot free of foreign materials,
liquids, and debris.
If an error displays, see “CD Messages” later in
this section.
200