lock CHEVROLET S10 1994 2.G Service Manual
[x] Cancel search | Manufacturer: CHEVROLET, Model Year: 1994, Model line: S10, Model: CHEVROLET S10 1994 2.GPages: 340, PDF Size: 18.45 MB
Page 127 of 340
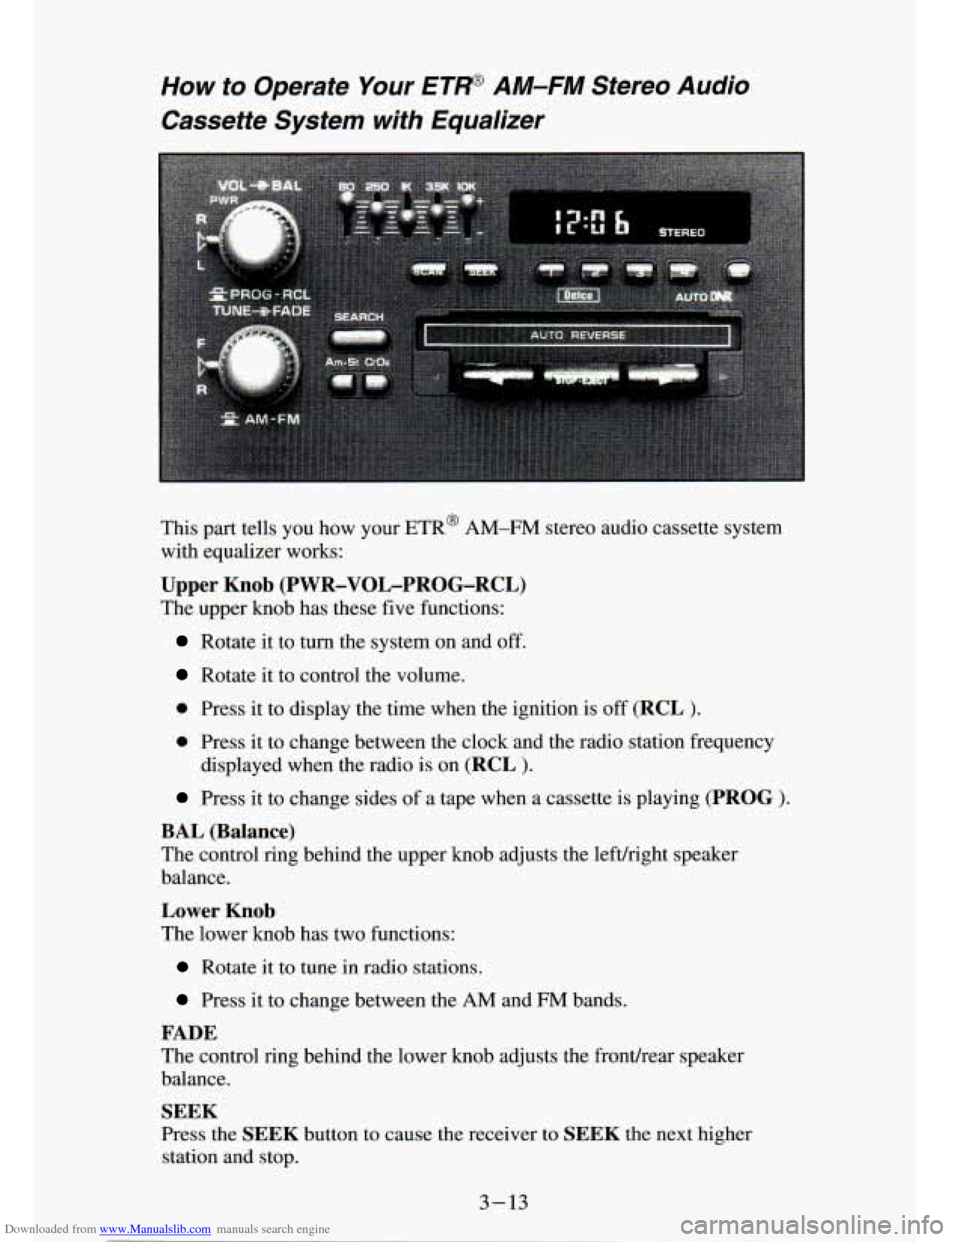
Downloaded from www.Manualslib.com manuals search engine How to Operate Your ETP AM-FM Stereo Audio
Cassette System with Equalizer
This part tells you how your ETR@ AM-FM stereo audio cassette system
with equalizer works:
Upper Knob (PWR-VOL-PROG-RCL)
The upper knob has these five functions:
Rotate it to turn the system on and off.
Rotate it to control the volume.
0 Press it to display the time when the ignition is off (RCL ).
0 Press it to change between the clock and the radio station frequency
displayed when the radio is on
(RCL ).
Press it to change sides of a tape when a cassette is playing (PROG ).
BAL (Balance)
The control ring behind the upper knob adjusts the lefdright speaker
balance.
Lower Knob
The lower knob has two functions:
Rotate it to tune in radio stations.
Press it to change between the AM and FM bands.
FADE
The control ring behind the lower knob adjusts the fronthear speaker
balance.
SEEK
Press the SEEK button to cause the receiver to SEEK the next higher
station and stop.
3-13
Page 128 of 340
Downloaded from www.Manualslib.com manuals search engine SCAN
When you press SCAN, the radio will go to the next station and pause and
will keep scanning until you press SCAN again. SCAN appears
in the
graphic display.
Pushbuttons
The four pushbuttons let you return to favorite stations. You can set the
pushbuttons for up to eight favorite stations
(4 AM and 4 FM). Just:
Tune in the desired station.
Push the SET pushbutton (SET appears in the VF display for
Within the 5 seconds, push one of the four pushbuttons. Whenever you
5 seconds.)
press that button, the preset station will return.
NOTE:
In addition to the four stations set as above, up to two additional stations
may be preset on each band by pressing two adjoining pushbuttons at the
same time. Just:
Tune in the desired station.
Press the SET pushbutton (SET appears in the VF display for
5 seconds.)
Within 5 seconds, press any two adjoining pushbuttons at the same
time. (The station will return when the same two buttons are \
pressed again.
Clock
To set the clock, just:
Press the SET pushbutton.
0 Within 5 seconds, press and hold S :K until the correct minute
Press and hold SCAN until the correct hour appears on the display.
appears on the display.
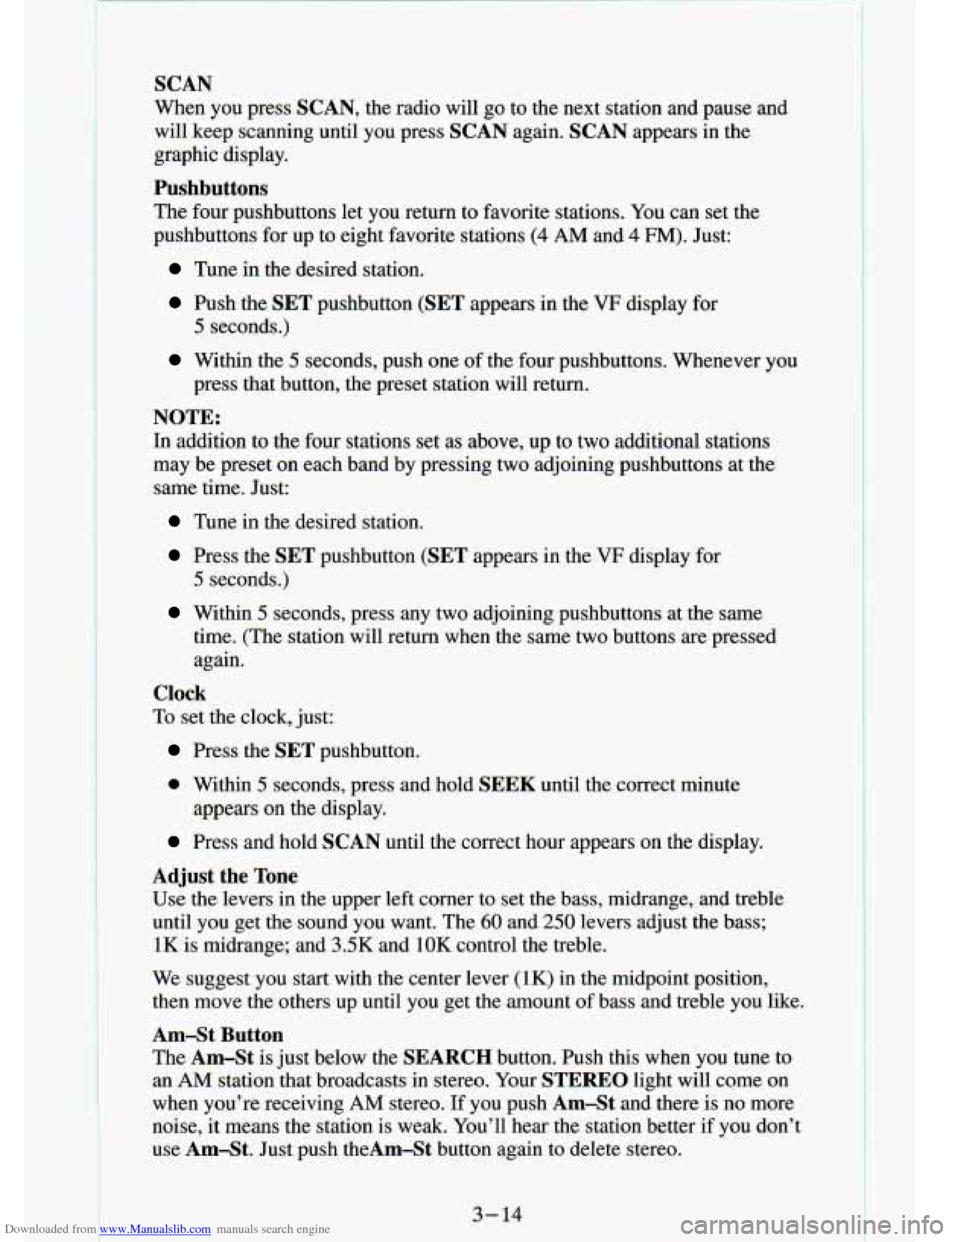
Adjust the Tone
Use the levers in the upper left corner to set the bass, mid\
range, and treble
until you get the sound you want. The 60 and 250 levers adjust the bass;
1K is midrange; and 3SK and 1OK control the treble.
We suggest you start with
the center lever (1K) in the midpoint position,
then move the others up until you get the amount of bass and treble you like.
Am-St Button
The Am-St
is just below the SEARCH button. Push this when you tune to
an
AM station that broadcasts in stereo. Your STEREO light will come on
when you’re receiving AM stereo. If you push AmSt and there is no more
noise, it means the station is weak. You’ll hear the statio\
n better if you don’t
use Am-St. Just push theAm-St button again to delete stereo.
3- 14
Page 132 of 340
Downloaded from www.Manualslib.com manuals search engine .. . -
R’ -,
SEEK
Pressing the SEEK button will cause the receiver to seek the next higher
static and stop.
Pressing the
4 SEEK button will cause the receiver to seek the next lower
station and stop.
SCAN
When you press SCAN, the radio will go to the next station and pause, and
will keep scanning until you press
SCAN again. SC will be displayed when
using this control.
Pushbuttons
The five pushbuttons let you return to favorite stations. They are also \
used
when
you play a disc. (See “To Play A Compact Disc”.)
To set the pushbuttons for up to ten favorite stations
(5 AM and 5 FM):
Tune in the desired station.
Push the SET button. (SET is displayed briefly.)
Within 5 seconds, push one of the five pushbuttons to store the station.
Whenever you press that button, the preset station will return.\
Clock
To set the clock, just:
Press the SET button. The radio may be on or off.
Within 5 seconds, press and hold either SEEK to increase the
minutes or
4 SEEK to decrease the minutes until the correct minute
appears on the display.
Press and hold SCAN until the correct hour appears on the display.
RCL
Press the RCL button to alternate between time and radio station on the
display.
RCL may be pressed when the ignition is off to see the time.
BASS
Press the BASSI to increase the bass tones and v BASS to decrease bass
tones. Press the center of the control for
a preset BASS position. The bass
level will be displayed briefly when using this control.
TREBLE
Press the TREBA to increase the treble tones and v TREB to decrease the
treble tones. Press the center
of the control for a preset TREB position. The
treble level will be displayed briefly when using this control.
3-18
1
Page 134 of 340
Downloaded from www.Manualslib.com manuals search engine SCAN
Press SCAN to sample each track for approximately 10 seconds. Scanning
will continue until the
RDM, SCAN or any other motion button is pressed
again.
PREV
If you hold the PREV (4 SEEK) button, or press it more than once, the
disc will return to previous tracks.
NEXT
Press NEXT (SEEK b) to hear the next track now instead of waiting until
the present track is finished.
If you hold this button or press it more than
once, the disc will advance further.
Press
ST-PL (Stop-Play) to make the disc stop and the radio play. Press
ST-PL again to restart the disc at the point where it stopped.
ST-PL
Press PWR or turn the ignition key off to stop the disc player. The disc
stays in the player and will resume playing at the point where it stopped.
Press
EJCT to eject the disc and make the radio play. The disc will start at
track
1 when you reinsert it.
Anti-Theft Feature
Delco LOC 11’ is an Anti-Theft feature for the compact disc player. It can
be used or ignored. If ignored,
the. system plays normally. If it is used, your
player won’t be usable if it is ever stolen, because it won’t turn on.
The instructions below tell you how to enter a secret code into t\
he system. If
your car loses battery power for any reason, you must unlock the system
with the secret code before the radio will turn on.
To Lock The System:
1. Write down any 6 digit number and keep it in a safe place.
2. Turn the ignition to the ACC (Accessory) or RUNposition.
3. Press the PWR button to turn the radio off.
4. Press the 1 and 4 buttons together. Hold them down until “- - -” shows
on the display.
You are now ready to enter your
- ;ret code. Don’t wait more than 15
seconds between steps.
5. rress SET and 000 will appear on the display.
6. Press the SEEK b or 4 button to make the first number appear.
7. Press SCAN to make the last two numbers agree with your code.
3-20 I-
.- - ... ..
. t-
Page 135 of 340
Downloaded from www.Manualslib.com manuals search engine 8, Press BAND and 000 will appear again. Now you are ready to enter the
9. Repeat steps 6 and
7 for the last three digits of your code.
last
three digits of your code.
10. Press BAND and rEP will appear for 5 seconds and then 000 will
11. Repeat steps 6 through 10. This time SEC will appear-indicating that
appear.
the radio
is secure.
To Unlock The System After A Fower Loss
When battery power is reapplied to a secured radio, the radio won’t turn on
and
LOC will appear on the display.
Enter your secret code as follows: pause no more than
15 seconds between
steps.
1. Turn the ignition on. (Radio off .)
2. Depress the SET button. The display will show 009.
3. Enter the six digits of the code following steps 6-9 above. The display
4. Depress the BAND knob and the time appears - indicating that the
disabling sequence was successful. If the display indicates
SEC, the
numbers did not match and the unit is still secured.
will show
the numbers as entered.
Disabling The Theft System
1. Depress presets 1 and 4 f?r 5 seconds with ignition on and radio power
off. The display will show SEC, indicating the unit is in the secure
mode.
2. Depress the SET button. The display will show 000.
3. Enter the first three digits of the code following steps 6 and 7 of the
4. Depress the BAND knob. The radio will display 000.
preceding paragraphs. The display will show the numbers as entered.
5. Enter the second three digits of the code. The display will L-- JW the
6. Depress the BAND knob. If the display shows “- - - ”, the disabling
numbers
as entered.
sequence was successful. The numbers matched the user-selected code
or the factory back-up code, and the unit
is in the UNSECURED mode.
If the display shows
SEC, the disabling sequence was unsuccessful and
the numbers did not match either of the codes and the
unit will remain
in the
SECURED mode.
3-21
Page 142 of 340
Downloaded from www.Manualslib.com manuals search engine 1
Avoid needless heavy braking. Some people drive in spurts - heavy
acceleration followed by heavy braking
- rather than keeping pace with
traffic. This is a mistake. Your brakes may not have time to cool between
hard stops. Your brakes will wear out much faster if you do a lot of heavy
braking.
If you keep pace with the traffic and allow realistic following
distances, you will eliminate a lot of unnecessary braking. That means better
braking and longer brake life.
If your engine ever stops while you’re driving, brake normally \
but don’t
pump your brakes. If you do, the pedal may get harder to push down. If
your engine stops, you will still have some power brake assist. But you
will
use it when you brake. Once the power assist is used up, it may take longer
to stop and the brake pedal will be harder to push.
Anti-Lock Brakes (ABS)
Your vehicle has an advanced electronic braking system that can help\
you
keep it under control.
If your vehicle has an anti-lock brake system warning light on th\
e
instrument panel, it has four-wheel anti-lock brakes. Otherwise, it has
rear-wheel anti-lock brakes. When you start a vehicle that has \
four-wheel anti-lock brakes and begin to drive away, you may hear
a momentary motor
or clicking noise. This is the ABS system testing itself.
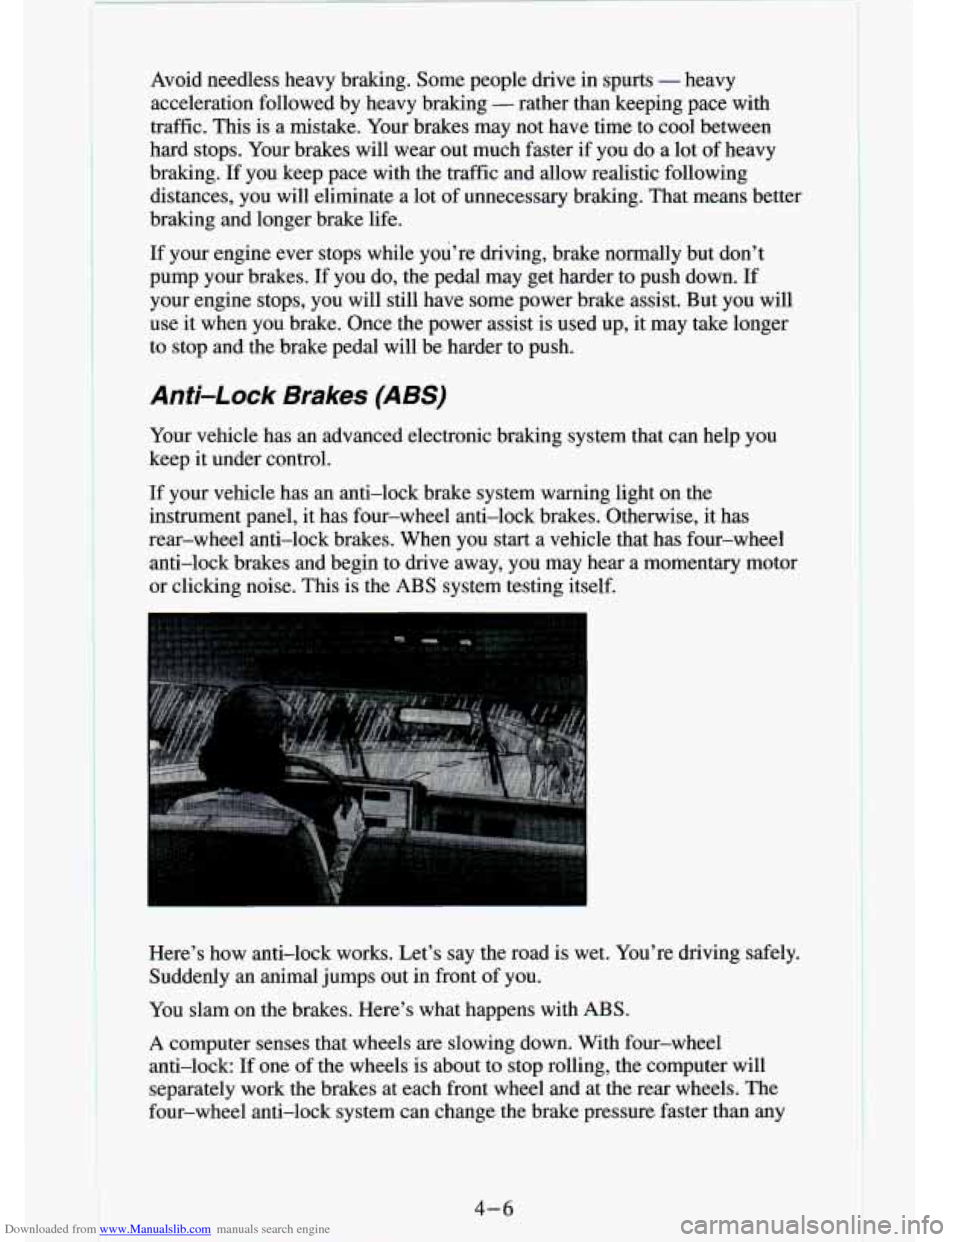
Here’s how anti-lock works. Let’s say the road is wet. Y\
ou’re driving safely. Suddenly an animal jumps out in front of you.
You slam on the brakes. Here’s what happens with ABS.
A computer senses that wheels are slowing down. With four-wheel
anti-lock:
If one of the wheels is about to stop rolling, the computer will
separately work the brakes at each front wheel
and at the rear wheels. The
four-wheel anti-lock system can change the brake pressure faster\
than any
4-6
Page 143 of 340
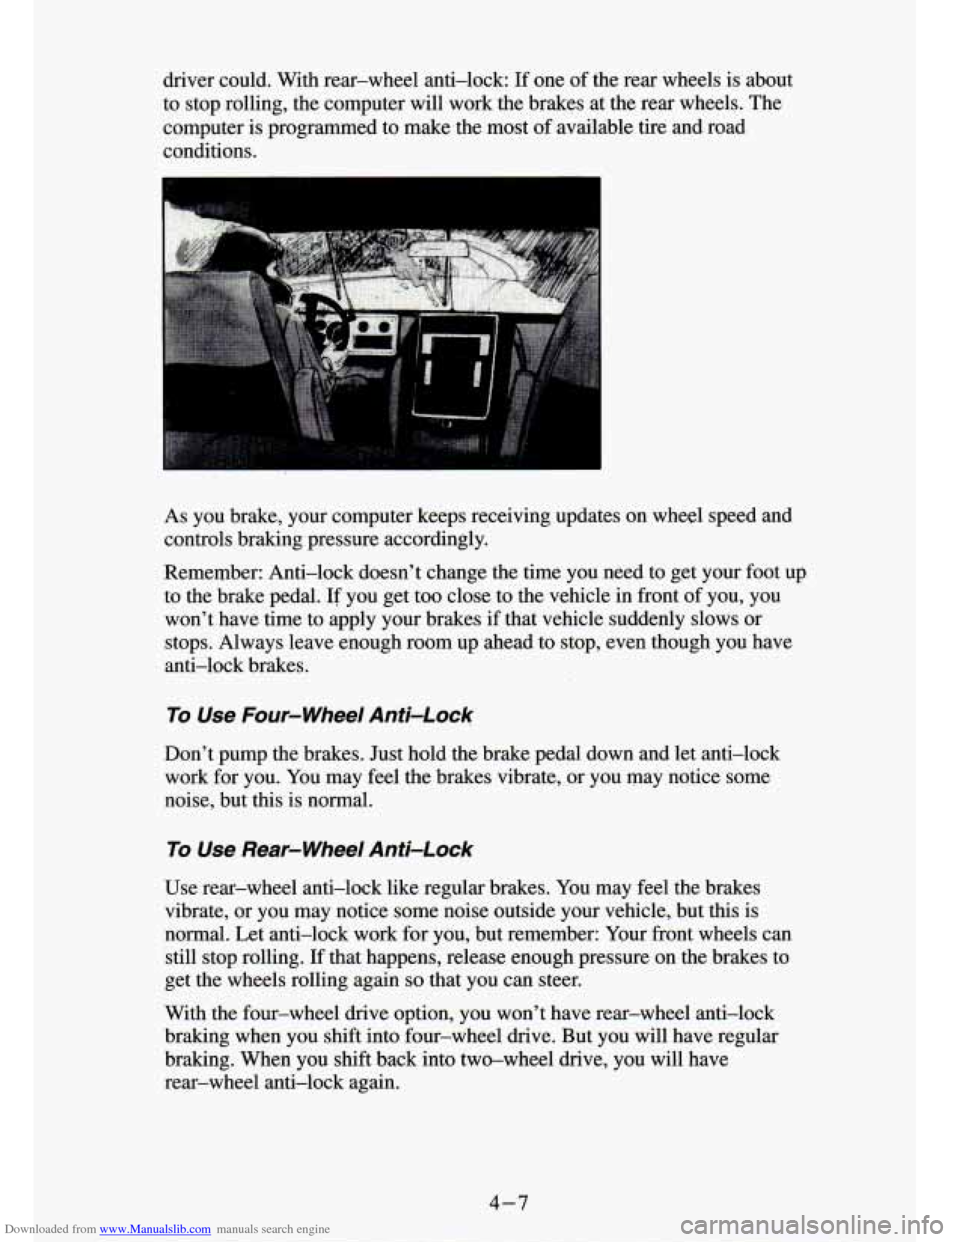
Downloaded from www.Manualslib.com manuals search engine driver could. With rear-wheel anti-lock: If one of the rear wheels is about
to stop rolling, the computer will work the brakes at the rear wheels. The
computer is programmed to make the most of available tire and road
conditions.
As you brake, your computer keeps receiving updates on wheel speed\
and
controls braking pressure accordingly.
Remember: Anti-lock doesn’t change the time you need to get \
your foot up
to the brake pedal.
If you get too close to the vehicle in front of you, you
won’t have time to apply your brakes if that vehicle sudden\
ly slows or
stops. Always leave enough room up ahead to stop, even though you have
anti-lock brakes.
To Use Four-wheel Anti-Lock
Don’t pump the brakes. Just hold the brake pedal down and let anti-lock
work for you.
You may feel the brakes vibrate. or you may notice some
noise, but this is
1 mal.
To Use Rear-Wheel Anti-Lock
Use rear-wheel anti-lock like regular brakes. You may feel the brakes
vibrate, or you may notice some noise outside your vehicle, bu\
t
this is
normal. Let anti-lock work for you, but remember: Your Eront wheels can
still stop rolling. If that happens, release enough pressure on the brakes to
get the wheels rolling again
so that you can steer.
With the four-wheel drive option, you won’t have rear-wheel anti-lock
braking when you shift into four-wheel drive. But you will hav\
e regular
braking. When you shift back into two-wheel drive, you will ha\
ve rear-wheel anti-lock again.
4-7
Page 144 of 340
Downloaded from www.Manualslib.com manuals search engine t
Braking in Emergencies
At some time, nearly every driver gets into a situation that \
requires hard
braking.
The four-wheel anti-lock system lets you steer and brake at the same time.
If you have the rear-wheel anti-lock braking system, your front wh\
eels can
stop rolling when you brake very hard. Once they do, the vehicle can’t
respond to your steering. Momentum will carry it in whatever direction it
was headed when the front wheels stopped rolling. That could b\
e off the
road, into the very thing you were trying to avoid, or into traffic.
So, unless you have four-wheel anti-lock, use a “squeeze” braking
technique. This will give you maximum braking while maintaining \
steering
control. You do this by pushing on the brake pedal with steadily increasing
pressure. When you do, it will help maintain steering control. \
In many
emergencies, steering can help you more than even the very best braking.
Steering
Power Steering
If you lose power steering assist because the engine stops or the system is
not functioning, you can steer but it will take much more effort.
Steering Tips
Driving on Curves
It’s important to take eurves at a reasonable speed.
A lot of the “drrver lost control” accidents mentit- ~~- -- - -~ -1-3 news happen
on curves. Here’s why:
bxperienced driver or beginner, each of us is subject to the same laws of
physics when driving on curves. The traction of the tires against the road
surface makes
it possible for the vehicle to change its path when you turn
the front wheels. If there’s no traction, inertia will keep the vehicle going in
the same direction.
If you’ve ever tried to steer a vehicle on wet ice, you’ll
understand this.
The traction you can get in a curve depends on the condition of your tires
and the road surface, the angle at which the curve is banked, and you\
r
speed. While you’re in
a curve, speed is the one factor you can control.
Suppose you’re steering through a sharp curve. Then you suddenly apply
the brakes. Both control systems
- steering and braking - have to do their
work where the tires meet the road. Unless you have four-wheel\
anti-lock
brakes, adding the hard braking can demand too much of those places. You
can lose control.
4 -8
I
Page 145 of 340
Downloaded from www.Manualslib.com manuals search engine The same thing can happen if you’re steering through a sharp curve and you
suddenly accelerate. Those two control systems
- steering and acceleration
- can overwhelm those places where the tires meet the road and make vou
lose control.
What should you do if this ever happens? Ease up on the brake or
accelerator pedal, steer the vehicle the way you want it~to go, and slow
down.
Speed
limit signs near curves warn that you should adjust your speed. Of
course, the posted speeds are based on good weather and road conditions.
Under less favorable conditions you’ll want to
go slower.
If you need to reduce your speed as you approach a curve, do it before you
enter the curve, while your front wheels are straight ahead.
Try to adjust your speed
so you can “drive” through the curve. Maintain a
reasonable, steady speed. Wait to accelerate until you are out \
of the curve,
and then accelerate gently into the straightaway.
Steering in Emergencies
There are times when steering can be more effective than braki\
ng. For
example, you come over a hill and find a truck stopped in your lane, or a car
suddenly pulls out from nowhere, or a child darts out from between parked
cars and stops right in front of you.
You can avoid these problems by
braking
- if you can stop in time. But sometimes you can’t; there isn’t
room. That’s the time for evasive action
- steering around the problem.
Your Vehicle can perform very well in emergencies like these. First apply
your brakes
- but, unless you have four-wheel anti-lock, not enough to
lock your front wheels. It is better to remove as much speed as you can from
a possible collision. Then steer around the problem, to the left
or right
depending on the space available.
An emergency like this requires close attention and a quick decision.
If you
are holding the steering wheel at the recommended
9 and 3 o’clock
positions, you can turn
it a full 180 degrees very quickly without removing
either hand. But you have to act fast, steer quickly, and just as quickly
straighten the wheel once you have avoided the object.
4-9
Page 149 of 340
Downloaded from www.Manualslib.com manuals search engine While driving on a surrace with reaucea traction, try yo best to a td
sudden steering, acceleration, or braking (including engme braki\
ng DY
shifting to a lower gear). Any sudden changes could cause the tires to slide.
You may not realize the surface is slippery until your vehicle is skidding.\
Learn to recognize warning clues
- such as enough water, ice or packed
snow on the road to make a “mirrored surface”
- and slow down when you
have any doubt.
Remember:
If you have the four-wheel anti-lock braking system, it helps
avoid only the braking skid. The rear-wheel anti-lock braking system helps
avoid only a rear braking skid. In a braking skid (where the\
front wheels are
no longer rolling), release enough pressure on the brakes to \
get the front
wheels rolling again. This restores steering control. Push the brake pedal
down steadily when you have to stop suddenly. As long as the front wheels
are rolling, you will have steering control.
Driving Guidelines
Off-Road Driving with Your Four-wheel
Drive Vehicle
This off-road guide is for vehicles that have four-wheel drive.
Also, see “Anti-lock Brakes’’
in the Index.
If your vehicle doesn’t have four-wheel drive, you shouldn’\
t drive off-road
unless you’re on a level, solid surface.
Off-road driving can be great fun. But it does have some definite hazards.
The greatest of these is the terrain itself.
“Off-roading” means you’ve left the great North American road system
behind. Traffic lanes aren’t marked. Curves aren’t banked. \
There are no
road signs. Surfaces can be slippery, rough, uphill or downhill\
. In short,
you’ve gone right back to nature.
Off-road driving involves some new skills. And that’s why it\
’s very
important that you read this guide. You’ll find many driving tips and
suggestions. These
will help make your off-road driving safer and more
enjoy able.
Before You Go Off-Roading
There are some things to do before you go out. For example, be sure to have
all necessary maintenance and service work done. Be sure
you read all the
information about your four-wheel drive vehicle in this manual. \
Is there
enough fuel?
Is the spare tire fully inflated? Are the fluid levels up where
they should be? What are the local laws that apply to off-roading where
you’ll be driving? If you don’t know, you should check with law
enforcement people in the area. Will you
be on someone’s private land? If
so, be sure to get the necessary permission.
4-13