lock CHEVROLET S10 1994 2.G Workshop Manual
[x] Cancel search | Manufacturer: CHEVROLET, Model Year: 1994, Model line: S10, Model: CHEVROLET S10 1994 2.GPages: 340, PDF Size: 18.45 MB
Page 150 of 340
Downloaded from www.Manualslib.com manuals search engine Loading Your Vehide for Off-Road Rriving
There are some important things to remember about how to load your
vehicle.
The heaviest things should be on the load floor and forward of your
rear axle. Put heavier items as
far forward as you cm.
Be sure the load is secured properly, so driving on the off-road terrain
doesn’t toss things around.
You’ll find other important information in this manual. See
“ Vehicle
Loading,” and “Tires” in the Index.
Traveling to Remote Areas
It makes sense to plan your trip, especially when going to a rem\
ote area.
Know the terrain and plan your route. You are much less likely to get bad
surprises. Get accurate maps of
trails and terrain. Try to learn of any
blocked or closed roads.
It’s also a good idea to travel with at least one other v\
ehicle.
If something
happens to one
of them, the other can help quickly.
Does your vehicle have a winch?
If so, be sure to read the winch
instructions. In a remote area, a winch can be handy
if you get stuck. But
you’ll want to know how to use
it properly.
Page 153 of 340
Downloaded from www.Manualslib.com manuals search engine Driving On Off-Road Hills
Off-road driving often takes you up, down, or across a hill. Driving safely
on hills requires good judgment and
an understanding of what your vehicle
can and can’t do. There are some hills that simply can’t be driven, no matter\
how well built the vehicle.
Approachiing a Hill
When you approach a hill, you need to decide if it’s one of those hills that’s
just too steep
to climb, descend, or cross. Steepness can be hard to judge.
On
a very small hill, for example, there may be a smooth, constant incline
with only a small change in elevation where you can easily see all the way
to the top. On a large hill, the incline may get steeper as you near the top,
but you may not see this because the crest of the hill is hidden by bushes,
grass, or shrubs.
Here are some other things to consider as you approach a hill\
.
0 Is there a constant incline, or does the hill get sharply steeper in places?
Is there good traction on the hillside, or will the surface cause tire
slipping?
Is there a straight path up or down the hill so you won’t have to make
Are there obstructions on the hill that can block your path (boulders,
turning maneuvers?
trees, logs or
ruts)?
What’s beyond the hill? Is there a cliff, an embankment, a drop-off, a
fence? Get out and walk the hill if you don’t know. It’s the smart way
to find out.
0 Is the hill simply too rough? Steep hills often have ruts, gullies, troughs\
and exposed rocks because they are more susceptible to the eff\
ects of
erosion.
4 - 1.7
~
Page 155 of 340
Downloaded from www.Manualslib.com manuals search engine Q: What should I do if my vehicle stalls, or is about to stall, and I
A: If this happens, there are some things you should do, and there are
some things you must not do. First, here’s what you
should do:
can’t make it up the hill?
Push the brake pedal to stop the vehicle and keep it from rolling
backwards. Also, apply
the parking brake.
If your engine is still running, shift the transmission into reverse,
release the parking brake, and slowly back down the hill in r\
everse.
If your engine has stopped running, you’ll need to restart it. With the
brake pedal depressed and the parking brake still applied, shift the
transmission to
“P” (Park) (or, shift to “N” (Neutral) if your vehicle h\
as
a manual transmission) and restart the engine. Then, shift to \
reverse,
release the parking brake, and slowly back down the hill as s\
traight
as
possible in reverse.
wheel at the
12 o’clock position. This way, you’ll be able to tell if your
wheels are straight and maneuver as you back down. It’s bes\
t that you
back down the hill with your wheels straight rather than in the left or
right direction. Turning the wheel too far to the left or right will
increase the possibility
of a rollover.
Here are some things you
must not do if you stall, or are about to stall,
when going up a hill.
0 As you are backing down the hill, put your left hand on the steering
0 Never attempt to prevent a stall by shifting into “N’ (Neutral) (or
depressing the clutch, if you have a manual transmission) to “rev-up”
the engine and regain forward momentum. This won’t work. Your
vehicle will roll backwards very quickly and you could go out \
of
control.
Instead, apply the regular brake to stop the vehicle. Then app\
ly the
parking brake. Shift into reverse, release the parking brake, and slowly
back straight down.
0 Never attempt to turn around if you are about to stall when going up a
hill.
If the hill is steep enough to stall your vehicle, it’s steep enough to
cause you to roll over
if you turn around. If you can’t make it up the
hill, you must back straight down the hill.
Page 170 of 340
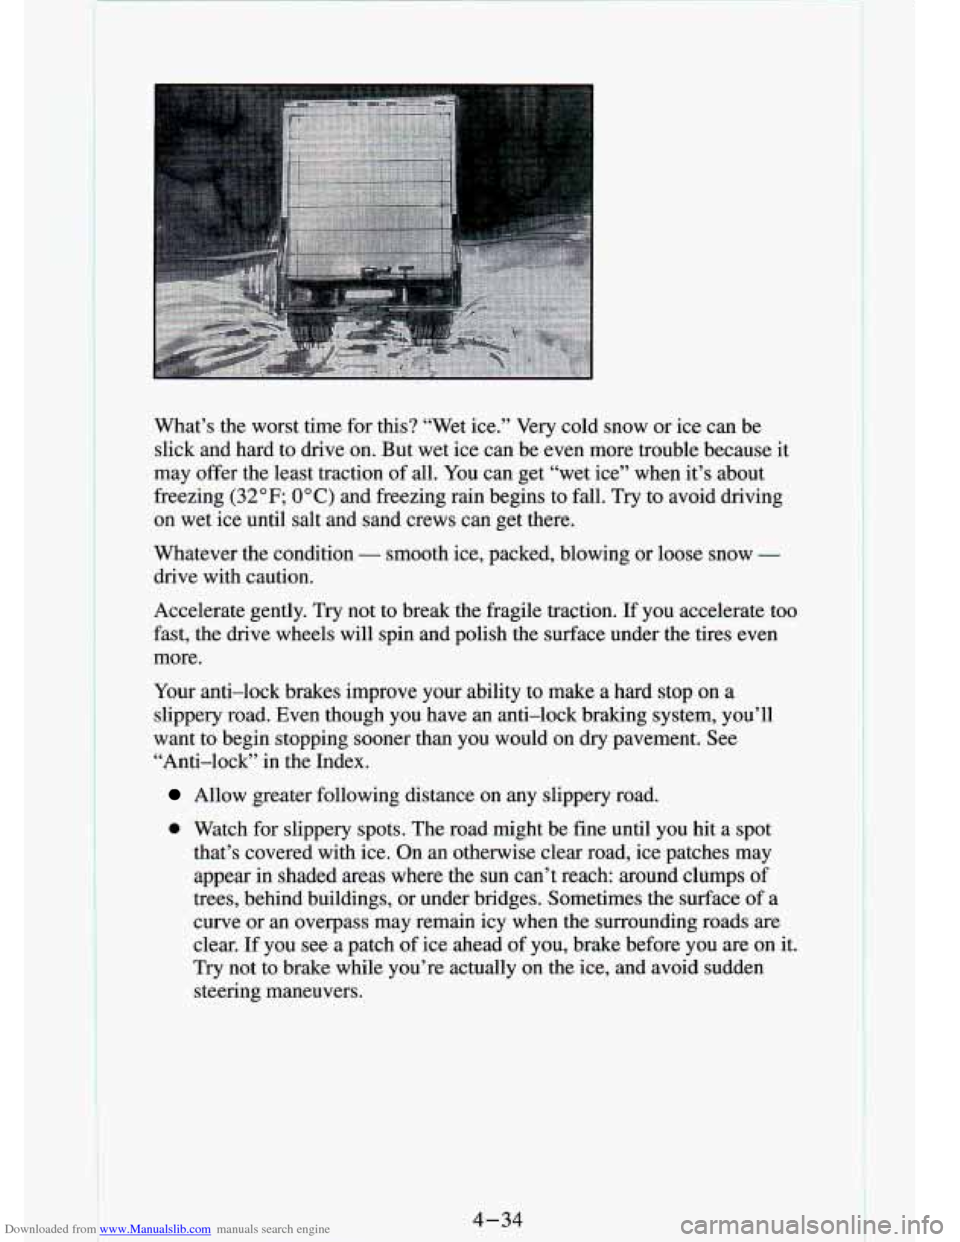
Downloaded from www.Manualslib.com manuals search engine What’s the worst time for this? “Wet ice.” Very cold snow or ice can be
slick and hard to drive on. But wet ice can be even more trouble because it
may offer the least traction of all. You can get “wet ice” when it’s about
freezing
(32°F; 0 O C) and freezing rain begins to fall. Try to avoid driving
on wet ice until salt and sand crews can get there.
L
Whatever the condition - smooth ice, packed, blowing or loose snow -
drive with caution.
Accelerate gently.
Try not to break the fragile traction. If you accelerate too
fast, the drive wheels will spin and polish the surface under \
the tires even
more.
Your anti-lock brakes improve your ability to make a hard stop\
on a
slippery road. Even though you have an anti-lock braking system\
, you’ll
want to begin stopping sooner than you would on dry pavement. \
See
“Anti-lock” in the Index.
Allow greater following distance on any slippery road.
0 Watch for slippery spots. The road might be fine until you hit a spot
that’s covered with ice. On an otherwise clear road, ice patches may
appear
in shaded areas where the sun can’t reach: around clumps of
trees, behind buildings, or under bridges. Sometimes the surface\
of a
curve or an overpass may remain icy when the surrounding roads are
clear.
If you see a patch of ice ahead of you, brake before you are on it.
Try not to brake while you’re actually on the ice, and avo\
id sudden steering maneuvers.
1
4-34
Page 173 of 340
Downloaded from www.Manualslib.com manuals search engine Before towing, you should:
1. Set the parking brake firmly.
2. Place the automatic transmission in “P’ (Park) or the manual
transmission
in the lowest gear (1 st gear).
hitch manufacturer’s instructions.
3. Firmly attach
the vehicle being towed to the tow vehicle. Refer to the
4. Place the transfer case shift lever in “N’ (Neutral).
5. Release the parking brake only after the vehicle being towed i\
s firmly
6. Insert the ignition key into the ignition switch and turn it one notch
forward
of the LOCK position. This places the key into the OFF
po.sition, which unlocks the steering column while preventing battery
drain. Unlocking the steering column
will allow for proper movement
of the front wheelshires during towing.
attached to
the tow vehicle.
I NOTICE:
I You should exercise extra care whenever towing another vehicle.
4-37
Page 176 of 340
Downloaded from www.Manualslib.com manuals search engine A B
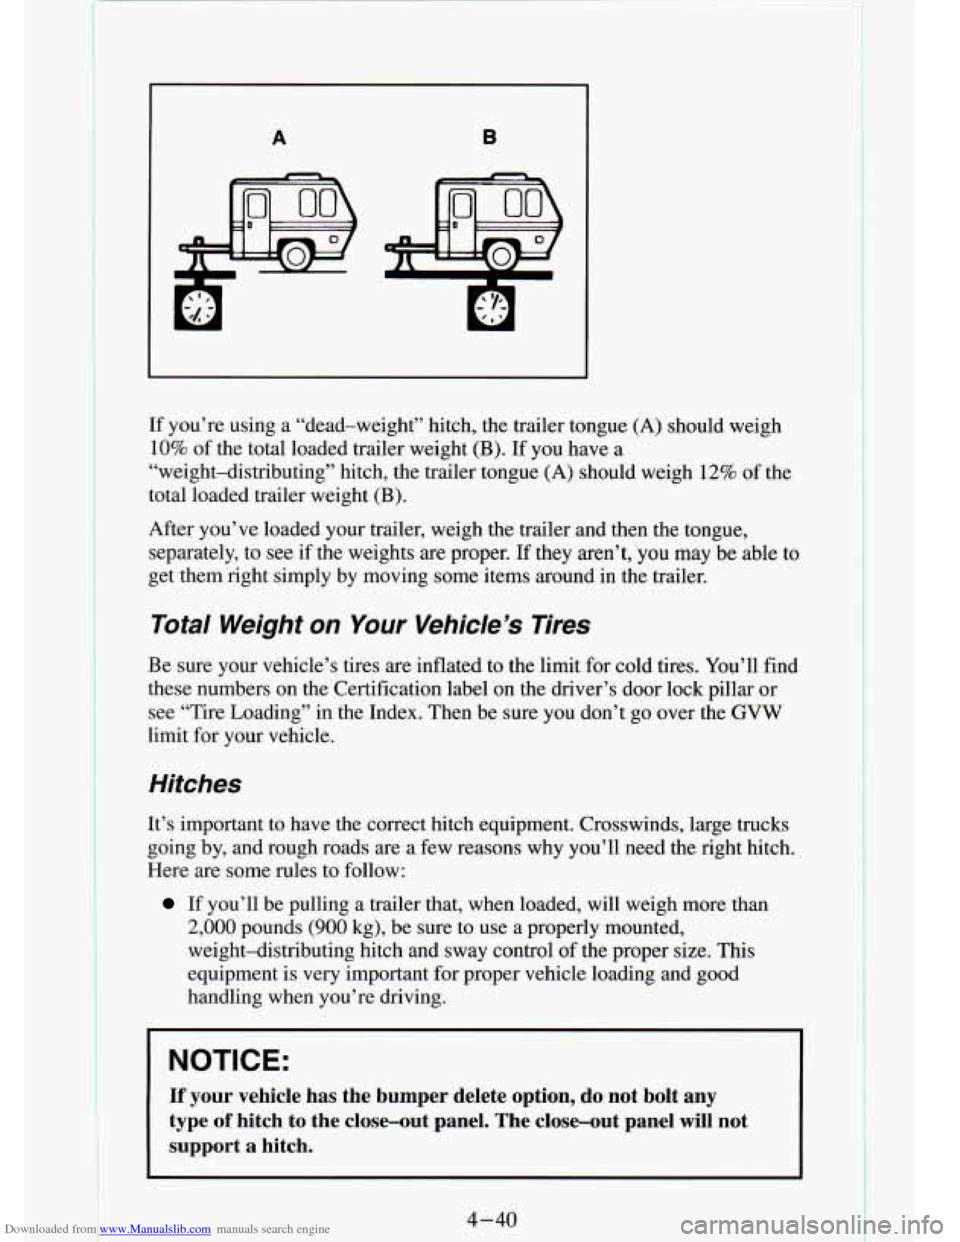
If you’re using a “dead-weight” hitch, the trailer tong\
ue (A) should weigh
10% of the total loaded trailer weight
(B). If you have a
“weight-distributing” hitch, the trailer tongue
(A) should weigh 12% of the
total loaded trailer weight (B).
After you’ve loaded your trailer, weigh the trailer and then\
the tongue, separately, to see if the weights are proper. If they aren’t,
you may be able to
get them right simply
by moving some items around in the trailer.
Total Weight on Your Vehicle’s Tires
Be sure your vehicle’s tires are inflated to the lirnit for cold tires. You’ll find
these numbers on the Certification label on the driver’s doo\
r lock pillar or
see “Tire Loading”
in the Index. Then be sure you don’t go over the GVW
limit for your vehicle.
Hitches
It’s important to have the correct hitch equipment. Crosswind\
s, large trucks
going by, and rough roads are a few reasons why you’ll nee\
d the right hitch.
Here are some rules to follow:
If you’ll be pulling a trailer that, when loaded, will weigh m\
ore than
2,000 pounds (900 kg), be sure to use a properly mounted,
weight-distributing hitch and sway control of the proper size. This equipment is very important for proper vehicle loading and good
handling when you’re driving.
NOTlCE:
If your vehicle has the bumper delete option, do not bolt any
type
of hitch to the close-out panel. The close-out panel will not
support
a hitch.
4-40
Page 181 of 340
Downloaded from www.Manualslib.com manuals search engine Power Winches
If you wish to use a power wlncn on your vehicle, only use it when your
vehicle
is stationary or anchored.
NOTICE:
When operating a power winch on your vehicle always leave the \
transmission in the neutral position.
Do not leave an automatic
transmission in P (Park) or a manual transmission in gear or\
the
transmission may be damaged.
Use the regular brakes, set the parking brake or block the wh\
eels to keep
your vehicle from rolling.
4-45
Page 191 of 340
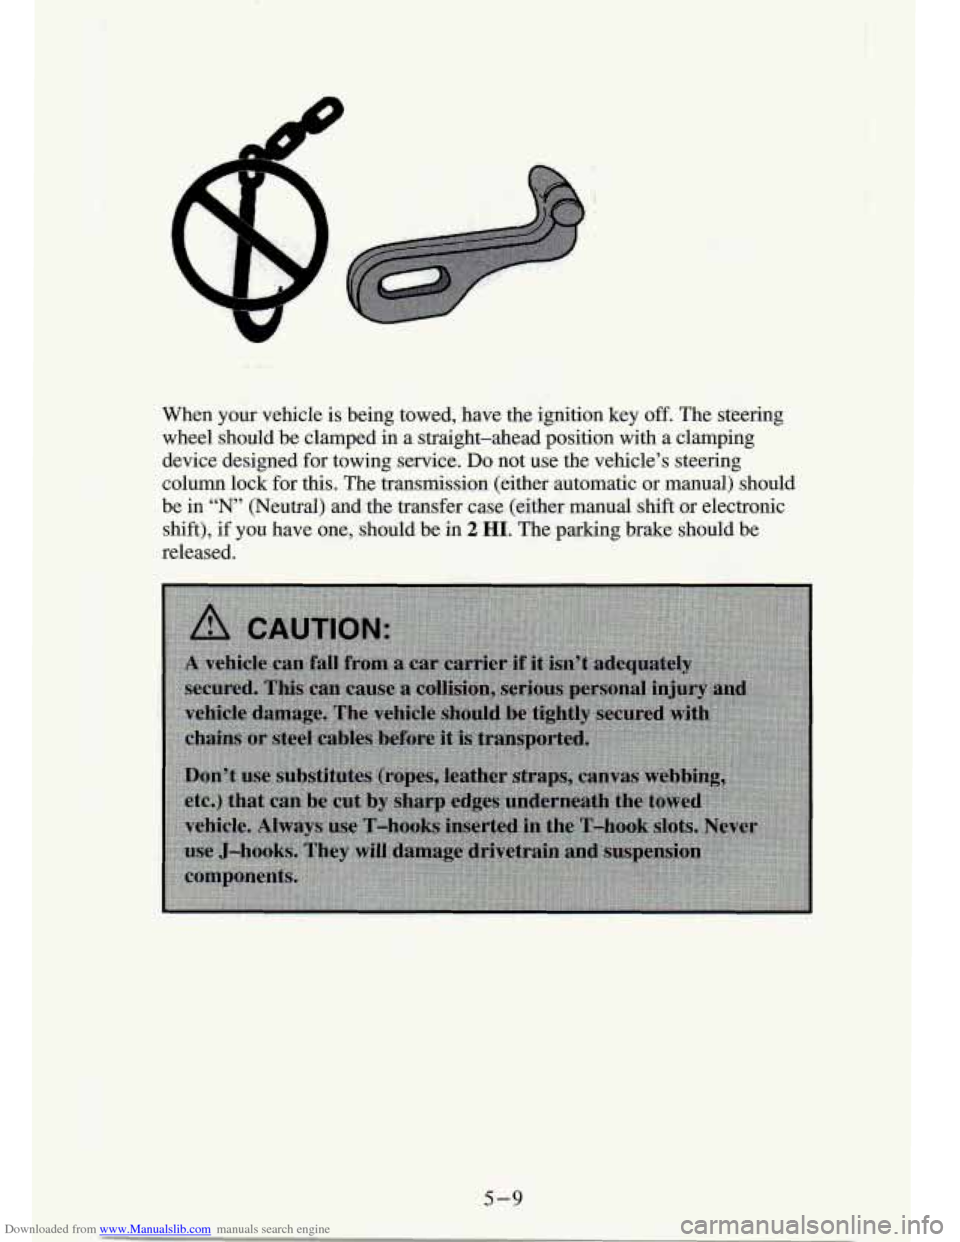
Downloaded from www.Manualslib.com manuals search engine When your vehicle is being towed, have the ignition key off. The steering
wheel should be clamped in a straight-ahead position
with a clamping
device designed for towing service.
Do not use the vehicle’s steering
column lock for this. The transmissi,on (either automatic or manual) should
be
in “N’ (Neutral) and the transfer case (either manual shift or electronic
shift),
if you have one, should be in 2 HI. The paking brake should be
released.
5-9
Page 203 of 340
Downloaded from www.Manualslib.com manuals search engine Flat Tire
L Blocked Tire
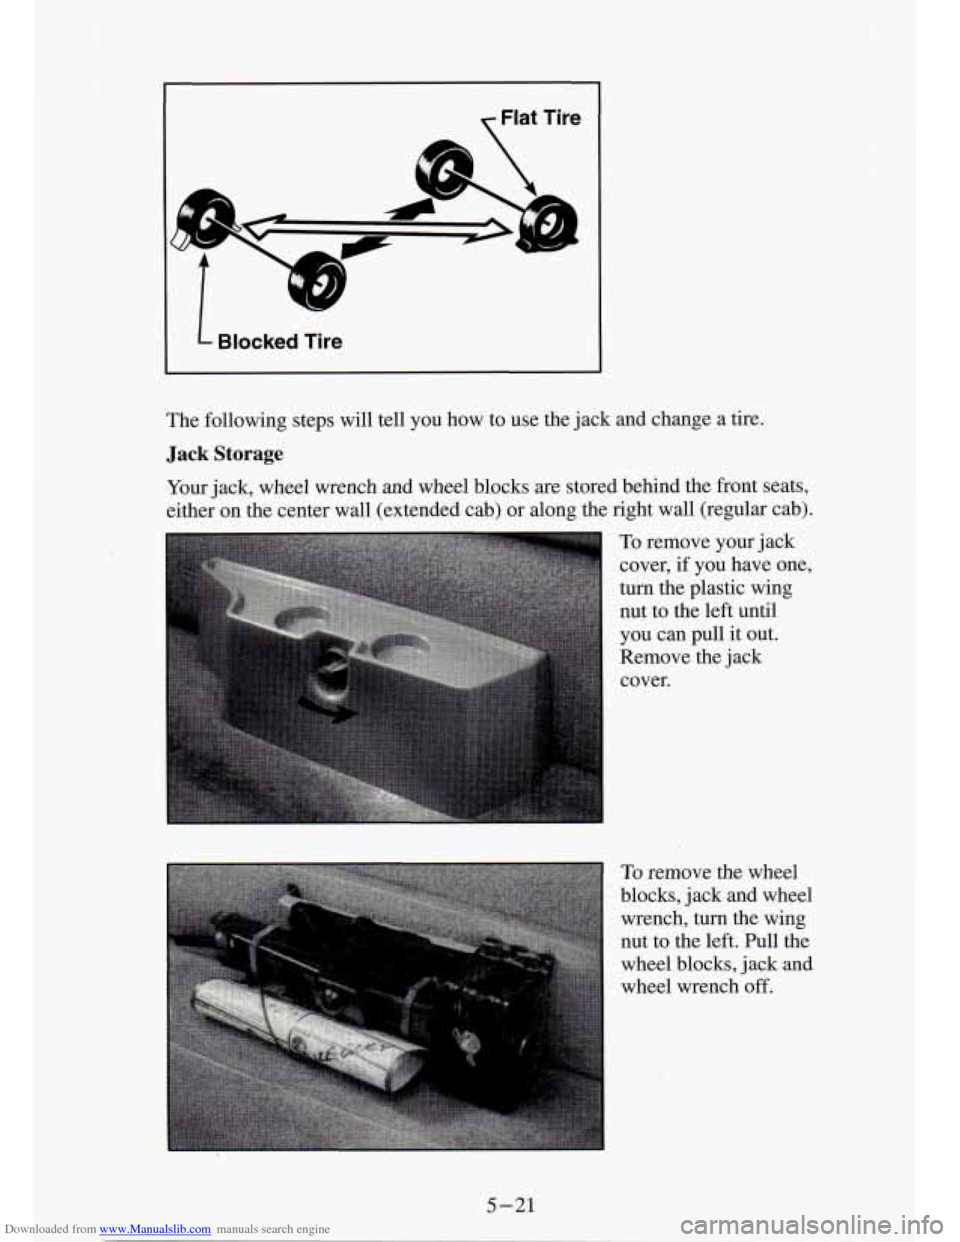
The following steps will tell you how to use the jack and change a tire.
Jack Storage
Your jack, wheel wrench and wheel blocks are stored behind the front seats,
either on the center wall (extended cab) or along the right wall (regular \
cab).
To remove your jack
cover, if you have one,
turn the plastic wing
nut to the left until
you can pull it out.
Remove the jack
cover.
To remove the wheel
blocks, jack and wheel
wrench,
turn the wing
nut to the left. Pull the
wheel blocks, jack and
wheel wrench
off.
5-21
Page 204 of 340
Downloaded from www.Manualslib.com manuals search engine 7
1.
2.
3.
4.
5.
6.
7.
8.
9.
10.
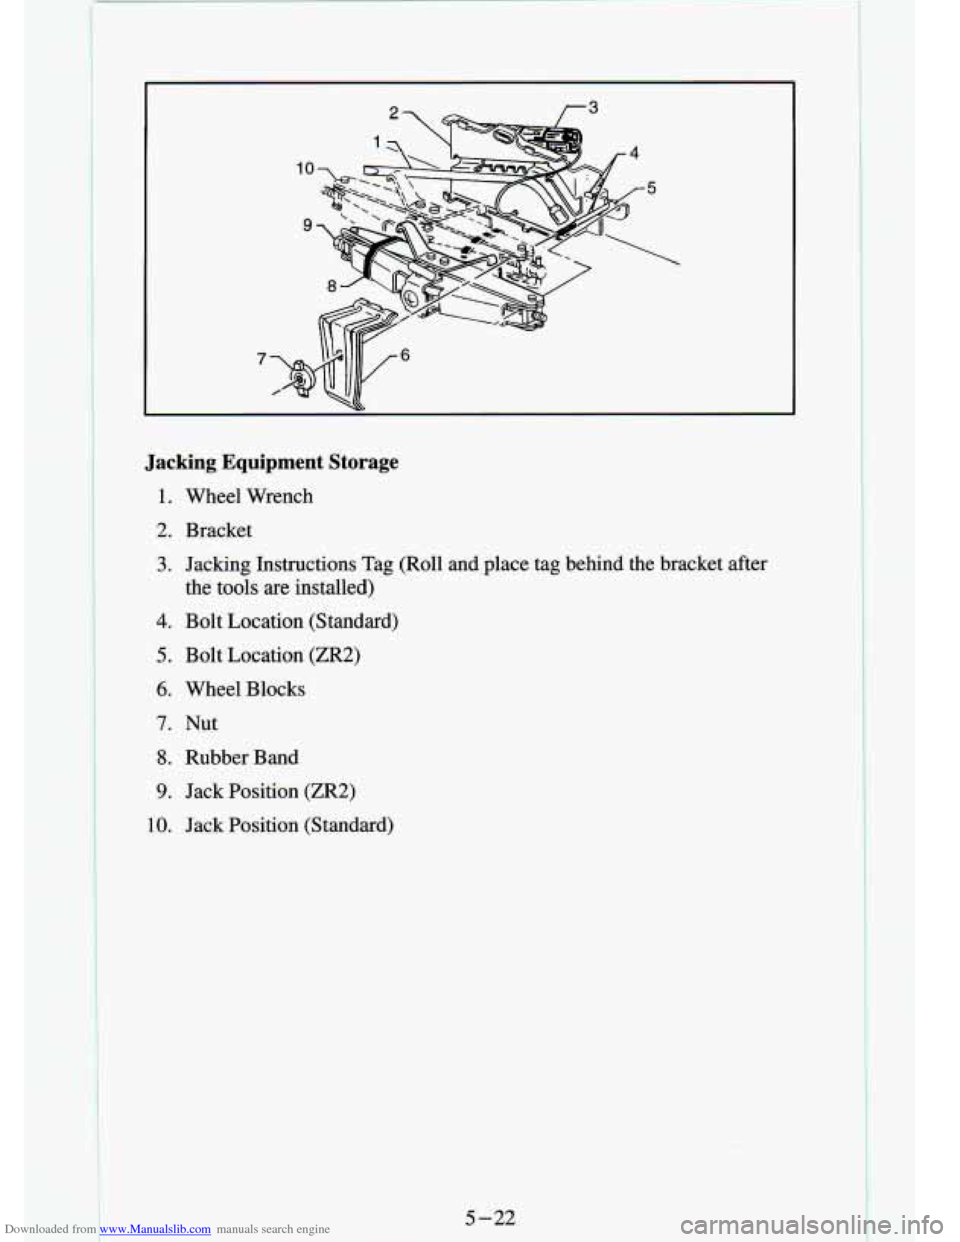
Jacking Equipment Storage
Wheel Wrench
Bracket
Jacking Instructions Tag (Roll and place tag behind the bracket after
the tools are installed)
Bolt Location (Standard)
Bolt Location
(ZR2)
Wheel Blocks
Nut Rubber Band
Jack Position
(ZR2)
Jack Position (Standard)