CHEVROLET S10 1996 2.G Owners Manual
Manufacturer: CHEVROLET, Model Year: 1996, Model line: S10, Model: CHEVROLET S10 1996 2.GPages: 375, PDF Size: 20.73 MB
Page 91 of 375
Downloaded from www.Manualslib.com manuals search engine Press the top switch with the parking lamps symbol on it
to turn on:
0 Parking Lamps
0 Sidemarker Lamps
Taillamps
0 License Plate Lamps
0 Instrument Panel Lights
Transfer Case Indicator Light (if you have one)
Press the bottom switch with the master lamps symbol
on it
to turn on all the lamps listed above as well as
the headlamps.
Press the side
of the switch marked OFF to turn off
your lamps.
Lamps On Reminder
A reminder tone will sound when your headlamps or
parking lamps and interior lamps are turned on and your
ignition is in
OFF, LOCK or ACCESSORY. To turn the
tone off, press the OFF switch.
Daytime Running Lamps (If So Equipped)
Daytime Running Lamps (DRL) can make it easier for
others to see the front
of your vehicle during the day.
DRL can be helpful in many different driving
conditions, but they can be especially helpful in the short periods after dawn and before sunset.
The DRL system will make your headlamps come
on at
reduced brightness when:
0 the ignition is on,
the headlamp switch is off, and
the parking brake is released.
2-40
Page 92 of 375
Downloaded from www.Manualslib.com manuals search engine When the DRL are on, only your headlamps will be on.
The taillamps, sidemarker and other lamps won’t be on.
The instrument panel won’t be
lit up either.
When it begins
to get dark, your DRL indicator light
is
a reminder to turn your headlamp switch on. The
other lamps that come on with your headlamps will
also come
on.
When you turn the headlamp switch off, the regular
lamps will
go off, and your headlamps will change to
the reduced brightness
of DRL.
To idle your vehicle with the DRL off, set the parking
brake. The DRL will stay off until you release the
parking brake.
As with any vehicle, you should turn on the regular
headlamp system when
you need it.
Fog Lamps (Option)
Use your fog lamps for better vision in foggy or misty
conditions. Your parking lamps or low-beam headlamps
must be on for your fog lamps to work.
The fog lamp switch is on
the instrument panel under
the lamp switches.
2-41
Page 93 of 375
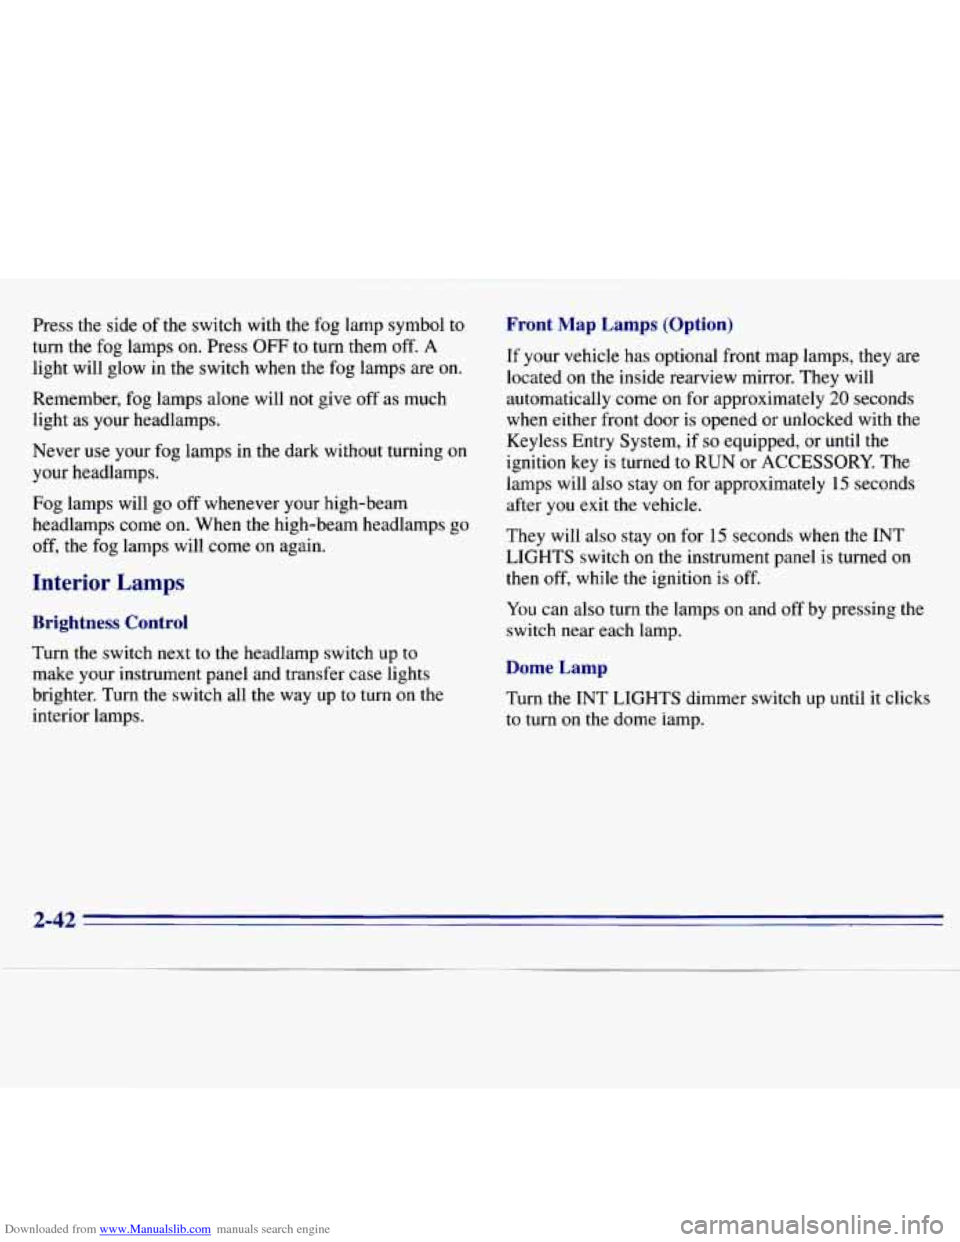
Downloaded from www.Manualslib.com manuals search engine Press the side of the switch with the fog lamp symbol to
turn the fog lamps on. Press OFF to turn them off. A
light will glow in the switch when the fog lamps are on.
Remember,
fog lamps alone will not give off as much
light as your headlamps.
Never
use your fog lamps in the dark without turning on
your headlamps.
Fog lamps will
go off whenever your high-beam
headlamps come on. When the high-beam headlamps go
off, the fog lamps will come on again.
Interior Lamps
Brightness Control
Turn the switch next to the headlamp switch up to
make your instrument panel and transfer case lights
brighter. Turn the switch all the way up to turn on the
interior lamps.
Front Map Lamps (Option)
If your vehicle has optional front map lamps, they are
located
on the inside rearview mirror. They will
automatically come
on for approximately 20 seconds
when either front door is opened or unlocked with the
Keyless Entry System, if
so equipped, or until the
ignition key is turned to
RUN or ACCESSORY. The
lamps will also stay
on for approximately 15 seconds
after you exit
the vehicle.
They will also stay on for 15 seconds when the INT
LIGHTS switch
on the instrument panel is turned on
then
off, while the ignition is off.
You can also turn the lamps
on and off by pressing the
switch near each lamp.
Dome Lamp
Turn the INT LIGHTS dimmer switch up until it clicks
to turn
on the dome lamp.
2-42
Page 94 of 375
Downloaded from www.Manualslib.com manuals search engine Mirrors
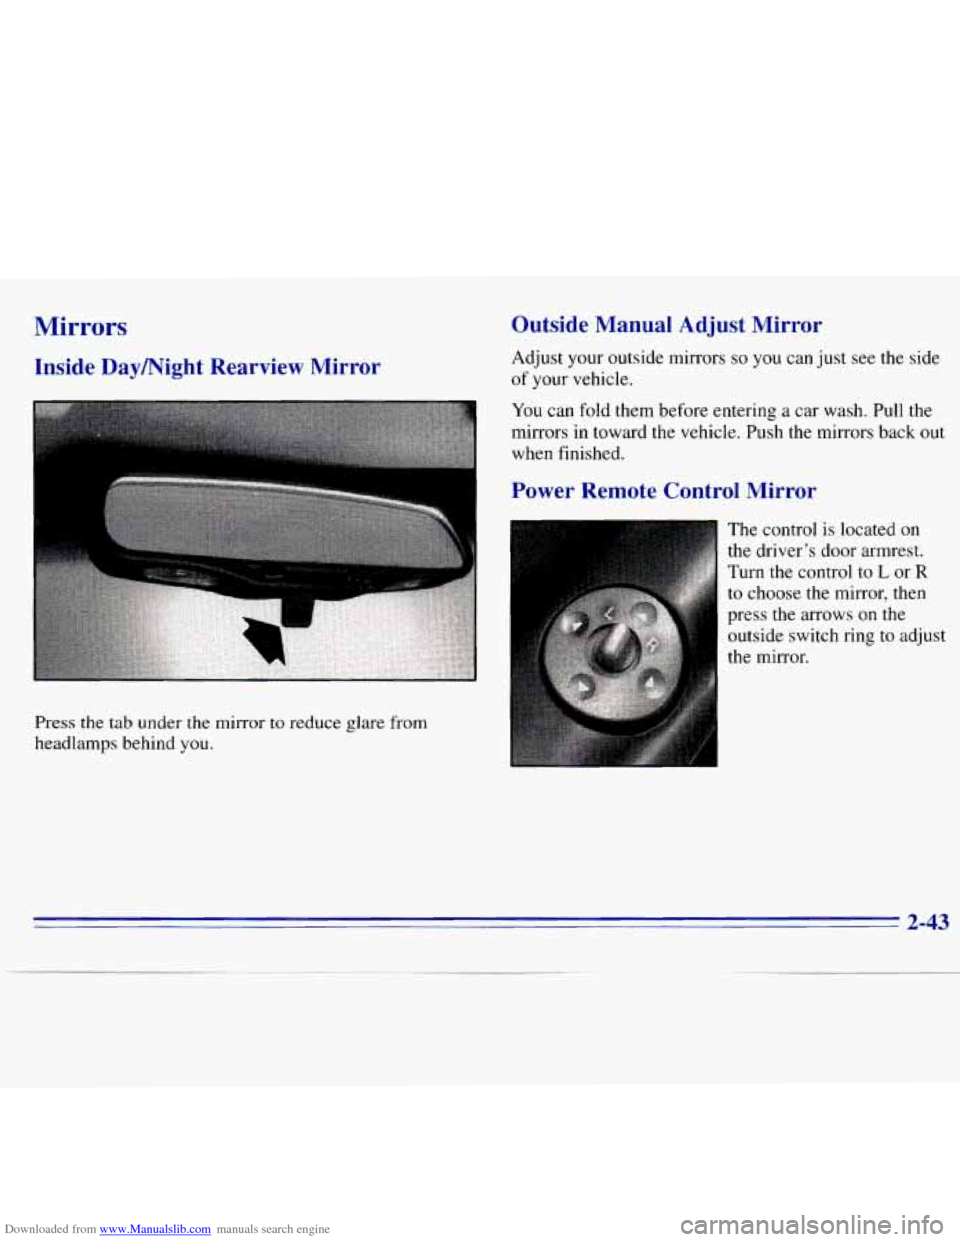
Inside DayNight Rearview Mirror
Press the tab under the mirror to reduce glare from
headlamps behind you.
Outside Manual Adjust Mirror
Adjust your outside mirrors so you can just see the side
of your vehicle.
You can fold them before entering a car wash. Pull the
mirrors in toward the vehicle. Push the mirrors back out
when finished.
Power Remote Control Mirror
The control is located on
the driver's door armrest.
Turn the control to
L or R
to choose the mirror, then
press
the arrows on the
outside switch ring
to adjust
the mirror.
2-43
Page 95 of 375
Downloaded from www.Manualslib.com manuals search engine Convex Outside Mirror
Your passenger’s side mirror is convex. A convex
mirror’s surface is curved
so you can see more from the
driver’s seat.
I
I
A convex mirror can make things (like other
vehicles) look farther away than they really are.
If you cut too sharply into the right lane, you
could hit
a vehicle on your right. Check your
inside mirror or glance over your shoulder before
changing lanes.
Storage Compartments
Glove Box
To open your glove box, squeeze the lever at the top of
the glove box and lower the door. Two cup depressions
are provided for your convenience, but the glove box
should not
be open while driving.
Door Storage
You will find a storage compartment on each door.
2-44
Page 96 of 375
Downloaded from www.Manualslib.com manuals search engine Front Storage Area
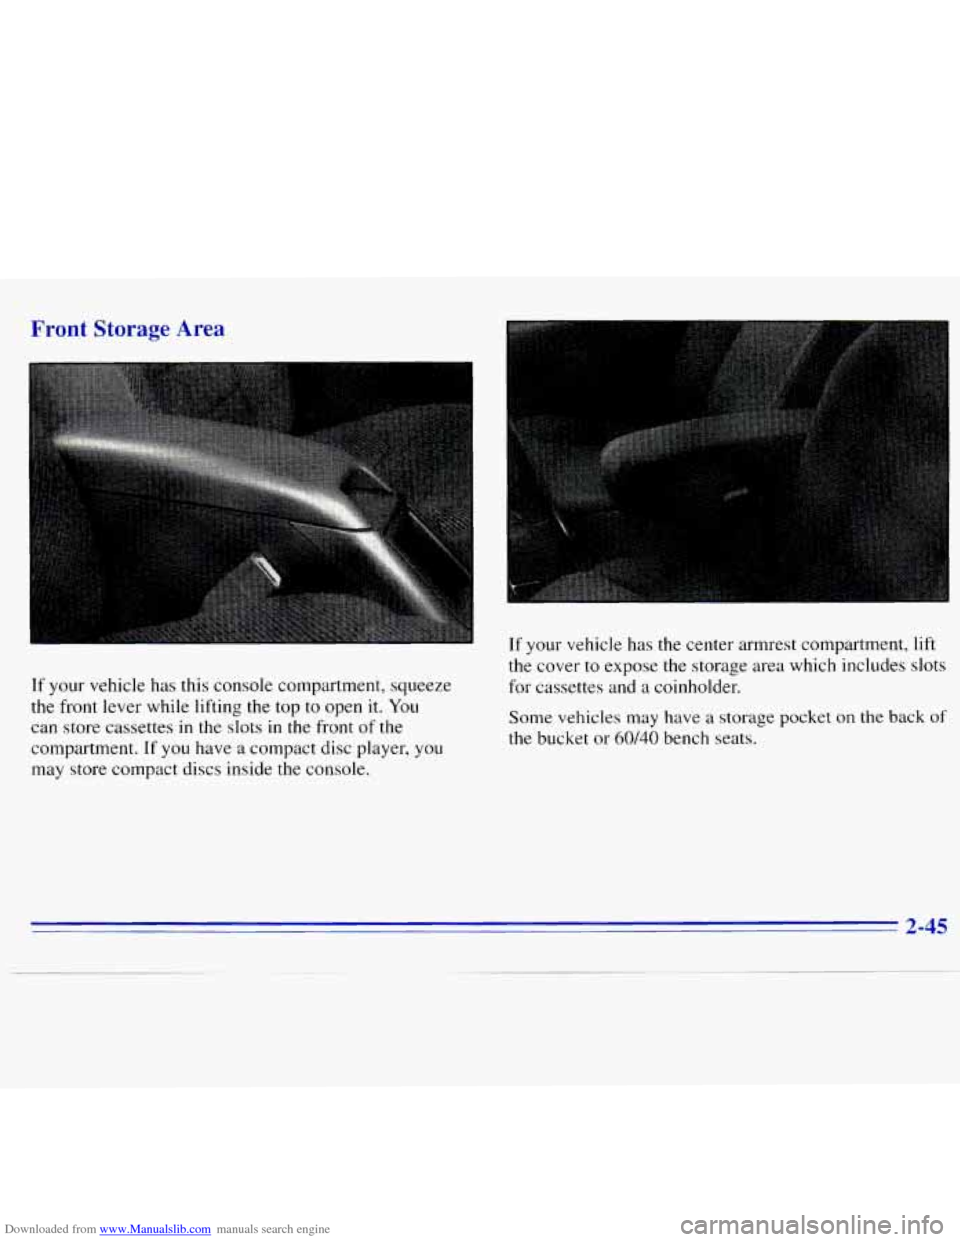
If your vehicle has this console compartment, squeeze
the front lever while lifting the top to open
it. You
can store cassettes
in the slots in the front of the
compartment. If
you have a compact disc player, you
may store compact discs inside the console. If
your vehicle has the center armrest compartment,
lift
the cover to expose the storage area which includes slots
for cassettes and
a coinholder.
Some vehicles may have a storage pocket on
the back of
the bucket or 60140 bench seats.
2-45
Page 97 of 375
Downloaded from www.Manualslib.com manuals search engine Ashtrays and Cigarette Lighter
The front ashtray must be completely pulled out to open
position before the ashtray cover opens and smoking material can be deposited.
NOTICE:
Don’t put papers and other things that burn
into your ashtray.
If you do, cigarettes or other
smoking materials could set them on fire
causing damage.
To remove the front ashtray, lift the release tab as high
as possible, then remove the tray.
To use the lighter, press it in all the way, and let go.
When it’s ready, it will pop back by itself.
NOTICE:
Don’t hold a cigarette lighter in with your hand
while it is heating.
If you do, it won’t be able to
back away from the heating element when it’s
ready. That can make it overload, damaging the
lighter and the heating element.
Sun Visors
To block out glare, you can swing down the top and
bottom visors.
You can also swing the bottom visor from
side
to side. Your visors may have an extension that can
be pulled out for additional glare protection and
a strap
for holding small items, such as maps.
Visor Vanity Mirror
Pull the sun visor down and lift the cover to expose the
vanity mirror.
2-46
Page 98 of 375
Downloaded from www.Manualslib.com manuals search engine Illuminated Visor Vanity Mirror (Option)
I
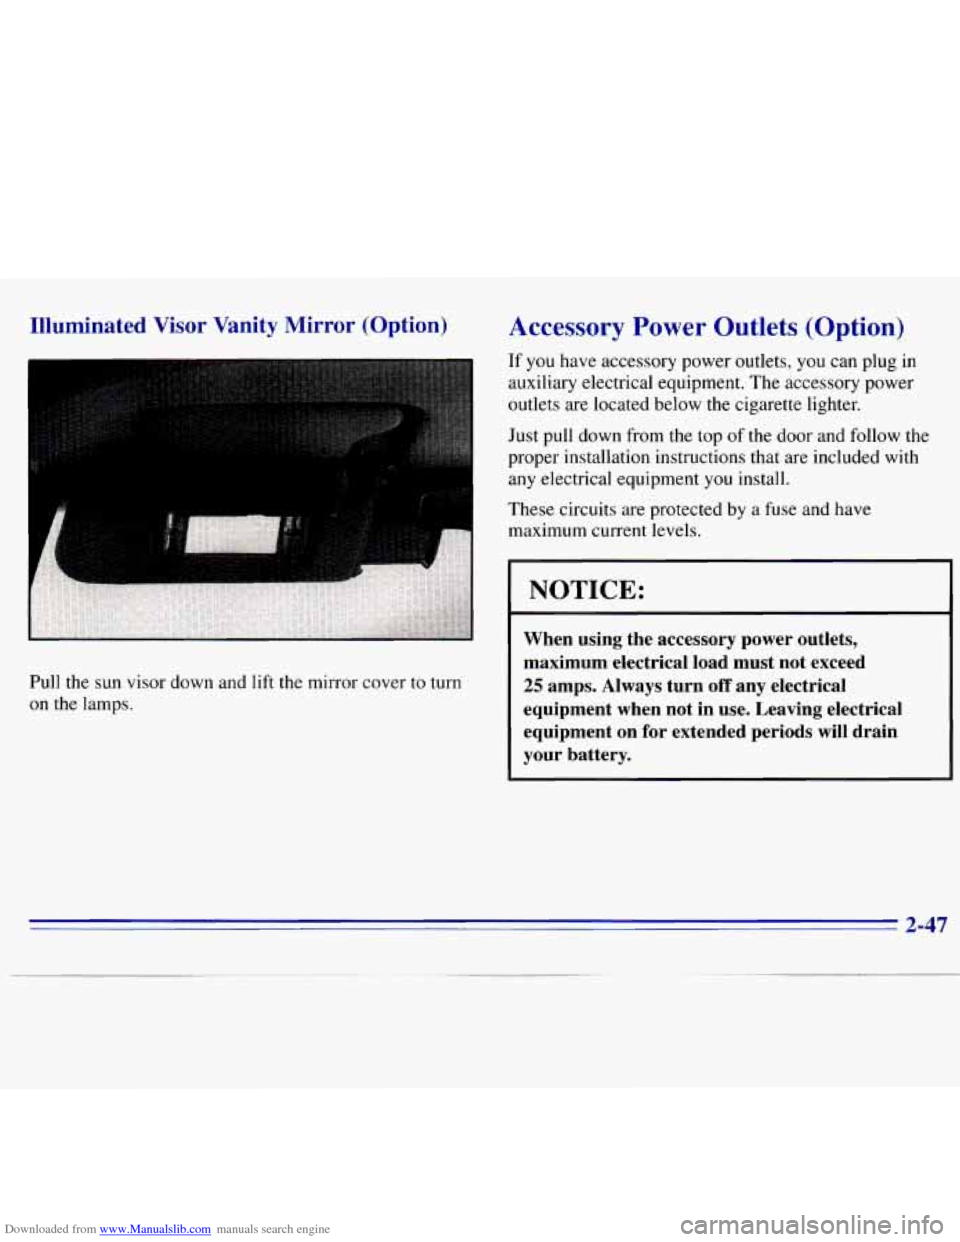
Pull the sun visor down and lift the mirror cover to turn
on the lamps.
Accessory Power Outlets (Option)
If you have accessory power outlets, you can plug in
auxiliary electrical equipment. The accessory power
outlets are located below the cigarette lighter.
Just pull down from the top of the door and follow the
proper installation instructions that are included with
any electrical equipment you install.
These circuits are protected by a fuse and have
maximum current levels.
NOTICE:
When using the accessory power outlets,
maximum electrical load must not exceed
25 amps. Always turn off any electrical
equipment when not in use. Leaving electrical
equipment on for extended periods
will drain
your battery.
2-47
Page 99 of 375
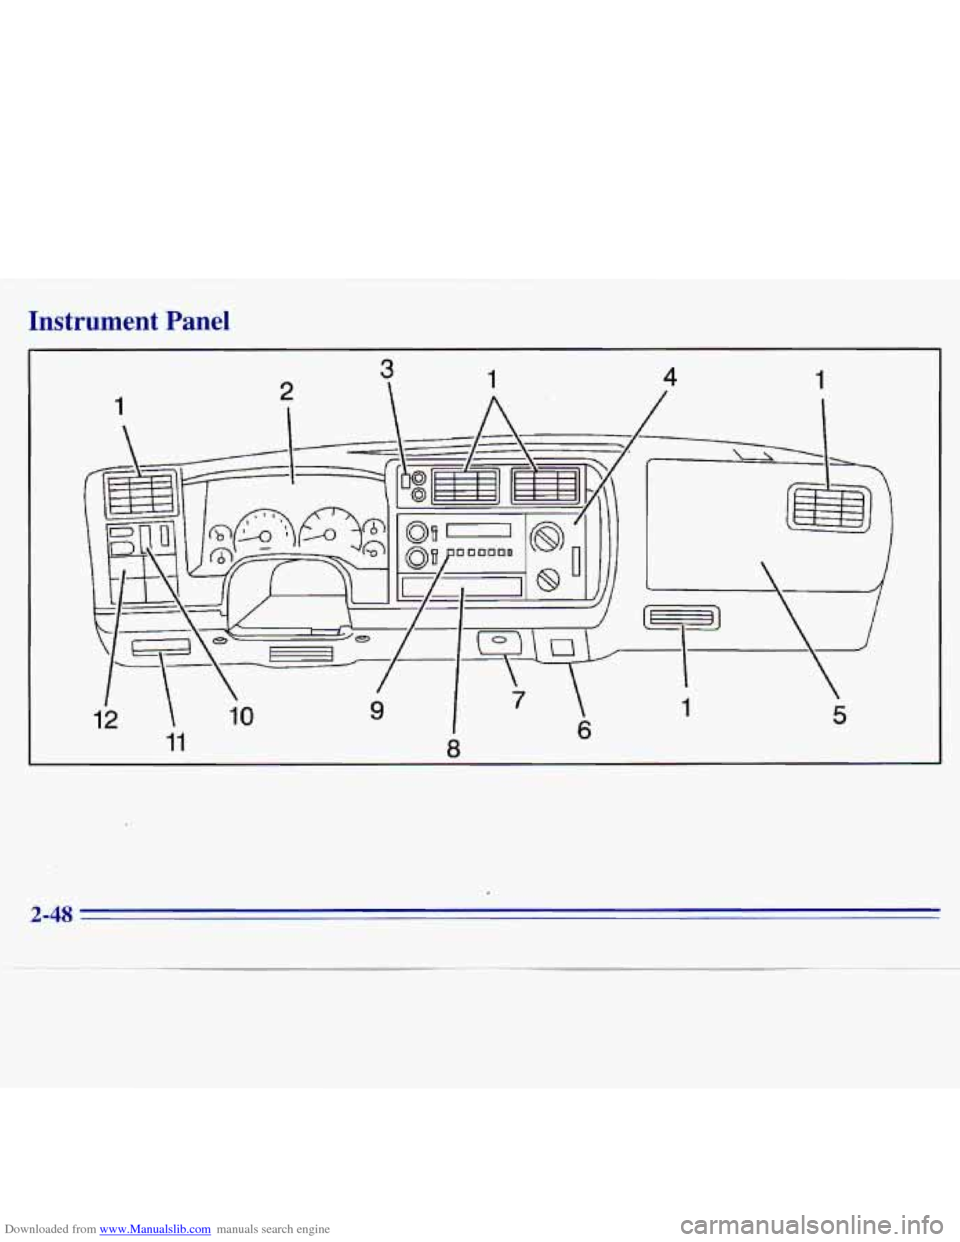
Downloaded from www.Manualslib.com manuals search engine Instrument Panel
2-48
Page 100 of 375
Downloaded from www.Manualslib.com manuals search engine 1. Air Vents
2. Instrument Cluster
3. Electronic Transfer Case (Option)
4. Comfort Controls
5. Glove Box
6. Ashtray
7. Cigarette LightedPower Auxiliary Outlets (Option)
8. Storage Compartment
9. Audio System
10. Lamp Controls
11. Brake Release
12. Fog Lamps (Option)
2-49