CHEVROLET S10 1997 2.G Owners Manual
Manufacturer: CHEVROLET, Model Year: 1997, Model line: S10, Model: CHEVROLET S10 1997 2.GPages: 402, PDF Size: 21.04 MB
Page 251 of 402
Downloaded from www.Manualslib.com manuals search engine a
0
-0
Most trip3 .are less. than 5 to 10 miles (8 to Xi km).
This is particularly impgrtant when outsid.:
tempemratures me below Freezing;
Most trips include.-extensive idling (such .as fiequenr
driving .in stopand-go traffic).
YQU operate- yo.^ vehicle in dusty areas or
You frkquently tow a'traila.
The vehicle is .used for delivtyy ,service, police, taxi
or other cornexcia1 application.
a€f-roid fraquen-tly. Driving
undef these conditions
causes eagineail to
break down sooner. If' a.ny one of these is true for your
vehicle,
-then you need to .change, your oil and filter
every 3,060..mil~s (3' 000 km] or 3 .months - whichever
0cc:U.rs first.
If none of them is true, use the lopg triplhighway
maintenance schedule. Change. the bil-and filter every
'7.,500 miles (1.2.5.00 km) or 1.2 months -- whicheve-r
u.cc.urs first. Driving a vehicle with 3 fully warmqd
engine under highway coridifians causeis engine oil- to
break dawn dower.
Rem-ote Oil Filter (Four=Whe:el Drive)
The access ,dcmx fm the ;re:mote:oil filter is in-the steering
linkage shiqld as-sbrnbly hated under the. r.adiator
support. Twist the screw to unlock or lack the dom.
Make sure 8 you open the door, it is securely closed.
when
you are finished.
Page 252 of 402
Downloaded from www.Manualslib.com manuals search engine Did you know that used engine oil contains certain
,;elements that
may .be.unhealthy for your skin and could
even
cause cancer? .Don’t let used ail stay an,yo.ur skln
-for very hng. Clean your- shn and nai1.s with ‘soap and
water,.or a good hand cleaner. Wash 01 properly throw
away clothing or rags containing used engine oil. (See
the manufacturer’s
warning-s tibout the use and disposal
of- oil products.)
Used
oil can be a real threat. to the environment. If you
change ydur owri oil, be sure to drain all- fre,e-flowing oil
from the filter before disposal. Don’t ever dispose of oil
by p.ut.ting it. in the
trash, pouring it on the .ground, into,
sewers.,
01 into streams .or b0die.s of water. Instead,
,recycle
it by taking it. to a place that collects used oil. If
you have a problem propedy disposing .of your used oil,
ask your dealer; a service station or a local recycling
cen& for help.
Air Cleaner
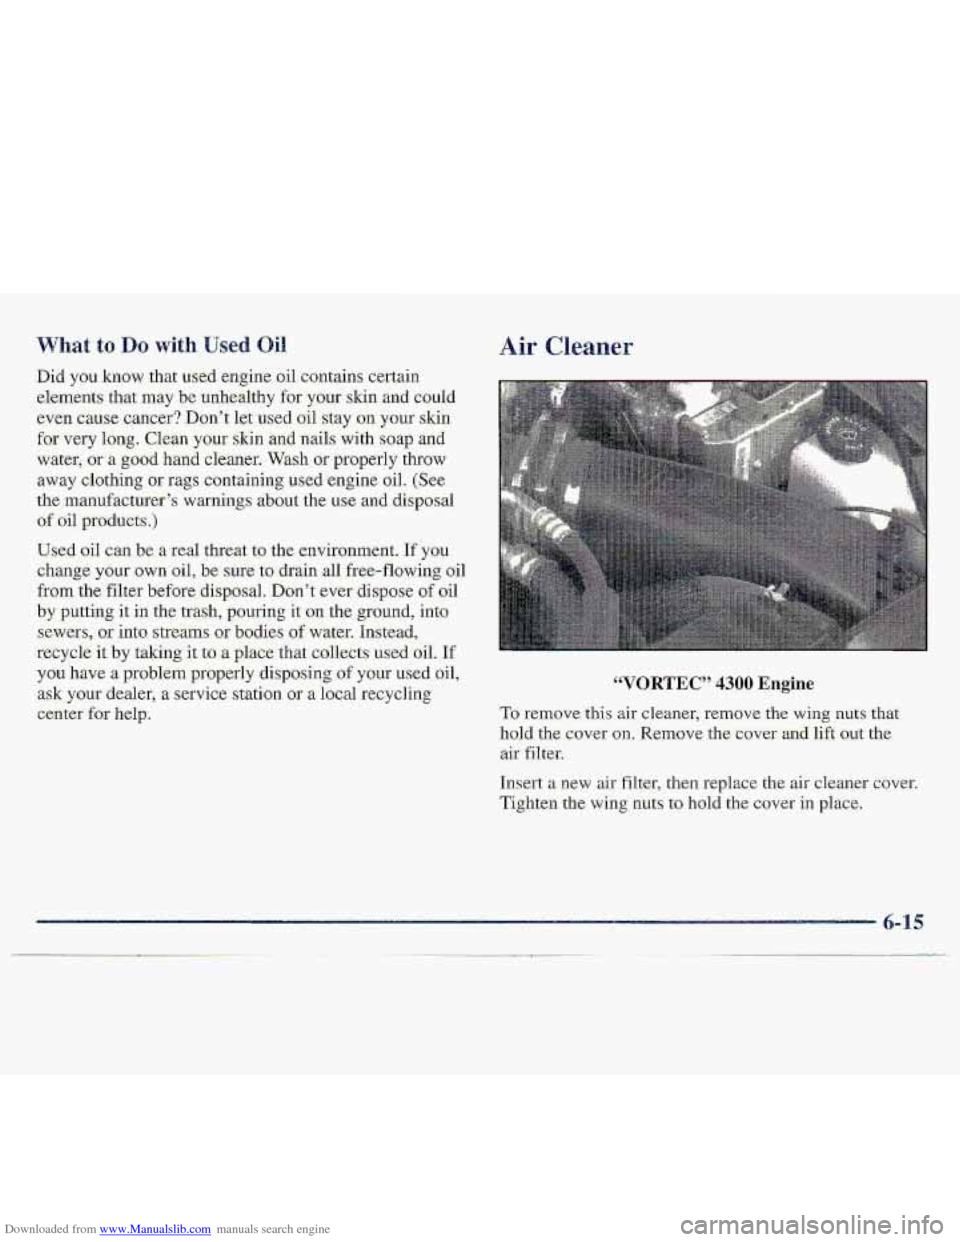
VORTEC” 4300 Engine
To remove t.his air cleaner, remove the wing nut$ that
hold the cover on, Remove the cover and lift out the
air filter.
Insert
a new air filter, then replace the air cleaner-cover.
Tighten the wing
nuts to hold the cover in place.
Page 253 of 402
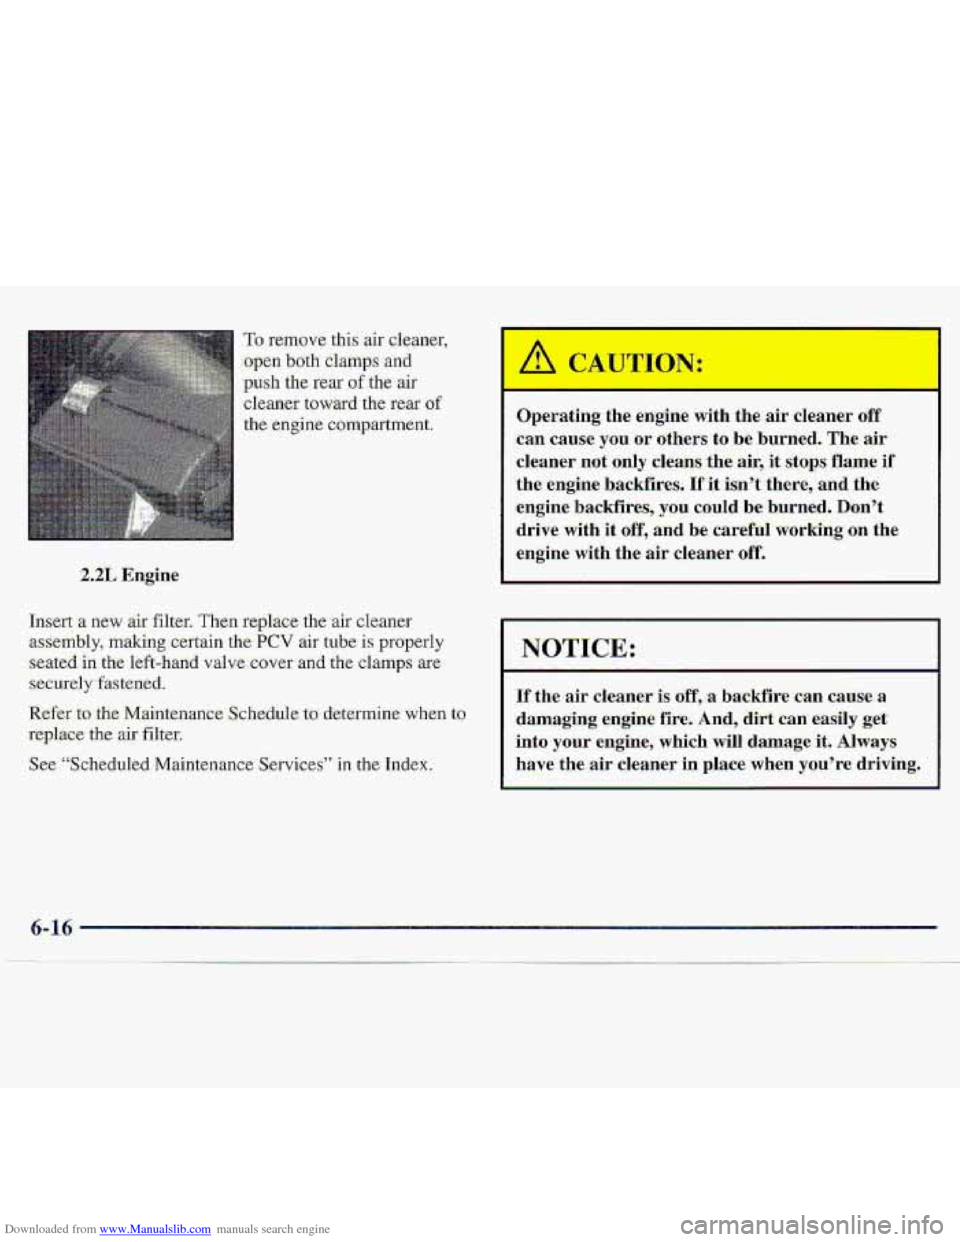
Downloaded from www.Manualslib.com manuals search engine To remove this air cleaner,
.open both &mps and
push the rear of:the air
cleaner toward the rear of
the engine compartment.
2.2L Engine
Insert
a ne’w air filter. Then replace the air cleaner
assembly, making certain the PCV air tube is properly
-seate.d in the left-hand valve- cover and the clamps are
securely fastened.
Refer to- the M.aintenan.ce .Schedule to ‘determirre when to
replace the ais- filter..
See “Scheduled Ma.intenance-Sel.vic.es” in the Index.
t
CA .- .-
Operating the engine with the air cleaner off
can cause you or others to be burned. The air
cleaner not only cleans the air, it stops. flame if
-the engine backfires.
If it isn’t there, and the
engine backfires, you could be burned. Don’t
drive with it
off, and be careful working on the
engine
with the air cleaner off.
I NOTICE:
If the air cleaner is off, :a backfire can cause, a
.dam-aging engine
fire, And, dirt can easily get
into
your engine, which will damage it. Always
have the air cleaner in place when you’re driving,
6-16
Page 254 of 402
Downloaded from www.Manualslib.com manuals search engine When to Check and Change
.A goad time to check-your a0tomati.c transmission fluid
level is when the en.gine .oil is chanzed,
C.hange
both the fluid an.d filter every 50,000-miles
(8'3 000 km) if the vehicle is mainly driven under one or
more of these conditions:
In heavy city traf€ic where the-outsi.de. temperature
regularly reaches.
906F (.32'C) or higher.
In hilly or mountainom terrain.
0 When doing frequent trailer towing.
0 Uses. such as found in taxi, police or delivery service.
If
you do not use your vehicle under any of the-se
cqnditions, the fluid and filter do not require changing.
See "Scheduled Maintenance Services"
in the Index,
How to Check
B.eCanse this operation can be a little difficult, you
may cho.Oge to have this dme at your GM de-alership
Service
Department
If you do it ywrsiAf, be sure to follow all the instruaims
here, uryclu coukd get a false re.adirig on the dipstick.
NOTICE:
Too much or too little fluid can damage- your
transmission,
TQO much can mean that s.ome of
the fluid could come out and fall on hot engine
parts or exhaust system parts, starting a fire. Be
sure to getan accurate reading if .you .check .your
transmission fluid.
Wait &t least.30 minutes before checking the
transmissioil fluid
level if.you have been driving:
* When ou&ide te:mperatures ar~ above 9C>-'F (32 O C).
0 At high spe>ed fbr.quite-.a while.
0 Tn'heavy traffic -- especidly in hot weather.
While pulling
a. trailer:
To -get the right reading, the flui,d'should be at dermal
operating temperature, which- is 1:80."F to 208°F
(82QG to 33°C).
Page 255 of 402
Downloaded from www.Manualslib.com manuals search engine Get the vehicle warmed up by driving about IS miles
(24 km) when outside trnperaturas aie above .50°F
(1,O"C). Z:it's~c
.follow the hot check procedures.
Checking the Fluid Hot or Cold
0' Park your vehicle on a level place. Keep the
@ With the: pai.king brake aplied,, pl,ace the shift her
eng,ine rufinihg.;
in PARK (P). '
0 With yoL!'r foot on the br'zkelpedal, move the shift
lever
through each gear range, pausing for abaut
three se.c-onds
in each: range.. Then, PO-sition the..shift
lever in PARK (P).
6-18
Page 256 of 402
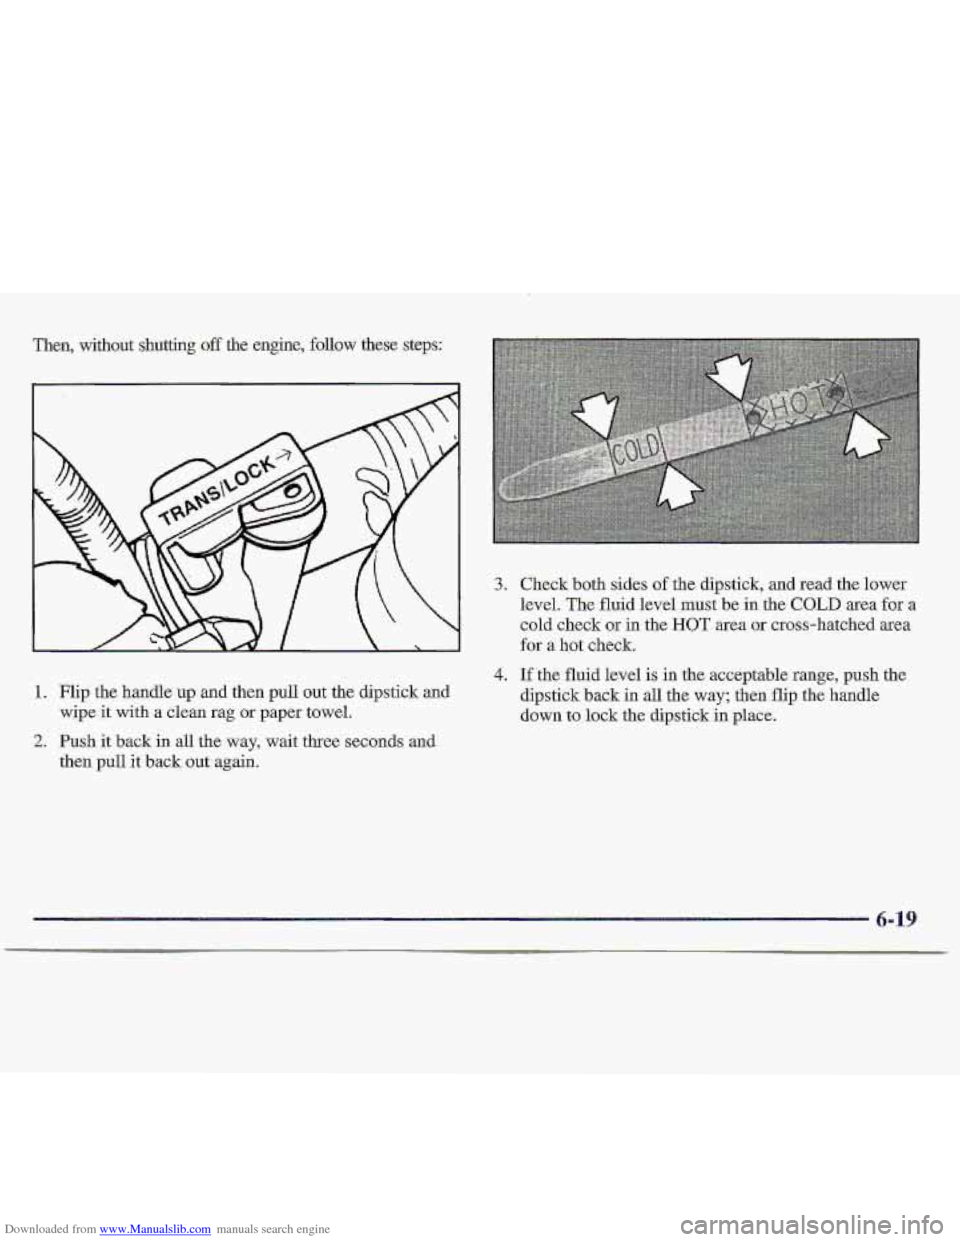
Downloaded from www.Manualslib.com manuals search engine Then, without shutting off the engine, follow these steps:
3.
4.
1. Flip the handle up and then pull out the dipstick and
2. Push it back in all the way, wait three seconds and
wipe
it with
a clean rag or paper towel.
then pull it back out again, Check both sides
of the dipstick, and read
the lower
level.
The fluid level must.be in the COLD area €or a
cold check or in the ROT area or.cross-hatched area
for a hot check.
If the fluid level is in the acceptable range, push the
dipstick
back in all the way; then flip the handle
down
to .lock thedipstick. in place.
Page 257 of 402
Downloaded from www.Manualslib.com manuals search engine HOW to Add Fluid Manual TransmisSion Fluid
Referto- the. M-aintenance Schedule t~ dtztermirie. what
kind of- tram~ssion fluid to. me. See “Recommended
Fluids and Lubricants:” in. the Index.
Add fluid only after checking tktrmsmission fluid HOT.
(A COLD check is used .only as a reference.) If the fluid
levd is low, add Only enough of the proper flvid. to bring
the le,vel up t.0 the HOT area fora hat check. It doesdt
take much fluid, ,generally less than Qne pint (0.5 L).
Don t ove.$ll.
NOTICE:
We recommend you use only fluid labeled
DEXRON@-III, because. fluid with that label is
made especidy
for-. your automatic transmission.
.Damage caused.
by fluid other than DEXRON-111
is not covered by y.our new vehicle warranty.
After srddiag fluid-, recheck the fluid Ievel as
When the-correct fluid level Ls obtained, .push the
described under “How to Check.”
dipstick back
in all the way; then flip the handle
down
to lock the dipstick in place.
A good time to have it checked is when-the engine
oil is changed. However, the fluid in your manual
transmission doesn’t require charging..
How to Check
Because this operation can be a little difficult, you
may choose to have this done at.you-r GM dealership
Service Department.
‘If YOU do it yourself, be sure. to follow all the
instructions here, or
you could ge.t a false reading,
NOTICE:
Too much or too little-fluid can damage your
transmission.
Too much can mean that same: u1
the fluid could come; out and fall on hot engine.
parts
or exhaust system p-arts, starting a fire. Be
sure
to get an accurate reading if you check your
tranqmission fluid.
Page 258 of 402
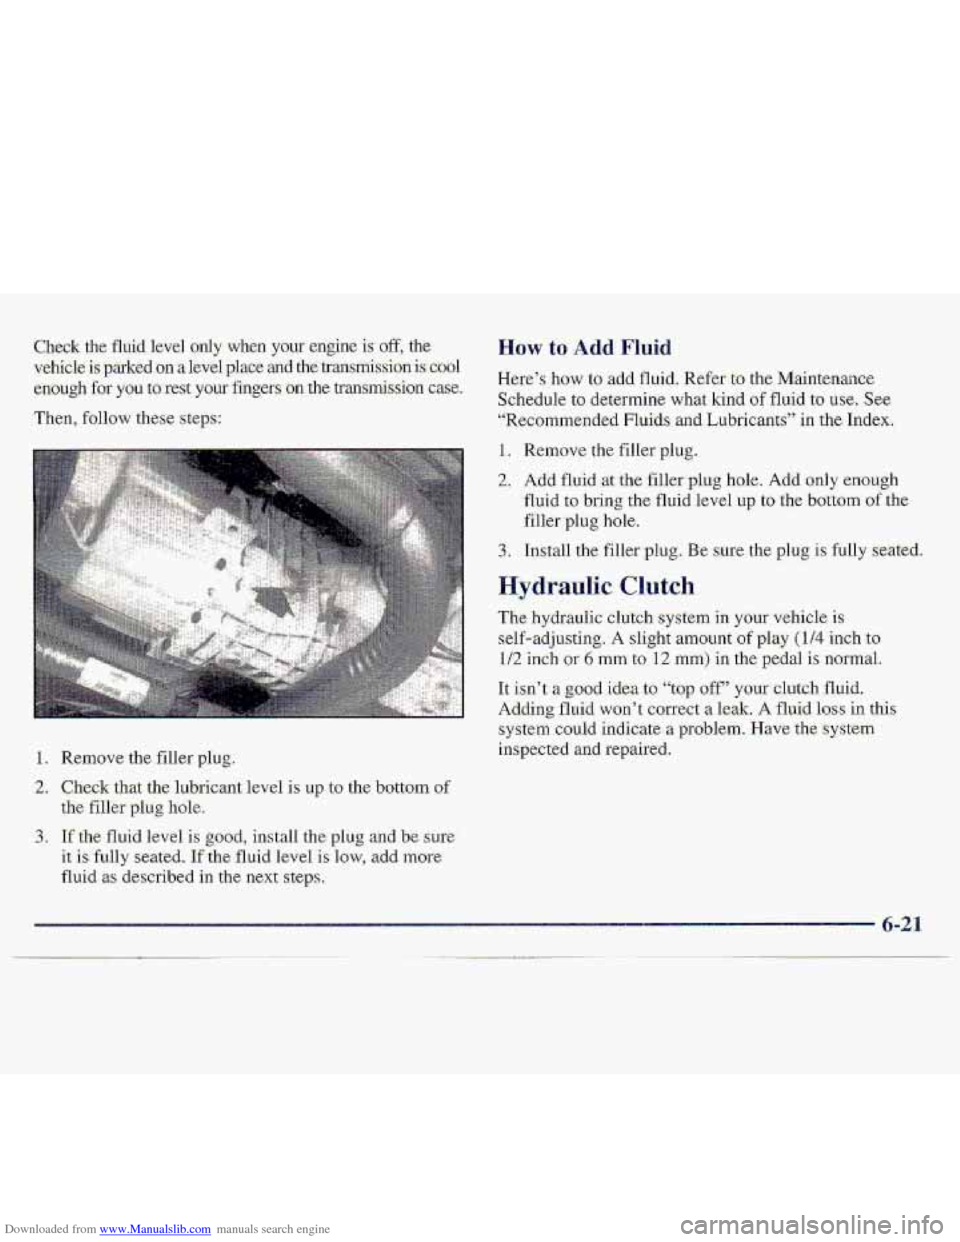
Downloaded from www.Manualslib.com manuals search engine %heck the fluid level only when your engine is .off, the
vehi-dle is parked on a level place and the lrtrarrsI’nissionisCool
e’nough
for you torest your fingers :on the transmissision case.
Then, follow these steps:
1. Remove the filler plug.
2. Check that the lubxicant level is up.to the bott,om ~f
the fill&- plug hdle.
H-OW to Add Fluid
Here’s how to add fluid. Refer-to the Mailiteaance
Schedule
to determine what kind of fluid to use. See
“Recommended Fluid-s and Lubricants” in the Index.
1. Remove the filler plug.
2. Add fluid at the filler plug ho1.e. Add ~nIy enough
fluid to bring the fluid level up to th-e bottom of the
filler plug-
hole.
3. Install the filler plug. Be sure the plug is fully seated.
Hydraulic Clutch
The hydfaulic clutch system in your vehicle is
self-adjusting. A slight amount of play (1/4 inch .to
1/2 inch or 6 rnm to 12 mm) in the p.edal is normal.
It isn’t a gaod ‘idea to “top off” your -clutch..fluid,,
Ad,dingfluid won’t correct a leak. A fluid loss in this
system could indicate-a poblem. Have the :syste.m
inspected and repaired.
5. If’b-fl uid level is good,. install the plug adbe. sur&.
it is .ft111y seated. Fthe fluid level is low, add more
fluid as described in the next steps.
-6-21
Page 259 of 402
Downloaded from www.Manualslib.com manuals search engine When to Check and What to Use Rear Axle
When to Check and Change Lubricant
R.efer to the Maintenance Schedule to determine how
often
.to check the 1ubric.ant and when to chaage it. See
“ScheduIed Maintenance Services” in the 1ndk.x.
How to Check Lub.ricant
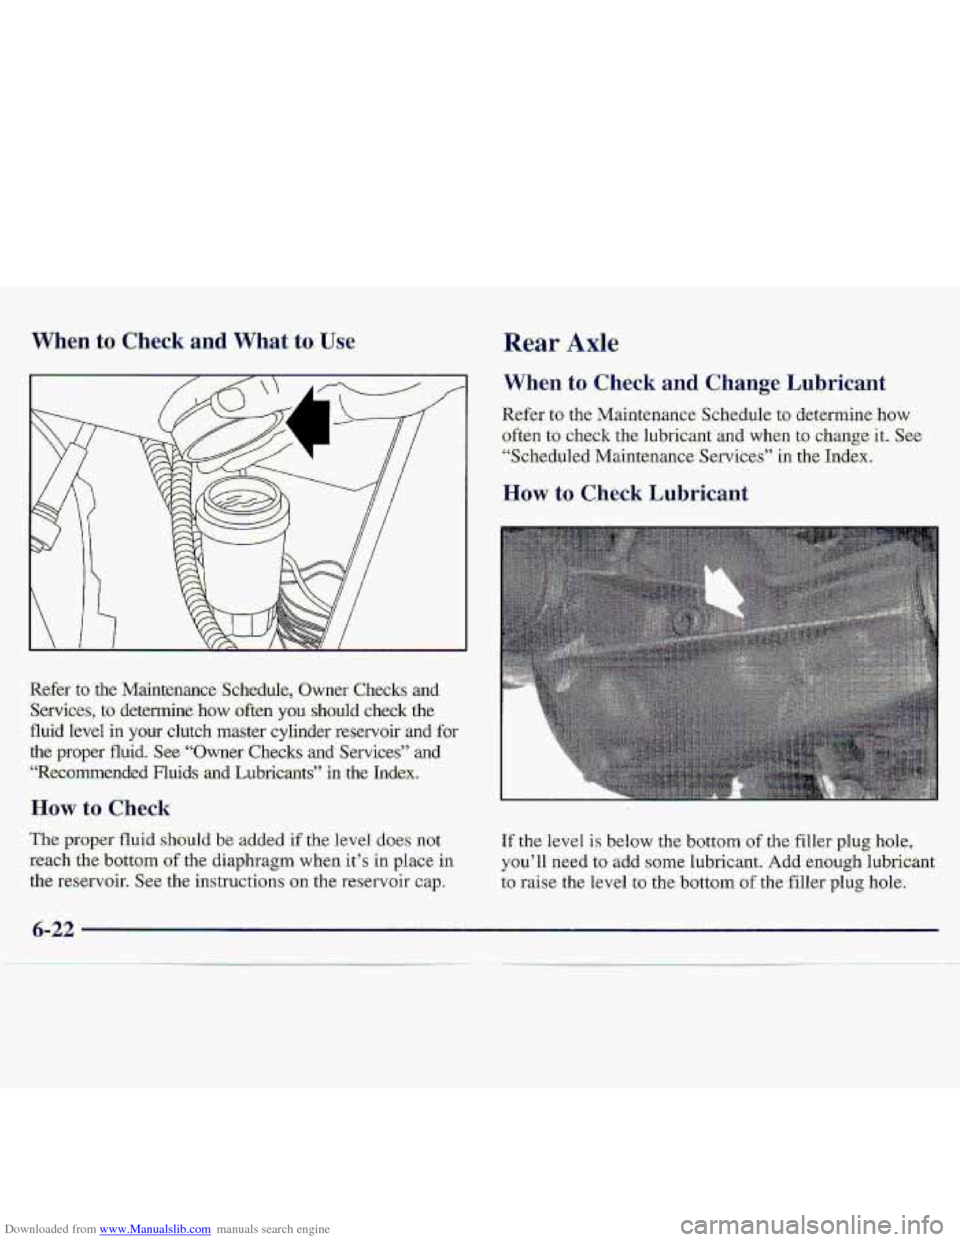
Refer to .the M-aintenance- Schedule, Owner Checks and
Services, to determine. how often you: should check the
fluid he1 in your clutch master cylinder reservoir and for
the
proper fluid. See “Owner Checks and Services” ad
“Fkcommended Fluids and Lubricants” In the Index.
How to Check
The proper fluid should be addeif$the‘levei does not
reach the battornof the diaphragm when it’s in place in
the reservoir. See the instructions on the re-servoir cap. If
the level
is below the bottom of.the filler plug hole,
you’ll need to add som lubricant. Add enough lubricant
to raise, the level to the bottom of the filler plug hole.
6-22
Page 260 of 402
Downloaded from www.Manualslib.com manuals search engine What to Use
Refkr to the Mainteriance Schedule to determine- what
kind
of lubricant to use., See “Remmmended Fluids and
Lubricants” in the Index.
Four- Wheel Drive
Most lubricant checks in this section also apply to
four-wheel-drive vehicles. However, they have
two additional systems that need lubrication.
Transfer Case
When to Check Lubricant
Refer to the Maintenance Schedule to determine how
often to check the lubricant.
See “Periodic Maintenance
Inspections” in the Index.
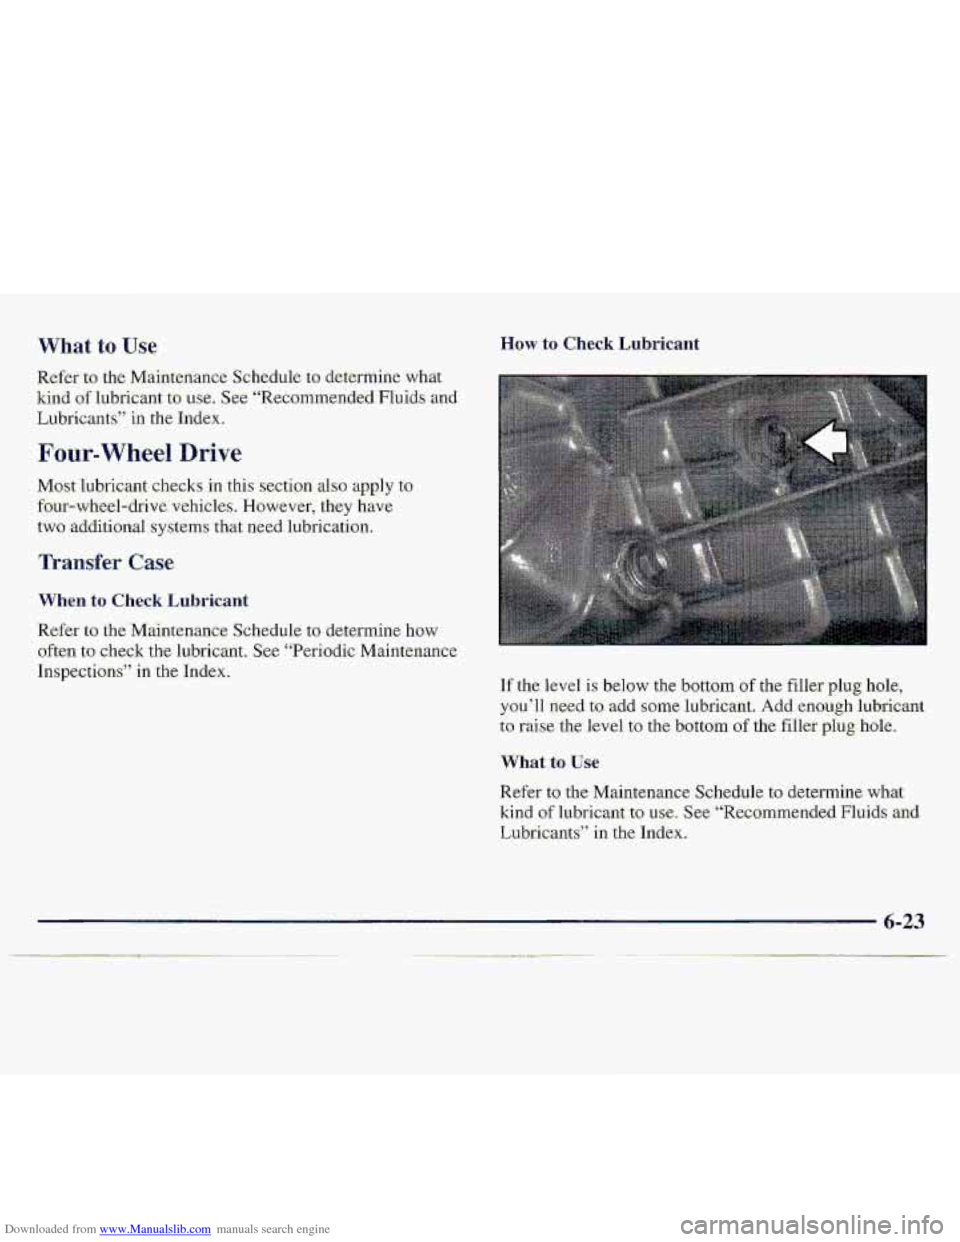
How to Check Lubrimnt
If the level is below the bottom of the. filler plug hole,
you’ll need to add some lubricant. Add enough lubricant
to raise the level to the bottom of the filler plug hole.
What to Use
Refer to the Maintenance Schedule to determine what
kind
of lubrican-t-to use. See “Recommended Fluids and
Lubricants” in the Index.