wiring CHEVROLET TRAIL BLAZER 2003 1.G Owners Manual
[x] Cancel search | Manufacturer: CHEVROLET, Model Year: 2003, Model line: TRAIL BLAZER, Model: CHEVROLET TRAIL BLAZER 2003 1.GPages: 436, PDF Size: 2.98 MB
Page 79 of 436
Liftgate/Liftglass
{CAUTION:
It can be dangerous to drive with the liftgate or
liftglass open because carbon monoxide (CO)
gas can come into your vehicle. You can't see
or smell CO. It can cause unconsciousness
and even death. If you must drive with the
liftgate open or if electrical wiring or other
cable connections must pass through the seal
between the body and the liftgate or liftglass:
·Make sure all other windows are shut.
·Turn the fan on your heating or cooling
system to its highest speed and select the
control setting that will force outside air
into your vehicle. See ªClimate Control
Systemº in the Index.
·If you have air outlets on or under the
instrument panel, open them all the way.
See ªEngine Exhaustº in the Index.
Liftgate Release
To unlock the liftgate, you may use the power door
locks or the keyless entry system described earlier.
On some vehicles the liftglass will also unlock when
the liftgate is unlocked. Press the pushbutton on
the liftglass to open it.
To open the entire liftgate, lift the handle located in
the center of the liftgate. If you open the liftgate,
the liftgate module will lock the liftglass after a one to
two second delay.
Emergency Release for Opening
Liftgate
1. Remove the trim plug to expose the access hole in
the trim panel. The access hole is located on the
inside of the liftgate.
2. Use a tool to reach through the access hole in the
trim panel.
3. Pry the left release lever up to the unlock position.
Pry the right release lever up to unlatch the liftgate.
4. Reattach the trim plug.
2-13
Page 126 of 436
Turn and Lane Change Signals
The turn signal has two upward (for right) and two
downward (for left) positions. These positions allow you
to signal a turn or a lane change.
To signal a turn, move the lever all the way up or down.
When the turn is ®nished, the lever will return
automatically.
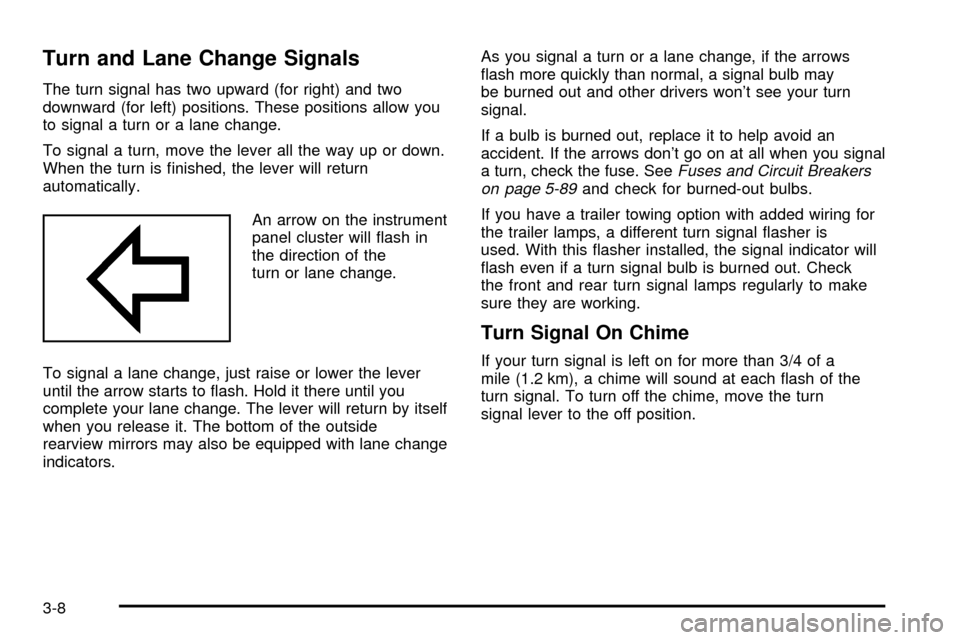
An arrow on the instrument
panel cluster will ¯ash in
the direction of the
turn or lane change.
To signal a lane change, just raise or lower the lever
until the arrow starts to ¯ash. Hold it there until you
complete your lane change. The lever will return by itself
when you release it. The bottom of the outside
rearview mirrors may also be equipped with lane change
indicators.As you signal a turn or a lane change, if the arrows
¯ash more quickly than normal, a signal bulb may
be burned out and other drivers won't see your turn
signal.
If a bulb is burned out, replace it to help avoid an
accident. If the arrows don't go on at all when you signal
a turn, check the fuse. See
Fuses and Circuit Breakers
on page 5-89and check for burned-out bulbs.
If you have a trailer towing option with added wiring for
the trailer lamps, a different turn signal ¯asher is
used. With this ¯asher installed, the signal indicator will
¯ash even if a turn signal bulb is burned out. Check
the front and rear turn signal lamps regularly to make
sure they are working.
Turn Signal On Chime
If your turn signal is left on for more than 3/4 of a
mile (1.2 km), a chime will sound at each ¯ash of the
turn signal. To turn off the chime, move the turn
signal lever to the off position.
3-8
Page 156 of 436
Tachometer
The tachometer displays the engine speed in revolutions
per minute (rpm).
Notice:If you operate the engine with the
tachometer in the shaded warning area, your vehicle
could be damaged, and the damages would not
be covered by your warranty. Do not operate
the engine with the tachometer in the shaded
warning area.
Safety Belt Reminder Light
When the key is turned to RUN, a chime will come on
for several seconds to remind people to fasten their
safety belts, unless the driver's safety belt is already
buckled.
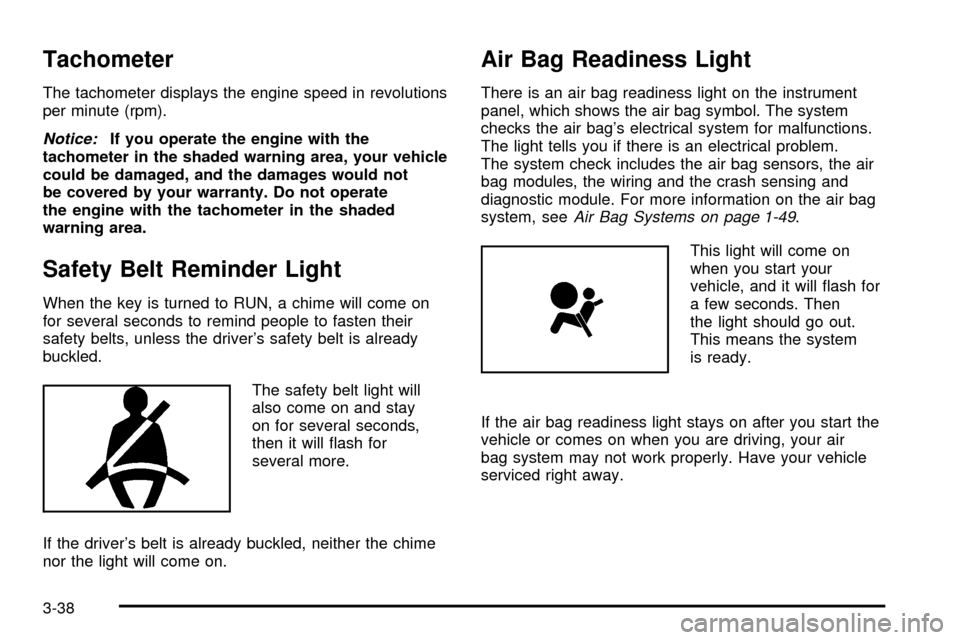
The safety belt light will
also come on and stay
on for several seconds,
then it will ¯ash for
several more.
If the driver's belt is already buckled, neither the chime
nor the light will come on.
Air Bag Readiness Light
There is an air bag readiness light on the instrument
panel, which shows the air bag symbol. The system
checks the air bag's electrical system for malfunctions.
The light tells you if there is an electrical problem.
The system check includes the air bag sensors, the air
bag modules, the wiring and the crash sensing and
diagnostic module. For more information on the air bag
system, see
Air Bag Systems on page 1-49.
This light will come on
when you start your
vehicle, and it will ¯ash for
a few seconds. Then
the light should go out.
This means the system
is ready.
If the air bag readiness light stays on after you start the
vehicle or comes on when you are driving, your air
bag system may not work properly. Have your vehicle
serviced right away.
3-38
Page 286 of 436
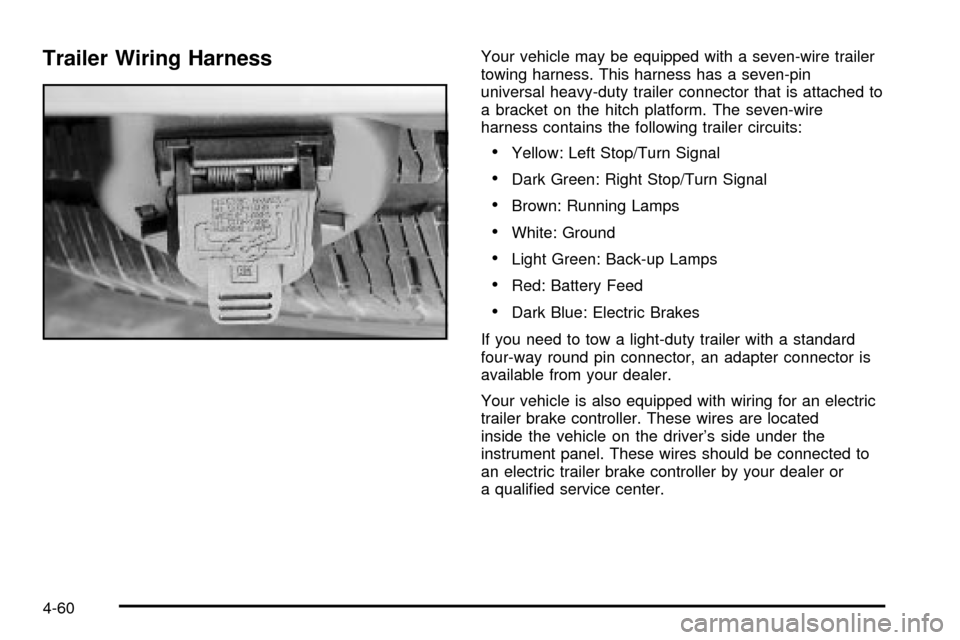
Trailer Wiring HarnessYour vehicle may be equipped with a seven-wire trailer
towing harness. This harness has a seven-pin
universal heavy-duty trailer connector that is attached to
a bracket on the hitch platform. The seven-wire
harness contains the following trailer circuits:
·Yellow: Left Stop/Turn Signal
·Dark Green: Right Stop/Turn Signal
·Brown: Running Lamps
·White: Ground
·Light Green: Back-up Lamps
·Red: Battery Feed
·Dark Blue: Electric Brakes
If you need to tow a light-duty trailer with a standard
four-way round pin connector, an adapter connector is
available from your dealer.
Your vehicle is also equipped with wiring for an electric
trailer brake controller. These wires are located
inside the vehicle on the driver's side under the
instrument panel. These wires should be connected to
an electric trailer brake controller by your dealer or
a quali®ed service center.
4-60
Page 337 of 436
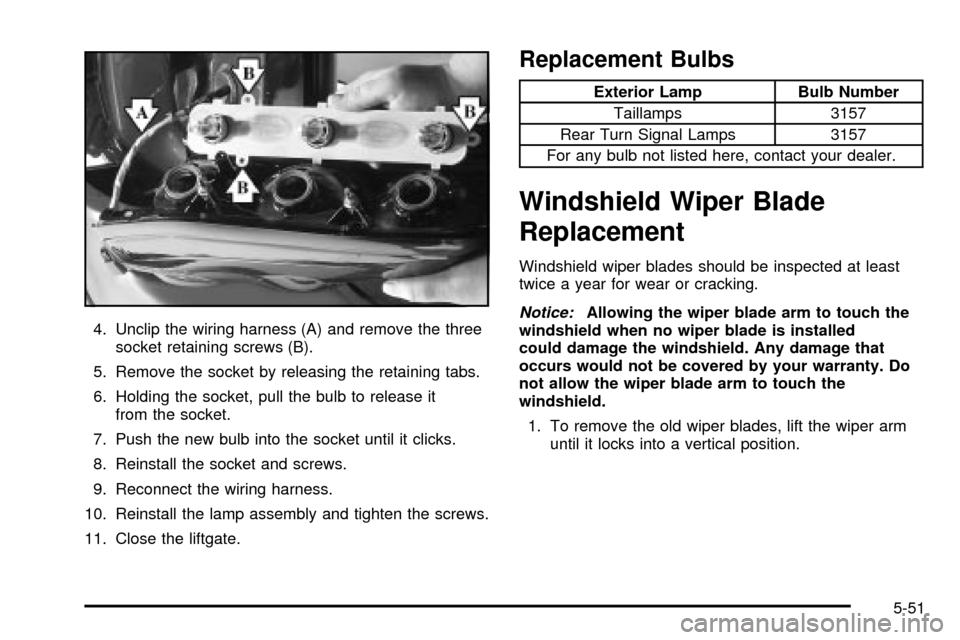
4. Unclip the wiring harness (A) and remove the three
socket retaining screws (B).
5. Remove the socket by releasing the retaining tabs.
6. Holding the socket, pull the bulb to release it
from the socket.
7. Push the new bulb into the socket until it clicks.
8. Reinstall the socket and screws.
9. Reconnect the wiring harness.
10. Reinstall the lamp assembly and tighten the screws.
11. Close the liftgate.
Replacement Bulbs
Exterior Lamp Bulb Number
Taillamps 3157
Rear Turn Signal Lamps 3157
For any bulb not listed here, contact your dealer.
Windshield Wiper Blade
Replacement
Windshield wiper blades should be inspected at least
twice a year for wear or cracking.
Notice:Allowing the wiper blade arm to touch the
windshield when no wiper blade is installed
could damage the windshield. Any damage that
occurs would not be covered by your warranty. Do
not allow the wiper blade arm to touch the
windshield.
1. To remove the old wiper blades, lift the wiper arm
until it locks into a vertical position.
5-51
Page 374 of 436

Electrical System
Add-On Electrical Equipment
Notice:Don't add anything electrical to your
vehicle unless you check with your dealer ®rst.
Some electrical equipment can damage your vehicle
and the damage wouldn't be covered by your
warranty. Some add-on electrical equipment can
keep other components from working as they
should.
Your vehicle has an air bag system. Before attempting
to add anything electrical to your vehicle, see
Servicing Your Air Bag-Equipped Vehicle on page 1-59.
Headlamps
The headlamp wiring is protected by four fuses. An
electrical overload will cause a lamp to go on and off. If
this happens, have your headlamp wiring checked
right away.
Windshield Wiper Fuses
The windshield wiper motor is protected by a circuit
breaker and a fuse. If the motor overheats due to heavy
snow or ice, the wiper will stop until the motor cools.
If the overload is caused by some electrical problem, be
sure to get it ®xed.
Power Windows and Other Power
Options
Circuit breakers protect the power windows and other
power accessories. When the current load is too heavy,
the circuit breaker opens and closes, protecting the
circuit until the problem is ®xed or goes away.
5-88
Page 375 of 436
Fuses and Circuit Breakers
The wiring circuits in your vehicle are protected from
short circuits by a combination of fuses and circuit
breakers. This greatly reduces the chance of ®res
caused by electrical problems.
Look at the silver-colored band inside the fuse. If the
band is broken or melted, replace the fuse. Be sure you
replace a bad fuse with a new one of the identical
size and rating.
If you ever have a problem on the road and don't have
a spare fuse, you can borrow one that has the same
amperage. Just pick some feature of your vehicle
that you can get along without Ð like the radio or
cigarette lighterÐ and use its fuse, if it is the correct
amperage. Replace it as soon as you can.
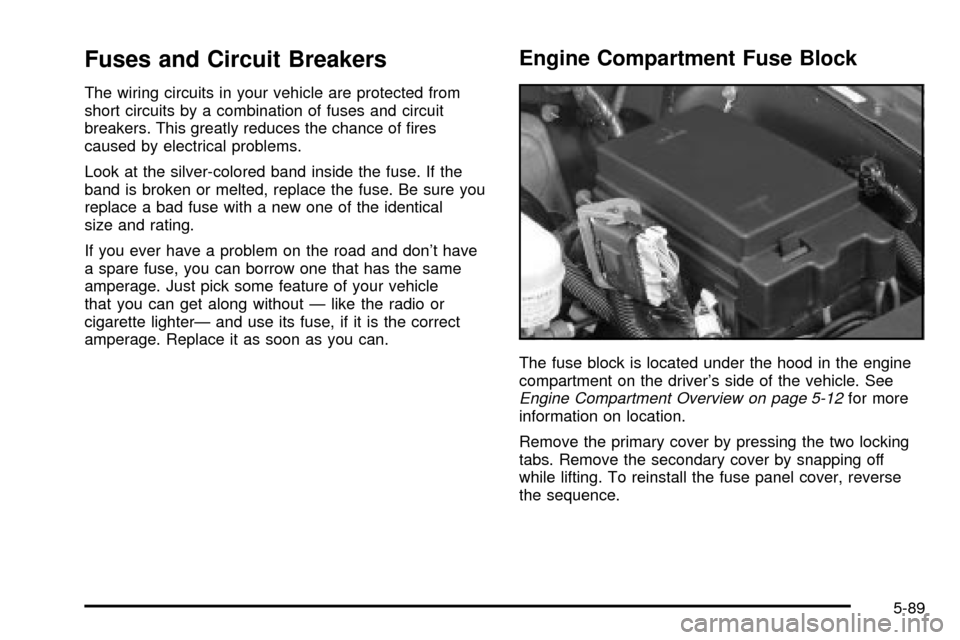
Engine Compartment Fuse Block
The fuse block is located under the hood in the engine
compartment on the driver's side of the vehicle. See
Engine Compartment Overview on page 5-12for more
information on location.
Remove the primary cover by pressing the two locking
tabs. Remove the secondary cover by snapping off
while lifting. To reinstall the fuse panel cover, reverse
the sequence.
5-89
Page 434 of 436

Steering in Emergencies..................................4-11
Steering, Suspension and Front Drive Axle Boot
and Seal Inspection.....................................6-16
Steering Tips..................................................4-10
Steering Wheel Climate Controls.......................3-34
Steering Wheel Controls, Audio.......................3-106
Steering........................................................4-10
Stereo RCA Jacks..........................................3-94
Storage Areas................................................2-49
Convenience Net.........................................2-49
Front Storage Area......................................2-44
Glove Box..................................................2-43
Luggage Carrier..........................................2-47
Overhead Console.......................................2-43
Rear Floor Storage Lid.................................2-48
Storing a Flat or Spare Tire and Tools...............5-75
Stuck in Sand, Mud, Ice or Snow......................4-42
Sun Visors.....................................................2-15
Sunglasses Storage Compartment.....................2-43
Sunroof.........................................................2-50
T
Table............................................................2-47
Tachometer....................................................3-38
Taillamps.......................................................5-50
Turn Signal Lamps......................................5-50
Testing the Alarm............................................2-17
Theft-Deterrent, Radio....................................3-105Theft-Deterrent Systems...................................2-16
Content Theft-Deterrent................................2-16
Passlock
ž...................................................2-18
Tilt Wheel........................................................ 3-7
Tire In¯ation Check.........................................6-11
Tires.............................................................5-54
Buying New Tires........................................5-58
Chains.......................................................5-62
Changing a Flat Tire....................................5-64
If a Tire Goes Flat.......................................5-63
In¯ation -- Tire Pressure...............................5-54
Inspection and Rotation................................5-55
Uniform Tire Quality Grading.........................5-59
Wheel Alignment and Tire Balance.................5-60
Wheel Replacement.....................................5-61
When It Is Time for New Tires......................5-57
To Use the Engine Coolant Heater....................2-21
Top Strap Anchor Location...............................1-39
Top Strap......................................................1-38
Torque Lock...................................................2-31
Total Weight on Your Vehicle's Tires..................4-54
Towing..........................................................4-44
Recreational Vehicle.....................................4-44
Towing a Trailer..........................................4-50
Your Vehicle...............................................4-44
Traction........................................................... 4-9
Assist System (TAS)...................................... 4-9
Trailer Brakes.................................................4-55
Trailer Wiring Harness.....................................4-60
TRANS HOT IDLE ENGINE.............................3-62
14