ECO CHEVROLET TRAVERSE 2016 1.G Workshop Manual
[x] Cancel search | Manufacturer: CHEVROLET, Model Year: 2016, Model line: TRAVERSE, Model: CHEVROLET TRAVERSE 2016 1.GPages: 392, PDF Size: 6.66 MB
Page 114 of 392
Chevrolet Traverse Owner Manual (GMNA-Localizing-U.S./Canada/Mexico-
9159264) - 2016 - crc - 8/17/15
Instruments and Controls 113
To calibrate the compass, use the
following procedure:
Compass Calibration Procedure1. Before calibrating the compass, make sure the compass zone
is set to the variance zone in
which the vehicle is located.
See “Compass Variance (Zone)
Procedure” earlier in this
section.
Do not operate any switches
such as window, sunroof,
climate controls, seats, etc.
during the calibration
procedure.
2. Press the vehicle information button until PRESS
VTO
CALIBRATE COMPASS
displays.
3. Press the set/reset button to start the compass calibration.
4. The DIC will display CALIBRATING: DRIVE IN
CIRCLES. Drive the vehicle in
tight circles at less than 8 km/h
(5 mph) to complete the
calibration. The DIC will display
CALIBRATION COMPLETE for a few seconds when the
calibration is complete. The
DIC display will then return to
the previous menu.
Clock (Radio without
Touchscreen)
To adjust the time and date:
1. Turn the ignition key to ACC/ ACCESSORY or ON/RUN,
then press
Oto turn the
radio on.
2. Press
Hto display HR, MIN,
MM, DD, YYYY (hour, minute,
month, day, and year).
3. Press the pushbutton located under any one of the labels to
be changed.
4. To increase the time or date, do one of the following:
.Press the pushbutton below
the selected label.
. Press
¨SEEK.
. Press
\FWD.
. Turn
fclockwise. 5. To decrease the time or date,
do one of the following:
.Press
©SEEK.
. Press
sREV.
. Turn
fcounterclockwise.
To change the time default setting
from 12 hour to 24 hour or to
change the date default setting from
month/day/year to day/month/year:
1. Press
Hand then the
pushbutton located under the
forward arrow that displays on
the radio screen until the time
12H (hour) and 24H (hour), and
the date MM/DD (month and
day) and DD/MM (day and
month) display.
2. Press the pushbutton located under the desired option.
3. Press
Hagain to apply the
selected default, or let the
screen time out.
Page 117 of 392
Chevrolet Traverse Owner Manual (GMNA-Localizing-U.S./Canada/Mexico-
9159264) - 2016 - crc - 8/17/15
116 Instruments and Controls
Warning Lights,
Gauges, and
Indicators
Warning lights and gauges can
signal that something is wrong
before it becomes serious enough
to cause an expensive repair or
replacement. Paying attention to the
warning lights and gauges could
prevent injury.
Some warning lights come on briefly
when the engine is started to
indicate they are working. When
one of the warning lights comes on
and stays on while driving, or when
one of the gauges shows there may
be a problem, check the section that
explains what to do. Waiting to do
repairs can be costly and even
dangerous.
Page 121 of 392
Chevrolet Traverse Owner Manual (GMNA-Localizing-U.S./Canada/Mexico-
9159264) - 2016 - crc - 8/17/15
120 Instruments and Controls
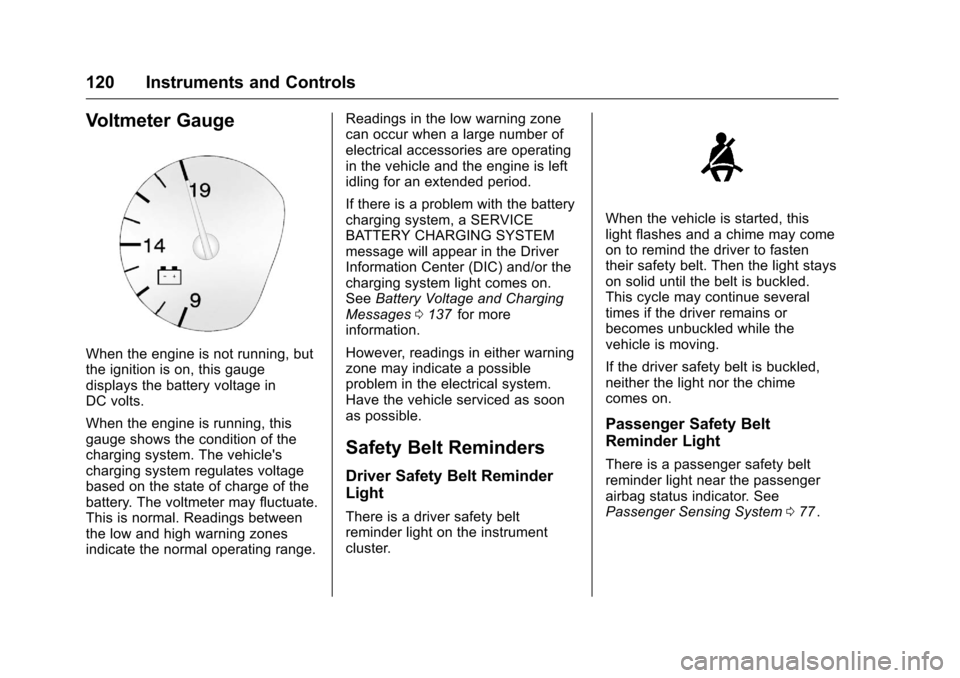
Voltmeter Gauge
When the engine is not running, but
the ignition is on, this gauge
displays the battery voltage in
DC volts.
When the engine is running, this
gauge shows the condition of the
charging system. The vehicle's
charging system regulates voltage
based on the state of charge of the
battery. The voltmeter may fluctuate.
This is normal. Readings between
the low and high warning zones
indicate the normal operating range.Readings in the low warning zone
can occur when a large number of
electrical accessories are operating
in the vehicle and the engine is left
idling for an extended period.
If there is a problem with the battery
charging system, a SERVICE
BATTERY CHARGING SYSTEM
message will appear in the Driver
Information Center (DIC) and/or the
charging system light comes on.
See
Battery Voltage and Charging
Messages 0137
iifor more
information.
However, readings in either warning
zone may indicate a possible
problem in the electrical system.
Have the vehicle serviced as soon
as possible.
Safety Belt Reminders
Driver Safety Belt Reminder
Light
There is a driver safety belt
reminder light on the instrument
cluster.
When the vehicle is started, this
light flashes and a chime may come
on to remind the driver to fasten
their safety belt. Then the light stays
on solid until the belt is buckled.
This cycle may continue several
times if the driver remains or
becomes unbuckled while the
vehicle is moving.
If the driver safety belt is buckled,
neither the light nor the chime
comes on.
Passenger Safety Belt
Reminder Light
There is a passenger safety belt
reminder light near the passenger
airbag status indicator. See
Passenger Sensing System 077
ii.
Page 122 of 392
Chevrolet Traverse Owner Manual (GMNA-Localizing-U.S./Canada/Mexico-
9159264) - 2016 - crc - 8/17/15
Instruments and Controls 121
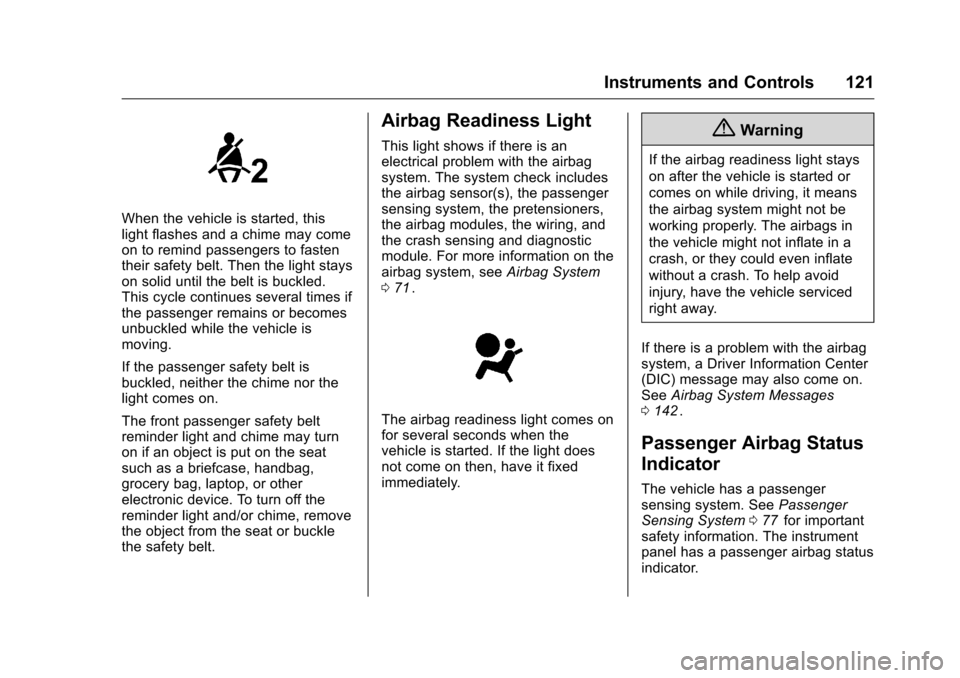
When the vehicle is started, this
light flashes and a chime may come
on to remind passengers to fasten
their safety belt. Then the light stays
on solid until the belt is buckled.
This cycle continues several times if
the passenger remains or becomes
unbuckled while the vehicle is
moving.
If the passenger safety belt is
buckled, neither the chime nor the
light comes on.
The front passenger safety belt
reminder light and chime may turn
on if an object is put on the seat
such as a briefcase, handbag,
grocery bag, laptop, or other
electronic device. To turn off the
reminder light and/or chime, remove
the object from the seat or buckle
the safety belt.
Airbag Readiness Light
This light shows if there is an
electrical problem with the airbag
system. The system check includes
the airbag sensor(s), the passenger
sensing system, the pretensioners,
the airbag modules, the wiring, and
the crash sensing and diagnostic
module. For more information on the
airbag system, seeAirbag System
0 71
ii.
The airbag readiness light comes on
for several seconds when the
vehicle is started. If the light does
not come on then, have it fixed
immediately.
{Warning
If the airbag readiness light stays
on after the vehicle is started or
comes on while driving, it means
the airbag system might not be
working properly. The airbags in
the vehicle might not inflate in a
crash, or they could even inflate
without a crash. To help avoid
injury, have the vehicle serviced
right away.
If there is a problem with the airbag
system, a Driver Information Center
(DIC) message may also come on.
See Airbag System Messages
0 142
ii.
Passenger Airbag Status
Indicator
The vehicle has a passenger
sensing system. See Passenger
Sensing System 077
iifor important
safety information. The instrument
panel has a passenger airbag status
indicator.
Page 123 of 392
Chevrolet Traverse Owner Manual (GMNA-Localizing-U.S./Canada/Mexico-
9159264) - 2016 - crc - 8/17/15
122 Instruments and Controls
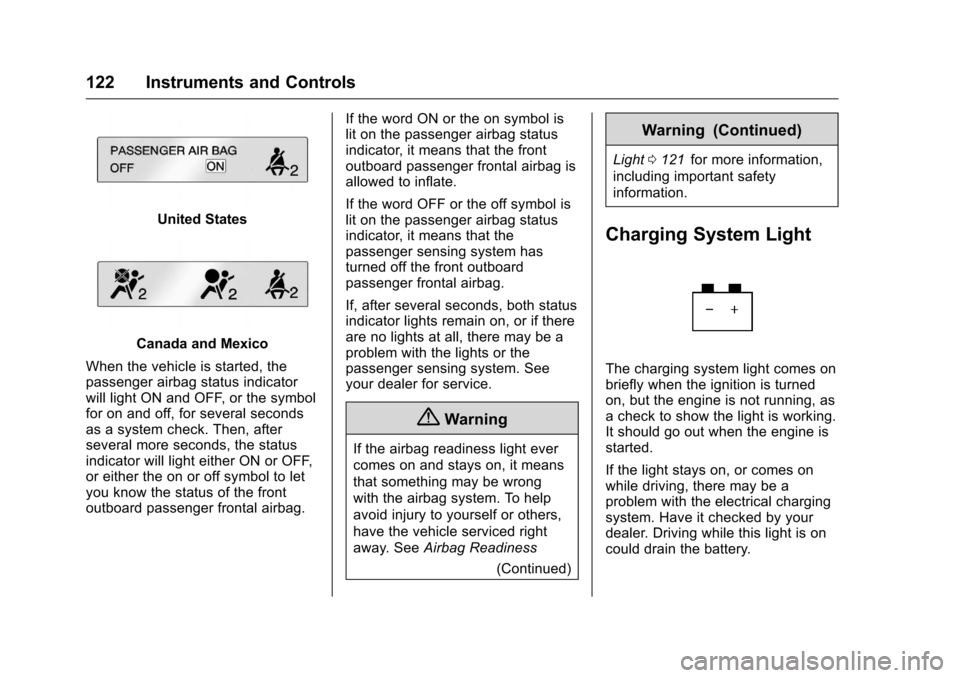
United States
Canada and Mexico
When the vehicle is started, the
passenger airbag status indicator
will light ON and OFF, or the symbol
for on and off, for several seconds
as a system check. Then, after
several more seconds, the status
indicator will light either ON or OFF,
or either the on or off symbol to let
you know the status of the front
outboard passenger frontal airbag. If the word ON or the on symbol is
lit on the passenger airbag status
indicator, it means that the front
outboard passenger frontal airbag is
allowed to inflate.
If the word OFF or the off symbol is
lit on the passenger airbag status
indicator, it means that the
passenger sensing system has
turned off the front outboard
passenger frontal airbag.
If, after several seconds, both status
indicator lights remain on, or if there
are no lights at all, there may be a
problem with the lights or the
passenger sensing system. See
your dealer for service.
{Warning
If the airbag readiness light ever
comes on and stays on, it means
that something may be wrong
with the airbag system. To help
avoid injury to yourself or others,
have the vehicle serviced right
away. See
Airbag Readiness
(Continued)
Warning (Continued)
Light0121iifor more information,
including important safety
information.
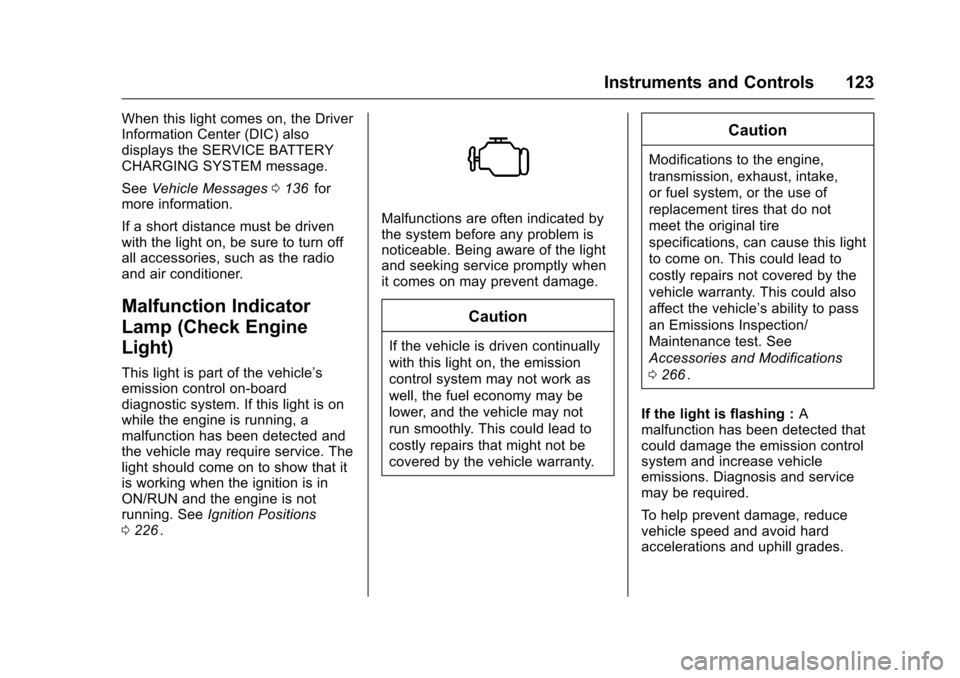
Charging System Light
The charging system light comes on
briefly when the ignition is turned
on, but the engine is not running, as
a check to show the light is working.
It should go out when the engine is
started.
If the light stays on, or comes on
while driving, there may be a
problem with the electrical charging
system. Have it checked by your
dealer. Driving while this light is on
could drain the battery.
Page 124 of 392
Chevrolet Traverse Owner Manual (GMNA-Localizing-U.S./Canada/Mexico-
9159264) - 2016 - crc - 8/17/15
Instruments and Controls 123
When this light comes on, the Driver
Information Center (DIC) also
displays the SERVICE BATTERY
CHARGING SYSTEM message.
SeeVehicle Messages 0136
iifor
more information.
If a short distance must be driven
with the light on, be sure to turn off
all accessories, such as the radio
and air conditioner.
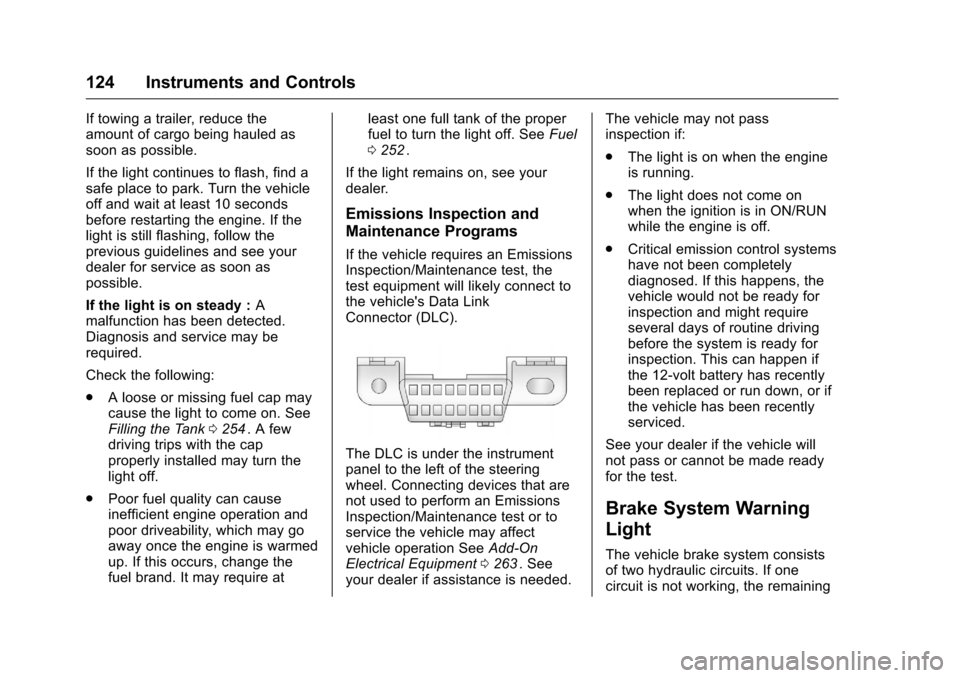
Malfunction Indicator
Lamp (Check Engine
Light)
This light is part of the vehicle’s
emission control on-board
diagnostic system. If this light is on
while the engine is running, a
malfunction has been detected and
the vehicle may require service. The
light should come on to show that it
is working when the ignition is in
ON/RUN and the engine is not
running. See Ignition Positions
0 226
ii.
Malfunctions are often indicated by
the system before any problem is
noticeable. Being aware of the light
and seeking service promptly when
it comes on may prevent damage.
Caution
If the vehicle is driven continually
with this light on, the emission
control system may not work as
well, the fuel economy may be
lower, and the vehicle may not
run smoothly. This could lead to
costly repairs that might not be
covered by the vehicle warranty.
Caution
Modifications to the engine,
transmission, exhaust, intake,
or fuel system, or the use of
replacement tires that do not
meet the original tire
specifications, can cause this light
to come on. This could lead to
costly repairs not covered by the
vehicle warranty. This could also
affect the vehicle’s ability to pass
an Emissions Inspection/
Maintenance test. See
Accessories and Modifications
0266
ii.
If the light is flashing : A
malfunction has been detected that
could damage the emission control
system and increase vehicle
emissions. Diagnosis and service
may be required.
To help prevent damage, reduce
vehicle speed and avoid hard
accelerations and uphill grades.
Page 125 of 392
Chevrolet Traverse Owner Manual (GMNA-Localizing-U.S./Canada/Mexico-
9159264) - 2016 - crc - 8/17/15
124 Instruments and Controls
If towing a trailer, reduce the
amount of cargo being hauled as
soon as possible.
If the light continues to flash, find a
safe place to park. Turn the vehicle
off and wait at least 10 seconds
before restarting the engine. If the
light is still flashing, follow the
previous guidelines and see your
dealer for service as soon as
possible.
If the light is on steady :A
malfunction has been detected.
Diagnosis and service may be
required.
Check the following:
. A loose or missing fuel cap may
cause the light to come on. See
Filling the Tank 0254
ii. A few
driving trips with the cap
properly installed may turn the
light off.
. Poor fuel quality can cause
inefficient engine operation and
poor driveability, which may go
away once the engine is warmed
up. If this occurs, change the
fuel brand. It may require at least one full tank of the proper
fuel to turn the light off. See
Fuel
0 252
ii.
If the light remains on, see your
dealer.
Emissions Inspection and
Maintenance Programs
If the vehicle requires an Emissions
Inspection/Maintenance test, the
test equipment will likely connect to
the vehicle's Data Link
Connector (DLC).
The DLC is under the instrument
panel to the left of the steering
wheel. Connecting devices that are
not used to perform an Emissions
Inspection/Maintenance test or to
service the vehicle may affect
vehicle operation See Add-On
Electrical Equipment 0263
ii. See
your dealer if assistance is needed. The vehicle may not pass
inspection if:
.
The light is on when the engine
is running.
. The light does not come on
when the ignition is in ON/RUN
while the engine is off.
. Critical emission control systems
have not been completely
diagnosed. If this happens, the
vehicle would not be ready for
inspection and might require
several days of routine driving
before the system is ready for
inspection. This can happen if
the 12-volt battery has recently
been replaced or run down, or if
the vehicle has been recently
serviced.
See your dealer if the vehicle will
not pass or cannot be made ready
for the test.
Brake System Warning
Light
The vehicle brake system consists
of two hydraulic circuits. If one
circuit is not working, the remaining
Page 131 of 392
Chevrolet Traverse Owner Manual (GMNA-Localizing-U.S./Canada/Mexico-
9159264) - 2016 - crc - 8/17/15
130 Instruments and Controls
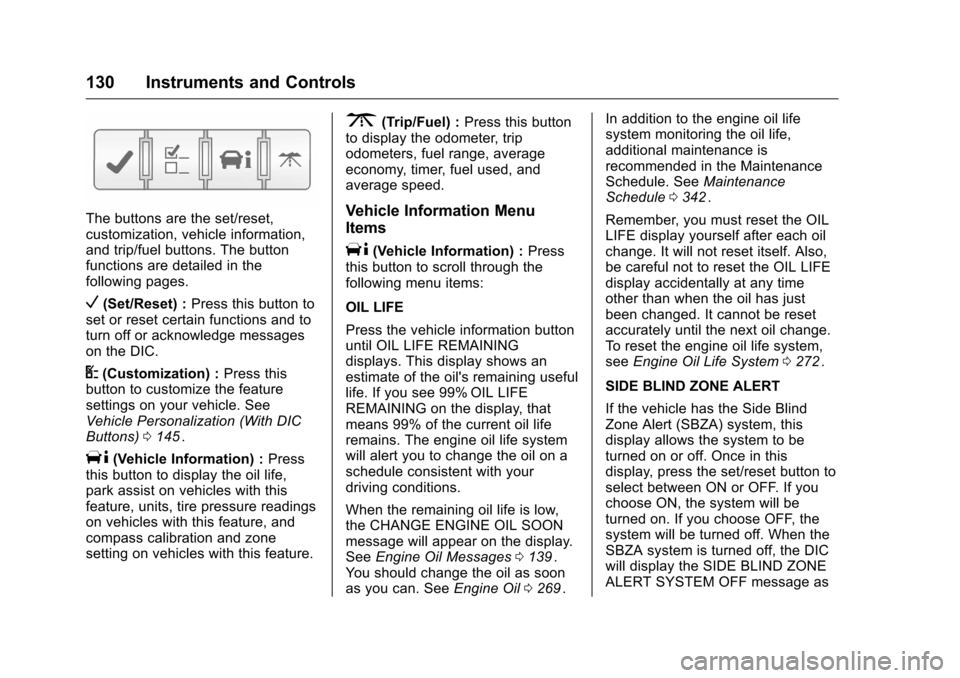
The buttons are the set/reset,
customization, vehicle information,
and trip/fuel buttons. The button
functions are detailed in the
following pages.
V(Set/Reset) :Press this button to
set or reset certain functions and to
turn off or acknowledge messages
on the DIC.
U(Customization) : Press this
button to customize the feature
settings on your vehicle. See
Vehicle Personalization (With DIC
Buttons) 0145
ii.
T(Vehicle Information) : Press
this button to display the oil life,
park assist on vehicles with this
feature, units, tire pressure readings
on vehicles with this feature, and
compass calibration and zone
setting on vehicles with this feature.
3(Trip/Fuel) : Press this button
to display the odometer, trip
odometers, fuel range, average
economy, timer, fuel used, and
average speed.
Vehicle Information Menu
Items
T(Vehicle Information) : Press
this button to scroll through the
following menu items:
OIL LIFE
Press the vehicle information button
until OIL LIFE REMAINING
displays. This display shows an
estimate of the oil's remaining useful
life. If you see 99% OIL LIFE
REMAINING on the display, that
means 99% of the current oil life
remains. The engine oil life system
will alert you to change the oil on a
schedule consistent with your
driving conditions.
When the remaining oil life is low,
the CHANGE ENGINE OIL SOON
message will appear on the display.
See Engine Oil Messages 0139
ii.
You should change the oil as soon
as you can. See Engine Oil0269
ii. In addition to the engine oil life
system monitoring the oil life,
additional maintenance is
recommended in the Maintenance
Schedule. See
Maintenance
Schedule 0342
ii.
Remember, you must reset the OIL
LIFE display yourself after each oil
change. It will not reset itself. Also,
be careful not to reset the OIL LIFE
display accidentally at any time
other than when the oil has just
been changed. It cannot be reset
accurately until the next oil change.
To reset the engine oil life system,
see Engine Oil Life System 0272
ii.
SIDE BLIND ZONE ALERT
If the vehicle has the Side Blind
Zone Alert (SBZA) system, this
display allows the system to be
turned on or off. Once in this
display, press the set/reset button to
select between ON or OFF. If you
choose ON, the system will be
turned on. If you choose OFF, the
system will be turned off. When the
SBZA system is turned off, the DIC
will display the SIDE BLIND ZONE
ALERT SYSTEM OFF message as
Page 133 of 392
Chevrolet Traverse Owner Manual (GMNA-Localizing-U.S./Canada/Mexico-
9159264) - 2016 - crc - 8/17/15
132 Instruments and Controls
COMPASS ZONE SETTING
This display will be available if the
vehicle has a compass. See
Compass0111
ii.
COMPASS RECALIBRATION
This display will be available if the
vehicle has a compass. See
Compass 0111
ii.
Blank Display
This display shows no information.
Trip/Fuel Menu Items
3(Trip/Fuel) : Press this button
to scroll through the following menu
items:
ODOMETER
Press the trip/fuel button until
ODOMETER displays. This display
shows the distance the vehicle has
been driven in either kilometers (km)
or miles (mi). Pressing the trip
odometer reset stem will also
display the odometer.
To switch between English and
metric measurements, see “UNITS”
earlier in this section. TRIP A and TRIP B
Press the trip/fuel button until
TRIP A or TRIP B displays. This
display shows the current distance
traveled in either kilometers (km) or
miles (mi) since the last reset for
each trip odometer. Both trip
odometers can be used at the same
time. Pressing the trip odometer
reset stem will also display the trip
odometers.
Each trip odometer can be reset to
zero separately by pressing the set/
reset button or the trip odometer
reset stem while the desired trip
odometer is displayed.
The trip odometer has a feature
called retroactive reset. This can be
used to set the trip odometer to the
number of kilometers (miles) driven
since the ignition was last turned on.
This can be used if the trip
odometer is not reset at the
beginning of the trip.
To use the retroactive reset feature,
press and hold the set/reset button
for at least four seconds. The trip
odometer will display the number of
kilometers (km) or miles (mi) drivensince the ignition was last turned on
and the vehicle was moving. Once
the vehicle begins moving, the trip
odometer will accumulate mileage.
For example, if the vehicle was
driven 8 km (5 mi) before it is started
again, and then the retroactive reset
feature is activated, the display will
show 8 km (5 mi). As the vehicle
begins moving, the display will then
increase to 8.2 km (5.1 mi), 8.4 km
(5.2 mi), etc.
If the retroactive reset feature is
activated after the vehicle is started,
but before it begins moving, the
display will show the number of
kilometers (km) or miles (mi) driven
during the last ignition cycle.
RANGE
Press the trip/fuel button until
RANGE displays. This display
shows the approximate number of
remaining kilometers (km) or
miles (mi) the vehicle can be driven
without refueling. The display will
show LOW if the fuel level is low.
The fuel range estimate is based on
an average of the vehicle's fuel
economy over recent driving history
Page 134 of 392
Chevrolet Traverse Owner Manual (GMNA-Localizing-U.S./Canada/Mexico-
9159264) - 2016 - crc - 8/17/15
Instruments and Controls 133
and the amount of fuel remaining in
the fuel tank. This estimate will
change if driving conditions change.
For example, if driving in traffic and
making frequent stops, this display
may read one number, but if the
vehicle is driven on a freeway, the
number may change even though
the same amount of fuel is in the
fuel tank. This is because different
driving conditions produce different
fuel economies. Generally, freeway
driving produces better fuel
economy than city driving. Fuel
range cannot be reset.
AVG (Average) ECONOMY
Press the trip/fuel button until AVG
ECONOMY displays. This display
shows the approximate average
liters per 100 kilometers (L/100 km)
or miles per gallon (mpg). This
number reflects only the
approximate average fuel economy
that the vehicle has right now, and
will change as driving conditions
change. This number is calculated
based on the number of L/100 km
(mpg) recorded since the last timethis menu item was reset. To reset
AVG ECONOMY, press and hold the
set/reset button.
FUEL ECONOMY
Press the trip/fuel button until FUEL
ECONOMY displays. The FUEL
ECONOMY display shows an
approximate estimate of the vehicle
fuel economy under a given driving
condition at a specific moment. For
example, if the vehicle is
accelerating and achieving low fuel
efficiency this display will show
fewer bars, but if the vehicle is
cruising on a flat freeway and
getting high fuel efficiency, the
display will show more bars. Fuel
economy cannot be reset.
TIMER
Press the trip/fuel button until
TIMER displays. This display can be
used as a timer.
To start the timer, press the set/
reset button while TIMER is
displayed. The display will show the
amount of time that has passed
since the timer was last reset, not
including time the ignition is off.Time will continue to be counted as
long as the ignition is on, even if
another display is being shown on
the DIC. The timer will record up to
99 hours, 59 minutes and
59 seconds (99:59:59) after which
the display will return to zero.
To stop the timer, press the set/reset
button briefly while TIMER is
displayed.
To reset the timer to zero, press and
hold the set/reset button while
TIMER is displayed.
FUEL USED
Press the trip/fuel button until FUEL
USED displays. This display shows
the number of liters (L) or
gallons (gal) of fuel used since the
last reset of this menu item. To reset
the fuel used information, press and
hold the set/reset button while FUEL
USED is displayed.
AVG (Average) SPEED
Press the trip/fuel button until AVG
SPEED displays. This display
shows the average speed of the
vehicle in kilometers per hour (km/h)
or miles per hour (mph). This