U connect CHRYSLER 200 2015 2.G Workshop Manual
[x] Cancel search | Manufacturer: CHRYSLER, Model Year: 2015, Model line: 200, Model: CHRYSLER 200 2015 2.GPages: 220, PDF Size: 3.7 MB
Page 97 of 220
Media
Uconnect® offers connections via USB, SD, Bluetooth® and auxiliary ports (If Equipped). Voice
operation is only available for connected USB and iPod® devices. (Remote CD player optional
and not available on all vehicles.)
Push the VR button
. After the beep, say one of the following commands and follow the
prompts to switch your media source or choose an artist.
• Change source to Bluetooth®
• Change source to iPod®
• Change source to USB
• Play artist Beethoven; Play album Greatest Hits; Play songMoonlight Sonata; Play genre
Classical
TIP: Press the Browse button on the touchscreen to see all of the music on your iPod® or USB
device. Your Voice Command must match exactlyhow the artist, album, song and genre
information is displayed.
Uconnect® 5.0 Media
ELECTRONICS
95
Page 98 of 220
Phone
Making and answering hands-free phone calls is easy with Uconnect®. When the Phonebook
button is illuminated on your touchscreen, your system is ready.
U.S. residents can visit UconnectPhone.com to check mobile device and feature compatibility
and to find phone pairing instructions.
Push the Phone button
. After the beep, say one of the following commands…
• Call John Smith
• Dial 123-456-7890 and follow the system prompts
• Redial (call previous outgoing phone number)
• Call back (call previous incoming phone number)
TIP: When providing a Voice Command, press the Phone button
and say “Call,”then
pronounce the name exactlyas it appears in your phone book. When a contact has multiple
phone numbers, you can say “CallJohn Smith work.”
Uconnect® 5.0 Phone
ELECTRONICS
96
Page 99 of 220
Voice Text Reply
Uconnect® will announceincomingtext messages. Push the Phone buttonand sayListen.
(Must have compatible mobile phone paired to Uconnect® system.)
1. Once an incoming text message is read to you, push the Phone button
. After the beep,
say: Reply
2. Listen to the Uconnect® prompts. After the beep, repeat one of the pre-defined messages and follow the system prompts.
TIP: Your mobile phone must have the full implementation of the Message Access Profile
(MAP) to take advantage of this feature. For details about MAP, visit UconnectPhone.com for
U.S. residents. Apple iPhone® iOS6 or later supports reading incomingtext messages only.
PRE-DEFINED VOICE TEXT REPLY RESPONSES
Yes. Stuck in Traffic. See you later.
No. Start without me. I’ll be Late.
Okay. Where are you?
I will be
Call me. Are you there yet?
I’ll call you later. I need directions.
See you in
minutes.
I’m on my way.
Can’t talk right now.
I’m lost. Thanks.
Additional Information
© 2014 Chrysler Group LLC. All rights reserved. Mopar, Mopar Owner Connect and Uconnect
are registered trademarks of Chrysler Group LLC. Android is a trademark of Google Inc.
SiriusXM and all related marks and logos are trademarks of SiriusXM Radio Inc. Yelp, Yelp logo,
Yelp burst and related marks are registered trademarks of Yelp.
DriveUconnect.com
DriveUconnect.ca
Uconnect® System Support:
• U.S residents call: 1-877-855-8400
• Canadian residents call: 1-800-465-2001 (English) or 1-800-387-9983 (French)
Mon. – Fri., 7:00 am – 12:00 am, ET
Sat., 8:00 am – 10:00 pm, ET
Sun., 9:00 am – 5:00 pm, ET
Uconnect® Access Services Support 1-855-792-4241. Please have your Uconnect® Security PIN
ready when you call.
ELECTRONICS
97
Page 100 of 220
Uconnect® 8.4A
Uconnect® 8.4A — If Equipped
At A Glance
Displaying The Time
• If the time is not currently displayed on the radio or player main page, press the “Controls”button on the touchscreen or the “Apps” button on the touchscreen, then the “Settings”
button on the touchscreen. In the Settings list, press the “Clock” button on the touchscreen.
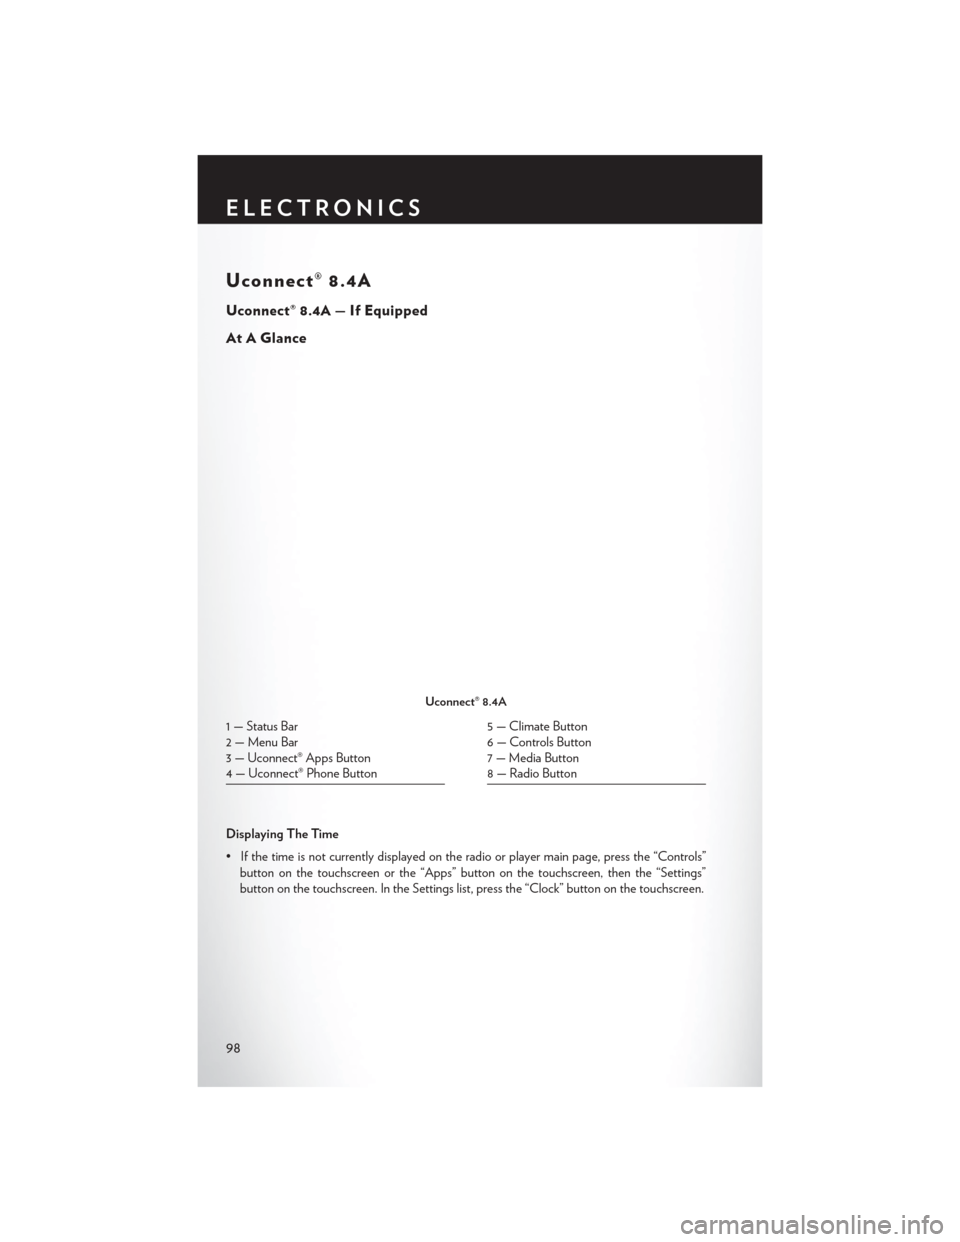
Uconnect® 8.4A
1 — Status Bar
2 — Menu Bar
3 — Uconnect® Apps Button
4 — Uconnect® Phone Button5 — Climate Button
6 — Controls Button
7 — Media Button
8 — Radio Button
ELECTRONICS
98
Page 102 of 220
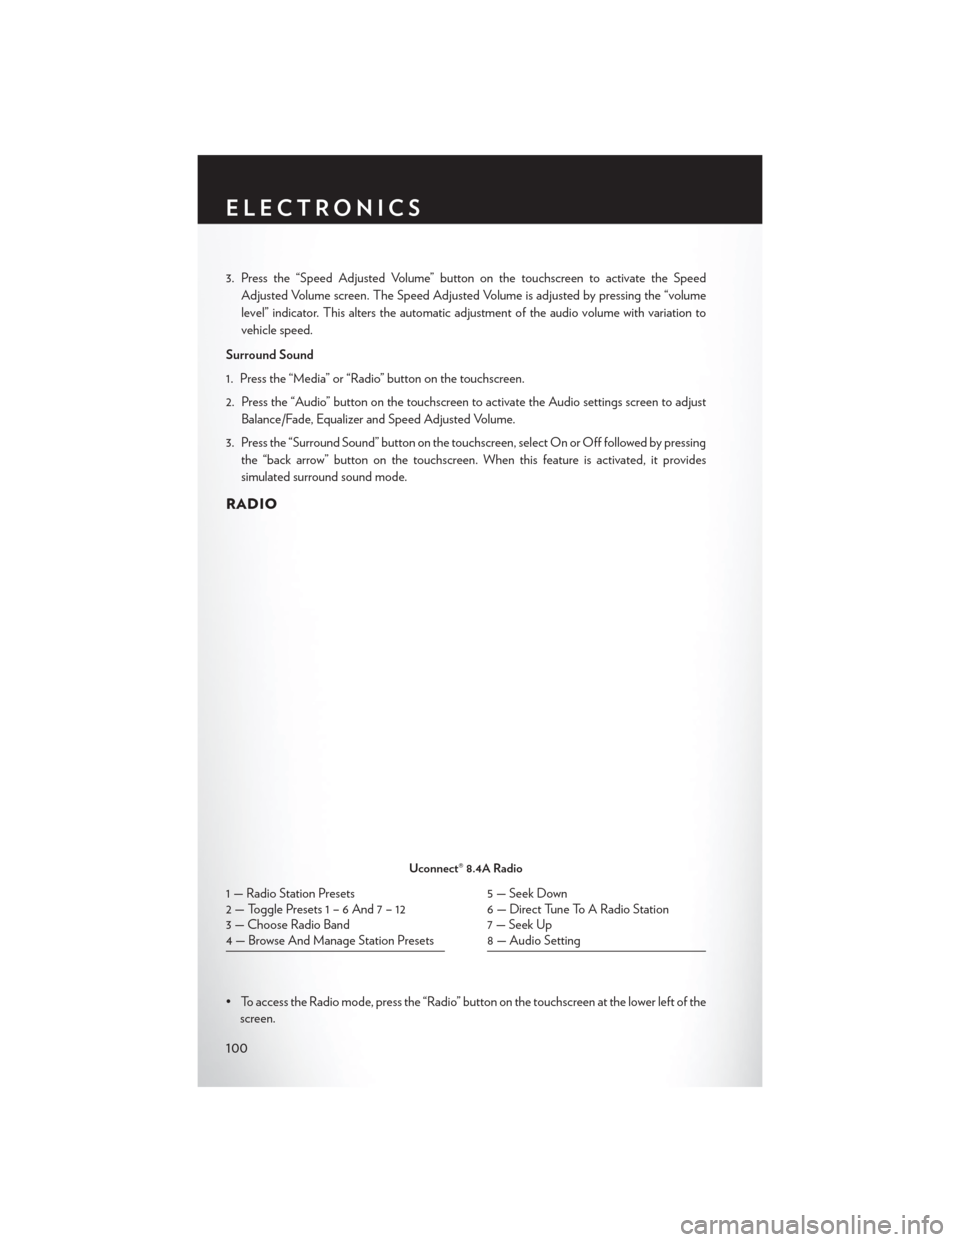
3. Press the “Speed Adjusted Volume” button on the touchscreen to activate the SpeedAdjusted Volume screen. The Speed Adjusted Volume is adjusted by pressing the “volume
level” indicator. This alters the automatic adjustment of the audio volume with variation to
vehicle speed.
Surround Sound
1. Press the “Media” or “Radio” button on the touchscreen.
2. Press the “Audio” button on the touchscreen to activate the Audio settings screen to adjust Balance/Fade, Equalizer and Speed Adjusted Volume.
3. Press the “Surround Sound” button on the touchscreen, select On or Off followed by pressing the “back arrow” button on the touchscreen. When this feature is activated, it provides
simulated surround sound mode.
RADIO
• To access the Radio mode, press the “Radio” button on the touchscreen at the lower left of thescreen.
Uconnect® 8.4A Radio
1 — Radio Station Presets
2 — Toggle Presets1–6And7–12
3 — Choose Radio Band
4 — Browse And Manage Station Presets5 — Seek Down
6 — Direct Tune To A Radio Station
7 — Seek Up
8 — Audio Setting
ELECTRONICS
100
Page 105 of 220
Replay
Lets you replay up to 44 minutes of the content of the current SiriusXM channel.
Replay
OptionOption Description
Play/Pause Press to Pause content playback. Press Pause/Play again to resume playback.
Rewind/RW Rewinds the channel content in steps of five seconds. Press and hold to rewind continuously, then release to begin playing content at that point.
Fast
Forward/FW Forwards the content, and works similarly to Rewind/RW. However, Fast
Forward/FW can only be used when content has been previously rewound.
Replay Time Displays the amount of time in the upper center of the screen by which your content lags the Live channel.
Live Resumes playback of Live content at any time while replaying rewound content.
SiriusXM services require subscriptions, sold separately after the 12-month trial included with the
new vehicle purchase. If you decide to continue your service at the end of your trial subscrip-
tion, the plan you choose will automatically renew and bill at then-current rates until you call
SiriusXM at 1-866-635-2349 for U.S. residents and 1-888-539-7474 for Canadian residents
to cancel. See SiriusXM Customer Agreement for complete terms at www.siriusxm.com for
U.S. residents and www.siriusxm.ca for Canadian residents. All fees and programming subject
to change. Our satellite service is available only to those at least 18 and older in the 48 contiguous
USA and D.C. Our Sirius satellite service is also available in PR (with coverage limitations). Our
Internet radio service is available throughout our satellite service area and in AK and HI. © 2014
Sirius XM Radio Inc. Sirius, XM and all related marks and logos are trademarks of Sirius XM
Radio Inc.
MEDIA HUB — PLAYING iPod®/USB/MP3 DEVICES
There are many ways to play music from iPod®/MP3 players or USB devices through your
vehicle's sound system.
• Press your “Media” button on the touchscreen to begin.
USB Port
Connect your iPod® or compatible device using a USB cable into the USB Port. USB Memory
sticks with audio files can also be used. Audio from the device can be played on the vehicle's
sound system while providing metadata (artist, track title, album, etc.) information on the radio
display.
When connected, the iPod®/compatible USB device can be controlled using the radio or
Steering Wheel Audio Controls to play, skip to the next or previous track, browse, and list the
contents.
The iPod® battery charges when plugged into the USB port (if supported by the specific device).
To route the USB/iPod® cable out of the center console, use the access cut out.
ELECTRONICS
103
Page 106 of 220
NOTE:
• When connecting your iPod® device for the first time, the system may take several minutes toread your music, depending on the number of files. For example, the system will take
approximately five minutes for every 1000 songs loaded on the device. Also during the
reading process, the Shuffle and Browse functions will be disabled. This process is needed to
ensure the full use of your iPod® features and only happens the first time it is connected. After
the first time, the reading process of your iPod® will take considerably less time unless changes
are made or new songs are added to the playlist.
• The USB port supports certain Mini, Classic, Nano, Touch, and iPhone® devices. The USB port also supports playing music from compatible external USB Mass Storage Class memory
devices. Some iPod® software versions may not fully support the USB port features. Please visit
Apple’s website for iPod® software updates.
Audio Jack (AUX)
The AUX allows a portable device, such as an MP3 player or an iPod®, to be plugged into the
radio and utilize the vehicle’s sound system, using a 3.5 mm audio cable, to amplify the source and
play through the vehicle speakers.
• Pressing the “AUX” button on the touchscreen will change the mode to auxiliary device if the audio jack is connected, allowing the music from your portable device to be heard through the
vehicle's speakers. In order to activate the AUX, plug in the audio jack.
• The functions of the portable device are controlled using the device buttons. The volume may be controlled using the radio or portable device.
• To route the audio cable out of the center console, use the access cut out in the front of the console.
Bluetooth® Streaming Audio
If using a Bluetooth® - equipped device, you may also be able to stream music to your vehicle's
sound system. Your connected device must be Bluetooth-compatible, and paired with your
system (see Uconnect® Phone for pairing instructions).
• You can access the music from your connected Bluetooth® device by Pressing the “Bluetooth®” button on the touchscreen while in Media mode.
Uconnect® 8.4A & 8.4AN Media Hub (USB,
AUX Ports) Media Hub (USB,
AUX Ports) Remote USB Port
(Fully Functional) Remote USB
Port (Charging Only)
-SSO
S = Standard Equipment
O = Optional Equipment
ELECTRONICS
104
Page 107 of 220
iPod®/CD/AUX CONTROLS
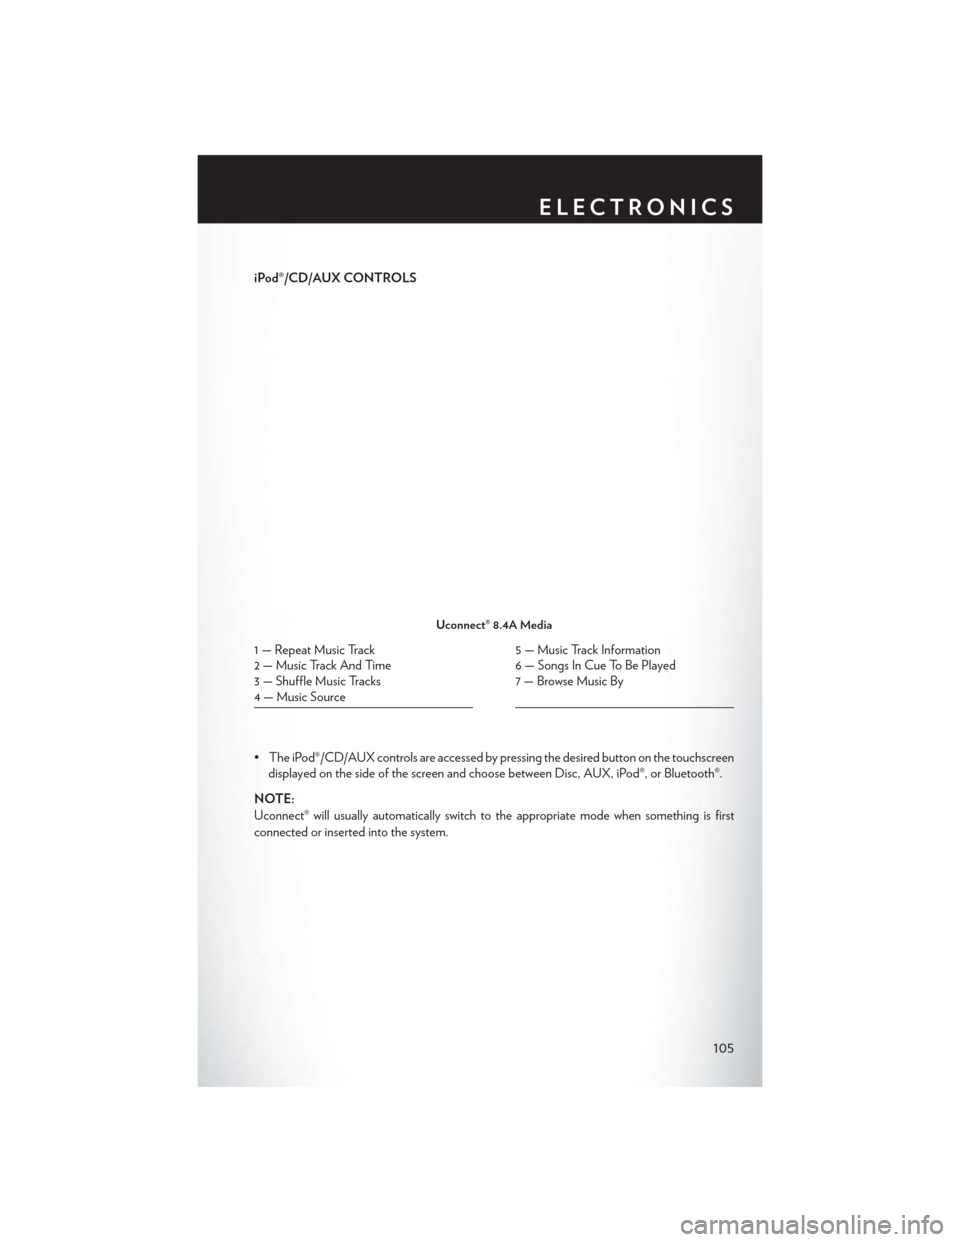
• The iPod®/CD/AUX controls are accessed by pressing the desired button on the touchscreendisplayed on the side of the screen and choose between Disc, AUX, iPod®, or Bluetooth®.
NOTE:
Uconnect® will usually automatically switch to the appropriate mode when something is first
connected or inserted into the system.
Uconnect® 8.4A Media
1 — Repeat Music Track
2 — Music Track And Time
3 — Shuffle Music Tracks
4 — Music Source5 — Music Track Information
6 — Songs In Cue To Be Played
7 — Browse Music By
ELECTRONICS
105
Page 108 of 220
NAVIGATION (DEALER-ACTIVATED OPTION)
Your Uconnect® 8.4A is “Navigation-Ready”, and can be equipped with Navigation at an extra
cost. Please see your dealer for details.
The information in the section below is only applicable if the Navigation has been activated.
Changing The Navigation Voice Prompt Volume
1. Press the “settings” button on the touchscreen.
2. In the Settings menu, press the “Guidance” button on the touchscreen.
3. In the Guidance menu, adjust the Nav Volume by pressing the “+” or “–” Nav VolumeAdjustment button on the touchscreens.
Uconnect® 8.4 Navigation
1 — Find A Destination
2 — View Map
3 — Information
4 — Emergency5 — Repeat Route Guidance Prompt
6 — Detour A Route
7 — Stop A Route
8 — Navigation Settings
ELECTRONICS
106
Page 110 of 220
Go Home
A Home location must be saved in the system. From the Main Navigation menu, press the
“Where To?” button on the touchscreen, then press the “Go Home” button on the touchscreen.
Your route is marked with a blue line on the map. If you depart from the original route, your route
is recalculated. A speed limit icon could appear as you travel on major roadways.
Adding A Stop
To add a stop you must be navigating a route.
• Press the “Menu” button on the touchscreen to return to the Main Navigation menu.
• Press the “Where To?” button on the touchscreen, then search for the extra stop. Whenanother location has been selected, you can choose to cancel your previous route, add as the
first destination or add as the last destination.
• Press the desired selection and press the “Yes” button on the touchscreen.
Uconnect® 8.4 Map
1 — Distance To Next Turn
2 — Next Turn Street
3 — Estimated Time Of Arrival
4 — Zoom In And Out5 — Your Location On The Map
6 — Navigation Main Menu
7 — Current Street Location
8 — Navigation Routing Options
ELECTRONICS
108