brake light CHRYSLER 300 2015 2.G User Guide
[x] Cancel search | Manufacturer: CHRYSLER, Model Year: 2015, Model line: 300, Model: CHRYSLER 300 2015 2.GPages: 180, PDF Size: 30.54 MB
Page 14 of 180
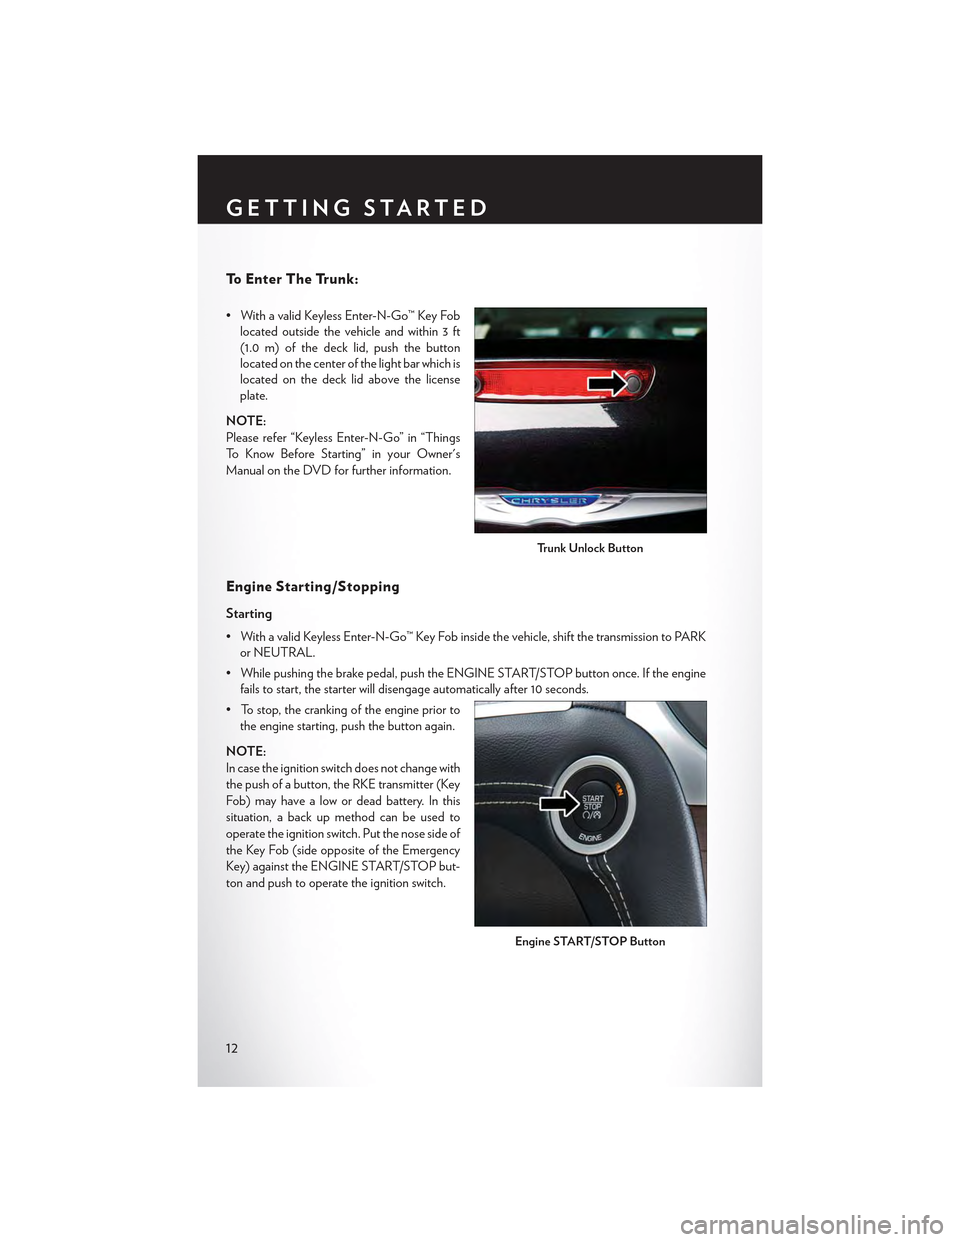
To E n t e r T h e Tr u n k :
• With a valid Keyless Enter-N-Go™ Key Fob
located outside the vehicle and within 3 ft
(1.0 m) of the deck lid, push the button
located on the center of the light bar which is
located on the deck lid above the license
plate.
NOTE:
Please refer “Keyless Enter-N-Go” in “Things
To K n o w B e f o r e S t a r t i n g ” i n y o u r O w n e r ' s
Manual on the DVD for further information.
Engine Starting /Stopping
Starting
•WithavalidKeylessEnter-N-Go™KeyFobinsidethevehicle,shiftthetransmissiontoPARK
or NEUTRAL.
• While pushing the brake pedal, push the ENGINE START/STOP button once. If the engine
fails to start, the starter will disengage automatically after 10 seconds.
• To stop, the cranking of the engine prior to
the engine starting, push the button again.
NOTE:
In case the ignition switch does not change with
the push of a button, the RKE transmitter (Key
Fob) may have a low or dead battery. In this
situation, a back up method can be used to
operate the ignition switch. Put the nose side of
the Key Fob (side opposite of the Emergency
Key) against the ENGINE START/STOP but-
ton and push to operate the ignition switch.
Trunk Unlock Button
Engine START/STOP Button
GETTING STARTED
12
Page 40 of 180

Metric Speed (km/h)
• Pushing the SET+button once will result in a 1 km/h increase in set speed. Each subsequent
tap of the button results in an increase of 1 km/h.
• If the button is continually pushed, the set speed will continue to increase in 10 km/h
increments until the button is released. The increase in set speed is reflected in the DID.
To Decrease Speed
While ACC is set, the set speed can be decreased by pushing the SET-button.
The drivers preferred units can be selected through the instrument panel settings if equipped.
Refer to “Understanding Your Instrument Panel” in the Owner’s Manual on the DVD for more
information. The speed increment shown is dependant on the speed of U.S. (mph) or Metric
(km/h) units:
U.S. Speed (mph)
• Pushing the SET-button once will result in a 1 mph decrease in set speed. Each subsequent
tap of the button results in a decrease of 1 mph.
• If the button is continually pushed, the set speed will continue to decrease in 5 mph
decrements until the button is released. The decrease in set speed is reflected in the DID.
Metric Speed (km/h)
• Pushing the SET-button once will result in a 1 km/h decrease in set speed. Each subsequent
tap of the button results in a decrease of 1 km/h.
• If the button is continually pushed, the set speed will continue to decrease in 10 km/h
decrements until the button is released. The decrease in set speed is reflected in the DID.
NOTE:
•WhenyouoverrideandpushtheSET+button or SET-buttons, the new Set Speed will be the
current speed of the vehicle.
•WhenyouusetheSET-button to decelerate, if the engine’s braking power does not slow the
vehicle sufficiently to reach the set speed, the brake system will automatically slow the vehicle.
•TheACCsystemdeceleratesthevehicletoafullstopwhenfollowingatargetvehicle.Ifan
ACC host vehicle follows a target vehicle to a standstill, after two seconds the driver will either
have to push the RES (resume) button, or apply the accelerator pedal to reengage the ACC
to the existing Set Speed.
•TheACCsystemmaintainssetspeedwhendrivinguphillanddownhill.However,aslight
speed change on moderate hills is normal. In addition, downshifting may occur while climbing
uphill or descending downhill. This is normal operation and necessary to maintain set speed.
When driving up hill and down hill, the ACC system will cancel if the braking temperature
exceeds normal range (overheated).
OPERATING YOUR VEHICLE
38
Page 130 of 180
WARNING!
Ahotenginecoolingsystemisdangerous.Youorotherscouldbebadlyburnedbysteamor
boiling coolant.
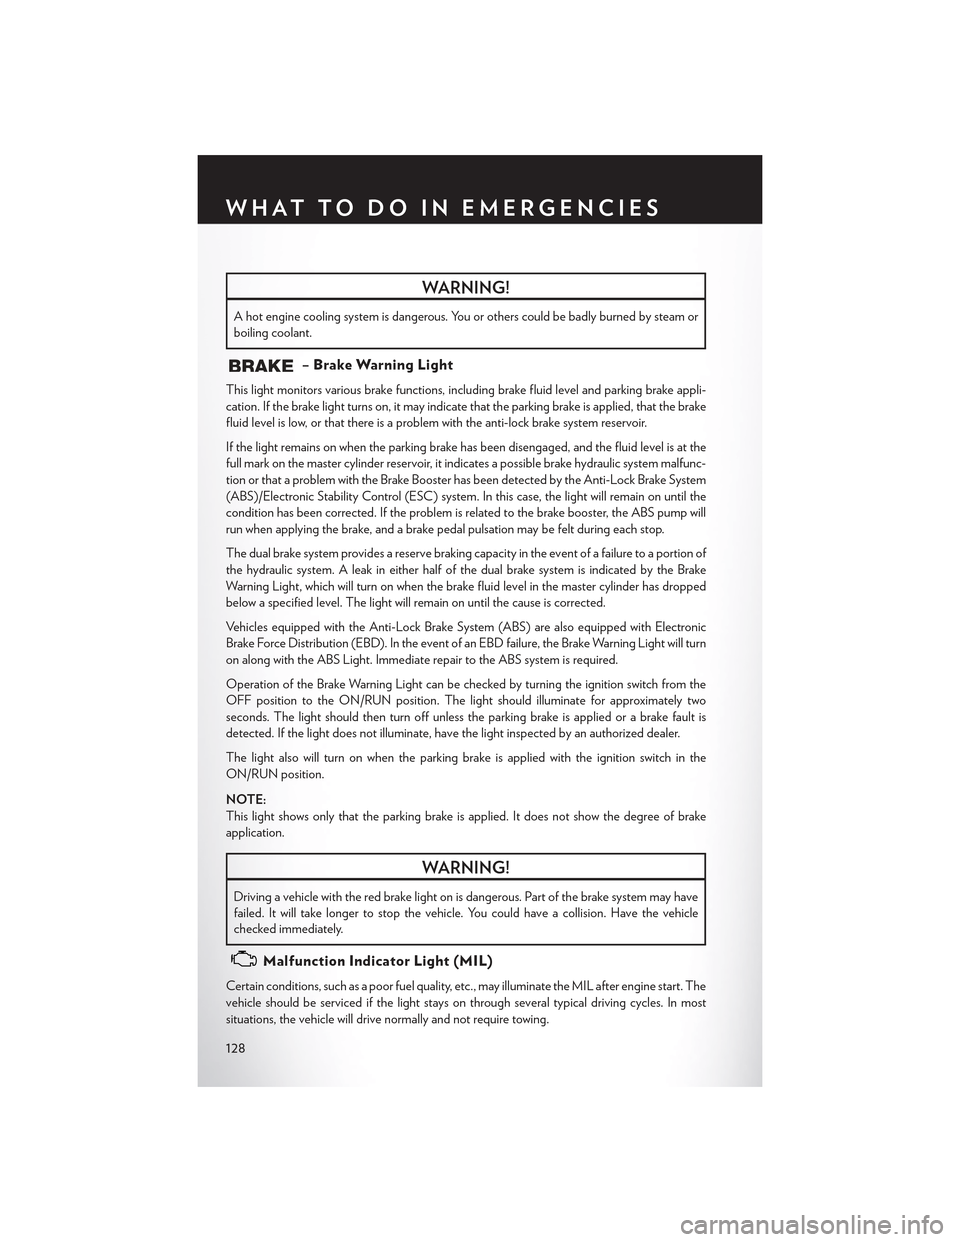
–BrakeWarningLight
This light monitors various brake functions, including brake fluid level and parking brake appli-
cation. If the brake light turns on, it may indicate that the parking brake is applied, that the brake
fluid level is low, or that there is a problem with the anti-lock brake system reservoir.
If the light remains on when the parking brake has been disengaged, and the fluid level is at the
full mark on the master cylinder reservoir, it indicates a possible brake hydraulic system malfunc-
tion or that a problem with the Brake Booster has been detected by the Anti-Lock Brake System
(ABS)/Electronic Stability Control (ESC) system. In this case, the light will remain on until the
condition has been corrected. If the problem is related to the brake booster, the ABS pump will
run when applying the brake, and a brake pedal pulsation may be felt during each stop.
The dual brake system provides a reserve braking capacity in the event of a failure to a portion of
the hydraulic system. A leak in either half of the dual brake system is indicated by the Brake
Wa r n i n g L i g h t , w h i c h w i l l t u r n o n w h e n t h e b r a k e f l u i d l e v e l i n t h e m a s t e r c y l i n d e r h a s d r o p p e d
below a specified level. The light will remain on until the cause is corrected.
Ve h i c l e s e q u i p p e d w i t h t h e A n t i - L o c k B r a k e S y s t e m ( A B S ) a r e a l s o e q u i p p e d w i t h E l e c t r o n i c
Brake Force Distribution (EBD). In the event of an EBD failure, the Brake Warning Light will turn
on along with the ABS Light. Immediate repair to the ABS system is required.
Operation of the Brake Warning Light can be checked by turning the ignition switch from the
OFF position to the ON/RUN position. The light should illuminate for approximately two
seconds. The light should then turn off unless the parking brake is applied or a brake fault is
detected. If the light does not illuminate, have the light inspected by an authorized dealer.
The light also will turn on when the parking brake is applied with the ignition switch in the
ON/RUN position.
NOTE:
This light shows only that the parking brake is applied. It does not show the degree of brake
application.
WARNING!
Driving a vehicle with the red brake light on is dangerous. Part of the brake system may have
failed. It will take longer to stop the vehicle. You could have a collision. Have the vehicle
checked immediately.
Malfunction Indicator Light (MIL)
Certain conditions, such as a poor fuel quality, etc., may illuminate the MIL after engine start. The
vehicle should be serviced if the light stays on through several typical driving cycles. In most
situations, the vehicle will drive normally and not require towing.
WHAT TO DO IN EMERGENCIES
128
Page 131 of 180
If the MIL flashes when the engine is running, serious conditions may exist that could lead to
immediate loss of power or severe catalytic converter damage. We recommend you do not
operate the vehicle. Have the vehicle serviced immediately.
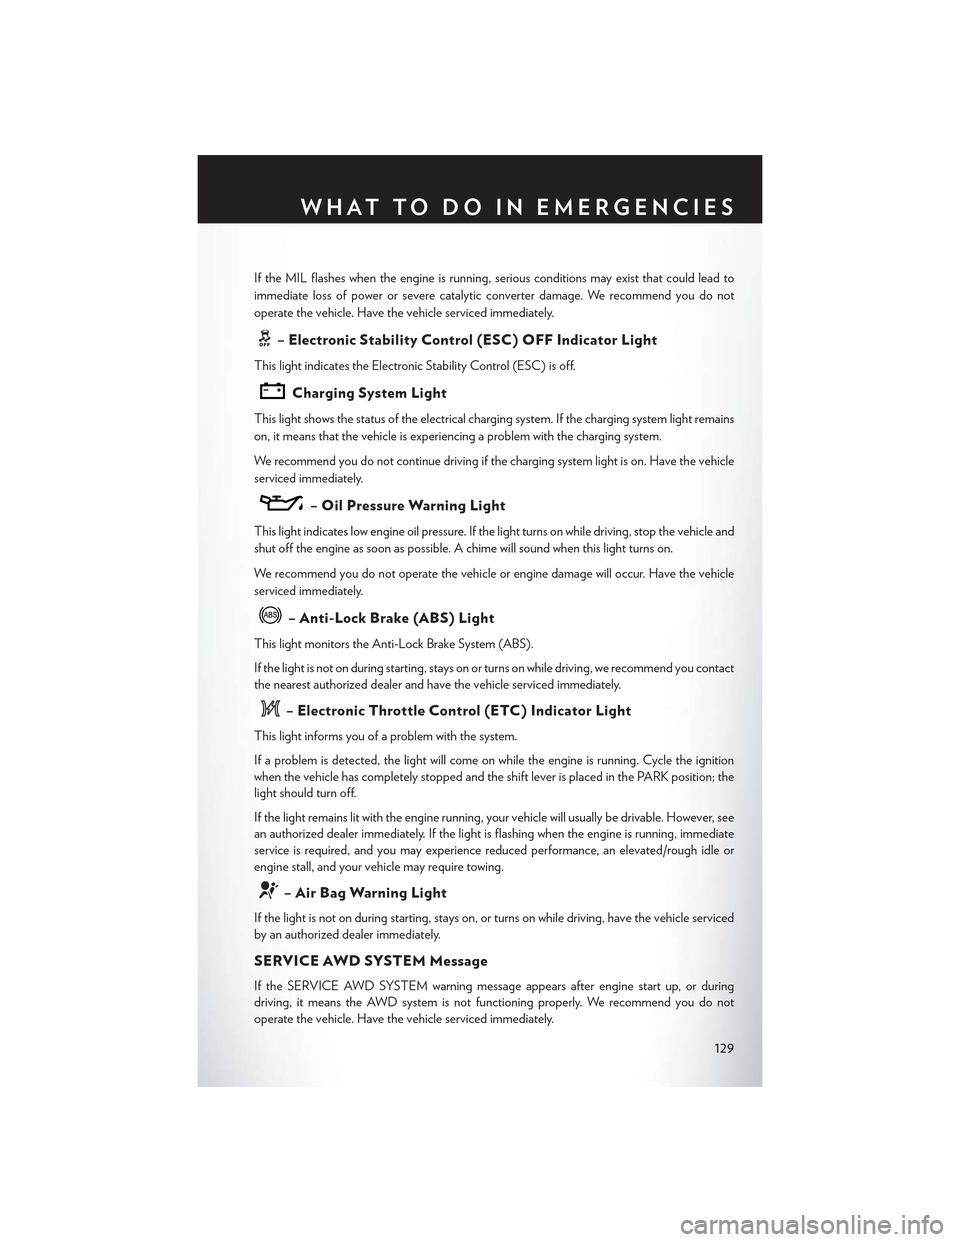
–ElectronicStabilityControl(ESC)OFFIndicatorLight
This light indicates the Electronic Stability Control (ESC) is off.
Charging System Light
This light shows the status of the electrical charging system. If the charging system light remains
on, it means that the vehicle is experiencing a problem with the charging system.
We r e c o m m e n d y o u d o n o t c o n t i n u e d r i v i n g i f t h e c h a r g i n g s y s t e m l i g h t i s o n . H a v e t h e v e h i c l e
serviced immediately.
–OilPressureWarningLight
This light indicates low engine oil pressure. If the light turns on while driving, stop the vehicle and
shut off the engine as soon as possible. A chime will sound when this light turns on.
We r e c o m m e n d y o u d o n o t o p e r a t e t h e v e h i c l e o r e n g i n e d a m a g e w i l l o c c u r. H a v e t h e v e h i c l e
serviced immediately.
–Anti-LockBrake(ABS)Light
This light monitors the Anti-Lock Brake System (ABS).
If the light is not on during starting, stays on or turns on while driving, we recommend you contact
the nearest authorized dealer and have the vehicle serviced immediately.
–ElectronicThrottleControl(ETC)IndicatorLight
This light informs you of a problem with the system.
If a problem is detected, the light will come on while the engine is running. Cycle the ignition
when the vehicle has completely stopped and the shift lever is placed in the PARK position; the
light should turn off.
If the light remains lit with the engine running, your vehicle will usually be drivable. However, see
an authorized dealer immediately. If the light is flashing when the engine is running, immediate
service is required, and you may experience reduced performance, an elevated/rough idle or
engine stall, and your vehicle may require towing.
–AirBagWarningLight
If the light is not on during starting, stays on, or turns on while driving, have the vehicle serviced
by an authorized dealer immediately.
SERVICE AWD SYSTEM Message
If the SERVICE AWD SYSTEM warning message appears after engine start up, or during
driving, it means the AWD system is not functioning properly. We recommend you do not
operate the vehicle. Have the vehicle serviced immediately.
WHAT TO DO IN EMERGENCIES
129
Page 133 of 180
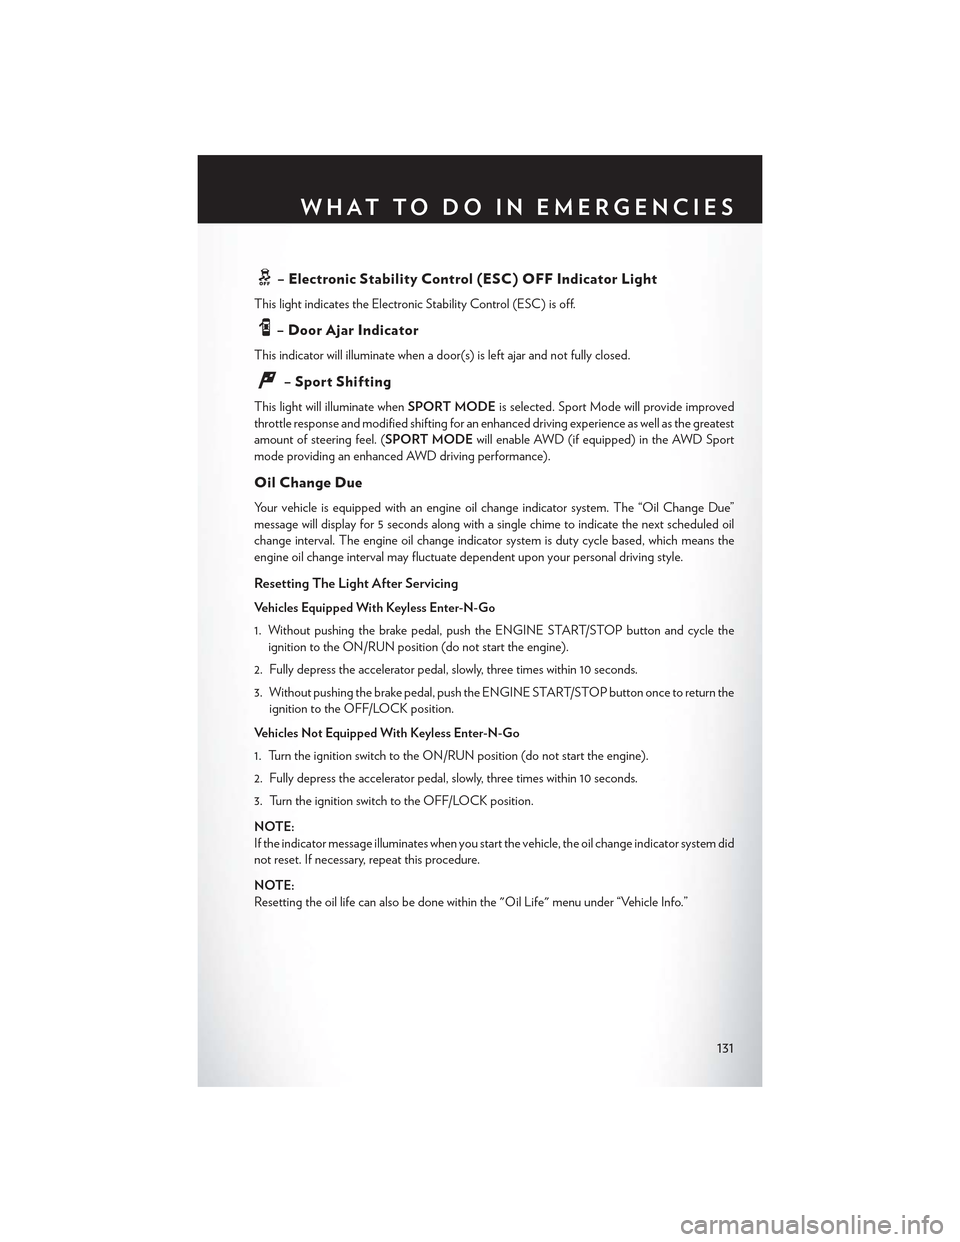
–ElectronicStabilityControl(ESC)OFFIndicatorLight
This light indicates the Electronic Stability Control (ESC) is off.
–DoorAjarIndicator
This indicator will illuminate when a door(s) is left ajar and not fully closed.
–SportShifting
This light will illuminate whenSPORT MODEis selected. Sport Mode will provide improved
throttle response and modified shifting for an enhanced driving experience as well as the greatest
amount of steering feel. (SPORT MODEwill enable AWD (if equipped) in the AWD Sport
mode providing an enhanced AWD driving performance).
Oil Change Due
Yo u r v e h i c l e i s e q u i p p e d w i t h a n e n g i n e o i l c h a n g e i n d i c a t o r s y s t e m . T h e “ O i l C h a n g e D u e ”
message will display for 5 seconds along with a single chime to indicate the next scheduled oil
change interval. The engine oil change indicator system is duty cycle based, which means the
engine oil change interval may fluctuate dependent upon your personal driving style.
Resetting The Light After Servicing
Vehicles Equipped With Keyless Enter-N-Go
1. Without pushing the brake pedal, push the ENGINE START/STOP button and cycle the
ignition to the ON/RUN position (do not start the engine).
2. Fully depress the accelerator pedal, slowly, three times within 10 seconds.
3. Without pushing the brake pedal, push the ENGINE START/STOP button once to return the
ignition to the OFF/LOCK position.
Vehicles Not Equipped With Keyless Enter-N-Go
1. Turn the ignition switch to the ON/RUN position (do not start the engine).
2. Fully depress the accelerator pedal, slowly, three times within 10 seconds.
3. Turn the ignition switch to the OFF/LOCK position.
NOTE:
If the indicator message illuminates when you start the vehicle, the oil change indicator system did
not reset. If necessary, repeat this procedure.
NOTE:
Resetting the oil life can also be done within the "Oil Life" menu under “Vehicle Info.”
WHAT TO DO IN EMERGENCIES
131
Page 154 of 180
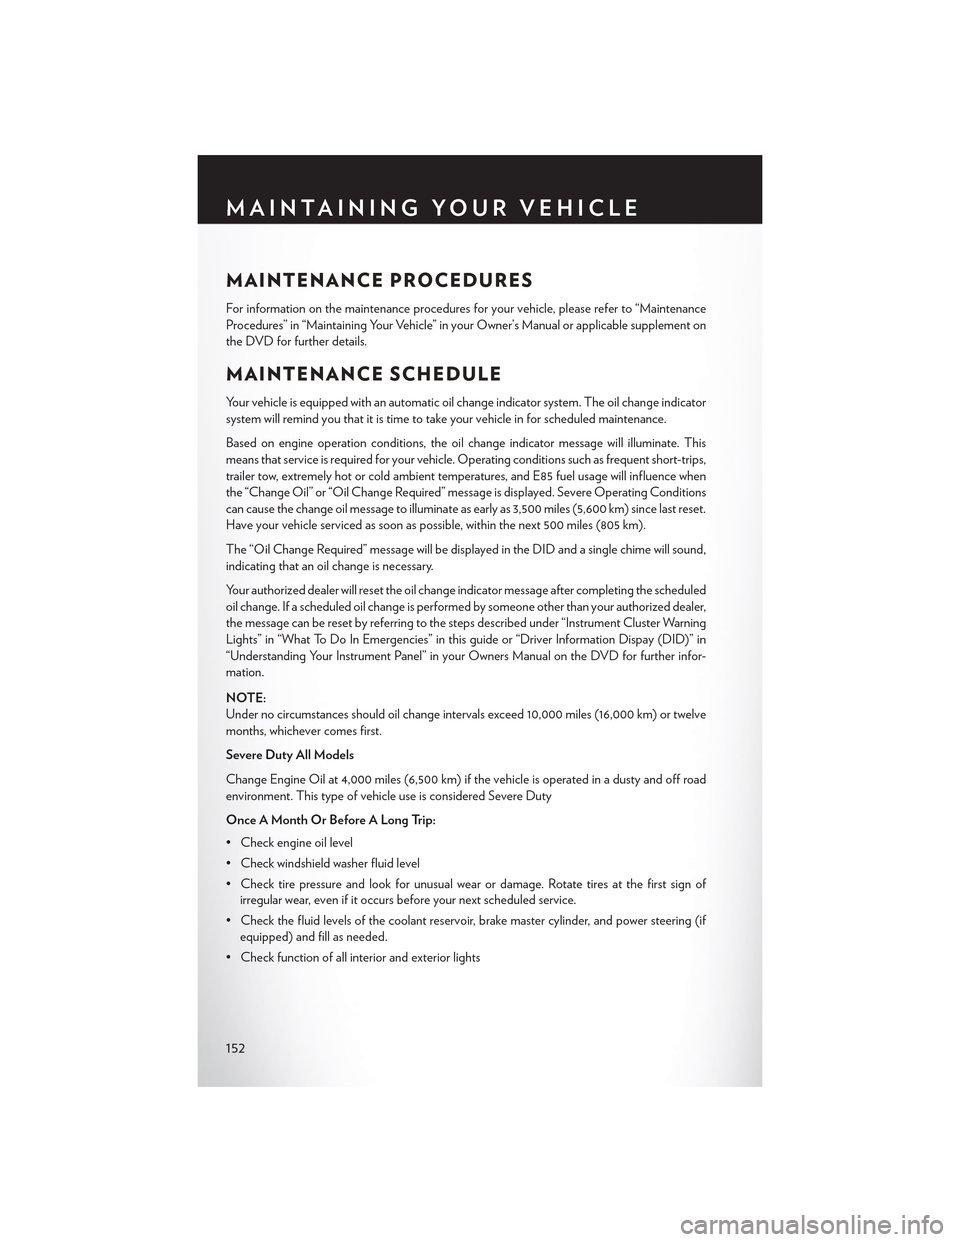
MAINTENANCE PROCEDURES
For information on the maintenance procedures for your vehicle, please refer to “Maintenance
Procedures” in “Maintaining Your Vehicle” in your Owner’s Manual or applicable supplement on
the DVD for further details.
MAINTENANCE SCHEDULE
Yo u r v e h i c l e i s e q u i p p e d w i t h a n a u t o m a t i c o i l c h a n g e i n d i c a t o r s y s t e m . T h e o i l c h a n g e i n d i c a t o r
system will remind you that it is time to take your vehicle in for scheduled maintenance.
Based on engine operation conditions, the oil change indicator message will illuminate. This
means that service is required for your vehicle. Operating conditions such as frequent short-trips,
trailer tow, extremely hot or cold ambient temperatures, and E85 fuel usage will influence when
the “Change Oil” or “Oil Change Required” message is displayed. Severe Operating Conditions
can cause the change oil message to illuminate as early as 3,500 miles (5,600 km) since last reset.
Have your vehicle serviced as soon as possible, within the next 500 miles (805 km).
The “Oil Change Required” message will be displayed in the DID and a single chime will sound,
indicating that an oil change is necessary.
Your authorized dealer will reset the oil change indicator message after completing the scheduled
oil change. If a scheduled oil change is performed by someone other than your authorized dealer,
the message can be reset by referring to the steps described under “Instrument Cluster Warning
Lights” in “What To Do In Emergencies” in this guide or “Driver Information Dispay (DID)” in
“Understanding Your Instrument Panel” in your Owners Manual on the DVD for further infor-
mation.
NOTE:
Under no circumstances should oil change intervals exceed 10,000 miles (16,000 km) or twelve
months, whichever comes first.
Severe Duty All Models
Change Engine Oil at 4,000 miles (6,500 km) if the vehicle is operated in a dusty and off road
environment. This type of vehicle use is considered Severe Duty
Once A Month Or Before A Long Trip:
•Checkengineoillevel
•Checkwindshieldwasherfluidlevel
• Check tire pressure and look for unusual wear or damage. Rotate tires at the first sign of
irregular wear, even if it occurs before your next scheduled service.
•Checkthefluidlevelsofthecoolantreservoir,brakemastercylinder,andpowersteering(if
equipped) and fill as needed.
• Check function of all interior and exterior lights
MAINTAINING YOUR VEHICLE
152
Page 173 of 180
Access
Uconnect...............55
Access, Uconnect.............55
Adaptive Cruise Control (ACC) (Cruise
Control)................37
Adding Engine Coolant (Antifreeze) . . .152
Adding Washer Fluid...........152
Adjustable Pedals.............29Air BagAdvanced Front Air Bag........15Advance Front Air Bag.........15Air Bags . . . . . . . . . . . . . . . .15Air Bag Warning Light.........15Driver Knee Air Bag . . . . . . . . . .17Front Air Bag . . . . . . . . . . . . .15Passenger Knee Air Bag........17Rollover . . . . . . . . . . . . . . . .15Side Impacts..............15Air Bag Light . . . . . . . . . . . . . ..129Air Bag, Side . . . . . . . . . . . . . . . .15Air Cleaner, Engine (Engine Air CleanerFilter).................152Air Conditioner Maintenance.......152Air Conditioning............46, 47Air Conditioning Refrigerant.......152Air Conditioning System.........152AlarmVehicle Security Alarm.........14Alarm (Security Alarm)........14, 130Antifreeze (Engine Coolant).....150, 152Disposal................152Anti-Lock Warning Light.........129APPUconnect Access............57Appearance Care.............152Arming System (Security Alarm)......14Assistance Towing.............126Automatic Headlights...........33Automatic High Beams..........34Automatic Oil Change Indicator.....131Automatic Temperature Control (ATC) . .46Automatic Transmission..........43Adding Fluid.............151Fluid Type..............151Axle Fluid.................151Axle Lubrication..............151
Back-Up Camera . . . . . . . . . . . . .42
Battery..................152
Blind Spot Monitoring...........48
Body Mechanism Lubrication.......152
Brake Fluid................151
Brakes. . . . . . . . . . . . . . . . . ..152
BrakeSystem...............152
Fluid Check..............151
Master Cylinder...........152Warning Light............128Break-In Recommendations, New Vehicle. .31Bulb Replacement............166Bulbs, Light................166
Calibration, Compass...........119Capacities, Fluid.............150Caps, FillerOil (Engine).............152Car Washes................152Changing A Flat Tire...........132Charging System Light..........129Child Restraint...............18Child RestraintsCar Seat................18Child Restraints............18Child Tether Anchorage Locations . . .21Lower Anchors And Tethers ForChildren................18CleaningWheels................152Windshield Wiper Blades.......152Climate Control..............46Clock . . . . . . . . . . . . . . . . . ..118Cluster Warning/Indicator LightsAnti-Lock Brake (ABS) Light.....129Brake Warning Light..........128Charging System Light........129Electronic Throttle Control (ETC) Indica-tor Light...............129Engine Temperature Warning Light . .127Front Fog Light Indicator.......130High Beam Indicator.........130Oil Pressure Warning Light......129Ti re Pre s s u re M o n i t o r i n g S y s t e m ( T P M S )Light.................126Turn Signal Indicator.........130Vehicle Security Light.........130Clutch . . . . . . . . . . . . . . . . ..152Clutch Fluid................152
INDEX
171
Page 174 of 180

Compact Spare Tire . . . . . . . . . ..162
Compass Calibration...........119
Cooling System..............152
Adding Coolant (Antifreeze).....152
Coolant Capacity...........150
Coolant Level.............152
Disposal Of Used Coolant......152
Drain, Flush, And Refill........152
Inspection..............152Points To Remember.........152Pressure Cap.............152Selection Of Coolant (Antifreeze) . .150,152Corrosion Protection...........152Cruise Control (Speed Control)......35Cruise Light................35CupholdersHeated/Cooled (Beverage Holder) . .28Customer Assistance...........167Customer Programmable Features. . . .120
Defects, Reporting............168Dimmer Control..............34Dimmer Switch, Headlight.........34Disabled Vehicle Towing.......126, 142Disarming, Security System........14DisposalAntifreeze (Engine Coolant).....152Door Locks.................8
E-85 Fuel . . . . . . . . . . . . . . . ..151Electronic Power Distribution Center(Fuses)................157ElectronicsYo u r Ve h i c l e ' s S o u n d S y s t e m.....52
Electronic Speed Control (Cruise Control). .35Electronic Stability Control (ESC) . . . .126Electronic Stability Control (ESC) OFFIndicator..............129, 131Electronic Throttle Control WarningLight . . . . . . . . . . . . . . . ..129Electronic Vehicle Information Center(EVIC) . . . . . . . . . . . . . . ..119Emergency, In Case OfJacking................132Overheating.............132To w i n g . . . . . . . . . . . . ..126, 142Emergency Key...............9
Engine
Air Cleaner..............152
Break-In Recommendations......31
Checking Oil Level..........152
Compartment..........146, 148
Coolant (Antifreeze).........150
Cooling................152
Oil . . . . . . . . . . . . . . ..150, 152
Oil Change Interval..........131Oil Filler Cap.............152Oil Selection...........150, 152Overheating.............132Starting................12Stopping................12Temperature Warning Light......127Ethanol..................151Exhaust System..............152
FAQ . . . . . . . . . . . . . . . . . ..170FiltersAir Cleaner..............152Engine Oil............150, 152Engine Oil Disposal..........152FlashersTurn Signal..............130Flat Tire Changing............132Flexible Fuel Vehicles...........151Fluid, Brake................151Fluid Capacities..............150Fluids, Lubricants And Genuine Parts . . .150Fog Lights . . . . . . . . . . . . . ..33, 130Folding Rear Seat.............27Forward Collision Warning.........40Freeing A Stuck Vehicle..........143Frequently Asked Questions.......170FuelEthanol................151Filler Door Emergency Release. . . .164Filler Door (Gas Cap)........164Octane Rating............150Specifications.............150Ta n k C a p a c i t y............150Fuel, Flexible...............151Fuse . . . . . . . . . . . . . . . . . ..157Fuses...................157
Garage Door Opener (HomeLink) . . . .121General Maintenance...........152
INDEX
172
Page 175 of 180
Glass Cleaning..............152
Hands-Free Phone (Uconnect)......109HeadlightsAutomatic...............33Cleaning...............152Dimmer Switch............34High Beam . . . . . . . . . . . . . .33Head Restraints..............22Head Rests.................22Heated Mirrors..............48Heated Seats................27High Beam Indicator...........130High Beam/Low Beam Select (Dimmer)Switch.................33HomeLink (Garage Door Opener) . . . .121Hood Release...............145
Identifying Your Radio...........54Instrument Cluster Indicator Lights . . . .130Instrument Panel Cover..........152Instrument Panel Lens Cleaning......152Interior And Instrument Lights.......5Interior Appearance Care.........152Intermittent Wipers (Delay Wipers)....32Introduction.................2In Vehicle FeaturesUconnect Access............61iPod/USB/MP3 ControlBluetooth Streaming Audio......109
Jacking Instructions............135Jack Location...............132Jack Operation..............135Jump Starting...............139
Key Fob . . . . . . . . . . . . . . . . . . .8Lock The Doors.............8Unlock The Doors............8Keyless Enter-N-Go............10Lock The Vehicle’s Doors........8Lock/Unlock............10, 11Starting/Stopping...........12
Lane Change Assist............32LaneSense.................42Lap/Shoulder Belts.............14
LATCH (Lower Anchors And Tether For
CHildren)................19
Light Bulbs................166
Lights
Fog . . . . . . . . . . . . . . . . ..130
High Beam Indicator.........130
SecurityAlarm............130
Service................166Tire Pressure Monitoring (TPMS) . .126LocksDoor . . . . . . . . . . . . . . . . . .8Lubrication, Body.............152
Maintenance Free Battery.........152Maintenance, General...........152Maintenance Procedures.........152Maintenance Record...........156Maintenance Schedule..........152Malfunction Indicator Light (CheckEngine)................128ManualTilt/Telescoping Steering Column . . .30Master Cylinder (Brakes).........152Memory Seat...............25MirrorsHeated................48MOPAR Accessories...........169
Navigation..............79, 103New Vehicle Break-In Period........31
Octane Rating, Gasoline (Fuel)......150Oil Change Indicator...........131Oil Change Indicator, Reset........131Oil, Engine..............150, 152Capacity...............150Change Interval.........131, 152Checking...............152Disposal...............152Filter...............150, 152Filter Disposal............152Materials Added To..........152Recommendation........150, 152Viscosity.............150, 152Oil Filter, Selection............152Oil Pressure Light.............129OutletPower . . . . . . . . . . . . . . . ..123
INDEX
173