display CHRYSLER VOYAGER 2001 Owner's Guide
[x] Cancel search | Manufacturer: CHRYSLER, Model Year: 2001, Model line: VOYAGER, Model: CHRYSLER VOYAGER 2001Pages: 4284, PDF Size: 83.53 MB
Page 176 of 4284
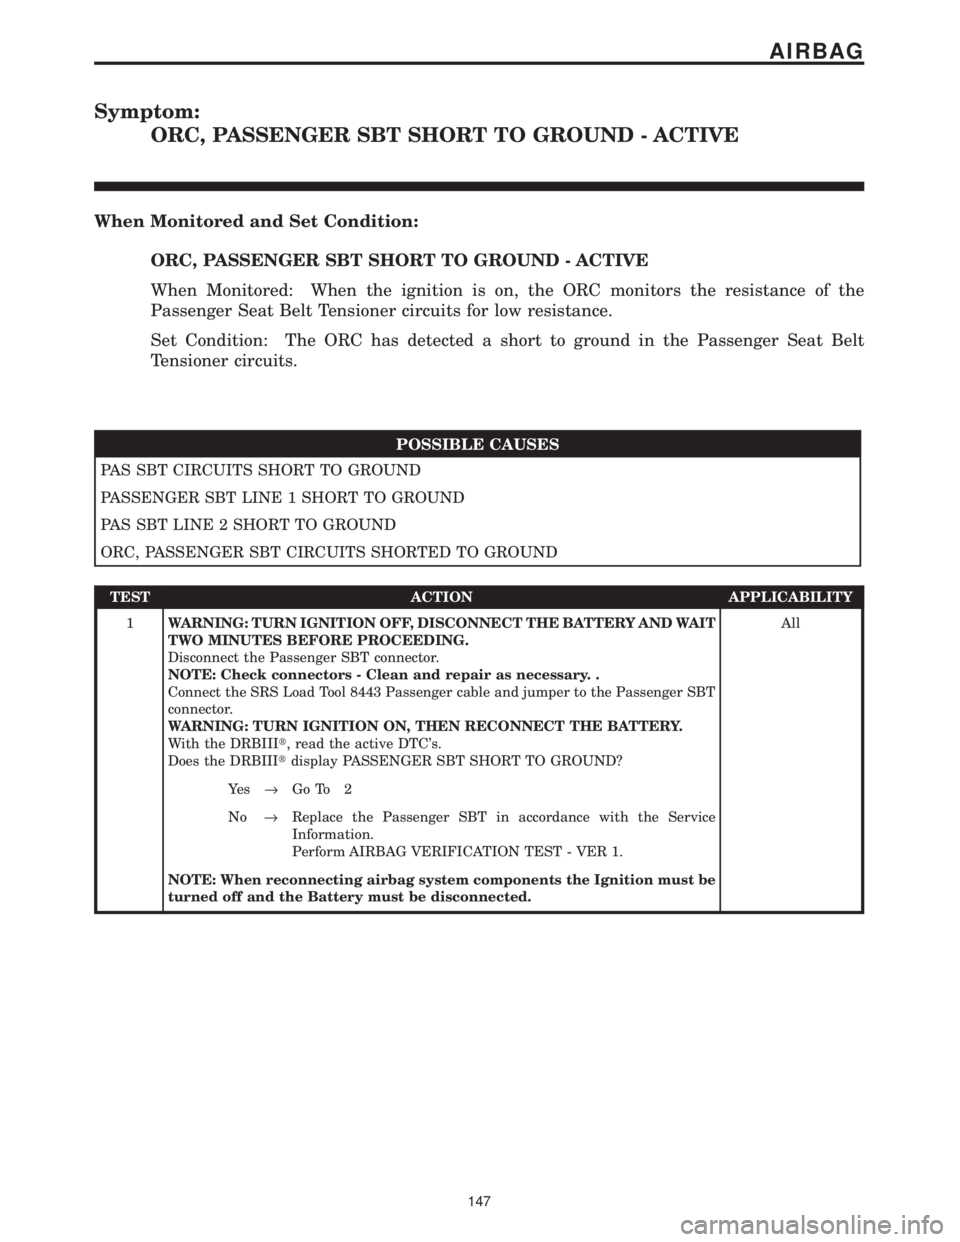
Symptom:
ORC, PASSENGER SBT SHORT TO GROUND - ACTIVE
When Monitored and Set Condition:
ORC, PASSENGER SBT SHORT TO GROUND - ACTIVE
When Monitored: When the ignition is on, the ORC monitors the resistance of the
Passenger Seat Belt Tensioner circuits for low resistance.
Set Condition: The ORC has detected a short to ground in the Passenger Seat Belt
Tensioner circuits.
POSSIBLE CAUSES
PAS SBT CIRCUITS SHORT TO GROUND
PASSENGER SBT LINE 1 SHORT TO GROUND
PAS SBT LINE 2 SHORT TO GROUND
ORC, PASSENGER SBT CIRCUITS SHORTED TO GROUND
TEST ACTION APPLICABILITY
1WARNING: TURN IGNITION OFF, DISCONNECT THE BATTERY AND WAIT
TWO MINUTES BEFORE PROCEEDING.
Disconnect the Passenger SBT connector.
NOTE: Check connectors - Clean and repair as necessary. .
Connect the SRS Load Tool 8443 Passenger cable and jumper to the Passenger SBT
connector.
WARNING: TURN IGNITION ON, THEN RECONNECT THE BATTERY.
With the DRBIIIt, read the active DTC's.
Does the DRBIIItdisplay PASSENGER SBT SHORT TO GROUND?All
Ye s®Go To 2
No®Replace the Passenger SBT in accordance with the Service
Information.
Perform AIRBAG VERIFICATION TEST - VER 1.
NOTE: When reconnecting airbag system components the Ignition must be
turned off and the Battery must be disconnected.
147
AIRBAG
Page 198 of 4284
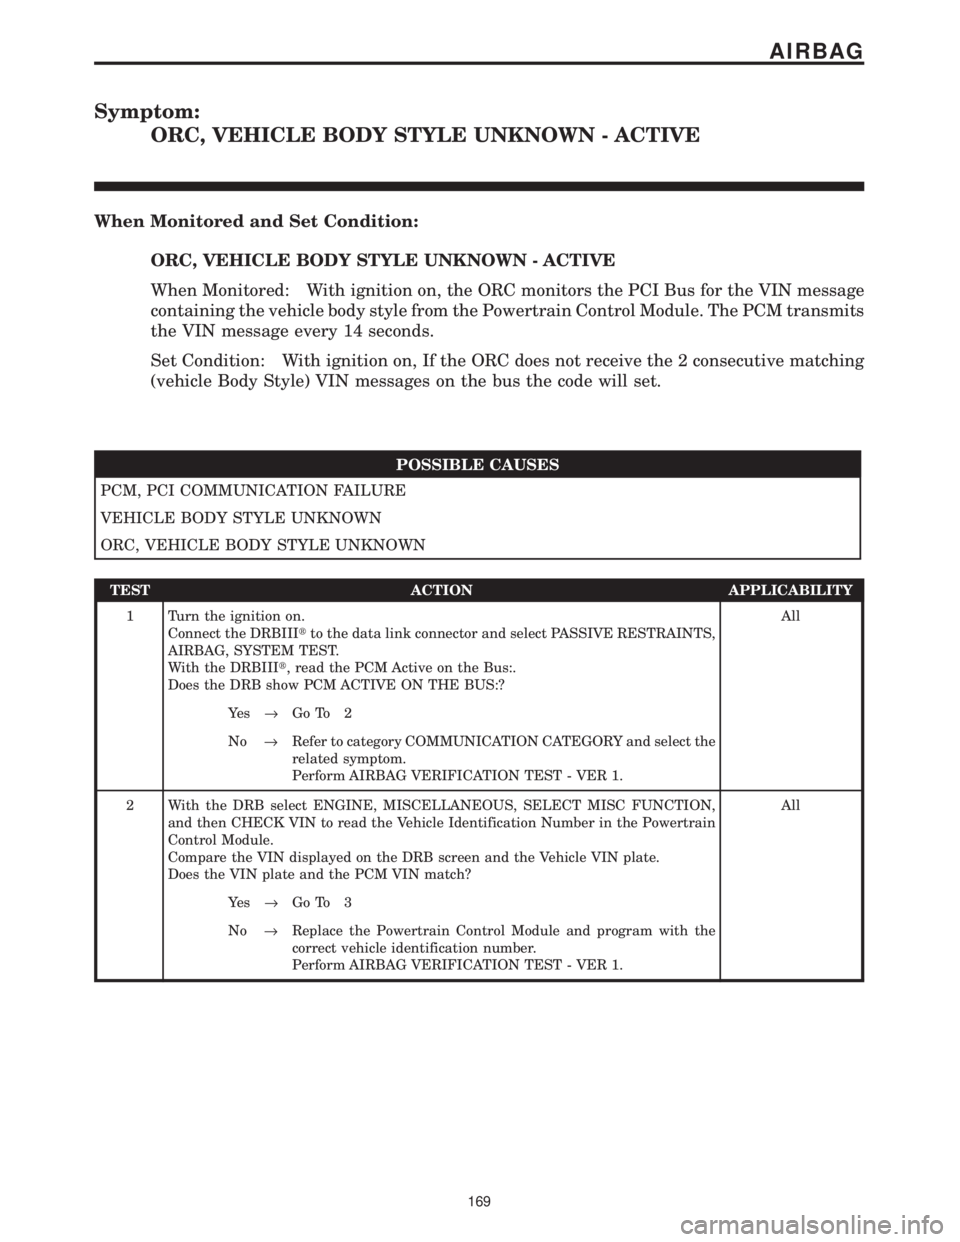
Symptom:
ORC, VEHICLE BODY STYLE UNKNOWN - ACTIVE
When Monitored and Set Condition:
ORC, VEHICLE BODY STYLE UNKNOWN - ACTIVE
When Monitored: With ignition on, the ORC monitors the PCI Bus for the VIN message
containing the vehicle body style from the Powertrain Control Module. The PCM transmits
the VIN message every 14 seconds.
Set Condition: With ignition on, If the ORC does not receive the 2 consecutive matching
(vehicle Body Style) VIN messages on the bus the code will set.
POSSIBLE CAUSES
PCM, PCI COMMUNICATION FAILURE
VEHICLE BODY STYLE UNKNOWN
ORC, VEHICLE BODY STYLE UNKNOWN
TEST ACTION APPLICABILITY
1 Turn the ignition on.
Connect the DRBIIItto the data link connector and select PASSIVE RESTRAINTS,
AIRBAG, SYSTEM TEST.
With the DRBIIIt, read the PCM Active on the Bus:.
Does the DRB show PCM ACTIVE ON THE BUS:?All
Ye s®Go To 2
No®Refer to category COMMUNICATION CATEGORY and select the
related symptom.
Perform AIRBAG VERIFICATION TEST - VER 1.
2 With the DRB select ENGINE, MISCELLANEOUS, SELECT MISC FUNCTION,
and then CHECK VIN to read the Vehicle Identification Number in the Powertrain
Control Module.
Compare the VIN displayed on the DRB screen and the Vehicle VIN plate.
Does the VIN plate and the PCM VIN match?All
Ye s®Go To 3
No®Replace the Powertrain Control Module and program with the
correct vehicle identification number.
Perform AIRBAG VERIFICATION TEST - VER 1.
169
AIRBAG
Page 201 of 4284

TEST ACTION APPLICABILITY
2 With the DRB select PASSIVE RESTRAINTS, AIRBAG and MONITOR DISPLAY.
Using the DRB, read the WARNING LAMP MONITOR screen.
Select the LAMP STATUS displayed on the DRB monitors screen.
Does the DRB show the LAMP STATUS: OK?All
YES
Go To 3
NO
Replace Instrument Cluster circuit board.
Perform AIRBAG VERIFICATION TEST - VER 1.
3WARNING: TURN THE IGNITION OFF, DISCONNECT THE BATTERY AND
WAIT TWO MINUTES BEFORE PROCEEDING.
WARNING: IF THE OCCUPANT RESTRAINT CONTROLLER IS DROPPED
AT ANY TIME, IT MUST BE REPLACED.
If there are no possible causes remaining, view repair.All
Repair
Replace the Occupant Restraint Controller in accordance with
Service Instructions. WARNING: make sure the battery is discon-
nected and wait 2 minutes before proceeding.
Perform AIRBAG VERIFICATION TEST - VER 1.
NOTE: When reconnecting airbag system components the Ignition must be
turned off and the Battery must be disconnected.
172
AIRBAG
ORC, WARNING INDICATOR CIRCUIT OPEN - ACTIVE ÐContinued
Page 206 of 4284
Symptom:
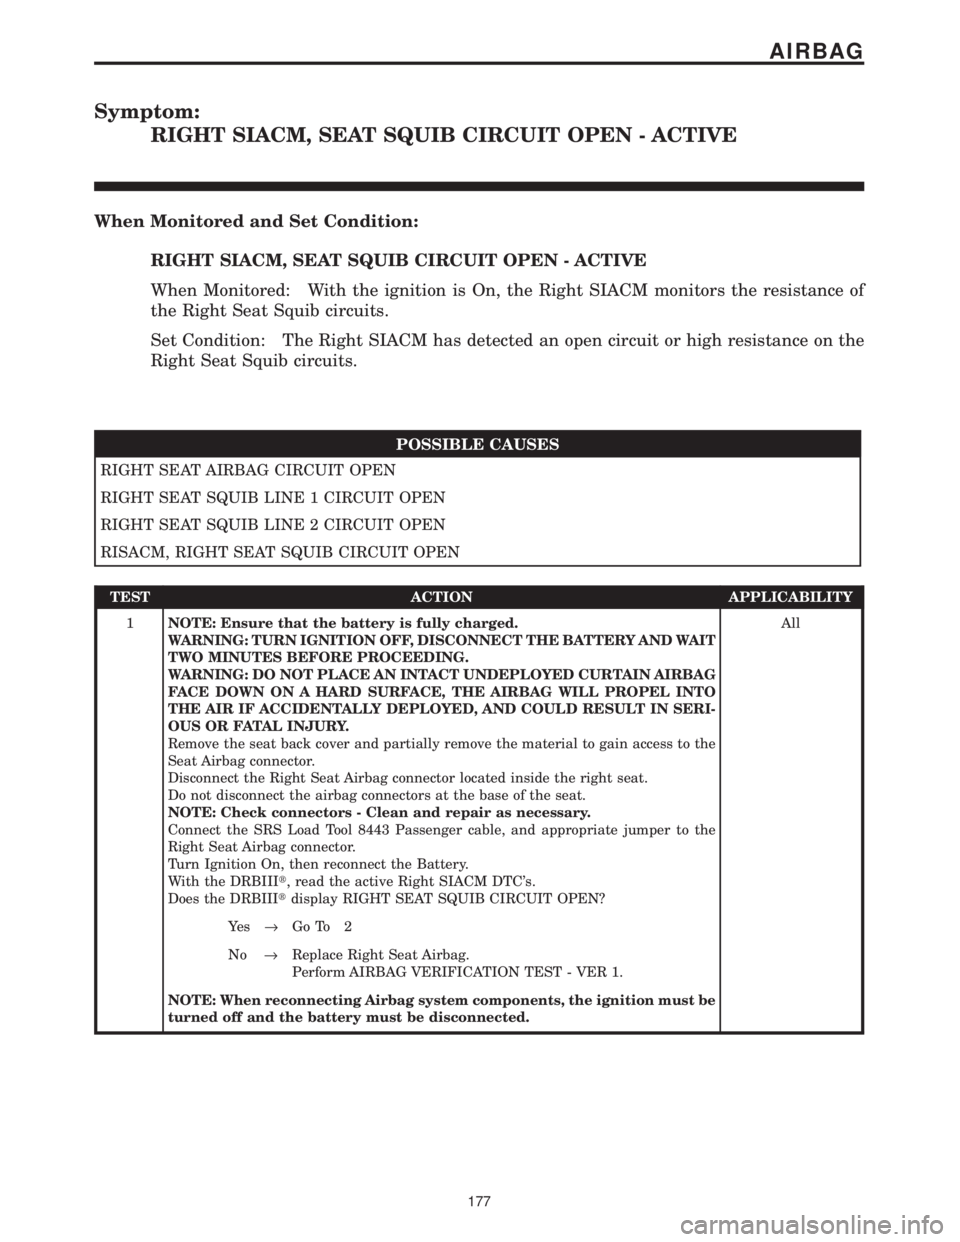
RIGHT SIACM, SEAT SQUIB CIRCUIT OPEN - ACTIVE
When Monitored and Set Condition:
RIGHT SIACM, SEAT SQUIB CIRCUIT OPEN - ACTIVE
When Monitored: With the ignition is On, the Right SIACM monitors the resistance of
the Right Seat Squib circuits.
Set Condition: The Right SIACM has detected an open circuit or high resistance on the
Right Seat Squib circuits.
POSSIBLE CAUSES
RIGHT SEAT AIRBAG CIRCUIT OPEN
RIGHT SEAT SQUIB LINE 1 CIRCUIT OPEN
RIGHT SEAT SQUIB LINE 2 CIRCUIT OPEN
RISACM, RIGHT SEAT SQUIB CIRCUIT OPEN
TEST ACTION APPLICABILITY
1NOTE: Ensure that the battery is fully charged.
WARNING: TURN IGNITION OFF, DISCONNECT THE BATTERY AND WAIT
TWO MINUTES BEFORE PROCEEDING.
WARNING: DO NOT PLACE AN INTACT UNDEPLOYED CURTAIN AIRBAG
FACE DOWN ON A HARD SURFACE, THE AIRBAG WILL PROPEL INTO
THE AIR IF ACCIDENTALLY DEPLOYED, AND COULD RESULT IN SERI-
OUS OR FATAL INJURY.
Remove the seat back cover and partially remove the material to gain access to the
Seat Airbag connector.
Disconnect the Right Seat Airbag connector located inside the right seat.
Do not disconnect the airbag connectors at the base of the seat.
NOTE: Check connectors - Clean and repair as necessary.
Connect the SRS Load Tool 8443 Passenger cable, and appropriate jumper to the
Right Seat Airbag connector.
Turn Ignition On, then reconnect the Battery.
With the DRBIIIt, read the active Right SIACM DTC's.
Does the DRBIIItdisplay RIGHT SEAT SQUIB CIRCUIT OPEN?All
Ye s®Go To 2
No®Replace Right Seat Airbag.
Perform AIRBAG VERIFICATION TEST - VER 1.
NOTE: When reconnecting Airbag system components, the ignition must be
turned off and the battery must be disconnected.
177
AIRBAG
Page 217 of 4284

Symptom:
*AIRBAG INDICATOR ON WITHOUT ACTIVE TROUBLE CODES
POSSIBLE CAUSES
AIRBAG INDICATOR ON WITHOUT TROUBLE CODES
INSTRUMENT CLUSTER PROBLEMS
TEST ACTION APPLICABILITY
1 Turn the ignition on.
Make sure that all active DTCS have been repaired before pre forming this
procedure.
With the DRBIII select PASSIVE RESTRAINTS, AIRBAG, MONITOR DISPLAY,
WARNING LAMP STATUS and read the WARNING LAMP STATUS.
Does the DRB show LAMP REQ BY ACM: ON?All
Ye s®Replace the Occupant Restraint Controller in accordance with
Service Instructions. WARNING: make sure the battery is dis-
connected and wait 2 minutes before proceeding.
Perform AIRBAG VERIFICATION TEST - VER 1.
No®Refer to INSTRUMENT CLUSTER CATEGORY symptom list for
problems related to Instrument Cluster.
Perform AIRBAG VERIFICATION TEST - VER 1.
NOTE: When reconnecting Airbag system components, the ignition must be
turned off and the battery must be disconnected.
188
AIRBAG
Page 218 of 4284
Symptom:
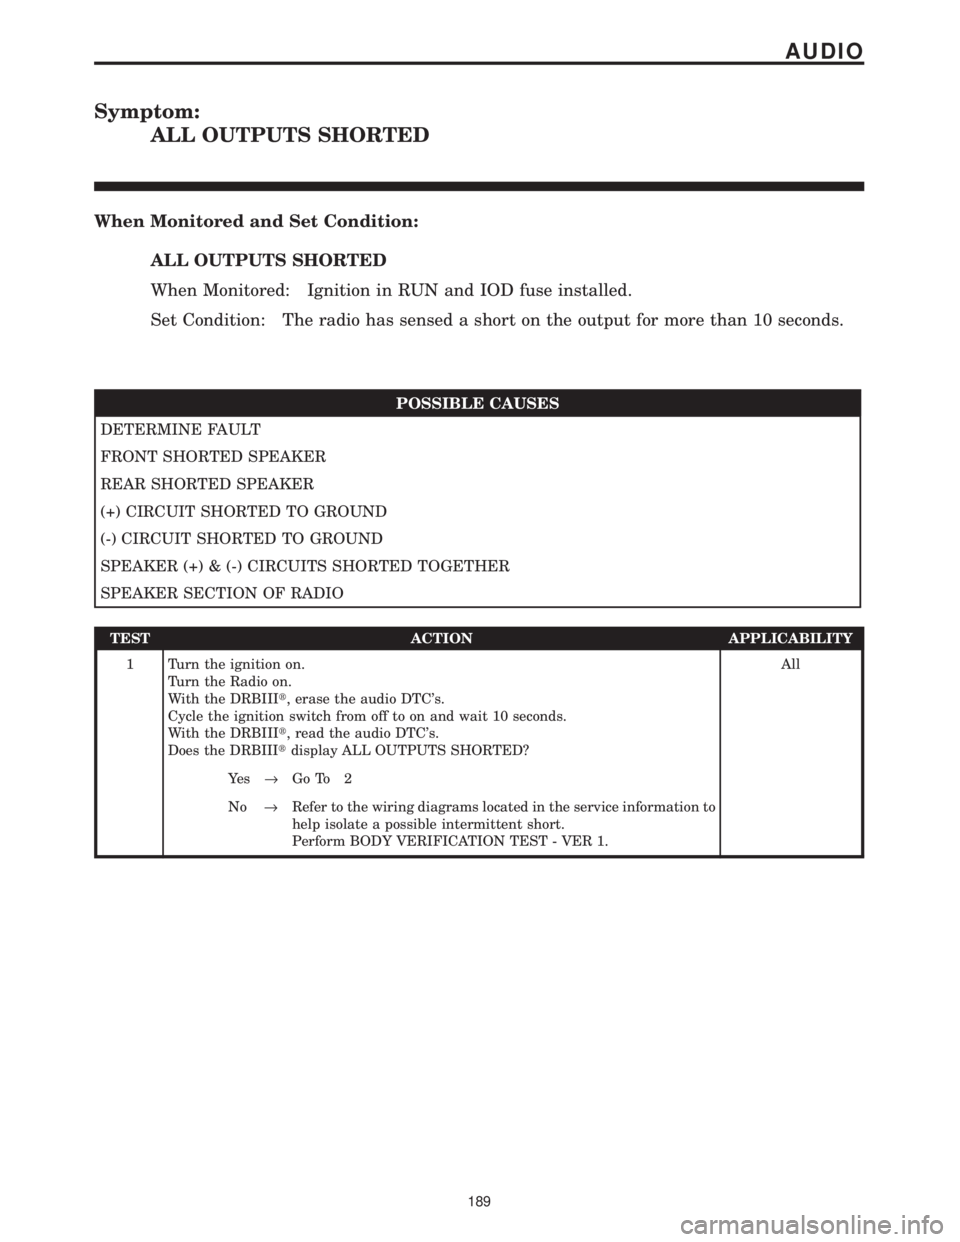
ALL OUTPUTS SHORTED
When Monitored and Set Condition:
ALL OUTPUTS SHORTED
When Monitored: Ignition in RUN and IOD fuse installed.
Set Condition: The radio has sensed a short on the output for more than 10 seconds.
POSSIBLE CAUSES
DETERMINE FAULT
FRONT SHORTED SPEAKER
REAR SHORTED SPEAKER
(+) CIRCUIT SHORTED TO GROUND
(-) CIRCUIT SHORTED TO GROUND
SPEAKER (+) & (-) CIRCUITS SHORTED TOGETHER
SPEAKER SECTION OF RADIO
TEST ACTION APPLICABILITY
1 Turn the ignition on.
Turn the Radio on.
With the DRBIIIt, erase the audio DTC's.
Cycle the ignition switch from off to on and wait 10 seconds.
With the DRBIIIt, read the audio DTC's.
Does the DRBIIItdisplay ALL OUTPUTS SHORTED?All
Ye s®Go To 2
No®Refer to the wiring diagrams located in the service information to
help isolate a possible intermittent short.
Perform BODY VERIFICATION TEST - VER 1.
189
AUDIO
Page 219 of 4284
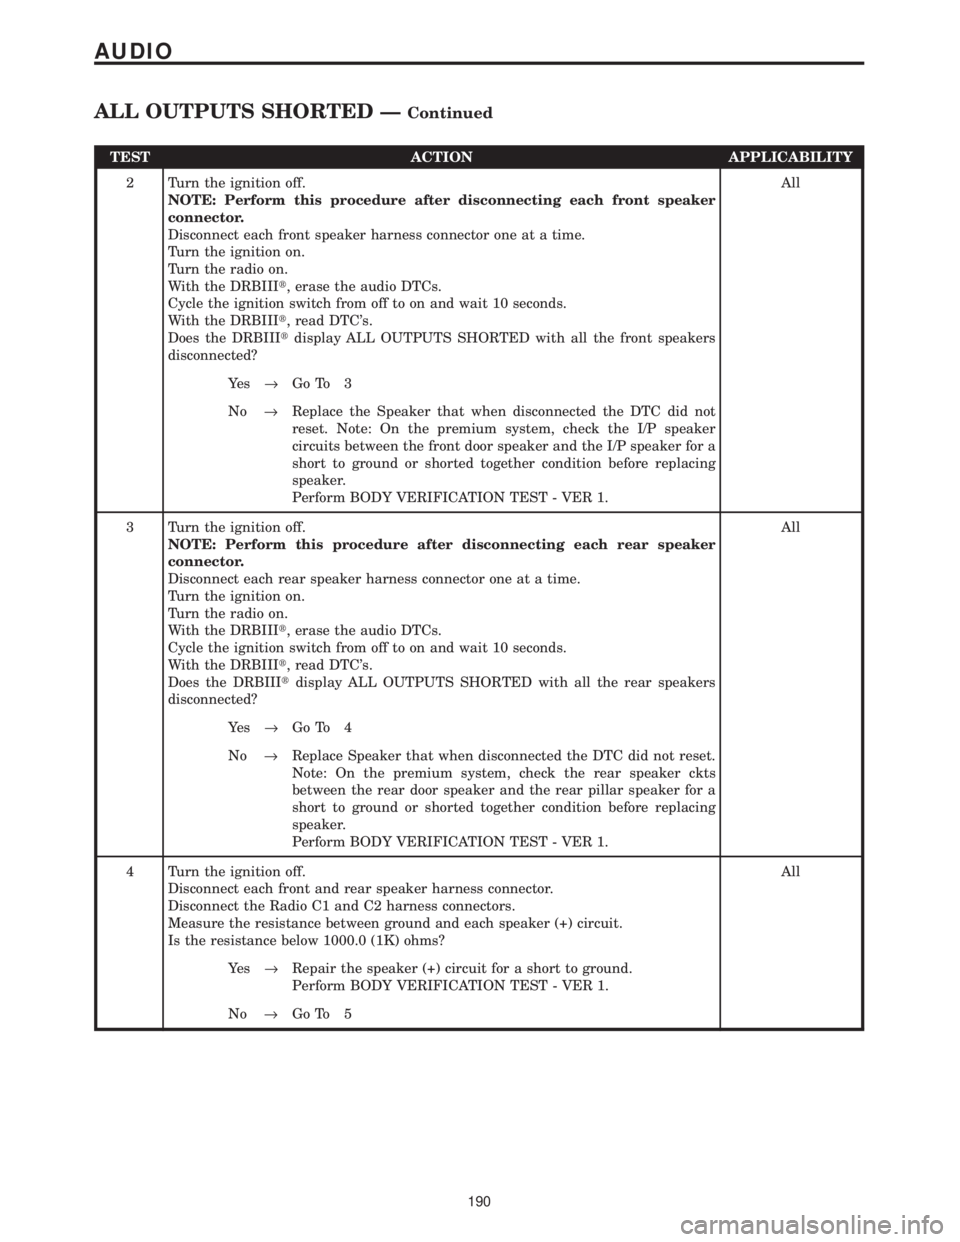
TEST ACTION APPLICABILITY
2 Turn the ignition off.
NOTE: Perform this procedure after disconnecting each front speaker
connector.
Disconnect each front speaker harness connector one at a time.
Turn the ignition on.
Turn the radio on.
With the DRBIIIt, erase the audio DTCs.
Cycle the ignition switch from off to on and wait 10 seconds.
With the DRBIIIt, read DTC's.
Does the DRBIIItdisplay ALL OUTPUTS SHORTED with all the front speakers
disconnected?All
Ye s®Go To 3
No®Replace the Speaker that when disconnected the DTC did not
reset. Note: On the premium system, check the I/P speaker
circuits between the front door speaker and the I/P speaker for a
short to ground or shorted together condition before replacing
speaker.
Perform BODY VERIFICATION TEST - VER 1.
3 Turn the ignition off.
NOTE: Perform this procedure after disconnecting each rear speaker
connector.
Disconnect each rear speaker harness connector one at a time.
Turn the ignition on.
Turn the radio on.
With the DRBIIIt, erase the audio DTCs.
Cycle the ignition switch from off to on and wait 10 seconds.
With the DRBIIIt, read DTC's.
Does the DRBIIItdisplay ALL OUTPUTS SHORTED with all the rear speakers
disconnected?All
Ye s®Go To 4
No®Replace Speaker that when disconnected the DTC did not reset.
Note: On the premium system, check the rear speaker ckts
between the rear door speaker and the rear pillar speaker for a
short to ground or shorted together condition before replacing
speaker.
Perform BODY VERIFICATION TEST - VER 1.
4 Turn the ignition off.
Disconnect each front and rear speaker harness connector.
Disconnect the Radio C1 and C2 harness connectors.
Measure the resistance between ground and each speaker (+) circuit.
Is the resistance below 1000.0 (1K) ohms?All
Ye s®Repair the speaker (+) circuit for a short to ground.
Perform BODY VERIFICATION TEST - VER 1.
No®Go To 5
190
AUDIO
ALL OUTPUTS SHORTED ÐContinued
Page 225 of 4284
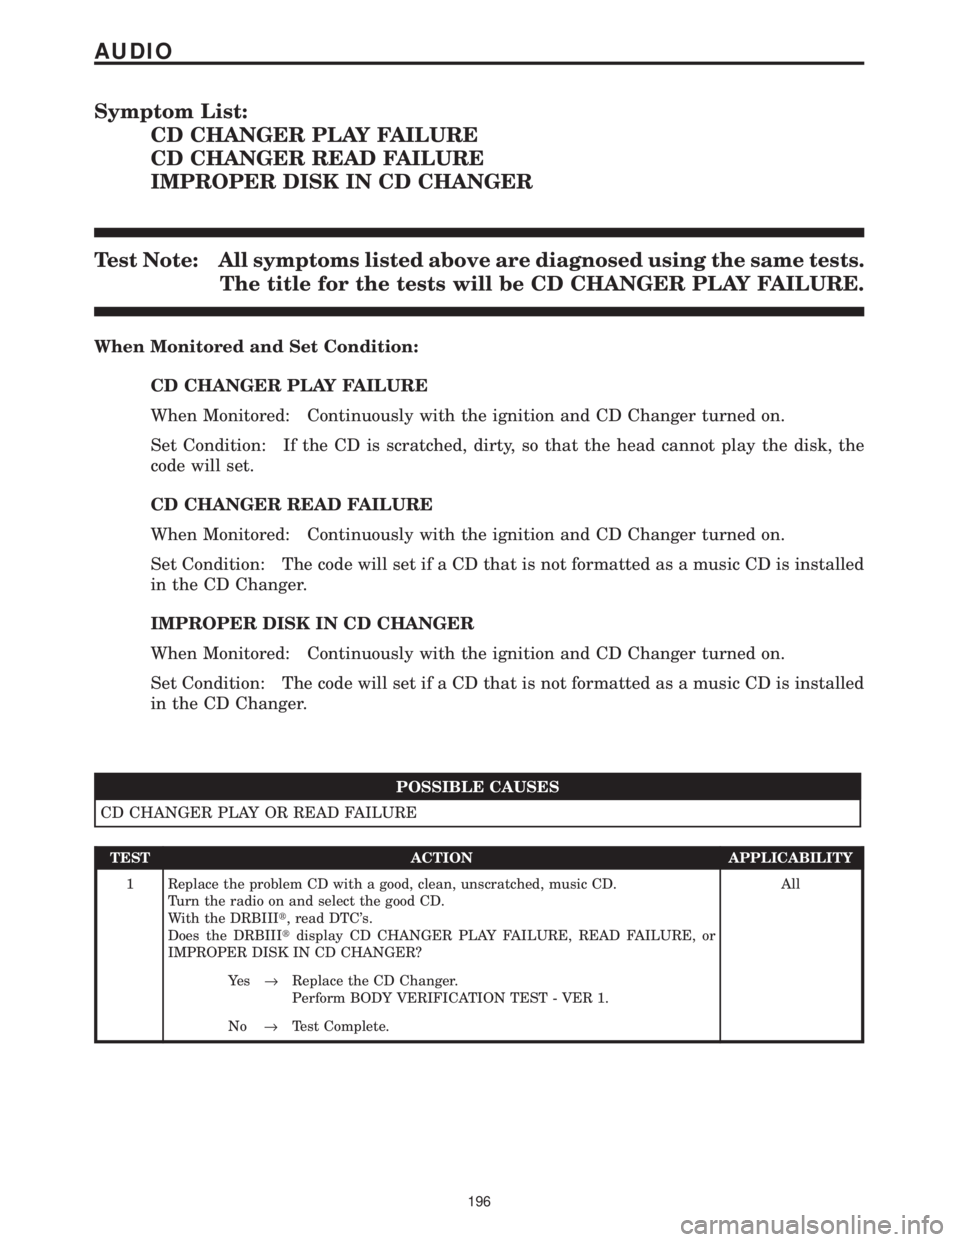
Symptom List:
CD CHANGER PLAY FAILURE
CD CHANGER READ FAILURE
IMPROPER DISK IN CD CHANGER
Test Note: All symptoms listed above are diagnosed using the same tests.
The title for the tests will be CD CHANGER PLAY FAILURE.
When Monitored and Set Condition:
CD CHANGER PLAY FAILURE
When Monitored: Continuously with the ignition and CD Changer turned on.
Set Condition: If the CD is scratched, dirty, so that the head cannot play the disk, the
code will set.
CD CHANGER READ FAILURE
When Monitored: Continuously with the ignition and CD Changer turned on.
Set Condition: The code will set if a CD that is not formatted as a music CD is installed
in the CD Changer.
IMPROPER DISK IN CD CHANGER
When Monitored: Continuously with the ignition and CD Changer turned on.
Set Condition: The code will set if a CD that is not formatted as a music CD is installed
in the CD Changer.
POSSIBLE CAUSES
CD CHANGER PLAY OR READ FAILURE
TEST ACTION APPLICABILITY
1 Replace the problem CD with a good, clean, unscratched, music CD.
Turn the radio on and select the good CD.
With the DRBIIIt, read DTC's.
Does the DRBIIItdisplay CD CHANGER PLAY FAILURE, READ FAILURE, or
IMPROPER DISK IN CD CHANGER?All
Ye s®Replace the CD Changer.
Perform BODY VERIFICATION TEST - VER 1.
No®Test Complete.
196
AUDIO
Page 227 of 4284

Symptom List:
CD CHANGER TEMPERATURE HIGH
CD CHANGER TEMPERATURE LOW
Test Note: All symptoms listed above are diagnosed using the same tests.
The title for the tests will be CD CHANGER TEMPERATURE
HIGH.
When Monitored and Set Condition:
CD CHANGER TEMPERATURE HIGH
When Monitored: Continuously with the ignition and CD Changer turned on.
Set Condition: The code will set if the temperature inside the CD Changer is above +65É
C (+145É F).
CD CHANGER TEMPERATURE LOW
When Monitored: Continuously with the ignition and CD Changer turned on.
Set Condition: The code will set if the temperature inside the CD Changer is below -23É
C (-10É F).
POSSIBLE CAUSES
LOW OR HIGH TEMPERATURE FAILURE
TEST ACTION APPLICABILITY
1 With the DRBIIIt, erase the audio DTC's.
Start the engine and allow the engine to reach normal operating temperature.
If the vehicle has been in the hot sunlight or extreme cold move the vehicle indoors
and open the doors to allow the inside temperature to stabilize.
The CD Changer will operate between -23É C and 65É C (-10É F and +145É F).
With the DRBIIIt, read DTC's.
Does the DRBIIItdisplay CD CHANGER TEMPERATURE LOW or CD CHANGER
TEMPERATURE HIGH?All
Ye s®Replace the CD Changer.
Perform BODY VERIFICATION TEST - VER 1.
No®Test Complete.
198
AUDIO
Page 228 of 4284
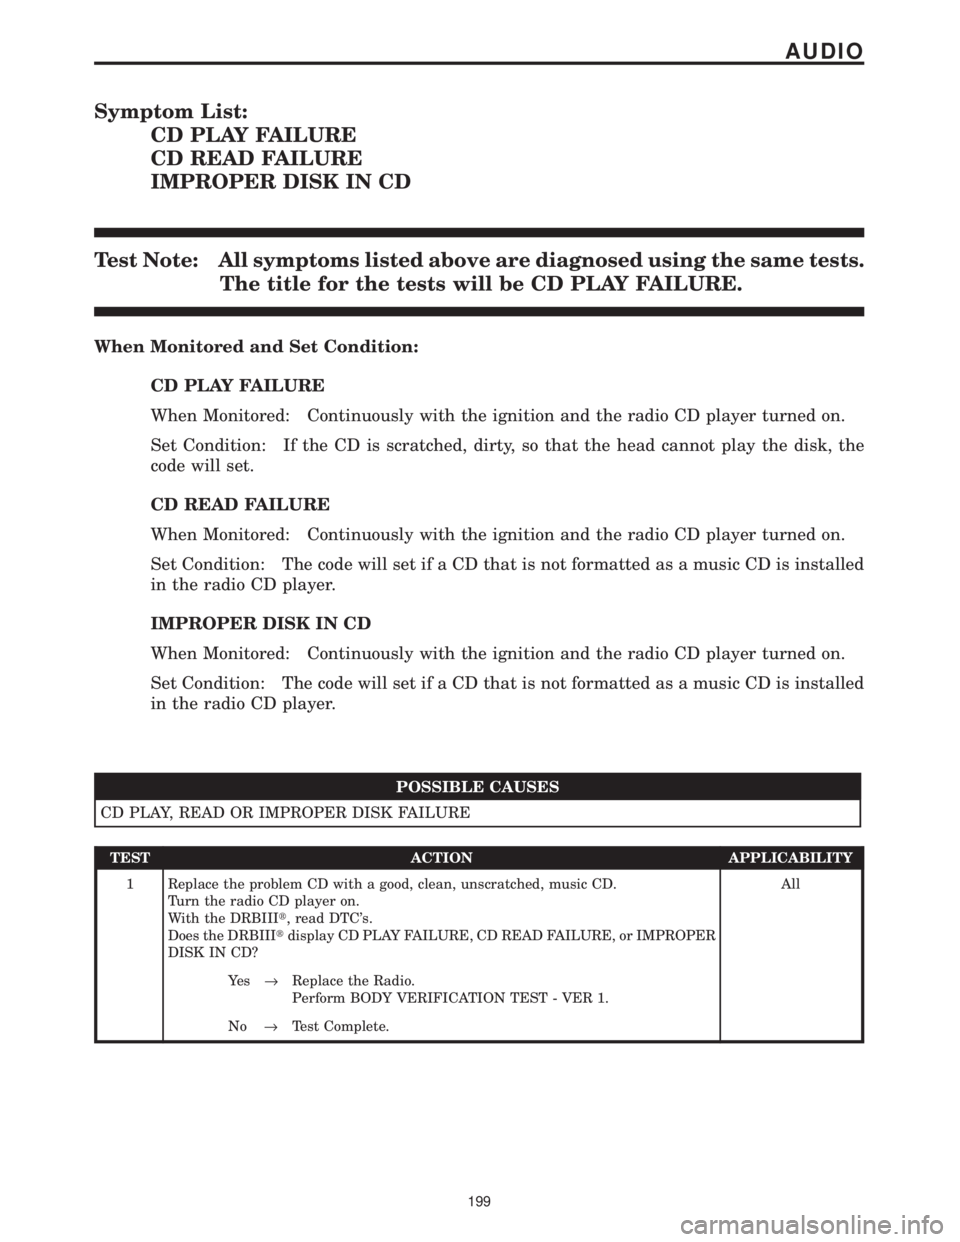
Symptom List:
CD PLAY FAILURE
CD READ FAILURE
IMPROPER DISK IN CD
Test Note: All symptoms listed above are diagnosed using the same tests.
The title for the tests will be CD PLAY FAILURE.
When Monitored and Set Condition:
CD PLAY FAILURE
When Monitored: Continuously with the ignition and the radio CD player turned on.
Set Condition: If the CD is scratched, dirty, so that the head cannot play the disk, the
code will set.
CD READ FAILURE
When Monitored: Continuously with the ignition and the radio CD player turned on.
Set Condition: The code will set if a CD that is not formatted as a music CD is installed
in the radio CD player.
IMPROPER DISK IN CD
When Monitored: Continuously with the ignition and the radio CD player turned on.
Set Condition: The code will set if a CD that is not formatted as a music CD is installed
in the radio CD player.
POSSIBLE CAUSES
CD PLAY, READ OR IMPROPER DISK FAILURE
TEST ACTION APPLICABILITY
1 Replace the problem CD with a good, clean, unscratched, music CD.
Turn the radio CD player on.
With the DRBIIIt, read DTC's.
Does the DRBIIItdisplay CD PLAY FAILURE, CD READ FAILURE, or IMPROPER
DISK IN CD?All
Ye s®Replace the Radio.
Perform BODY VERIFICATION TEST - VER 1.
No®Test Complete.
199
AUDIO