spark plugs CHRYSLER VOYAGER 2001 Service Manual
[x] Cancel search | Manufacturer: CHRYSLER, Model Year: 2001, Model line: VOYAGER, Model: CHRYSLER VOYAGER 2001Pages: 4284, PDF Size: 83.53 MB
Page 1496 of 4284
every other interval on Schedule ± B (6,000 miles -
10 000 km).
²Check the engine coolant level, hoses, and
clamps.
EMISSION CONTROL SYSTEM MAINTENANCE
The scheduled emission maintenance listed inbold
typeon the Maintenance Schedules, must be done at
the mileage specified to assure the continued proper
functioning of the emission control system. These,
and all other maintenance services included in this
manual, should be done to provide the best vehicle
performance and reliability. More frequent mainte-
nance may be needed for vehicles in severe operating
conditions such as dusty areas and very short trip
driving.
DESCRIPTION - MAINTENANCE SCHEDULES
SCHEDULE±A±CHRYSLER TOWN AND
COUNTRY VEHICLES
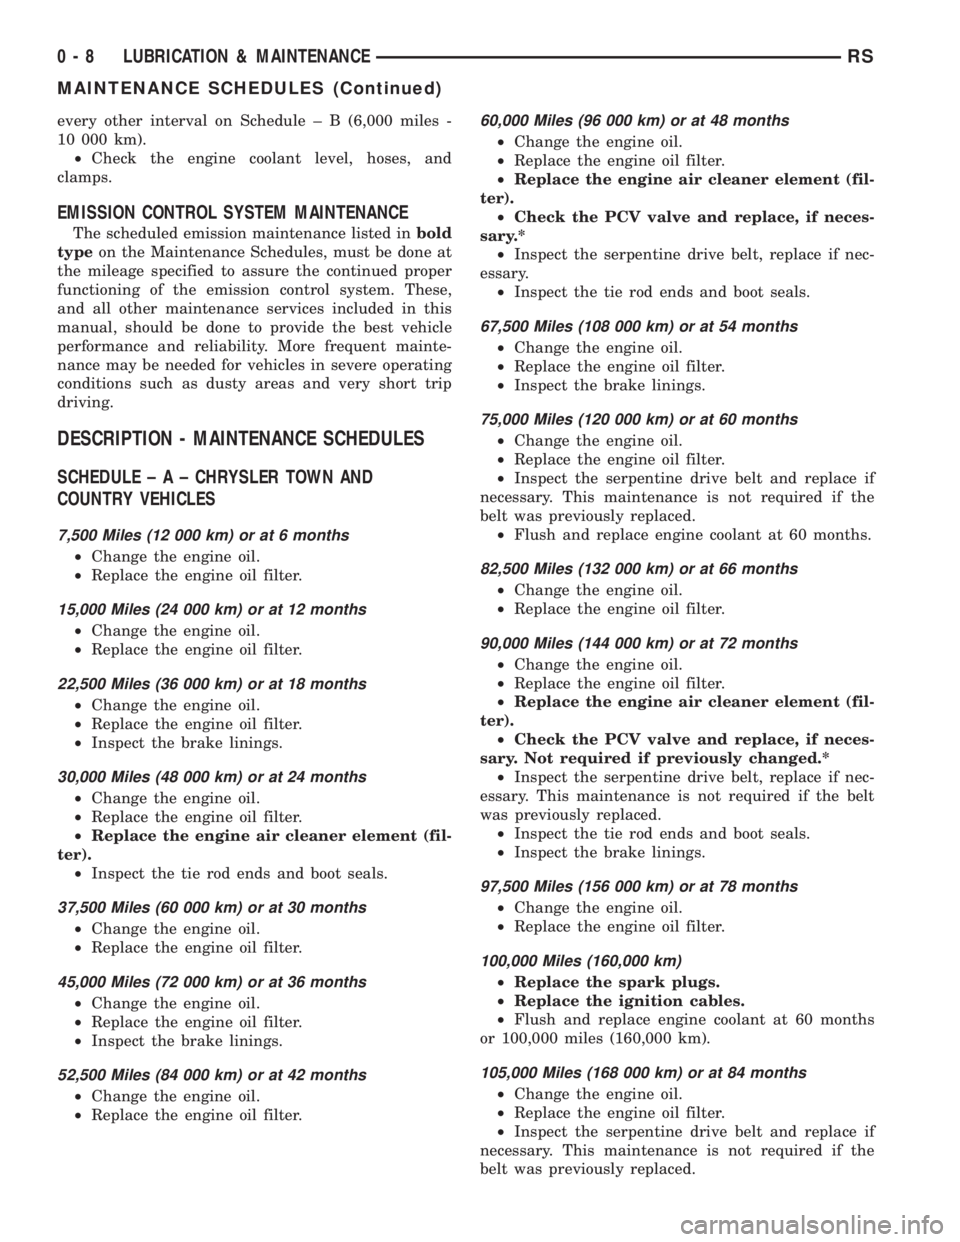
7,500 Miles (12 000 km) or at 6 months
²Change the engine oil.
²Replace the engine oil filter.
15,000 Miles (24 000 km) or at 12 months
²Change the engine oil.
²Replace the engine oil filter.
22,500 Miles (36 000 km) or at 18 months
²Change the engine oil.
²Replace the engine oil filter.
²Inspect the brake linings.
30,000 Miles (48 000 km) or at 24 months
²Change the engine oil.
²Replace the engine oil filter.
²Replace the engine air cleaner element (fil-
ter).
²Inspect the tie rod ends and boot seals.
37,500 Miles (60 000 km) or at 30 months
²Change the engine oil.
²Replace the engine oil filter.
45,000 Miles (72 000 km) or at 36 months
²Change the engine oil.
²Replace the engine oil filter.
²Inspect the brake linings.
52,500 Miles (84 000 km) or at 42 months
²Change the engine oil.
²Replace the engine oil filter.
60,000 Miles (96 000 km) or at 48 months
²Change the engine oil.
²Replace the engine oil filter.
²Replace the engine air cleaner element (fil-
ter).
²Check the PCV valve and replace, if neces-
sary.*
²Inspect the serpentine drive belt, replace if nec-
essary.
²Inspect the tie rod ends and boot seals.
67,500 Miles (108 000 km) or at 54 months
²Change the engine oil.
²Replace the engine oil filter.
²Inspect the brake linings.
75,000 Miles (120 000 km) or at 60 months
²Change the engine oil.
²Replace the engine oil filter.
²Inspect the serpentine drive belt and replace if
necessary. This maintenance is not required if the
belt was previously replaced.
²Flush and replace engine coolant at 60 months.
82,500 Miles (132 000 km) or at 66 months
²Change the engine oil.
²Replace the engine oil filter.
90,000 Miles (144 000 km) or at 72 months
²Change the engine oil.
²Replace the engine oil filter.
²Replace the engine air cleaner element (fil-
ter).
²Check the PCV valve and replace, if neces-
sary. Not required if previously changed.*
²Inspect the serpentine drive belt, replace if nec-
essary. This maintenance is not required if the belt
was previously replaced.
²Inspect the tie rod ends and boot seals.
²Inspect the brake linings.
97,500 Miles (156 000 km) or at 78 months
²Change the engine oil.
²Replace the engine oil filter.
100,000 Miles (160,000 km)
²Replace the spark plugs.
²Replace the ignition cables.
²Flush and replace engine coolant at 60 months
or 100,000 miles (160,000 km).
105,000 Miles (168 000 km) or at 84 months
²Change the engine oil.
²Replace the engine oil filter.
²Inspect the serpentine drive belt and replace if
necessary. This maintenance is not required if the
belt was previously replaced.
0 - 8 LUBRICATION & MAINTENANCERS
MAINTENANCE SCHEDULES (Continued)
Page 1498 of 4284
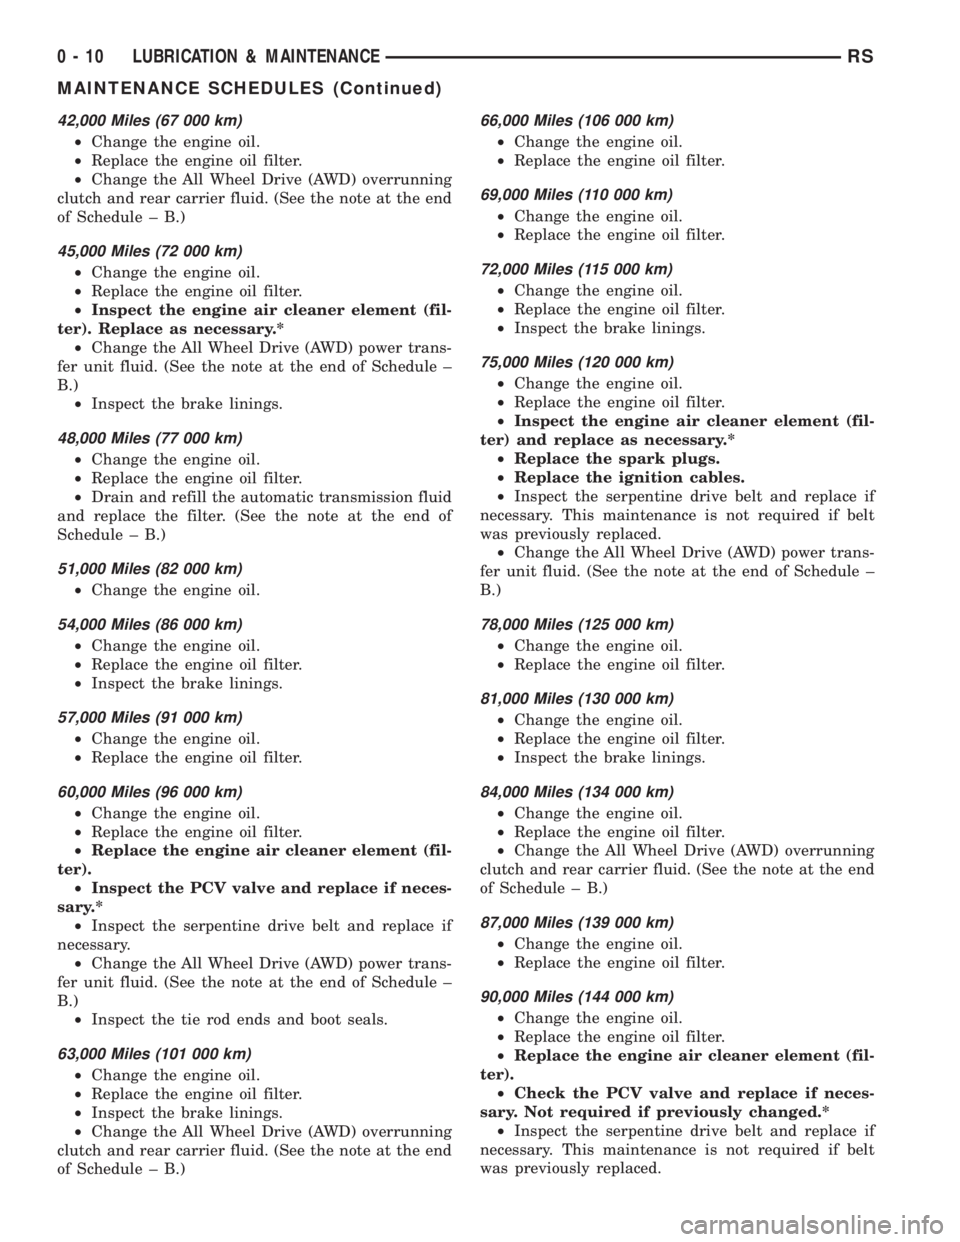
42,000 Miles (67 000 km)
²Change the engine oil.
²Replace the engine oil filter.
²Change the All Wheel Drive (AWD) overrunning
clutch and rear carrier fluid. (See the note at the end
of Schedule ± B.)
45,000 Miles (72 000 km)
²Change the engine oil.
²Replace the engine oil filter.
²Inspect the engine air cleaner element (fil-
ter). Replace as necessary.*
²Change the All Wheel Drive (AWD) power trans-
fer unit fluid. (See the note at the end of Schedule ±
B.)
²Inspect the brake linings.
48,000 Miles (77 000 km)
²Change the engine oil.
²Replace the engine oil filter.
²Drain and refill the automatic transmission fluid
and replace the filter. (See the note at the end of
Schedule ± B.)
51,000 Miles (82 000 km)
²Change the engine oil.
54,000 Miles (86 000 km)
²Change the engine oil.
²Replace the engine oil filter.
²Inspect the brake linings.
57,000 Miles (91 000 km)
²Change the engine oil.
²Replace the engine oil filter.
60,000 Miles (96 000 km)
²Change the engine oil.
²Replace the engine oil filter.
²Replace the engine air cleaner element (fil-
ter).
²Inspect the PCV valve and replace if neces-
sary.*
²Inspect the serpentine drive belt and replace if
necessary.
²Change the All Wheel Drive (AWD) power trans-
fer unit fluid. (See the note at the end of Schedule ±
B.)
²Inspect the tie rod ends and boot seals.
63,000 Miles (101 000 km)
²Change the engine oil.
²Replace the engine oil filter.
²Inspect the brake linings.
²Change the All Wheel Drive (AWD) overrunning
clutch and rear carrier fluid. (See the note at the end
of Schedule ± B.)
66,000 Miles (106 000 km)
²Change the engine oil.
²Replace the engine oil filter.
69,000 Miles (110 000 km)
²Change the engine oil.
²Replace the engine oil filter.
72,000 Miles (115 000 km)
²Change the engine oil.
²Replace the engine oil filter.
²Inspect the brake linings.
75,000 Miles (120 000 km)
²Change the engine oil.
²Replace the engine oil filter.
²Inspect the engine air cleaner element (fil-
ter) and replace as necessary.*
²Replace the spark plugs.
²Replace the ignition cables.
²Inspect the serpentine drive belt and replace if
necessary. This maintenance is not required if belt
was previously replaced.
²Change the All Wheel Drive (AWD) power trans-
fer unit fluid. (See the note at the end of Schedule ±
B.)
78,000 Miles (125 000 km)
²Change the engine oil.
²Replace the engine oil filter.
81,000 Miles (130 000 km)
²Change the engine oil.
²Replace the engine oil filter.
²Inspect the brake linings.
84,000 Miles (134 000 km)
²Change the engine oil.
²Replace the engine oil filter.
²Change the All Wheel Drive (AWD) overrunning
clutch and rear carrier fluid. (See the note at the end
of Schedule ± B.)
87,000 Miles (139 000 km)
²Change the engine oil.
²Replace the engine oil filter.
90,000 Miles (144 000 km)
²Change the engine oil.
²Replace the engine oil filter.
²Replace the engine air cleaner element (fil-
ter).
²Check the PCV valve and replace if neces-
sary. Not required if previously changed.*
²Inspect the serpentine drive belt and replace if
necessary. This maintenance is not required if belt
was previously replaced.
0 - 10 LUBRICATION & MAINTENANCERS
MAINTENANCE SCHEDULES (Continued)
Page 1500 of 4284
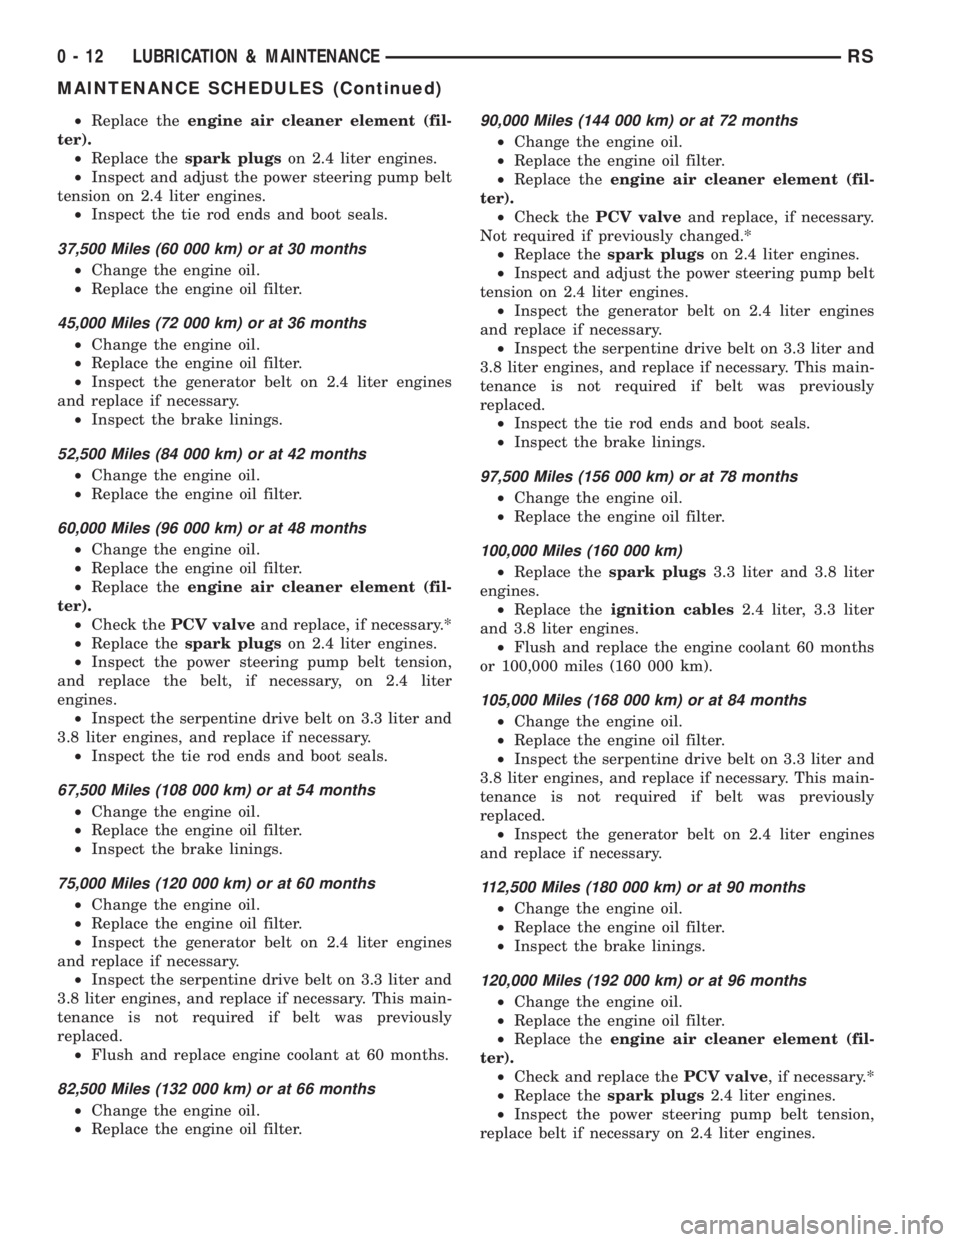
²Replace theengine air cleaner element (fil-
ter).
²Replace thespark plugson 2.4 liter engines.
²Inspect and adjust the power steering pump belt
tension on 2.4 liter engines.
²Inspect the tie rod ends and boot seals.
37,500 Miles (60 000 km) or at 30 months
²Change the engine oil.
²Replace the engine oil filter.
45,000 Miles (72 000 km) or at 36 months
²Change the engine oil.
²Replace the engine oil filter.
²Inspect the generator belt on 2.4 liter engines
and replace if necessary.
²Inspect the brake linings.
52,500 Miles (84 000 km) or at 42 months
²Change the engine oil.
²Replace the engine oil filter.
60,000 Miles (96 000 km) or at 48 months
²Change the engine oil.
²Replace the engine oil filter.
²Replace theengine air cleaner element (fil-
ter).
²Check thePCV valveand replace, if necessary.*
²Replace thespark plugson 2.4 liter engines.
²Inspect the power steering pump belt tension,
and replace the belt, if necessary, on 2.4 liter
engines.
²Inspect the serpentine drive belt on 3.3 liter and
3.8 liter engines, and replace if necessary.
²Inspect the tie rod ends and boot seals.
67,500 Miles (108 000 km) or at 54 months
²Change the engine oil.
²Replace the engine oil filter.
²Inspect the brake linings.
75,000 Miles (120 000 km) or at 60 months
²Change the engine oil.
²Replace the engine oil filter.
²Inspect the generator belt on 2.4 liter engines
and replace if necessary.
²Inspect the serpentine drive belt on 3.3 liter and
3.8 liter engines, and replace if necessary. This main-
tenance is not required if belt was previously
replaced.
²Flush and replace engine coolant at 60 months.
82,500 Miles (132 000 km) or at 66 months
²Change the engine oil.
²Replace the engine oil filter.
90,000 Miles (144 000 km) or at 72 months
²Change the engine oil.
²Replace the engine oil filter.
²Replace theengine air cleaner element (fil-
ter).
²Check thePCV valveand replace, if necessary.
Not required if previously changed.*
²Replace thespark plugson 2.4 liter engines.
²Inspect and adjust the power steering pump belt
tension on 2.4 liter engines.
²Inspect the generator belt on 2.4 liter engines
and replace if necessary.
²Inspect the serpentine drive belt on 3.3 liter and
3.8 liter engines, and replace if necessary. This main-
tenance is not required if belt was previously
replaced.
²Inspect the tie rod ends and boot seals.
²Inspect the brake linings.
97,500 Miles (156 000 km) or at 78 months
²Change the engine oil.
²Replace the engine oil filter.
100,000 Miles (160 000 km)
²Replace thespark plugs3.3 liter and 3.8 liter
engines.
²Replace theignition cables2.4 liter, 3.3 liter
and 3.8 liter engines.
²Flush and replace the engine coolant 60 months
or 100,000 miles (160 000 km).
105,000 Miles (168 000 km) or at 84 months
²Change the engine oil.
²Replace the engine oil filter.
²Inspect the serpentine drive belt on 3.3 liter and
3.8 liter engines, and replace if necessary. This main-
tenance is not required if belt was previously
replaced.
²Inspect the generator belt on 2.4 liter engines
and replace if necessary.
112,500 Miles (180 000 km) or at 90 months
²Change the engine oil.
²Replace the engine oil filter.
²Inspect the brake linings.
120,000 Miles (192 000 km) or at 96 months
²Change the engine oil.
²Replace the engine oil filter.
²Replace theengine air cleaner element (fil-
ter).
²Check and replace thePCV valve, if necessary.*
²Replace thespark plugs2.4 liter engines.
²Inspect the power steering pump belt tension,
replace belt if necessary on 2.4 liter engines.
0 - 12 LUBRICATION & MAINTENANCERS
MAINTENANCE SCHEDULES (Continued)
Page 1501 of 4284
²Inspect the generator belt on 2.4 liter engines
and replace if necessary.
²Inspect the serpentine drive belt on 3.3 liter and
3.8 liter engines. Not required if replaced at 75,000,
90,000 or 105,000 miles.
²Replace theengine timing belton 2.4 liter
engine only.
²Inspect the tie rod ends and boot seals.
* This maintenance is recommended by Daimler-
Chrysler Corporation to the owner but is not
required to maintain the emissions warranty.
Inspection and service should also be performed
anytime a malfunction is observed or suspected.
Retain all receipts.
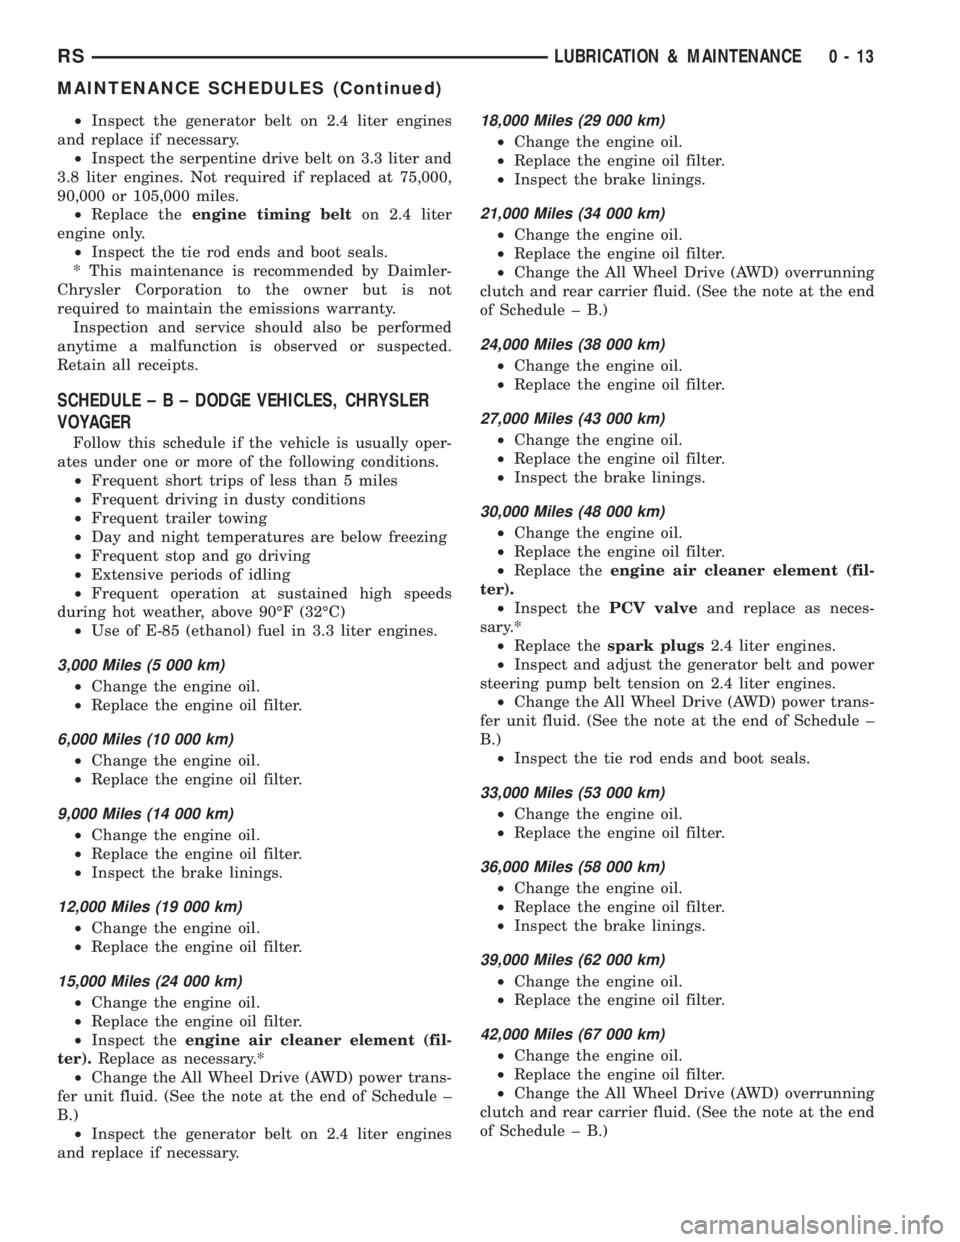
SCHEDULE±B±DODGE VEHICLES, CHRYSLER
VOYAGER
Follow this schedule if the vehicle is usually oper-
ates under one or more of the following conditions.
²Frequent short trips of less than 5 miles
²Frequent driving in dusty conditions
²Frequent trailer towing
²Day and night temperatures are below freezing
²Frequent stop and go driving
²Extensive periods of idling
²Frequent operation at sustained high speeds
during hot weather, above 90ÉF (32ÉC)
²Use of E-85 (ethanol) fuel in 3.3 liter engines.
3,000 Miles (5 000 km)
²Change the engine oil.
²Replace the engine oil filter.
6,000 Miles (10 000 km)
²Change the engine oil.
²Replace the engine oil filter.
9,000 Miles (14 000 km)
²Change the engine oil.
²Replace the engine oil filter.
²Inspect the brake linings.
12,000 Miles (19 000 km)
²Change the engine oil.
²Replace the engine oil filter.
15,000 Miles (24 000 km)
²Change the engine oil.
²Replace the engine oil filter.
²Inspect theengine air cleaner element (fil-
ter).Replace as necessary.*
²Change the All Wheel Drive (AWD) power trans-
fer unit fluid. (See the note at the end of Schedule ±
B.)
²Inspect the generator belt on 2.4 liter engines
and replace if necessary.
18,000 Miles (29 000 km)
²Change the engine oil.
²Replace the engine oil filter.
²Inspect the brake linings.
21,000 Miles (34 000 km)
²Change the engine oil.
²Replace the engine oil filter.
²Change the All Wheel Drive (AWD) overrunning
clutch and rear carrier fluid. (See the note at the end
of Schedule ± B.)
24,000 Miles (38 000 km)
²Change the engine oil.
²Replace the engine oil filter.
27,000 Miles (43 000 km)
²Change the engine oil.
²Replace the engine oil filter.
²Inspect the brake linings.
30,000 Miles (48 000 km)
²Change the engine oil.
²Replace the engine oil filter.
²Replace theengine air cleaner element (fil-
ter).
²Inspect thePCV valveand replace as neces-
sary.*
²Replace thespark plugs2.4 liter engines.
²Inspect and adjust the generator belt and power
steering pump belt tension on 2.4 liter engines.
²Change the All Wheel Drive (AWD) power trans-
fer unit fluid. (See the note at the end of Schedule ±
B.)
²Inspect the tie rod ends and boot seals.
33,000 Miles (53 000 km)
²Change the engine oil.
²Replace the engine oil filter.
36,000 Miles (58 000 km)
²Change the engine oil.
²Replace the engine oil filter.
²Inspect the brake linings.
39,000 Miles (62 000 km)
²Change the engine oil.
²Replace the engine oil filter.
42,000 Miles (67 000 km)
²Change the engine oil.
²Replace the engine oil filter.
²Change the All Wheel Drive (AWD) overrunning
clutch and rear carrier fluid. (See the note at the end
of Schedule ± B.)
RSLUBRICATION & MAINTENANCE0-13
MAINTENANCE SCHEDULES (Continued)
Page 1502 of 4284
45,000 Miles (72 000 km)
²Change the engine oil.
²Replace the engine oil filter.
²Inspect theengine air cleaner element (fil-
ter).Replace as necessary.*
²Inspect the generator belt on 2.4 liter engines
and replace if necessary.
²Change the All Wheel Drive power transfer unit
fluid. (See the note at the end of Schedule ± B.)
²Inspect the brake linings.
48,000 Miles (77 000 km)
²Change the engine oil.
²Replace the engine oil filter.
²Drain and replace the automatic transmission
fluid and filter.
²Adjust bands on 3±speed transmission. (See the
note at the end of Schedule ± B.)
51,000 Miles (82 000 km)
²Change the engine oil.
²Replace the engine oil filter.
54,000 Miles (86 000 km)
²Change the engine oil.
²Replace the engine oil filter.
²Inspect the brake linings.
57,000 Miles (91 000 km)
²Change the engine oil.
²Replace the engine oil filter.
60,000 Miles (96 000 km)
²Change the engine oil.
²Replace the engine oil filter.
²Replace theengine air cleaner element (fil-
ter).
²Inspect thePCV valveand replace if necessary.*
²Replace thespark plugson 2.4 liter engines.
²Inspect the generator belt and power steering
pump belt tension, replace belt if necessary on 2.4
liter engines.
²Inspect the serpentine drive belt on 3.3 liter and
3.8 liter engines and replace if necessary.
²Change the All Wheel Drive (AWD) power trans-
fer unit fluid. (See the note at the end of Schedule ±
B.)
²Inspect the tie rod ends and boot seals.
63,000 Miles (101 000 km)
²Change the engine oil.
²Replace the engine oil filter.
²Change the All Wheel Drive (AWD) overrunning
clutch and rear carrier fluid. (See the note at the end
of Schedule ± B.)
²Inspect the brake linings.
66,000 Miles (106 000 km)
²Change the engine oil.
²Replace the engine oil filter.
69,000 Miles (110 000 km)
²Change the engine oil.
²Replace the engine oil filter.
72,000 Miles (115 000 km)
²Change the engine oil.
²Replace the engine oil filter.
²Inspect the brake linings.
75,000 Miles (120 000 km)
²Change the engine oil.
²Replace the engine oil filter.
²Inspect theengine air cleaner element (fil-
ter)and replace as necessary.*
²Replace thespark plugs3.3 liter and 3.8 liter
engines.
²Replace theignition cables2.4 liter, 3.3 liter
and 3.8 liter engines.
²Inspect the generator belt on 2.4 liter engines
and replace if necessary.
²Inspect the serpentine drive belt on 3.3 liter and
3.8 liter engines, and replace if necessary. This main-
tenance is not required if belt was previously
replaced.
²Change the All Wheel Drive power transfer unit
fluid. (See the note at the end of Schedule ± B.)
78,000 Miles (125 000 km)
²Change the engine oil.
²Replace the engine oil filter.
81,000 Miles (130 000 km)
²Change the engine oil.
²Replace the engine oil filter.
²Inspect the brake linings.
84,000 Miles (134 000 km)
²Change the engine oil.
²Replace the engine oil filter.
²Change the All Wheel Drive (AWD) overrunning
clutch and rear carrier fluid. (See the note at the end
of Schedule ± B.)
87,000 Miles (139 000 km)
²Change the engine oil.
²Replace the engine oil filter.
90,000 Miles (144 000 km)
²Change the engine oil.
²Replace the engine oil filter.
²Replace theengine air cleaner element (fil-
ter).
0 - 14 LUBRICATION & MAINTENANCERS
MAINTENANCE SCHEDULES (Continued)
Page 1503 of 4284
²Check thePCV valveand replace if necessary.
Not required if previously changed.*
²Replace thespark plugson 2.4 liter engines.
²Inspect the generator belt on 2.4 liter engines
and replace if necessary.
²Inspect the serpentine drive belt (3.3 liter and
3.8 liter engines) and replace if necessary. This main-
tenance is not required if belt was previously
replaced.
²Change the All Wheel Drive (AWD) power trans-
fer unit fluid. (See the note at the end of Schedule ±
B.)
²Inspect the tie rod ends and boot seals.
²Inspect the brake linings.
93,000 Miles (149 000 km)
²Change the engine oil.
²Replace the engine oil filter.
96,000 Miles (154 000 km)
²Change the engine oil.
²Replace the engine oil filter.
²Drain and replace the automatic transmission
fluid and filter.
²Adjust bands on 3±speed transmission. (See the
note at the end of Schedule ± B.)
99,000 Miles (158 000 km)
²Change the engine oil.
²Replace the engine oil filter.
²Inspect the brake linings.
100,000 Miles (160 000 km)
²Flush and replace engine coolant at 60 months
or 100,000 miles (160 000 km).
102,000 Miles (163 000 km)
²Change the engine oil.
²Replace the engine oil filter.
105,000 Miles (168 000 km)
²Change the engine oil.
²Replace the engine oil filter.
²Inspect theengine air cleaner element (fil-
ter)and replace as necessary.*
²Inspect the generator belt on 2.4 liter engines
and replace if necessary.
²Inspect the serpentine drive belt on 3.3 liter and
3.8 liter engines and replace if necessary. This main-
tenance is not required if the belt was previously
replaced.
²Change the All Wheel Drive (AWD) power trans-
fer unit fluid. (See the note at the end of Schedule ±
B.)
²Change the All Wheel Drive (AWD) overrunning
clutch and rear carrier fluid. (See the note at the end
of Schedule ± B.)
108,000 Miles (173 000 km)
²Change the engine oil.
²Replace the engine oil filter.
²Inspect the brake linings.
111,000 Miles (178 000 km)
²Change the engine oil.
²Replace the engine oil filter.
114,000 Miles (182 000 km)
²Change the engine oil.
²Replace the engine oil filter.
117,000 Miles (187 000 km)
²Change the engine oil.
²Replace the engine oil filter.
²Inspect the brake linings.
120,000 Miles (192 000 km)
²Change the engine oil.
²Replace the engine oil filter.
²Replace theengine air cleaner element (fil-
ter).
²Inspect thePCV valveand replace as neces-
sary.*
²Replace thespark plugson 2.4 liter engines.
²Inspect the generator belt and power steering
pump belt tension, replace the belt if necessary on
2.4 liter engines.
²Inspect the serpentine drive belt on 3.3 liter and
3.8 liter engines. Not required if replaced at 75,000,
90,000 or 105,000 miles.
²Replace theengine timing belton 2.4 liter
engines.
²Change the All Wheel Drive (AWD) power trans-
fer unit fluid. (See the note at the end of Schedule ±
B.)
²Inspect the tie rod ends and boot seals.
* This maintenance is recommended by Daimler-
Chrysler Corporation to the owner but is not
required to maintain the emissions warranty.
NOTE: Operating the vehicle more than 50% in
heavy traffic during hot weather, above 90ÉF (32ÉC),
using vehicle for police, taxi, limousine type opera-
tion or trailer towing require the more frequent tran-
saxle service noted in Schedule ± B. Perform these
services if vehicle usually operate under these con-
ditions.
NOTE: The AWD power transfer unit fluid and the
AWD overrunning clutch/rear carrier fluid must be
changed at the more frequent intervals shown in
schedule B if the vehicle is operated under any of
the conditions noted by an asterisk at the begin-
ning of the schedule.
RSLUBRICATION & MAINTENANCE0-15
MAINTENANCE SCHEDULES (Continued)
Page 1917 of 4284
IGNITION CONTROL
TABLE OF CONTENTS
page page
IGNITION CONTROL
DESCRIPTION............................1
OPERATION.............................1
SPECIFICATIONS.........................1
AUTO SHUT DOWN RELAY
DESCRIPTION............................3
OPERATION.............................3
CAMSHAFT POSITION SENSOR
DESCRIPTION............................3
OPERATION.............................3
REMOVAL...............................3
INSTALLATION............................5
IGNITION COIL
DESCRIPTION............................6
OPERATION.............................6REMOVAL...............................6
INSTALLATION............................6
KNOCK SENSOR
DESCRIPTION............................7
OPERATION.............................7
REMOVAL...............................7
INSTALLATION............................8
SPARK PLUG
DESCRIPTION............................8
REMOVAL...............................9
INSTALLATION............................9
SPARK PLUG CABLE
DESCRIPTION............................9
REMOVAL...............................9
INSTALLATION............................9
IGNITION CONTROL
DESCRIPTION - IGNITION SYSTEM
NOTE: All engines use a fixed ignition timing sys-
tem. Basic ignition timing is not adjustable. All
spark advance is determined by the Powertrain
Control Module (PCM).
The distributorless ignition system used on these
engines is referred to as the Direct Ignition System
(DIS). The system's three main components are the
coils, crankshaft position sensor, and camshaft posi-
tion sensor. The coil on plug ignition system utilizesan ignition coil for every cylinder, it is mounted
directly over the each spark plug.
OPERATION - IGNITION SYSTEM
The crankshaft position sensor and camshaft posi-
tion sensor are hall effect devices. The camshaft posi-
tion sensor and crankshaft position sensor generate
pulses that are inputs to the PCM. The PCM deter-
mines engine position from these sensors. The PCM
calculates injector sequence and ignition timing from
crankshaft & camshaft position. For a description of
both sensors, refer to Camshaft Position Sensor and
Crankshaft Position Sensor in this section.
SPECIFICATIONS
TORQUE
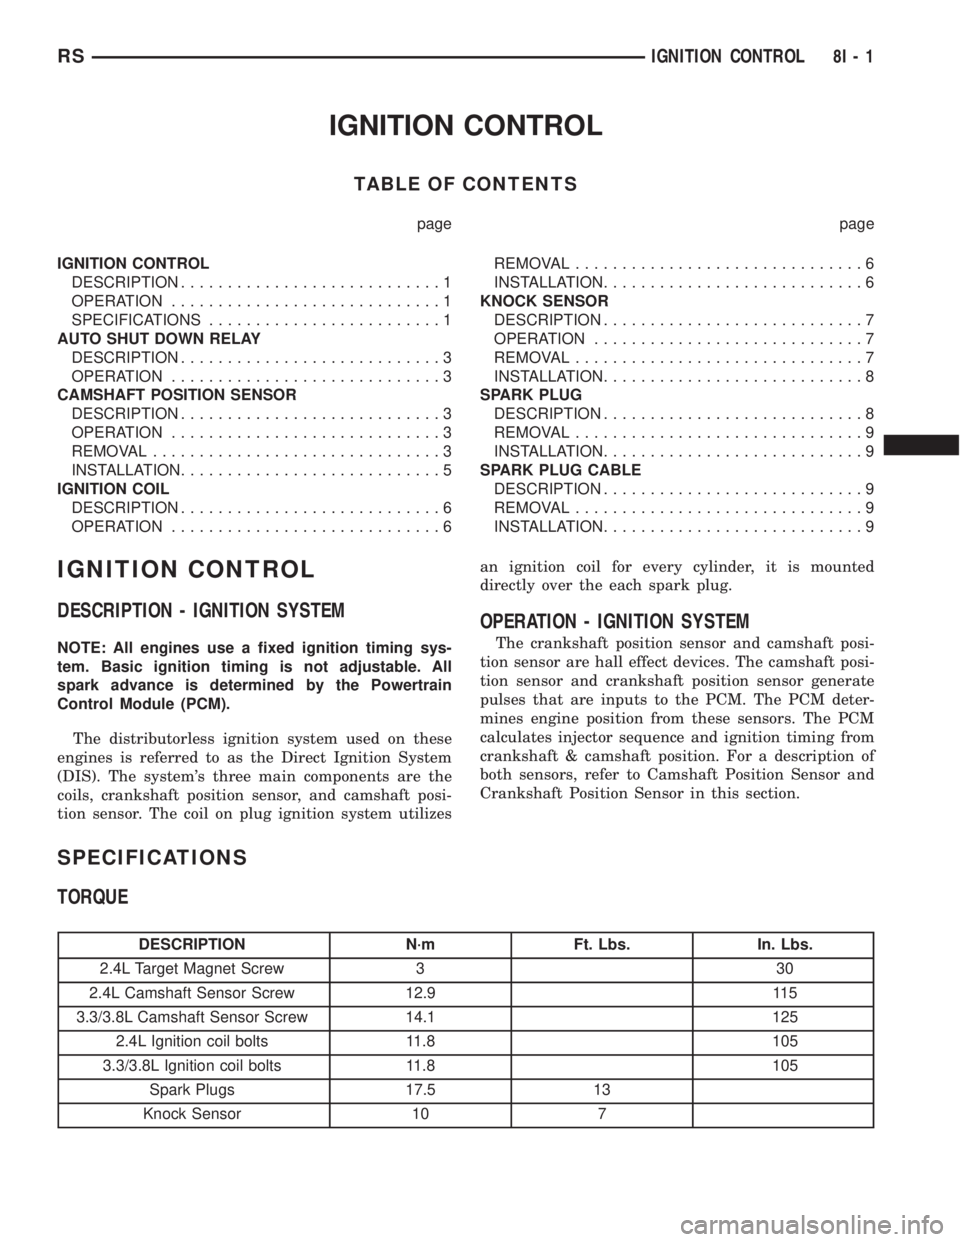
DESCRIPTION N´m Ft. Lbs. In. Lbs.
2.4L Target Magnet Screw 3 30
2.4L Camshaft Sensor Screw 12.9 115
3.3/3.8L Camshaft Sensor Screw 14.1 125
2.4L Ignition coil bolts 11.8 105
3.3/3.8L Ignition coil bolts 11.8 105
Spark Plugs 17.5 13
Knock Sensor 10 7
RSIGNITION CONTROL8I-1
Page 1922 of 4284

IGNITION COIL
DESCRIPTION
The ignition coil assembly consists of 2 or 3 inde-
pendent coils molded together (Fig. 10) or (Fig. 11).
The coil assembly for the 3.3/3.8L is mounted on the
intake manifold. The coil assembly for the 2.4L is
mounted on the cylinder head cover. Spark plug
cables route to each cylinder from the coil.
OPERATION
The coil fires two spark plugs every power stroke.
One plug is the cylinder under compression, the
other cylinder fires on the exhaust stroke. The Pow-
ertrain Control Module (PCM) determines which of
the coils to charge and fire at the correct time.
The Auto Shutdown (ASD) relay provides battery
voltage to the ignition coil. The PCM provides a
ground contact (circuit) for energizing the coil. When
the PCM breaks the contact, the magnetic energy in
the coil transfers to the secondary causing the spark.
The PCM will de-energize the ASD relay if it does
not receive the crankshaft position sensor and cam-
shaft position sensor inputs. Refer to Auto Shutdown
(ASD) RelayÐPCM Output, in this section for relay
operation.
REMOVAL - 2.4L
The electronic ignition coil pack attaches directly
to the valve cover.
(1) Diconnect the negative battery cable.
(2) Disconnect electrical connector from coil pack
(3) Remove coil pack mounting bolts.(4) Remove coil pack and heat shield (Fig. 10).
REMOVAL - 3.3/3.8L
(1) Disconnect the negative battery cable.
(2) Remove the throttle and speed control cables
from clip.
(3) Remove 2 bolts from the Power steering reser-
voir to intake manifold.
(4) Loosen the lower nut for the power steering
reservoir from stud on ignition coil bracket.
(5) Reposition the Power steering reservoir (Fig.
12).
(6) Remove the ignition cables from the ignition
coil.
(7) Disconnect the electrical connector from the
ignition coil.
(8) Remove 2 nuts from the ignition coil studs.
(9) Remove 2 bolts from ignition coil, remove coil.
INSTALLATION - 2.4L
(1) Install ignition coil and heat shield to valve
cover and tighten bolts.
(2) Connect the electrical connector to the ignition
coil.
(3) Transfer spark plug cables to new coil pack.
The coil pack towers are numbered with the cylinder
identification. Be sure the ignition cables are fully
seated onto the towers.
(4) Connect the negative battery cable.
Fig. 10 IGNITION COIL - 2.4L
Fig. 11 IGNITION COIL - 3.3/3.8L
1 - IGNITION COIL
8I - 6 IGNITION CONTROLRS
Page 1924 of 4284
INSTALLATION - 2.4L
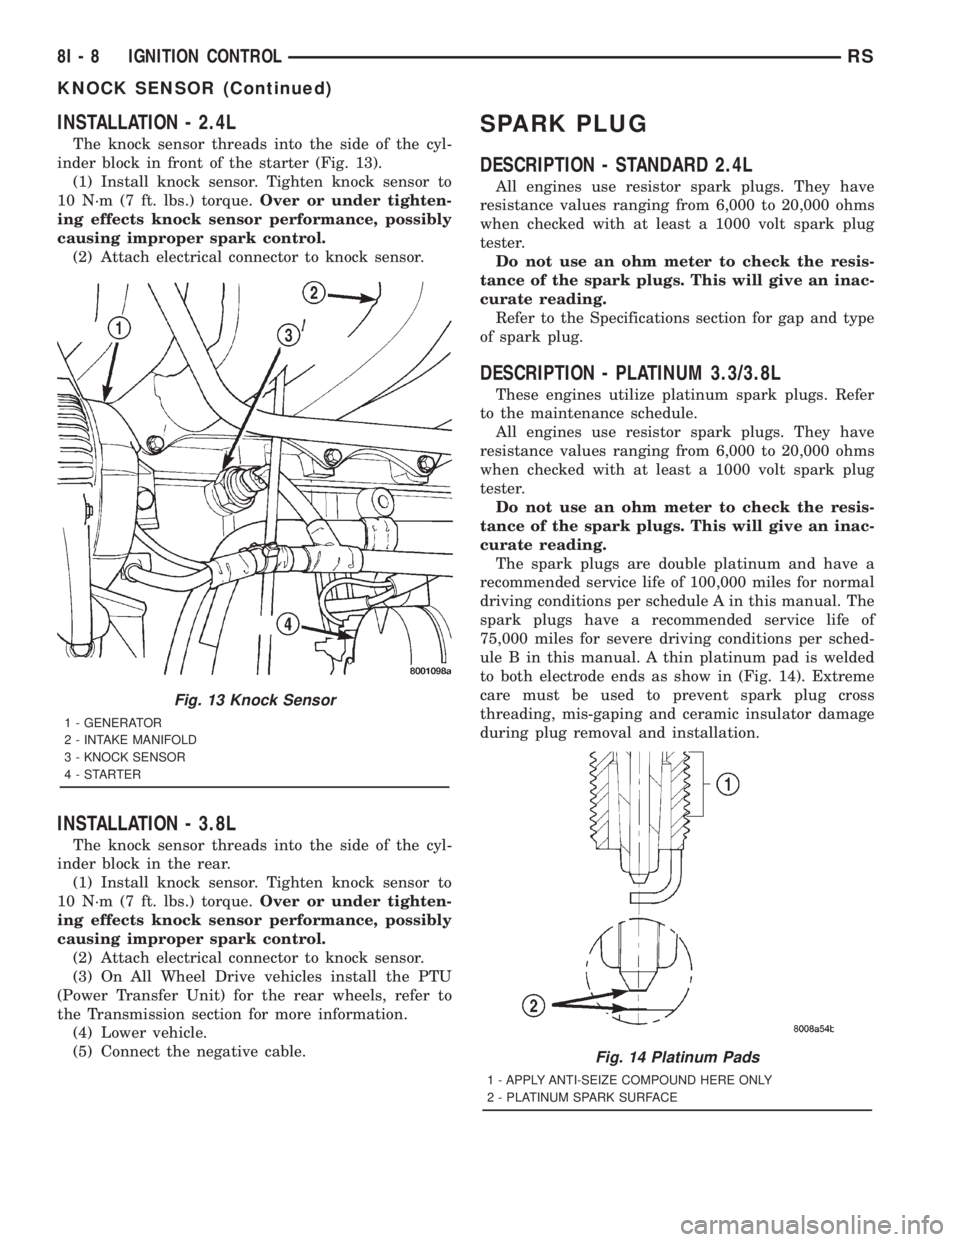
The knock sensor threads into the side of the cyl-
inder block in front of the starter (Fig. 13).
(1) Install knock sensor. Tighten knock sensor to
10 N´m (7 ft. lbs.) torque.Over or under tighten-
ing effects knock sensor performance, possibly
causing improper spark control.
(2) Attach electrical connector to knock sensor.
INSTALLATION - 3.8L
The knock sensor threads into the side of the cyl-
inder block in the rear.
(1) Install knock sensor. Tighten knock sensor to
10 N´m (7 ft. lbs.) torque.Over or under tighten-
ing effects knock sensor performance, possibly
causing improper spark control.
(2) Attach electrical connector to knock sensor.
(3) On All Wheel Drive vehicles install the PTU
(Power Transfer Unit) for the rear wheels, refer to
the Transmission section for more information.
(4) Lower vehicle.
(5) Connect the negative cable.
SPARK PLUG
DESCRIPTION - STANDARD 2.4L
All engines use resistor spark plugs. They have
resistance values ranging from 6,000 to 20,000 ohms
when checked with at least a 1000 volt spark plug
tester.
Do not use an ohm meter to check the resis-
tance of the spark plugs. This will give an inac-
curate reading.
Refer to the Specifications section for gap and type
of spark plug.
DESCRIPTION - PLATINUM 3.3/3.8L
These engines utilize platinum spark plugs. Refer
to the maintenance schedule.
All engines use resistor spark plugs. They have
resistance values ranging from 6,000 to 20,000 ohms
when checked with at least a 1000 volt spark plug
tester.
Do not use an ohm meter to check the resis-
tance of the spark plugs. This will give an inac-
curate reading.
The spark plugs are double platinum and have a
recommended service life of 100,000 miles for normal
driving conditions per schedule A in this manual. The
spark plugs have a recommended service life of
75,000 miles for severe driving conditions per sched-
ule B in this manual. A thin platinum pad is welded
to both electrode ends as show in (Fig. 14). Extreme
care must be used to prevent spark plug cross
threading, mis-gaping and ceramic insulator damage
during plug removal and installation.
Fig. 13 Knock Sensor
1 - GENERATOR
2 - INTAKE MANIFOLD
3 - KNOCK SENSOR
4-STARTER
Fig. 14 Platinum Pads
1 - APPLY ANTI-SEIZE COMPOUND HERE ONLY
2 - PLATINUM SPARK SURFACE
8I - 8 IGNITION CONTROLRS
KNOCK SENSOR (Continued)
Page 1925 of 4284

CAUTION: Cleaning of the platinum plug may dam-
age the platinum tip.
REMOVAL
When replacing the spark plugs and spark plug
cables, route the cables correctly and secure them in
the appropriate retainers. Failure to route the cables
properly can cause the radio to reproduce ignition
noise, cross ignition of the spark plugs orshort cir-
cuit the cables to ground.
Always remove cables by grasping at the boot,
rotating the boot 1/2 turn, and pulling straight back
in a steady motion.
(1) Prior to removing the spark plug, spray com-
pressed air around the spark plug hole and the area
around the spark plug.
(2) Remove the spark plug using a quality socket
with a foam insert.
(3) Inspect the spark plug condition.
INSTALLATION
When replacing the spark plugs and spark plug
cables, route the cables correctly and secure them in
the appropriate retainers. Failure to route the cables
properly can cause the radio to reproduce ignition
noise, cross ignition of the spark plugs orshort cir-
cuit the cables to ground.(1) To avoid cross threading, start the spark plug
into the cylinder head by hand.
(2) Tighten spark plugs to 17.5 N´m (13 ft. lbs.)
torque.
(3) Install spark plug cables over spark plugs. A
click will be heard and felt when the cable properly
attaches to the spark plug.
SPARK PLUG CABLE
DESCRIPTION
Spark Plug cables are sometimes referred to as
secondary ignition wires. The wires transfer electri-
cal current from the ignition coil pack to individual
spark plugs at each cylinder. The resistive spark plug
cables are of nonmetallic construction. The cables
provide suppression of radio frequency emissions
from the ignition system.
Check the spark plug cable connections for good
contact at the coil, and spark plugs. Terminals should
be fully seated. The insulators should be in good con-
dition and should fit tightly on the coil, and spark
plugs. Spark plug cables with insulators that are
cracked or torn must be replaced.
Clean Spark Plug cables with a cloth moistened
with a non-flammable solvent. Wipe the cables dry.
Check for brittle or cracked insulation. The spark
plug cables and spark plug boots are made from high
temperature silicone materials. All spark plug cable
leads are properly identified with cylinder numbers.
The inside of most the spark plug boot is coated with
a special high temperature silicone grease for greater
sealing and to minimize boot bonding to the spark
plug insulator.
REMOVAL
Failure to route the cables properly could cause the
radio to reproduce ignition noise, cross ignition of the
spark plugs or short circuit the cables to ground.
Remove spark plug cable from coil first.
Always remove the spark plug cable by grasping
the top of the spark plug insulator, turning the boot
1/2 turn and pulling straight up in a steady motion.
INSTALLATION
Failure to route the cables properly could cause the
radio to reproduce ignition noise, cross ignition of the
spark plugs or short circuit the cables to ground.
Install spark plug insulators over spark plugs.
Ensure the top of the spark plug insulator covers the
upper end of the spark plug tube.Then connect the
other end to coil pack.
Fig. 15 Setting Spark Plug Electrode Gap
1 - TAPER GAUGE
RSIGNITION CONTROL8I-9
SPARK PLUG (Continued)