set clock CHRYSLER VOYAGER 2022 Owners Manual
[x] Cancel search | Manufacturer: CHRYSLER, Model Year: 2022, Model line: VOYAGER, Model: CHRYSLER VOYAGER 2022Pages: 316, PDF Size: 17.41 MB
Page 64 of 316

62GETTING TO KNOW YOUR VEHICLE
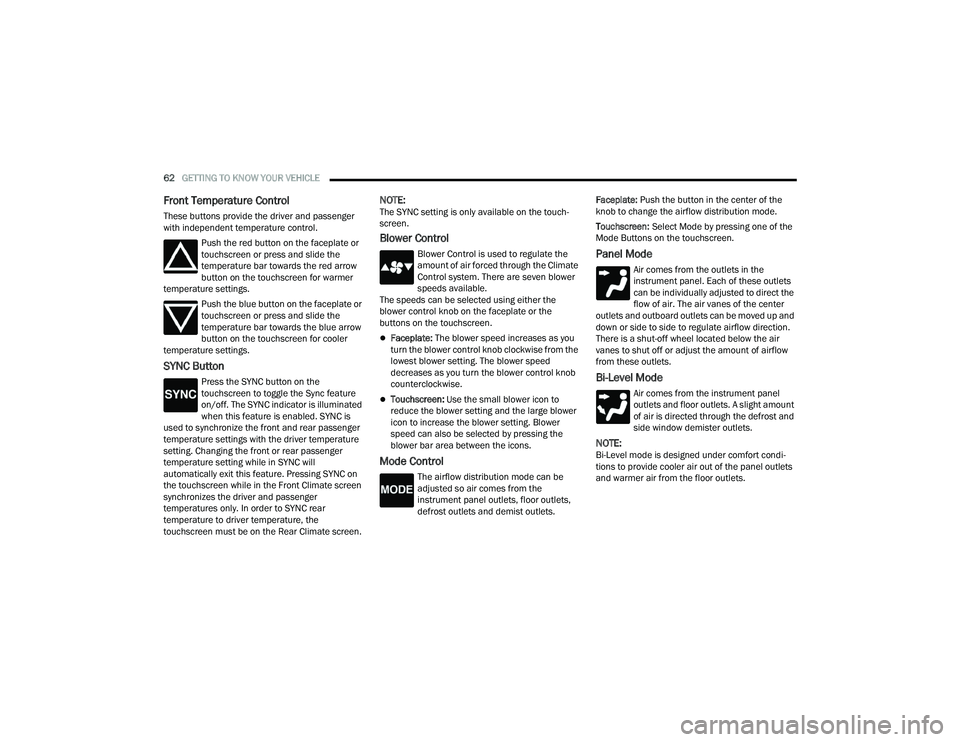
Front Temperature Control
These buttons provide the driver and passenger
with independent temperature control.
Push the red button on the faceplate or
touchscreen or press and slide the
temperature bar towards the red arrow
button on the touchscreen for warmer
temperature settings.
Push the blue button on the faceplate or
touchscreen or press and slide the
temperature bar towards the blue arrow
button on the touchscreen for cooler
temperature settings.
SYNC Button
Press the SYNC button on the
touchscreen to toggle the Sync feature
on/off. The SYNC indicator is illuminated
when this feature is enabled. SYNC is
used to synchronize the front and rear passenger
temperature settings with the driver temperature
setting. Changing the front or rear passenger
temperature setting while in SYNC will
automatically exit this feature. Pressing SYNC on
the touchscreen while in the Front Climate screen
synchronizes the driver and passenger
temperatures only. In order to SYNC rear
temperature to driver temperature, the
touchscreen must be on the Rear Climate screen.
NOTE:The SYNC setting is only available on the touch -
screen.
Blower Control
Blower Control is used to regulate the
amount of air forced through the Climate
Control system. There are seven blower
speeds available.
The speeds can be selected using either the
blower control knob on the faceplate or the
buttons on the touchscreen.
Faceplate: The blower speed increases as you
turn the blower control knob clockwise from the
lowest blower setting. The blower speed
decreases as you turn the blower control knob
counterclockwise.
Touchscreen: Use the small blower icon to
reduce the blower setting and the large blower
icon to increase the blower setting. Blower
speed can also be selected by pressing the
blower bar area between the icons.
Mode Control
The airflow distribution mode can be
adjusted so air comes from the
instrument panel outlets, floor outlets,
defrost outlets and demist outlets. Faceplate:
Push the button in the center of the
knob to change the airflow distribution mode.
Touchscreen: Select Mode by pressing one of the
Mode Buttons on the touchscreen.
Panel Mode
Air comes from the outlets in the
instrument panel. Each of these outlets
can be individually adjusted to direct the
flow of air. The air vanes of the center
outlets and outboard outlets can be moved up and
down or side to side to regulate airflow direction.
There is a shut-off wheel located below the air
vanes to shut off or adjust the amount of airflow
from these outlets.
Bi-Level Mode
Air comes from the instrument panel
outlets and floor outlets. A slight amount
of air is directed through the defrost and
side window demister outlets.
NOTE:Bi-Level mode is designed under comfort condi -
tions to provide cooler air out of the panel outlets
and warmer air from the floor outlets.
22_RUVG_OM_EN_USC_t.book Page 62
Page 148 of 316

146MULTIMEDIA
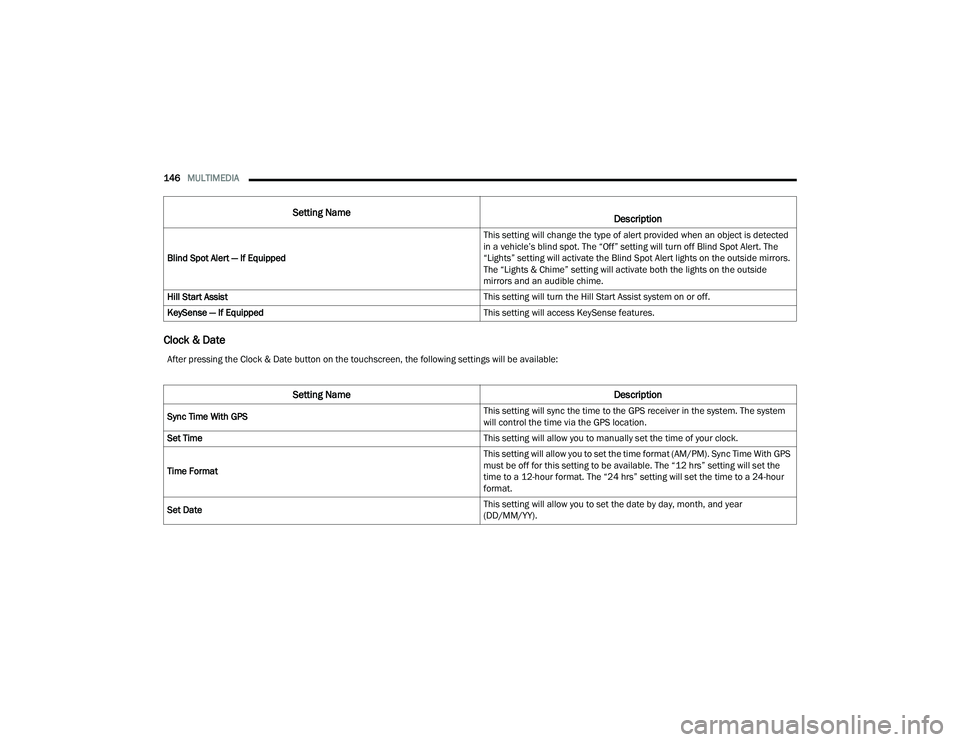
Clock & Date
Blind Spot Alert — If Equipped This setting will change the type of alert provided when an object is detected
in a vehicle’s blind spot. The “Off” setting will turn off Blind Spot Alert. The
“Lights” setting will activate the Blind Spot Alert lights on the outside mirrors.
The “Lights & Chime” setting will activate both the lights on the outside
mirrors and an audible chime.
Hill Start Assist This setting will turn the Hill Start Assist system on or off.
KeySense — If Equipped This setting will access KeySense features.
Setting Name
Description
After pressing the Clock & Date button on the touchscreen, the following settings will be available:
Setting Name Description
Sync Time With GPS This setting will sync the time to the GPS receiver in the system. The system
will control the time via the GPS location.
Set Time This setting will allow you to manually set the time of your clock.
Time Format This setting will allow you to set the time format (AM/PM). Sync Time With GPS
must be off for this setting to be available. The “12 hrs” setting will set the
time to a 12-hour format. The “24 hrs” setting will set the time to a 24-hour
format.
Set Date This setting will allow you to set the date by day, month, and year
(DD/MM/YY).
22_RUVG_OM_EN_USC_t.book Page 146