light CITROEN BERLINGO VAN 2019 User Guide
[x] Cancel search | Manufacturer: CITROEN, Model Year: 2019, Model line: BERLINGO VAN, Model: CITROEN BERLINGO VAN 2019Pages: 324, PDF Size: 9.41 MB
Page 26 of 324
24
Instruments
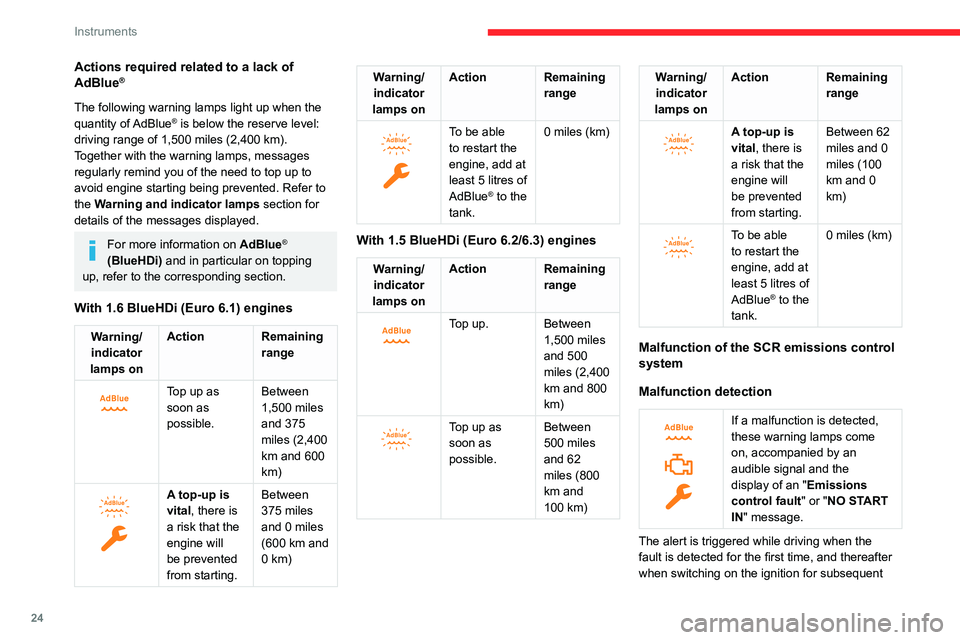
Actions required related to a lack of
AdBlue®
The following warning lamps light up when the
quantity of AdBlue® is below the reserve level:
driving range of 1,500 miles (2,400 km).
Together with the warning lamps, messages
regularly remind you of the need to top up to
avoid engine starting being prevented. Refer to
the Warning and indicator lamps section for
details of the messages displayed.
For more information on AdBlue®
(BlueHDi) and in particular on topping
up, refer to the corresponding section.
With 1.6 BlueHDi (Euro 6.1) engines
Warning/ indicator
lamps on Action Remaining
range
Top up as
soon as
possible.Between
1,500 miles
and 375
miles (2,400
km and 600
km)
A top-up is
vital, there is
a risk that the
engine will
be prevented
from starting.Between
375 miles
and 0 miles
(600 km and
0 km)
Warning/
indicator
lamps on Action Remaining
range
To be able
to restart the
engine, add at
least 5 litres of
AdBlue
® to the
tank. 0 miles (km)
With 1.5 BlueHDi (Euro 6.2/6.3) engines
Warning/
indicator
lamps on Action Remaining
range
Top up. Between 1,500 miles
and 500
miles (2,400
km and 800
km)
Top up as
soon as
possible.Between
500 miles
and 62
miles (800
km and
100
km)
Warning/indicator
lamps on Action Remaining
range
A top-up is
vital, there is
a risk that the
engine will
be prevented
from starting.Between 62
miles and 0
miles (100
km and 0
km)
To be able
to restart the
engine, add at
least 5 litres of
AdBlue
® to the
tank. 0 miles (km)
Malfunction of the SCR emissions control
system
Malfunction detection
If a malfunction is detected,
these warning lamps come
on, accompanied by an
audible signal and the
display of an "
Emissions
control
fault" or "NO START
IN" message.
The alert is triggered while driving when the
fault is detected for the first time, and thereafter
when switching on the ignition for subsequent
Page 28 of 324
26
Instruments
Associated warning lamps
Two successive alert levels indicate that the
energy available has dropped to a low level:
1st level: Reserve
The state of charge of the traction battery is low.
Fixed and indicator in the red zone,
accompanied by an audible signal.
►
V
iew the remaining range on the instrument
panel.
►
Put the vehicle on charge as soon as
possible.
2nd level: Critical
The state of charge of the traction battery is critical.
Fixed, together with the reserve warning lamp,
accompanied by an audible signal.
►
Y
ou must put the vehicle on charge.
The remaining range is no longer calculated. The drive train power
gradually decreases.
The heating and air conditioning are switched
off (even if the thermal comfort consumption
indicator is not at the "ECO" level).
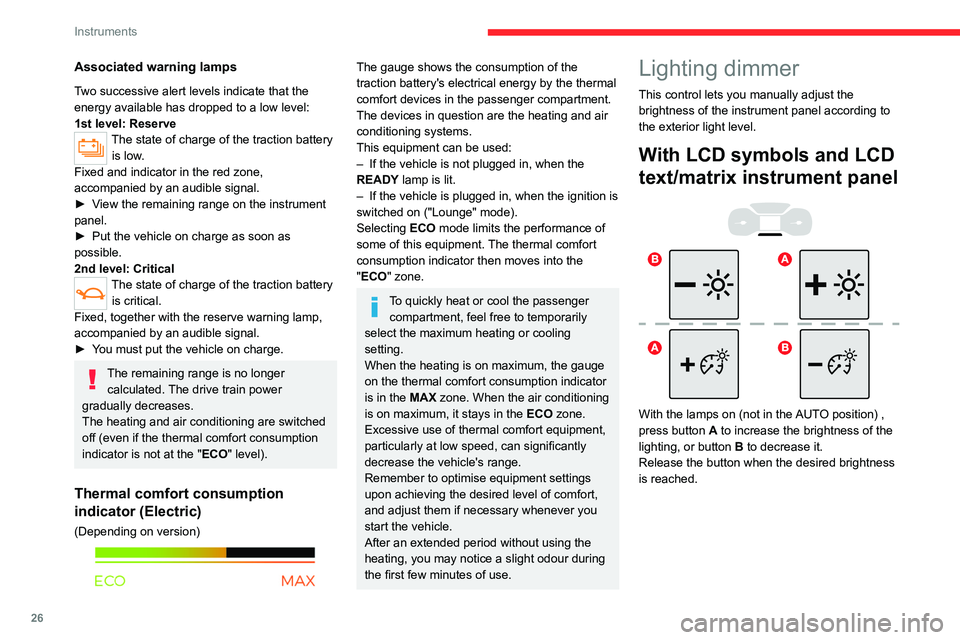
Thermal comfort consumption
indicator (Electric)
(Depending on version)
The gauge shows the consumption of the
traction battery's electrical energy by the thermal
comfort devices in the passenger compartment.
The devices in question are the heating and air
conditioning systems.
This equipment can be used:
–
If the vehicle is not plugged in, when the
READY
lamp is lit.
–
If the vehicle is plugged in, when the ignition is
switched on ("Lounge" mode).
Selecting ECO
mode limits the performance of
some of this equipment. The thermal comfort
consumption indicator then moves into the
"ECO" zone.
To quickly heat or cool the passenger compartment, feel free to temporarily
select the maximum heating or cooling
setting.
When the heating is on maximum, the gauge
on the thermal comfort consumption indicator
is in the MAX zone. When the air conditioning
is on maximum, it stays in the ECO zone.
Excessive use of thermal comfort equipment,
particularly at low speed, can significantly
decrease the vehicle's range.
Remember to optimise equipment settings
upon achieving the desired level of comfort,
and adjust them if necessary whenever you
start the vehicle.
After an extended period without using the
heating, you may notice a slight odour during
the first few minutes of use.
Lighting dimmer
This control lets you manually adjust the
brightness of the instrument panel according to
the exterior light level.
With LCD symbols and LCD
text/matrix instrument panel
With the lamps on (not in the AUTO position) ,
press button A to increase the brightness of the
lighting, or button B to decrease it.
Release the button when the desired brightness
is reached.
Page 35 of 324
33
Access
2
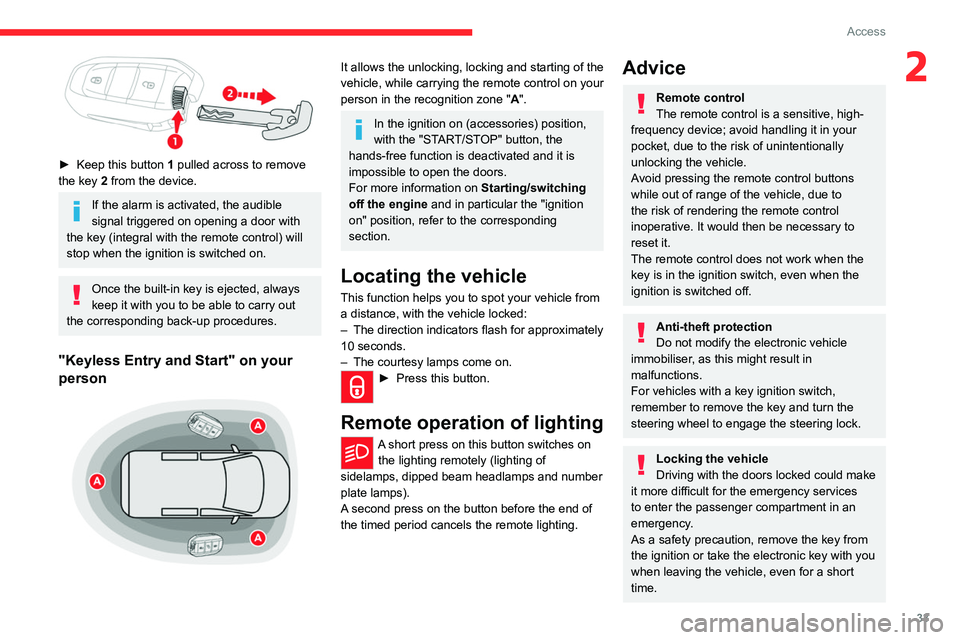
► Keep this button 1 pulled across to remove
the key 2 from the device.
If the alarm is activated, the audible
signal triggered on opening a door with
the key (integral with the remote control) will
stop when the ignition is switched on.
Once the built-in key is ejected, always
keep it with you to be able to carry out
the corresponding back-up procedures.
"Keyless Entry and Start" on your
person
It allows the unlocking, locking and starting of the
vehicle, while carrying the remote control on your
person in the recognition zone " A".
In the ignition on (accessories) position,
with the "START/STOP" button, the
hands-free function is deactivated and it is
impossible to open the doors.
For more information on Starting/switching
off the engine and in particular the "ignition
on" position, refer to the corresponding
section.
Locating the vehicle
This function helps you to spot your vehicle from
a distance, with the vehicle locked:
–
The direction indicators flash for approximately
10 seconds.
–
The courtesy lamps come on.
► Press this button.
Remote operation of lighting
A short press on this button switches on
the lighting remotely (lighting of
sidelamps, dipped beam headlamps and number
plate lamps).
A second press on the button before the end of
the timed period cancels the remote lighting.
Advice
Remote control
The remote control is a sensitive, high-
frequency device; avoid handling it in your
pocket, due to the risk of unintentionally
unlocking the vehicle.
Avoid pressing the remote control buttons
while out of range of the vehicle, due to
the risk of rendering the remote control
inoperative. It would then be necessary to
reset it.
The remote control does not work
when the
key is in the ignition switch, even when the
ignition is switched off.
Anti-theft protection
Do not modify the electronic vehicle
immobiliser, as this might result in
malfunctions.
For vehicles with a key ignition switch,
remember to remove the key and turn the
steering wheel to engage the steering lock.
Locking the vehicle
Driving with the doors locked could make
it more difficult for the emergency services
to enter the passenger compartment in an
emergency.
As a safety precaution, remove the key from
the ignition or take the electronic key with you
when leaving the vehicle, even for a short
time.
Page 39 of 324
37
Access
2► Pull the side-hinged door handle or raise the
tailgate.
With an opening rear screen in the
tailgate
► With the Keyless Entry and Start on your
person, to unlock the vehicle, press the tailgate
opening rear screen unlocking control.
The
screen will open slightly; then, lift it up to open it.
Locking
Ensure that no person or object prevents
the correct closing of the windows.
Be particularly aware of children when
operating the windows.
The locking/deadlocking is signalled by the fixed illumination of the direction
indicators for about two seconds.
Depending on your version, the door mirrors
fold at the same time.
If your vehicle is so equipped, pressing
and holding the locking button closes the
windows. The window stops in position when
you release the button.
With the key
► To lock the vehicle, insert the key in the lock
then turn it towards the rear of the vehicle.
With the remote control
► To lock the vehicle, press this button.
With Keyless Entry and
Start on your person
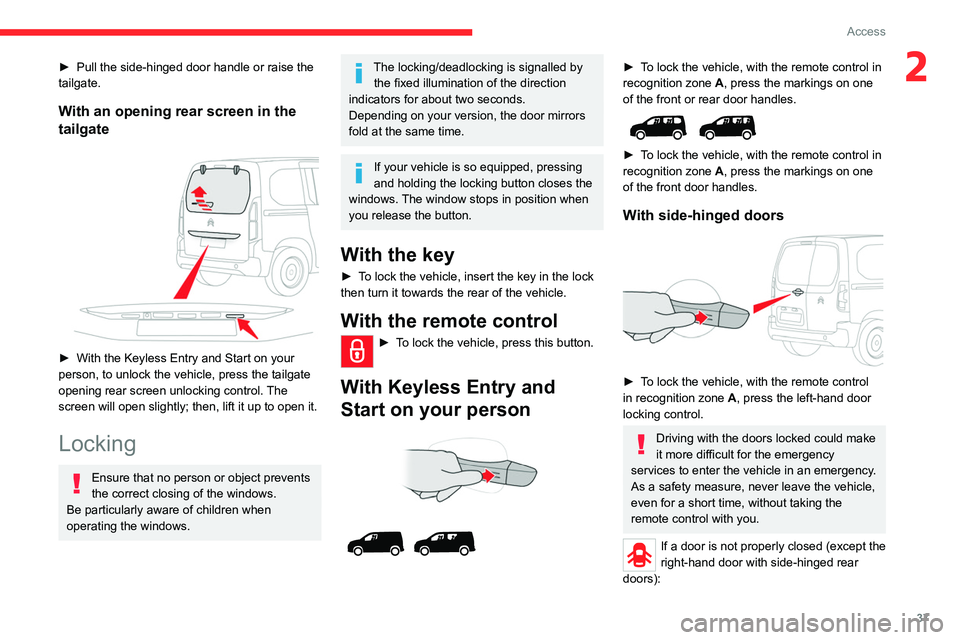
► To lock the vehicle, with the remote control in
recognition zone A, press the markings on one
of the front or rear door handles.
► To lock the vehicle, with the remote control in
recognition zone A, press the markings on one
of the front door handles.
With side-hinged doors
► To lock the vehicle, with the remote control
in recognition zone A, press the left-hand door
locking control.
Driving with the doors locked could make
it more difficult for the emergency
services to enter the vehicle in an emergency.
As a safety measure, never leave the vehicle,
even for a short time, without taking the
remote control with you.
If a door is not properly closed (except the
right-hand door with side-hinged rear
doors):
Page 46 of 324
44
Access
The audible warning, the lighting of the "door
open" warning lamp and the message on the
screen are there to remind you. Contact a
CITROËN dealer or a qualified workshop if
you want to deactivate this warning.
Lock the vehicle when you use an automatic
car wash.
Before opening or closing and while
moving doors, ensure that no person,
animal or object is in the door frame or any
other position that would block the desired
movement, inside or outside the vehicle.
If this advice is not followed, injuries or
damage may occur if any part of a person or
an object is trapped or caught.
Take care not to block the guide space on the floor so that the door can slide
correctly.
For safety and functional reasons, do not
drive with the sliding side door open.
To hold the sliding side door in the open position, open the door fully to engage
the latch (located at the bottom of the door).
To hold the sliding side door in the open position, open the door fully to engage
the latch (located at the bottom of the door).
Doors and door clearances
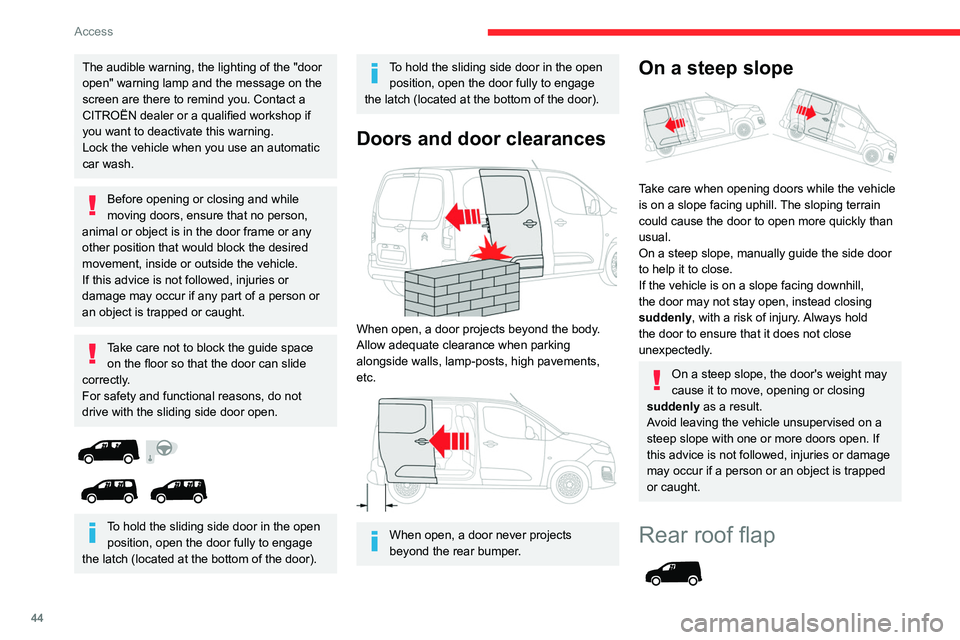
When open, a door projects beyond the body.
Allow adequate clearance when parking
alongside walls, lamp-posts, high pavements,
etc.
When open, a door never projects
beyond the rear bumper.
On a steep slope
Take care when opening doors while the vehicle
is on a slope facing uphill. The sloping terrain
could cause the door to open more quickly than
usual.
On a steep slope, manually guide the side door
to help it to close.
If the vehicle is on a slope facing downhill,
the door may not stay open, instead closing
suddenly, with a risk of injury. Always hold
the door to ensure that it does not close
unexpectedly.
On a steep slope, the door's weight may
cause it to move, opening or closing
suddenly as a result.
Avoid leaving the vehicle unsupervised on a
steep slope with one or more doors open. If
this advice is not followed, injuries or damage
may occur if a person or an object is trapped
or caught.
Rear roof flap
Page 48 of 324
46
Access
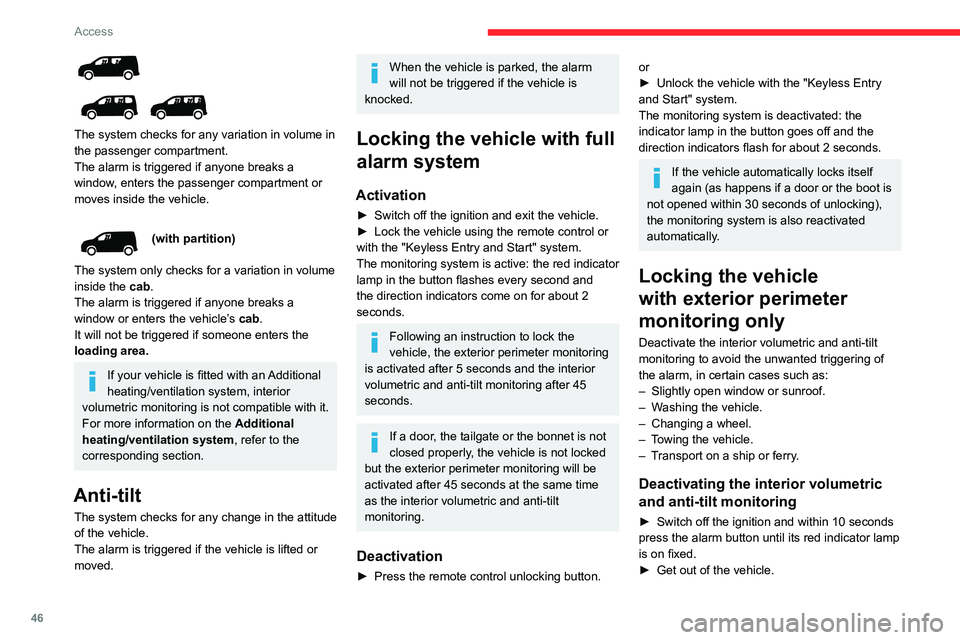
The system checks for any variation in volume in
the passenger compartment.
The alarm is triggered if anyone breaks a
window, enters the passenger compartment or
moves inside the vehicle.
(with partition)
The system only checks for a variation in volume
inside the cab.
The alarm is triggered if anyone breaks a
window or enters the vehicle’s cab.
It will not be triggered if someone enters the
loading area.
If your vehicle is fitted with an Additional
heating/ventilation system, interior
volumetric monitoring is not compatible with it.
For more information on the Additional
heating/ventilation system, refer to the
corresponding section.
Anti-tilt
The system checks for any change in the attitude
of the vehicle.
The alarm is triggered if the vehicle is lifted or
moved.
When the vehicle is parked, the alarm
will not be triggered if the vehicle is
knocked.
Locking the vehicle with full
alarm system
Activation
► Switch off the ignition and exit the vehicle.
► Lock the vehicle using the remote control or
with the "Keyless Entry and Start" system.
The monitoring system is active: the red indicator
lamp in the button flashes every second and
the direction indicators come on for about 2
seconds.
Following an instruction to lock the
vehicle, the exterior perimeter monitoring
is activated after 5 seconds and the interior
volumetric and anti-tilt monitoring after 45
seconds.
If a door, the tailgate or the bonnet is not
closed properly, the vehicle is not locked
but the exterior perimeter monitoring will be
activated after 45 seconds at the same time
as the interior volumetric and anti-tilt
monitoring.
Deactivation
► Press the remote control unlocking button.
or
► Unlock the vehicle with the "Keyless Entry
and Start" system.
The monitoring system is deactivated: the
indicator lamp in the button goes off and the
direction indicators flash for about 2 seconds.
If the vehicle automatically locks itself
again (as happens if a door or the boot is
not opened within 30 seconds of unlocking),
the monitoring system is also reactivated
automatically.
Locking the vehicle
with exterior perimeter
monitoring only
Deactivate the interior volumetric and anti-tilt
monitoring to avoid the unwanted triggering of
the
alarm, in certain cases such as:
–
Slightly open window or sunroof.
–
W
ashing the vehicle.
–
Changing a wheel.
–
T
owing the vehicle.
–
T
ransport on a ship or ferry.
Deactivating the interior volumetric
and anti-tilt monitoring
► Switch off the ignition and within 10 seconds
press the alarm button until its red indicator lamp
is on fixed.
►
Get out of the vehicle.
Page 49 of 324
47
Access
2► Immediately lock the vehicle using the remote
control or the "Keyless Entry and Start" system.
Only the exterior perimeter monitoring is
activated; the button's red indicator lamp flashes
once every second.
To be taken into account, the deactivation must be carried out every time the
ignition is switched off.
Reactivating the interior volumetric
and anti-tilt monitoring
► Deactivate the exterior perimeter monitoring
by unlocking the vehicle using the remote control
or the "Keyless Entry and Start" system.
The indicator lamp in the button goes off.
►
Reactivate all monitoring by locking the
vehicle using the remote control or the "Keyless
Entry and Start" system.
The red indicator lamp in the button once again
flashes every second.
Triggering of the alarm
This is indicated by sounding of the siren
and flashing of the direction indicators for 30
seconds.
Depending on the country of sale, certain
monitoring functions remain active until the alarm
has been triggered eleven times consecutively.
When the vehicle is unlocked using the remote
control or the "Keyless Entry and Start" system,
rapid flashing of the indicator lamp in the button informs you that the alarm was triggered during
your absence. When the ignition is switched on,
this flashing stops immediately.
Failure of the remote control
To deactivate the monitoring functions:
►
Unlock the vehicle using the key in the front
left-hand door lock.
►
Open the door; the alarm is triggered.
►
Switch on the ignition; this stops the alarm.
The indicator lamp in the button goes off.
Locking the vehicle without
activating the alarm
► Lock or deadlock the vehicle using the key
(built-in the remote control) in the driver's door
lock.
Malfunction
When the ignition is switched on, the fixed
lighting of the red indicator lamp in the button
indicates a system malfunction.
Have it checked by a CITROËN dealer or a
qualified workshop.
Automatic activation
(Depending on version)
The system is activated automatically 2 minutes
after the last door or the boot is closed.
►
T
o avoid triggering the alarm on entering the
vehicle, first press the unlocking button on the remote control or unlock the vehicle using the
"Keyless Entry and Start" system.
Electric windows
Type 1
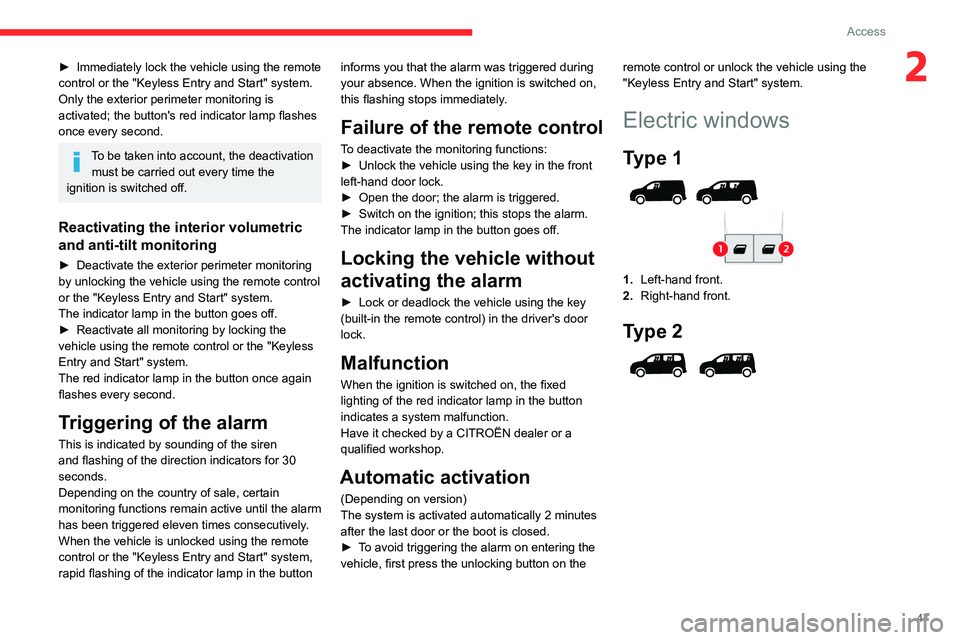
1.
Left-hand front.
2. Right-hand front.
Type 2
Page 58 of 324
56
Ease of use and comfort
Side seat
Retractable position
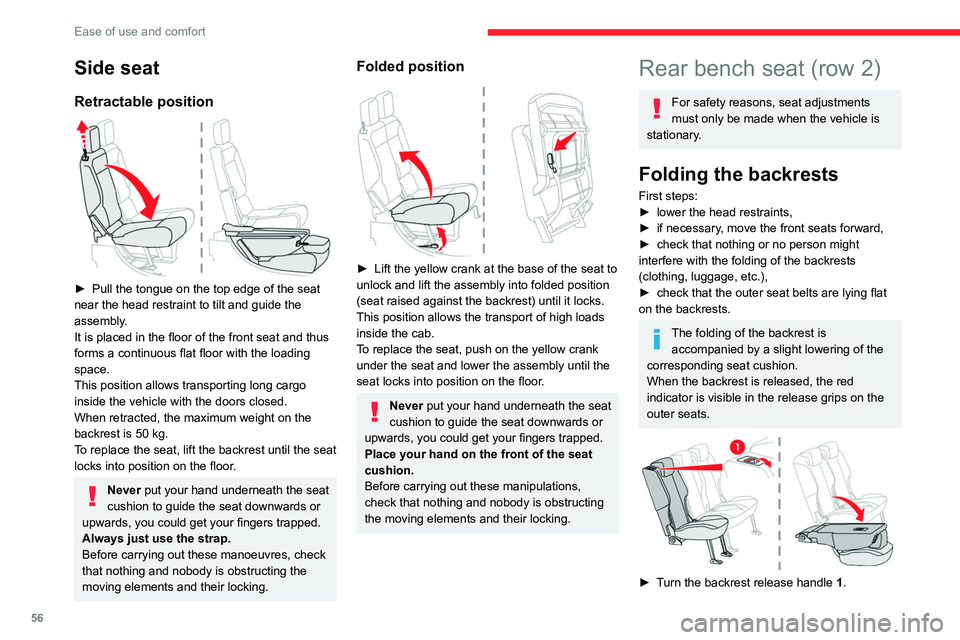
► Pull the tongue on the top edge of the seat
near the head restraint to tilt and guide the
assembly
.
It is placed in the floor of the front seat and thus
forms a continuous flat floor with the loading
space.
This position allows transporting long cargo
inside the vehicle with the doors closed.
When retracted, the maximum weight on the
backrest is 50 kg.
To replace the seat, lift the backrest until the seat
locks into position on the floor.
Never put your hand underneath the seat
cushion to guide the seat downwards or
upwards, you could get your fingers trapped.
Always just use the strap.
Before carrying out these manoeuvres, check
that nothing and nobody is obstructing the
moving elements and their locking.
Folded position
► Lift the yellow crank at the base of the seat to
unlock and lift the assembly into folded position
(seat raised against the backrest) until it locks.
This position allows the transport of high loads
inside the cab.
T
o replace the seat, push on the yellow crank
under the seat and lower the assembly until the
seat locks into position on the floor.
Never put your hand underneath the seat
cushion to guide the seat downwards or
upwards, you could get your fingers trapped.
Place your hand on the front of the seat
cushion.
Before carrying out these manipulations,
check that nothing and nobody is obstructing
the moving elements and their locking.
Rear bench seat (row 2)
For safety reasons, seat adjustments
must only be made when the vehicle is
stationary.
Folding the backrests
First steps:
► lower the head restraints,
►
if necessary
, move the front seats forward,
►
check that nothing or no person might
interfere with the folding of the backrests
(clothing, luggage, etc.),
►
check that the outer seat belts are lying flat
on the backrests.
The folding of the backrest is accompanied by a slight lowering of the
corresponding seat cushion.
When the backrest is released, the red
indicator is visible in the release grips on the
outer seats.
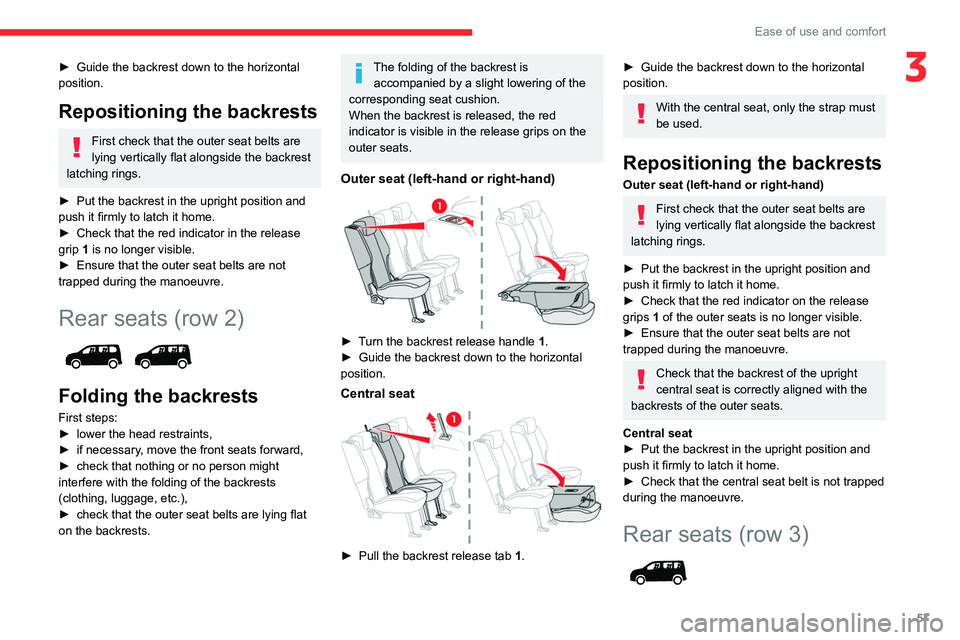
► Turn the backrest release handle 1.
Page 59 of 324
57
Ease of use and comfort
3► Guide the backrest down to the horizontal
position.
Repositioning the backrests
First check that the outer seat belts are
lying vertically flat alongside the backrest
latching rings.
►
Put the backrest in the upright position and
push it firmly to latch it home.
►
Check that the red indicator in the release
grip
1 is no longer visible.
►
Ensure that the outer seat belts are not
trapped during the manoeuvre.
Rear seats (row 2)
Folding the backrests
First steps:
► lower the head restraints,
►
if necessary
, move the front seats forward,
►
check that nothing or no person might
interfere with the folding of the backrests
(clothing, luggage, etc.),
►
check that the outer seat belts are lying flat
on the backrests.
The folding of the backrest is accompanied by a slight lowering of the
corresponding seat cushion.
When the backrest is released, the red
indicator is visible in the release grips on the
outer seats.
Outer seat (left-hand or right-hand)
► Turn the backrest release handle 1.
► Guide the backrest down to the horizontal
position.
Central seat
► Pull the backrest release tab 1 .
► Guide the backrest down to the horizontal
position.
With the central seat, only the strap must
be used.
Repositioning the backrests
Outer seat (left-hand or right-hand)
First check that the outer seat belts are
lying vertically flat alongside the backrest
latching rings.
►
Put the backrest in the upright position and
push it firmly to latch it home.
►
Check that the red indicator on the release
grips
1 of the outer seats is no longer visible.
►
Ensure that the outer seat belts are not
trapped during the manoeuvre.
Check that the backrest of the upright
central seat is correctly aligned with the
backrests of the outer seats.
Central seat
►
Put the backrest in the upright position and
push it firmly to latch it home.
►
Check that the central seat belt is not trapped
during the manoeuvre.
Rear seats (row 3)
Page 63 of 324
61
Ease of use and comfort
3In the event of sharp deceleration,
objects placed in the central storage
compartment of the roof may be transformed
into projectiles.
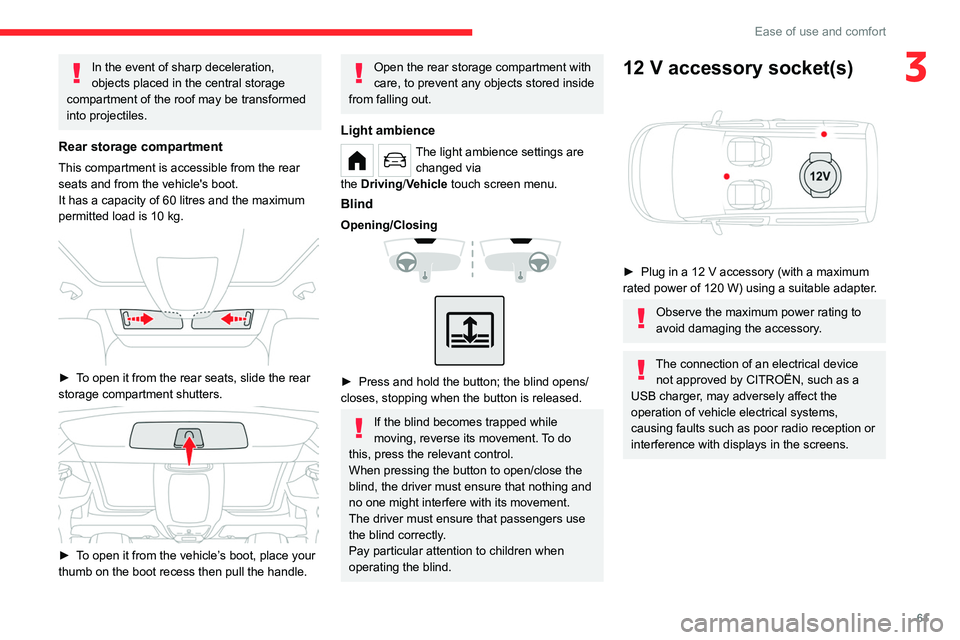
Rear storage compartment
This compartment is accessible from the rear
seats and from the vehicle's boot.
It has a capacity of 60 litres and the
maximum
permitted load is
10 kg.
► To open it from the rear seats, slide the rear
storage compartment shutters.
► To open it from the vehicle’s boot, place your
thumb on the boot recess then pull the handle.
Open the rear storage compartment with
care, to prevent any objects stored inside
from falling out.
Light ambience
The light ambience settings are changed via
the
Driving/Vehicle touch screen menu.
Blind
Opening/Closing
► Press and hold the button; the blind opens/
closes, stopping when the button is released.
If the blind becomes trapped while
moving, reverse its movement. To do
this, press the relevant control.
When pressing the button to open/close the
blind, the driver must ensure that nothing and
no one might interfere with its movement.
The driver must ensure that passengers use
the blind correctly.
Pay particular attention to children when
operating the blind.
12 V accessory socket(s)
► Plug in a 12 V accessory (with a maximum
rated power of 120 W) using a suitable adapter.
Observe the maximum power rating to
avoid damaging the accessory.
The connection of an electrical device not approved by CITROËN, such as a
USB charger, may adversely affect the
operation of vehicle electrical systems,
causing faults such as poor radio reception or
interference with displays in the screens.