change wheel CITROEN C-ELYSÉE 2017 Handbook (in English)
[x] Cancel search | Manufacturer: CITROEN, Model Year: 2017, Model line: C-ELYSÉE, Model: CITROEN C-ELYSÉE 2017Pages: 306, PDF Size: 9.34 MB
Page 12 of 306

10
Limit the causes of
excess consumption
Spread loads throughout the vehicle; place
the heaviest items in the bottom of the boot,
as close as possible to the rear seats.
Limit the loads carried in the vehicle and
reduce wind resistance (roof bars, roof rack,
bicycle carrier, trailer...). Preferably use a roof
box.
Remove roof bars and roof racks after use.
At the end of winter, remove snow tyres and
refit your summer tyres.
Observe the recommendations
on maintenance
Check the tyre pressures regularly, when cold,
referring to the label in the door aperture,
driver's side.
Carry out this check in particular:
-
b
efore a long journey,
-
a
t each change of season,
-
a
fter a long period out of use.
Don't forget the spare wheel and the tyres on
any trailer or caravan. Have your vehicle serviced regularly (engine
oil, oil filter, air filter, etc.) and observe the
schedule of operations recommended by the
manufacturer.
When filling the tank, do not continue after the
3
rd cut-off of the nozzle to avoid over flow.
At the wheel of your new vehicle, it is only
after the first 1,800 miles (3,000 kilometres)
that you will see the fuel consumption settle
down to a consistent average.
Eco-driving
Page 76 of 306

74
Tyre under-inflation detection
System which automatically checks the
pressures of the tyres while driving.
The system monitors the pressures in the four
tyres, once the vehicle is moving.
It compares the information given by the four
wheel speed sensors with reference values,
which must be reinitialised ever y time the
tyre pressures are adjusted or a wheel
changed.
The system triggers an alert as soon as it
detects a drop in the inflation pressure of one
or more tyres.Under-inflation alert
The under-inflation detection system does
not replace the need for vigilance on the
part of the driver.
This system does not avoid the need to
check the tyre pressures (including the
spare wheel) every month as well as
before a long journey.
Driving with under-inflated tyres worsens
road-holding, lengthens braking distances,
causes premature wear of the tyres,
particularly in adverse conditions (heavy
loads, high speeds, long journeys). Driving with under-inflated tyres
increases fuel consumption.
The inflation pressures defined for your
vehicle can be found on the tyre pressure
label.
For more information on the
Identification markings , refer to the
corresponding section.
Checking tyre pressures
This check should be done when the tyres
are "cold" (vehicle stopped for 1 hour or
after a journey of less than 6 miles (10 km)
at moderate speeds).
Other wise, add 0.3 bar to the pressures
shown on the label. This warning is indicated by
continuous illumination of the light,
an audible signal and a message
displayed on the screen.
F
R
educe speed immediately, avoid
excessive steering movements and sudden
braking.
F
S
top as soon as it is safe to do so.
The loss of pressure detected does not
always cause visible bulging of the tyre.
Do not rely on a simple visual check.
F I f you have a compressor (such as the
one in the temporary puncture repair kit),
check the pressures of the four tyres when
cold. If it is not possible to make this check
immediately, drive carefully at reduced
speed.
or
F
I
n the event of a puncture, use the
temporary puncture repair kit or the spare
wheel (depending on equipment).
The warning remains active until the
system is reinitialised.
Safety
Page 122 of 306

120
Programming
You do not have to switch the speed limiter on
in order to set the speed.Pause
F Turn thumb wheel 1 to the ‘LIMIT’ position: the speed limiter mode is selected but is
not switched on (PAUSE).
F
S
et the speed value by pressing button 2 or
3 (e.g.: 90 km/h). F
S
witch the speed limiter off by pressing
button 4: a confirmation message appears
on the screen (PAUSE).
F
S
witch the speed limiter back on by
pressing button 4 again.
You can change the programmed speed further
using buttons 2 and 3
:
-
B
y + or – 1 mph (km/h) = short press.
-
B
y + or – 5 mph (km/h) = long press.
-
I
n steps of + or – 5 mph (km/h) = press and
hold.
F
S
witch the speed limiter on by pressing
button 4 .
Driving
Page 125 of 306

123
Programming
Pause
F Turn thumb wheel 1 to the ‘CRUISE’ position: the cruise control mode is
selected but is not switched on (PAUSE).
F
S
et the programmed speed by
accelerating to the required
speed, then press button 2 or 3
(e.g.: 110 km/h). You can change the programmed speed further
using buttons 2 and 3
:
-
B
y + or – 1 mph (km/h) = short press.
-
B
y + or – 5 mph (km/h) = long press.
-
I
n steps of + or – 5 mph (km/h) = press and
hold.
F
S
witch off the cruise control by pressing
button 4: a confirmation message appears
on the screen (PAUSE).
F
S
witch the cruise control back on by
pressing button 4 again.
6
Driving
Page 126 of 306

124
Exceeding the programmed
speed
Intentional or unintentional exceeding of the
programmed speed results in flashing of this
speed on the display.
Returning to the programmed speed, by means
of intentional or unintentional deceleration of
the vehicle, automatically cancels the flashing
of the programmed speed.
Leaving cruise control modeMalfunction
When cruise control is active, be careful
when holding one of the speed setting
buttons: this may result in a very rapid
change in the speed of your vehicle.
Do not use the cruise control on slippery
roads or in heavy traffic.
When descending a steep hill, the cruise
control system cannot prevent the vehicle
from exceeding the programmed speed.
To avoid any risk of jamming the pedals:
-
E
nsure that mats are secured
c o r r e c t l y.
-
D
o not fit one mat on top of another.
In the event of a cruise control fault, the speed
is cleared resulting in flashing of the dashes.
Have them checked by a
CITROËN dealer or a
qualified workshop.
F
T
urn thumb wheel 1 to the 0 position:
the cruise control mode is deselected.
The display returns to the total mileage
recorder.
Driving
Page 156 of 306

154
Spare wheel
Procedure for replacing a damaged wheel with the spare wheel, using the tools provided with the vehicle.
Access to the tools
The tools are installed in the boot under the
f l o o r.
To gain access to it:
F
O
pen the boot.
F
L
ift the floor and remove it.
F
R
emove the storage box containing the
tools.
List of toolsThese tools are specific to your vehicle and
may vary according to the level of equipment.
Do not use them for any purpose other than
those detailed below.
1 Wheel wrench.
For removing the hub cap and removing
the wheel bolts.
2 Jack with built-in handle.
Used to raise the vehicle.
3 Wheel bolt cover removal tool.
Removes the wheel bolt covers on alloy
wheels.
4 Towing eye.
For more information on Towing the vehicle ,
refer to the corresponding section.
The jack must only be used to change
a wheel with a damaged or punctured tyre.
The jack does not require any
maintenance.
The jack meets European standards,
as defined in the Machinery Directive
2006/42/EC.
In the event of a breakdown
Page 160 of 306

158
F Place the foot of the jack 2 on the ground and ensure that it is directly below the front
A or rear B jacking point provided on the
underbody, whichever is closest to the
wheel to be changed. F
E xtend the jack 2 until its head comes into contact with the jacking point A or B used, with the
contact sur face A or B on the vehicle correctly engaged with the central part of the head of the
jack.
F
R
aise the vehicle until there is sufficient space between the wheel and the ground to admit the
spare (not punctured) wheel easily.
Ensure that the jack is stable. If the ground is slippery or loose, the jack may slip or drop -
Risk of injury!
Ensure that the jack is positioned only at one of the jacking points A or B under the vehicle,
making sure that the vehicle's contact sur face is centred on the head of the jack. Other wise,
there is a risk of damage to the vehicle and/or the jack dropping - Risk of injury!
In the event of a breakdown
Page 188 of 306

186
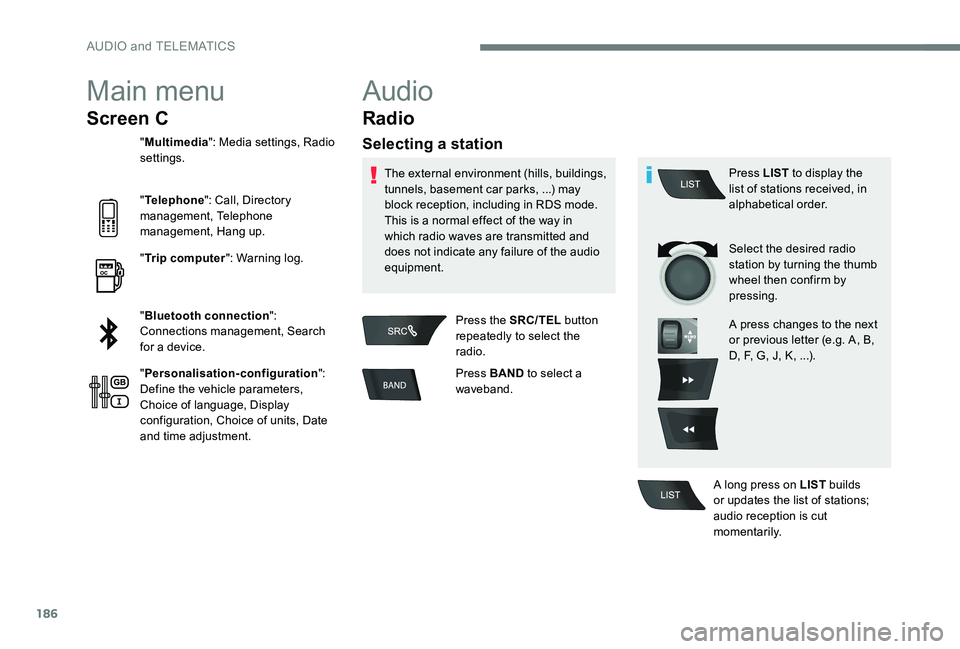
Main menu
Screen C
"Multimedia ": Media settings, Radio
settings.
" Telephone ": Call, Directory
management, Telephone
management, Hang up.
" Trip computer ": Warning log.
" Bluetooth connection ":
Connections management, Search
for a device.
" Personalisation-configuration ":
Define the vehicle parameters,
Choice of language, Display
configuration, Choice of units, Date
and time adjustment.
Audio
Radio
Selecting a station
The external environment (hills, buildings,
tunnels, basement car parks, ...) may
block reception, including in RDS mode.
This is a normal effect of the way in
which radio waves are transmitted and
does not indicate any failure of the audio
equipment.
Press the SRC/TEL button
repeatedly to select the
radio.
Press BAND to select a
waveband. Press LIST
to display the
list of stations received, in
alphabetical order.
Select the desired radio
station by turning the thumb
wheel then confirm by
pressing.
A press changes to the next
or previous letter (e.g. A, B,
D, F, G, J, K, ...).
A long press on LIST builds
or updates the list of stations;
audio reception is cut
m o m e nt a r i l y.
AUDIO and TELEMATICS
Page 193 of 306

191
APPLE® players or portable
player
The audio files of a portable Mass Storage
player* can be heard through the vehicle's
speakers by connecting it to the USB port
(cable not supplied).
Management of the device is via the audio
system controls.
The Apple
® player software must be
updated regularly for the best connection.
The playlists are those defined in the
Apple
® p l aye r.
The Apple® player must be generation 5
or later.
* Check your player's manual.
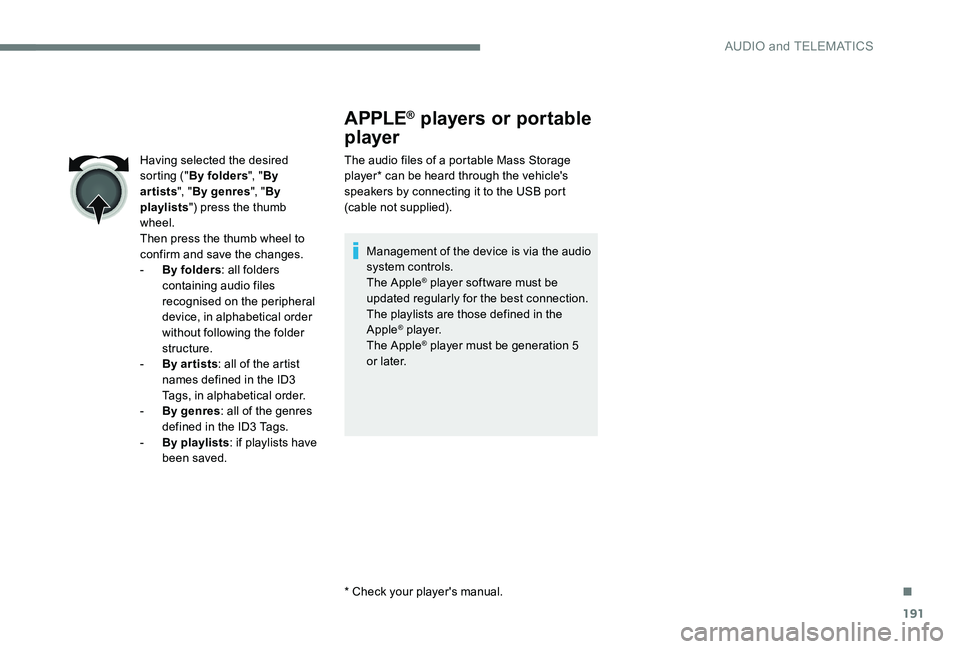
Having selected the desired
sorting ("
By folders ", "By
artists ", "By genres ", "By
playlists ") press the thumb
wheel.
Then press the thumb wheel to
confirm and save the changes.
-
B
y folders
: all folders
containing audio files
recognised on the peripheral
device, in alphabetical order
without following the folder
structure.
-
B
y ar tists : all of the artist
names defined in the ID3
Tags, in alphabetical order.
-
B
y genres : all of the genres
defined in the ID3 Tags.
-
By
playlists : if playlists have
been saved.
.
AUDIO and TELEMATICS
Page 195 of 306

193
Using the telephone
Pairing a telephone
First connection
The services offered depend on
the network, the SIM card and the
compatibility of the Bluetooth telephone
used.
Check the instructions for your telephone
and with your service provider for the
services to which you have access.
As a safety measure and because they
require prolonged attention on the part
of the driver, the operations for pairing
of the Bluetooth mobile telephone with
the Bluetooth hands-free system of your
audio system must be carried out with the
vehicle stationary and the ignition on.
Visit www.citroen.co.uk for more
information (compatibility, more help, ...).
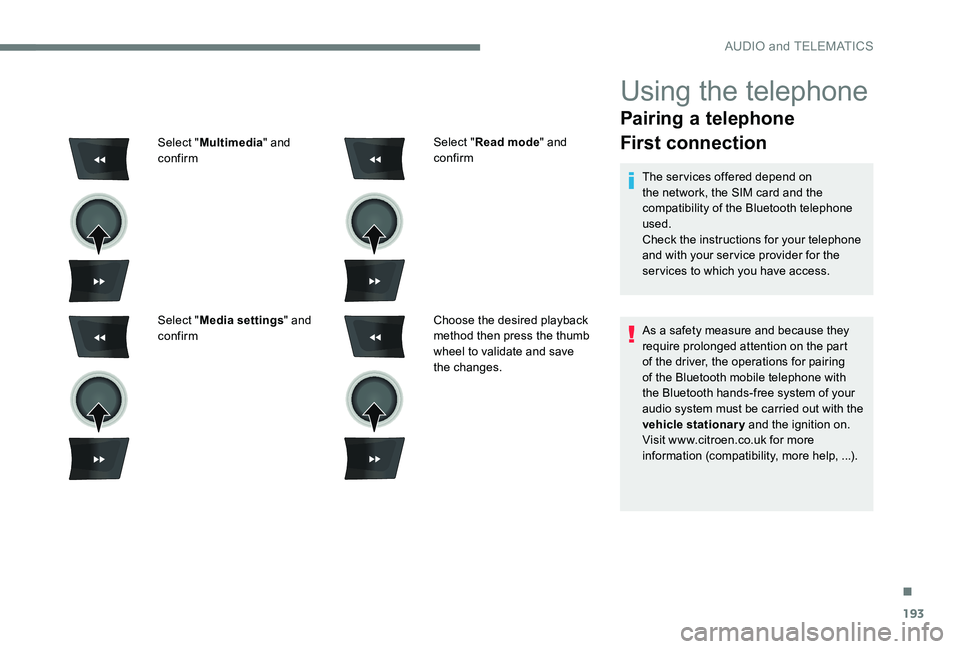
Select "
Read mode " and
confirm
Choose the desired playback
method then press the thumb
wheel to validate and save
the changes.
Select "
Multimedia " and
confirm
Select " Media settings " and
confirm
.
AUDIO and TELEMATICS