headlamp Citroen JUMPY 2008.5 2.G User Guide
[x] Cancel search | Manufacturer: CITROEN, Model Year: 2008.5, Model line: JUMPY, Model: Citroen JUMPY 2008.5 2.GPages: 185, PDF Size: 6.66 MB
Page 162 of 185

159
Changing a bulb
TROUBLESHOOTING
8
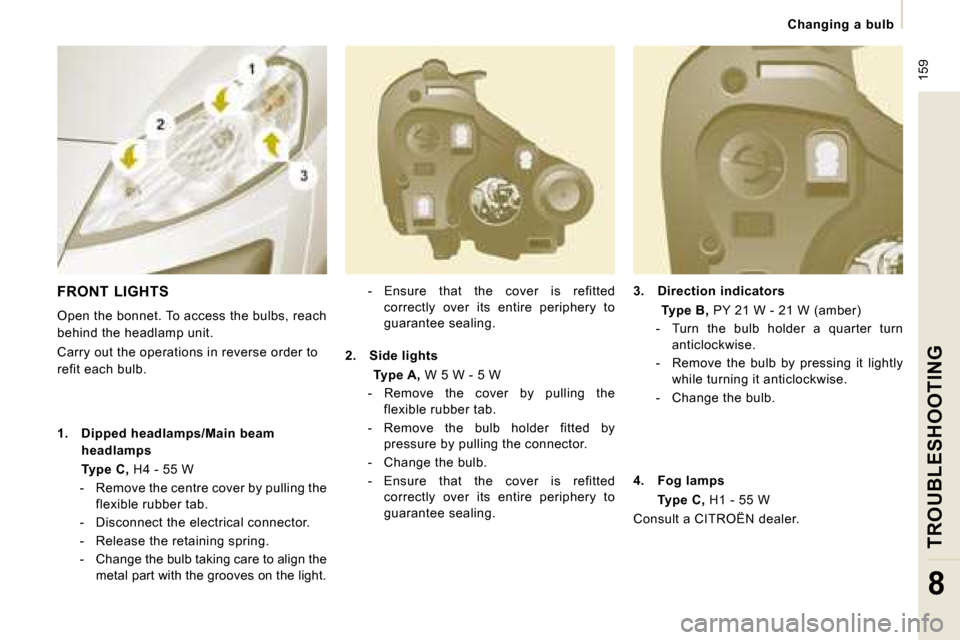
3. Direction indicators
Type B, PY 21 W - 21 W (amber)
- Turn the bulb holder a quarter turn anticlockwise.
- Remove the bulb by pressing it lightly while turning it anticlockwise.
- Change the bulb.
- Ensure that the cover is refitted
correctly over its entire periphery to
guarantee sealing.
FRONT LIGHTS
Open the bonnet. To access the bulbs, reach
behind the headlamp unit.
Carry out the operations in reverse order to
refit each bulb.
1. Dipped headlamps/Main beam
headlamps
Type C, H4 - 55 W
- Remove the centre cover by pulling the flexible rubber tab.
- Disconnect the electrical connector.
- Release the retaining spring.
- Change the bulb taking care to align the metal part with the grooves on the light.
2. Side lights
Type A, W 5 W - 5 W
- Remove the cover by pulling the flexible rubber tab.
- Remove the bulb holder fitted by pressure by pulling the connector.
- Change the bulb.
- Ensure that the cover is refitted correctly over its entire periphery to
guarantee sealing.
4. Fog lamps
Type C, H1 - 55 W
Consult a CITROËN dealer.
Page 163 of 185

160
Changing a bulb
DIRECTION INDICATOR SIDE
REPEATER
Type A, WY 5 W (amber)
- Push the repeater towards the rear and disengage it.
- Support the connector and turn the bulb holder a quarter turn to the left.
- Turn the bulb a quarter turn to the left, remove it and change it.
- When refitting, engage the repeater towards the rear and bring it towards the
front.
Front/Rear
Amber coloured bulbs (direction indicators
and side repeaters) must be replaced with
bulbs of identical specification and colour. COURTESY LIGHTS
Type A, 12 V 5 W - 5 W
- Unclip the lens by sliding a screwdriver in the slots on each side of the courtesy
light.
- Pull the bulb and change it.
- Clip the lens in its housing and ensure that it is secured correctly. High pressure washing
When using this type of washing on
stubborn dirt, do not persist on the
headlamps, the lights and their surrounds to
avoid damaging their coating and their seal.
Page 167 of 185

164
Changing a fuse
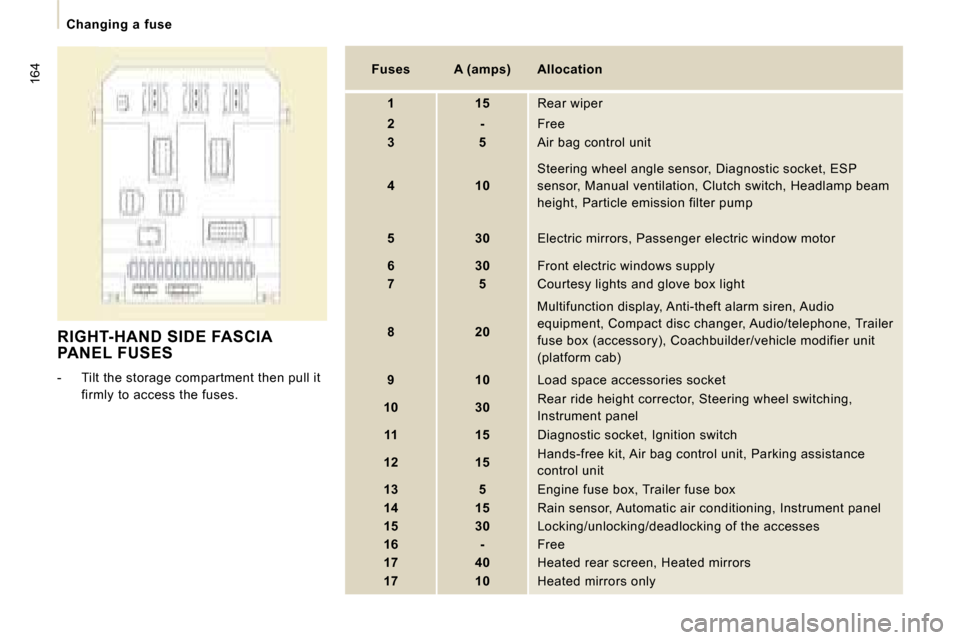
RIGHT-HAND SIDE FASCIA PANEL FUSES
- Tilt the storage compartment then pull it firmly to access the fuses.
Fuses A (amps) Allocation
1 15 Rear wiper
2 - Free
3 5 Air bag control unit
4 10 Steering wheel angle sensor, Diagnostic socket, ES
P
sensor, Manual ventilation, Clutch switch, Headlamp beam
height, Particle emission filter pump
5 30 Electric mirrors, Passenger electric window mot or
6 30 Front electric windows supply
7 5 Courtesy lights and glove box light
8 20 Multifunction display, Anti-theft alarm siren, Aud
io
equipment, Compact disc changer, Audio/telephone, T railer
fuse box (accessory), Coachbuilder/vehicle modifier unit
(platform cab)
9 10 Load space accessories socket
10 30 Rear ride height corrector, Steering wheel switchi
ng,
Instrument panel
11 15 Diagnostic socket, Ignition switch
12 15 Hands-free kit, Air bag control unit, Parking assi
stance
control unit
13 5 Engine fuse box, Trailer fuse box
14 15 Rain sensor, Automatic air conditioning, Instru ment panel
15 30 Locking/unlocking/deadlocking of the accesses
16 - Free
17 40 Heated rear screen, Heated mirrors
17 10 Heated mirrors only
Page 169 of 185

166
Changing a fuse
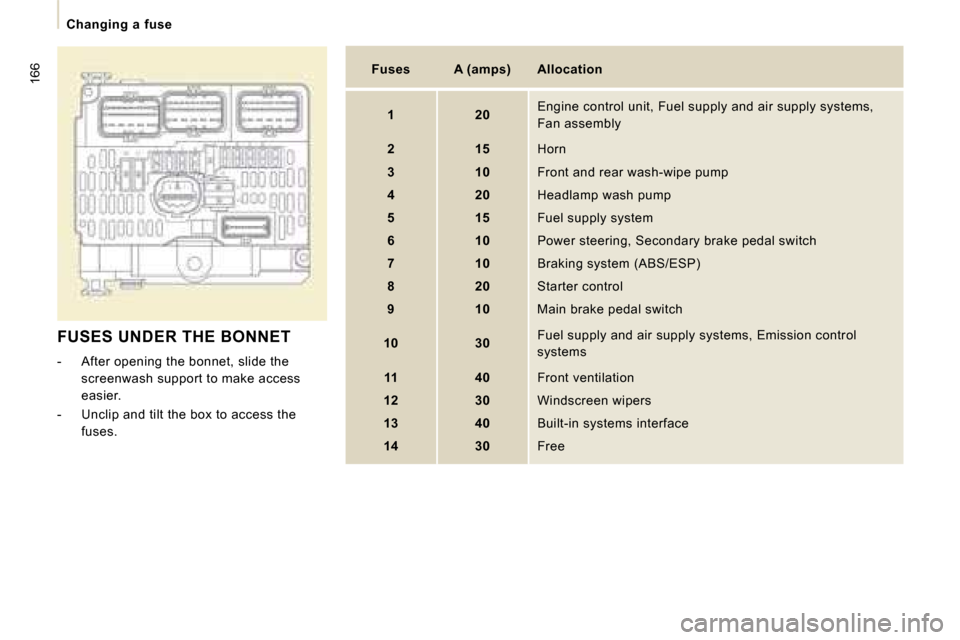
FUSES UNDER THE BONNET
- After opening the bonnet, slide the screenwash support to make access
easier.
- Unclip and tilt the box to access the fuses.
Fuses A (amps) Allocation
1 20 Engine control unit, Fuel supply and air supply sy
stems,
Fan assembly
2 15 Horn
3 10 Front and rear wash-wipe pump
4 20 Headlamp wash pump
5 15 Fuel supply system
6 10 Power steering, Secondary brake pedal switch
7 10 Braking system (ABS/ESP)
8 20 Starter control
9 10 Main brake pedal switch
10 30 Fuel supply and air supply systems, Emission contr
ol
systems
11 40 Front ventilation
12 30 Windscreen wipers
13 40 Built-in systems interface
14 30 Free