CITROEN RELAY 2015 Handbook (in English)
Manufacturer: CITROEN, Model Year: 2015, Model line: RELAY, Model: CITROEN RELAY 2015Pages: 248, PDF Size: 8.86 MB
Page 91 of 248
89
4
TECHNOLOGY on BOARD
Vehicle data
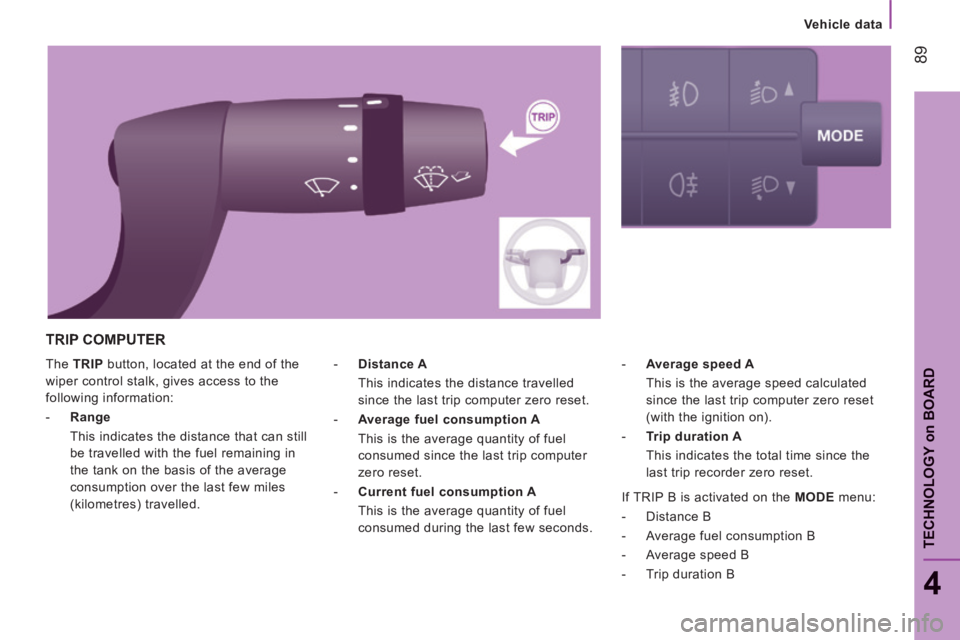
The TRIP button, located at the end of the
wiper control stalk, gives access to the
following information:
- Range
This indicates the distance that can still be travelled with the fuel remaining in
the tank on the basis of the average
consumption over the last few miles
(kilometres) travelled. - Average speed A
This is the average speed calculated since the last trip computer zero reset
(with the ignition on).
- Trip duration A
This indicates the total time since the last trip recorder zero reset.
- Distance A
This indicates the distance travelled since the last trip computer zero reset.
- Average fuel consumption A
This is the average quantity of fuel consumed since the last trip computer
zero reset.
- Current fuel consumption A
This is the average quantity of fuel consumed during the last few seconds.
TRIP COMPUTER
If TRIP B is activated on the MODE menu:
- Distance B
- Average fuel consumption B
- Average speed B
- Trip duration B
Page 92 of 248
90
Vehicle data
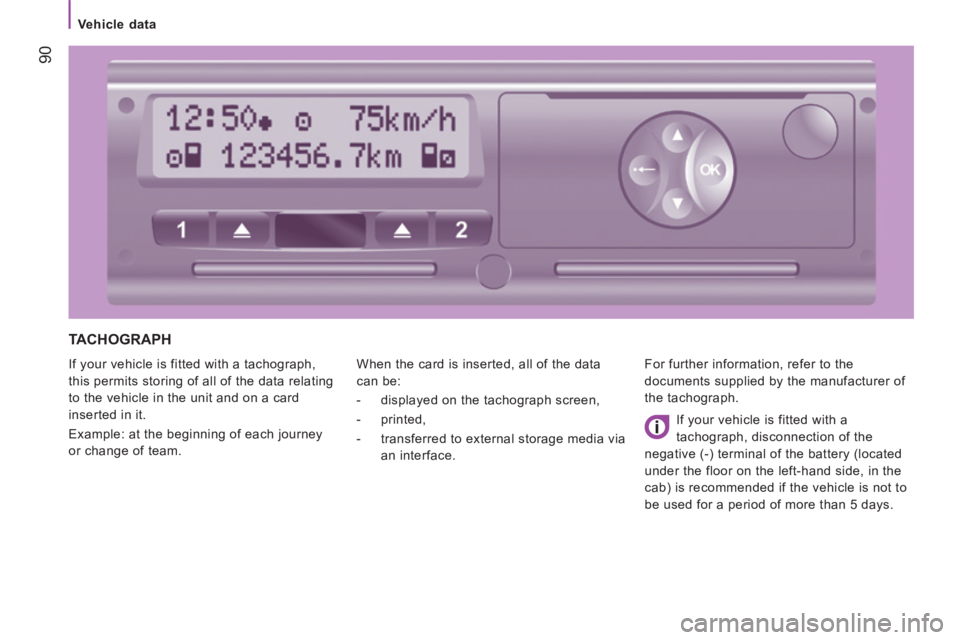
TACHOGRAPH
If your vehicle is fitted with a tachograph,
this permits storing of all of the data relating
to the vehicle in the unit and on a card
inserted in it.
Example: at the beginning of each journey
or change of team. When the card is inserted, all of the data
can be:
- displayed on the tachograph screen,
- printed,
- transferred to external storage media via
an interface. For further information, refer to the
documents supplied by the manufacturer of
the tachograph.
If your vehicle is fitted with a
tachograph, disconnection of the
negative (-) terminal of the battery (located
under the floor on the left-hand side, in the
cab) is recommended if the vehicle is not to
be used for a period of more than 5 days.
Page 93 of 248

91
4
TECHNOLOGY on BOARD
Parking sensors
AUDIBLE REAR PARKING SENSORS
If fitted on your vehicle, the system consists
of four proximity sensors, installed in the
rear bumper.
They detect any obstacle: person, vehicle,
tree, fence, behind the vehicle during the
manoeuvre.
However, objects the size or thickness of
which are detected at the beginning of the
manoeuvre will no longer be detected at the
end of the manoeuvre: blind spots between
and below the sensors. Examples: stake,
roadworks cone or pavement post.
The rear parking sensor system may be
coupled with a reversing camera. Operation
Engage reverse gear with the gear lever.
The proximity information is indicated by an
audible signal of increasing frequency as the
vehicle approaches the obstacle.
When the distance between the rear of
the vehicle and the obstacle is less than
approximately thirty centimetres, the audible
signal becomes continuous.
The system cannot, in any circumstances,
take the place of the vigilance and
responsibility of the driver.
Switching off
Come our of reverse gear into neutral.
Operating fault
If this warning lamp comes
on in the instrument panel
accompanied by a message in
the screen, contact a CITROËN
dealer or a qualified workshop.
Good practice
In bad weather or in winter, ensure that the
sensors are not covered with mud, ice or
snow.
Page 94 of 248

92
Parking sensors
REVERSING CAMERA
If your vehicle is fitted with this camera, it is
located at the rear, next to the third brake
lamp.
It sends views to the screen installed
in the cab. This rear vision is an aid to
manoeuvring.
The reversing camera may be coupled with
rear parking sensors. Screen
The camera sends the images to a 5 inch
LCD colour screen. This screen is also
the one used by the touch screen audio-
telematic system.
Activation and deactivation of the system
is done in the settings menu of the touch
screen audio-telematic system.
Operation
The camera comes into operation when
reverse gear is engaged and remains active
up to approximately 9 mph (15 km/h). It is
deactivated above 11 mph (18 km/h).
The camera also comes on, with the vehicle
stationary, when the rear doors are opened.
Switching off
When a forward gear is engaged, the last
image remains displayed for approximately
5 seconds then switches off.
In the same way, the last image also
remains displayed, with the vehicle
stationary, when the rear doors are closed.
Good practice
With optimum vehicle conditions (position on
the road, loading level) the maximum area of
visibility covered by the camera has a fi eld
depth approximately 3 m long and 5.5 m wide.
The area of visibility may vary depending on
the external weather conditions (brightness,
rain, snow, fog, ...), the load in the vehicle
and the position of the vehicle on the road.
When cleaning the camera and the screen,
avoid using a detergent or a tool which may
scratch the glass.
Use a non-abrasive cloth or a small brush.
Page 95 of 248

93
4
TECHNOLOGY on BOARD
Loading assistance
PNEUMATIC SUSPENSION
If your vehicle is fitted with pneumatic
suspension, you can adjust the height of
the rear of the vehicle to make loading and
unloading easier.
The control panel is located on the
dashboard.
There is a nominal level as well as 6 height
adjustment levels, raising (from +1 to +3) or
lowering (from -1 to -3). Each level reached
is indicated on the instrument panel screen.
Manual adjustment of the loading height
Raise: upwards adjustment of the load
floor Make a quick press on the control
to select the next level up. Each
press (LED on) raises the floor by
one level: +1 to +3.
A long press selects the highest level (+3). Lower: downwards adjustment of
the load floor
Make a quick press on the control
to select the next level down.
Each press (LED on) lowers the
floor by one level: -1 to -3.
A long press selects the lowest level (-3).
Page 96 of 248
94
Loading assistance
Deactivation
Make a long press on both controls
simultaneously to deactivate the system.
The LEDs remain on. Return to the nominal floor height
Press the same number of times in reverse
as the level of the position displayed.
Reactivation
A second long press on both controls
simultaneously reactivates the system. The
LEDs go off.
Automatic correction of loading floor height
Above 12 mph (20 km/h), the system
automatically returns the rear height to its
nominal value.
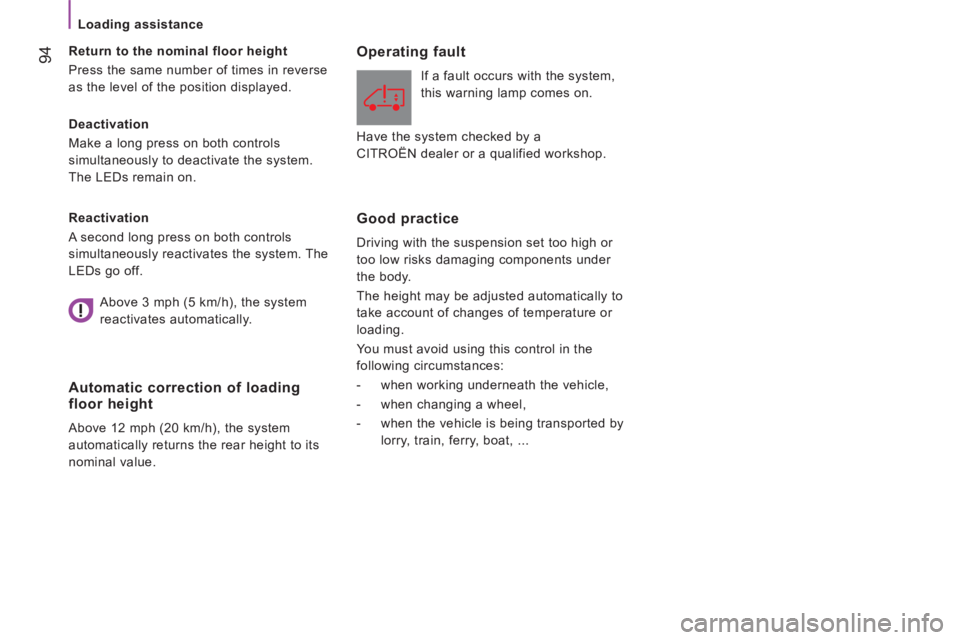
Operating fault
If a fault occurs with the system,
this warning lamp comes on.
Good practice
Driving with the suspension set too high or
too low risks damaging components under
the body.
The height may be adjusted automatically to
take account of changes of temperature or
loading.
You must avoid using this control in the
following circumstances:
- when working underneath the vehicle,
- when changing a wheel,
- when the vehicle is being transported by lorry, train, ferry, boat, ...
Above 3 mph (5 km/h), the system
reactivates automatically. Have the system checked by a
CITROËN dealer or a qualified workshop.
Page 97 of 248
95
5
Driving safely
SAFETY
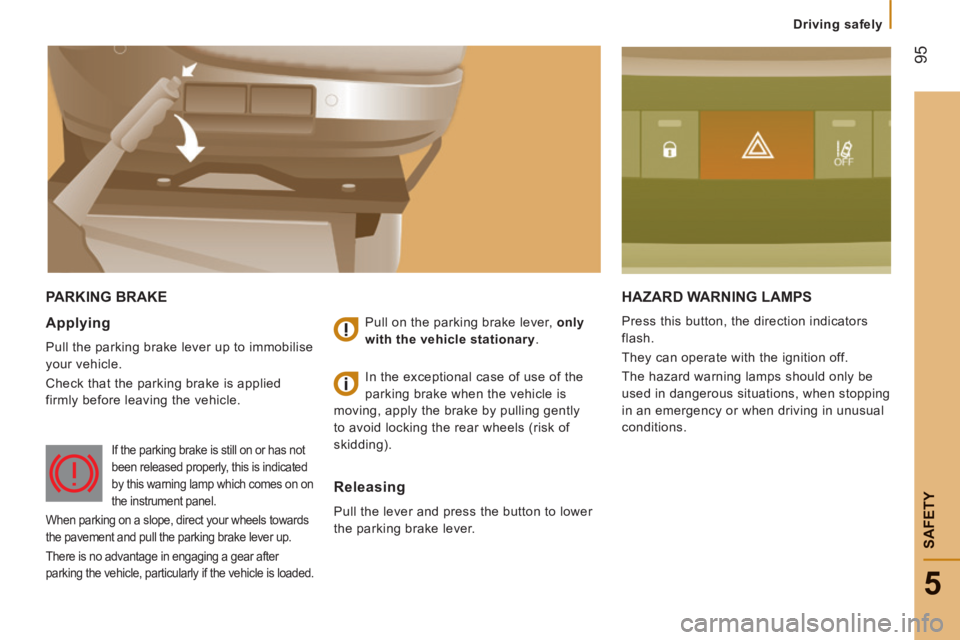
PARKING BRAKE HAZARD WARNING LAMPS
Press this button, the direction indicators
flash.
They can operate with the ignition off.
The hazard warning lamps should only be
used in dangerous situations, when stopping
in an emergency or when driving in unusual
conditions. Applying
Pull the parking brake lever up to immobilise
your vehicle.
Check that the parking brake is applied
firmly before leaving the vehicle. Pull on the parking brake lever,
only
with the vehicle stationary .
Releasing
Pull the lever and press the button to lower
the parking brake lever. In the exceptional case of use of the
parking brake when the vehicle is
moving, apply the brake by pulling gently
to avoid locking the rear wheels (risk of
skidding).
If the parking brake is still on or has not
been released properly, this is indicated
by this warning lamp which comes on on
the instrument panel.
When parking on a slope, direct your wheels towards
the pavement and pull the parking brake lever up.
There is no advantage in engaging a gear after
parking the vehicle, particularly if the vehicle is loaded.
Page 98 of 248
96
Driving safely
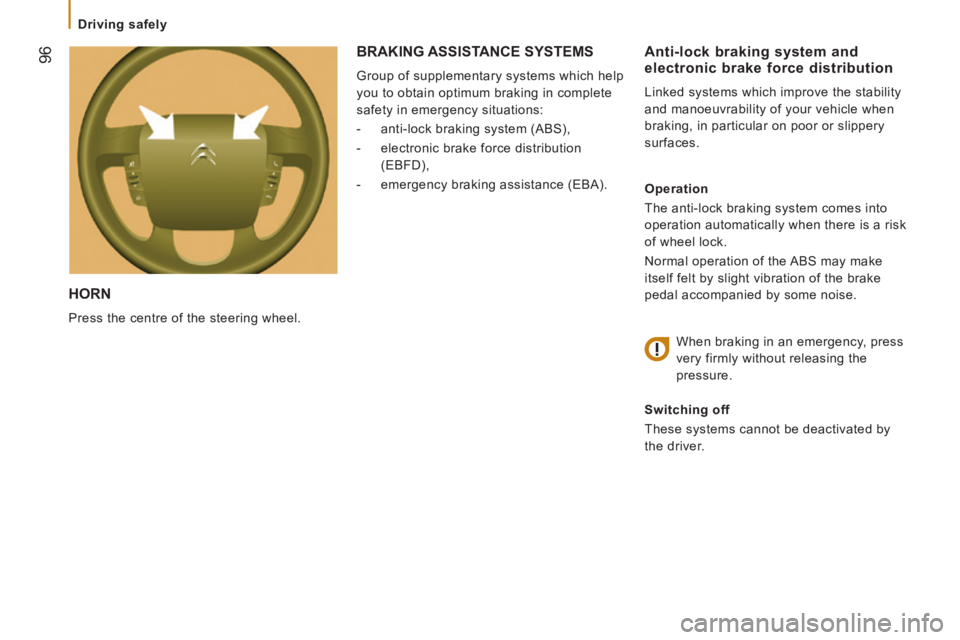
HORN
Press the centre of the steering wheel.
Anti-lock braking system and electronic brake force distribution
Linked systems which improve the stability
and manoeuvrability of your vehicle when
braking, in particular on poor or slippery
surfaces.
Operation
The anti-lock braking system comes into
operation automatically when there is a risk
of wheel lock.
Normal operation of the ABS may make
itself felt by slight vibration of the brake
pedal accompanied by some noise.
When braking in an emergency, press
very firmly without releasing the
pressure.
Switching off
These systems cannot be deactivated by
the driver.
BRAKING ASSISTANCE SYSTEMS
Group of supplementary systems which help
you to obtain optimum braking in complete
safety in emergency situations:
- anti-lock braking system (ABS),
- electronic brake force distribution (EBFD),
- emergency braking assistance (EBA).
Page 99 of 248
97
5
Driving safely
SAFETY
Good practice
The ABS system does not provide shorter
braking distances. On very slippery surfaces
(black ice, oil...) the ABS can extend braking
distances. For emergency braking, press the
brake pedal hard and do not release it, even
on a slipper surface; you will then be able to
steer the vehicle and avoid an obstacle.
When replacing wheels (tyres and
rims), ensure that they conform to the
manufacturer's recommendations. Emergency braking assistance
System which, in an emergency, enables
you to obtain the optimum braking pressure
more quickly, thus reducing the stopping
distance.
Operation
It is triggered by the speed at which the
brake pedal is pressed.
The effect of this is a reduction in the
resistance of the pedal and an increase in
braking efficiency.
Switching off
This system cannot be deactivated by
the driver.
Operating fault
If this warning lamp comes on,
accompanied by an audible signal
and a message in the instrument
panel screen, it indicates a fault with
the anti-lock braking system which could result in
loss of control of the vehicle when braking.
For maximum braking efficiency, a
bedding-in period of around 300 miles
(500 kilometres) is needed. During this
period it is recommended that you avoid
harsh, repeated or prolonged braking. If this warning lamp comes on,
together with the
ABS warning
lamp, accompanied by a message
in the instrument panel screen,
it indicates a fault with the electronic brake
force distribution which could result in loss
of control of the vehicle when braking.
You must stop as soon as it is safe to do so.
In either case, contact a CITROËN dealer or
a qualified workshop. When braking in an emergency, press
firmly without releasing the pressure.
Page 100 of 248
98
Driving safely
TRAJECTORY CONTROL SYSTEMS
Switching off
This system cannot be deactivated by
the driver.
Dynamic stability control (DSC)
The electronic stability programme acts on
the brake of one or more wheels and on the
engine to keep the vehicle on the trajectory
required by the driver, within the limits of the
laws of physics.
With the DSC system, maintain course
without trying to countersteer.
Operation
The DSC system is activated automatically
each time the vehicle is started. Operating fault
Illumination of this warning lamp,
accompanied by an audible signal
and confirmed by a message
in the instrument panel screen,
indicates a fault with the DSC system.
Have it checked by a CITROËN dealer or a
qualified workshop. Operation
This system is activated automatically every
time the vehicle is started.
In the event of a problem of adhesion or
trajectory, this system comes into play.
Switching off
In exceptional conditions (starting a vehicle
which is bogged down, stuck in snow,
on soft ground...), it may be advisable to
deactivate the ASR system, so that the
wheels can spin freely and regain grip.
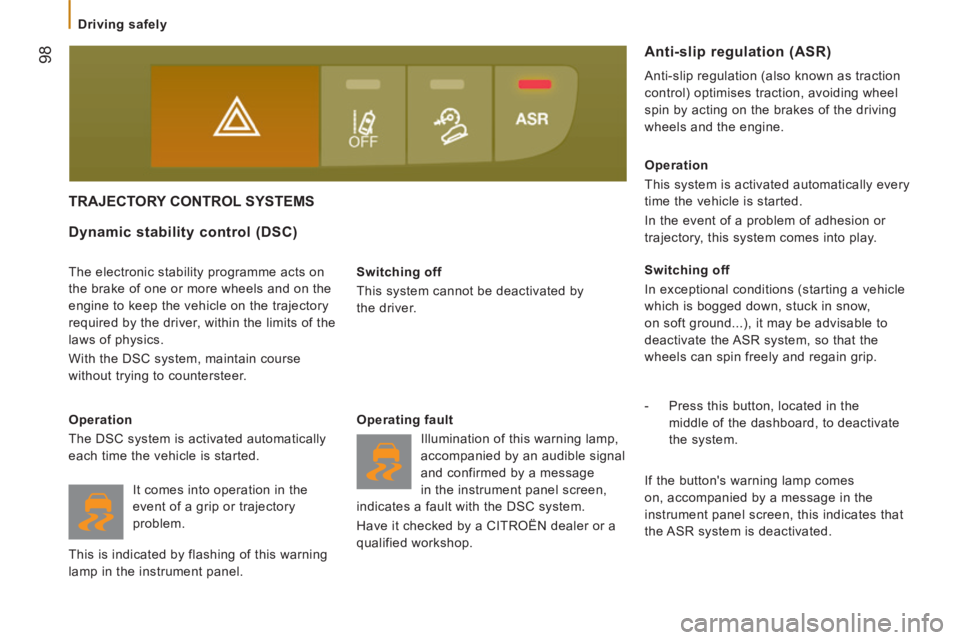
- Press this button, located in the
middle of the dashboard, to deactivate
the system.
Anti-slip regulation (ASR)
Anti-slip regulation (also known as traction
control) optimises traction, avoiding wheel
spin by acting on the brakes of the driving
wheels and the engine.
If the button's warning lamp comes
on, accompanied by a message in the
instrument panel screen, this indicates that
the ASR system is deactivated.
It comes into operation in the
event of a grip or trajectory
problem.
This is indicated by flashing of this warning
lamp in the instrument panel.