light DODGE DART 2014 PF / 1.G Owner's Manual
[x] Cancel search | Manufacturer: DODGE, Model Year: 2014, Model line: DART, Model: DODGE DART 2014 PF / 1.GPages: 140, PDF Size: 4.57 MB
Page 28 of 140
Front Wipers
Intermittent, Low And High Operation
• Rotate the end of the lever to the first detent position for one of four intermittent settings,the second detent for low wiper operation and the third detent for high wiper operation.
Mist
• Rotate the end of the lever downward when a single wipe is desired.
NOTE:
The mist feature does not activate the washer pump; therefore, no washer fluid will be
sprayed on the windshield. The wash function must be activated in order to spray the
windshield with washer fluid.
Washer Operation
• Push the end of the lever inward and hold for as long as spray is desired.
Rain Sensing Wipers
• This feature senses moisture on the vehicle's windshield and automatically activates the wipers for the driver when the switch is in the intermittent position. Rotate the end of the
lever to one of four settings to activate this feature and adjust sensitivity.
• Rain Sensing can be turned on and off using the Uconnect® System, refer to the Owner's Manual on the DVD for further details.
High Beam Operation
• Push the lever forward to activate the high beams. Pull the lever toward you for flash topass.
NOTE:
For safe driving, turn off the high beams when oncoming traffic is present to prevent
headlight glare and as a courtesy to other motorists.
OPERATING YOUR VEHICLE
26
Page 29 of 140
HEADLIGHT SWITCH
Automatic Headlights/Parking
Lights/Headlights
• Rotate the headlight switch, located onthe instrument panel to the left of the
steering wheel, to the first detent for park-
ing lights
and to the second detent
for headlights
.
• With the parking lights or low beam head- lights on, push the headlight switch once
for fog lights.
• Rotate the headlight switch to AUTO for AUTO headlights.
• When set to AUTO, the system automati- cally turns the headlights on or off based
on ambient light levels.
Fog Lights
• Turn the headlights or parking lights onand push the headlight switch once to
turn the fog lights on. Push the switch a
second time to turn the fog lights off. Fog
lights will not operate when high beams are on.
• A fog light symbol will illuminate in the cluster to indicate the fog lights are on.
Instrument Panel Dimmer
• Rotate the dimmer control to the extreme bottom position to fully dim the instrument panel lights and prevent the interior lights from illuminating when a door is opened.
• Rotate the dimmer control up to increase the brightness of the instrument panel when the parking lights or headlights are on.
• Rotate the dimmer control up to the next detent position to fully brighten the odometer and radio when the parking lights or headlights are on.
• Rotate the dimmer control up to the last detent position to turn on the interior lighting.
• If your vehicle is equipped with a touchscreen, the dimming is programmable through the Uconnect® system. Refer to “Uconnect® Settings ” in “Understanding Your Instru-
ment Panel” in the Owner's Manual on the DVD for further details.
Headlight Switch
1—Auto
2 — Rotate Headlight Switch
3 — Rotate Dimmer
4 — Rotate Ambient Light Control
OPERATING YOUR VEHICLE
27
Page 35 of 140
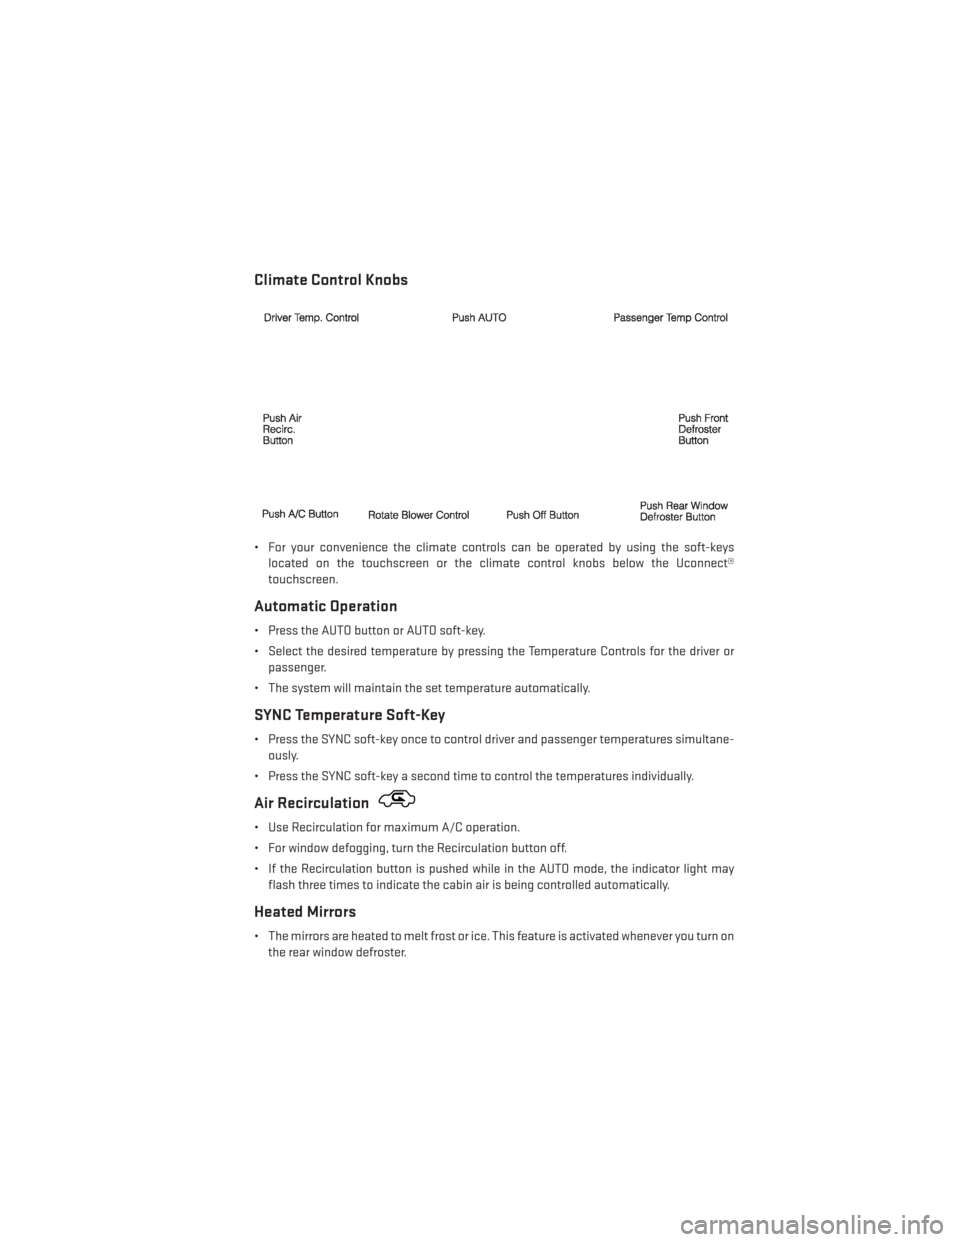
Climate Control Knobs
• For your convenience the climate controls can be operated by using the soft-keyslocated on the touchscreen or the climate control knobs below the Uconnect®
touchscreen.
Automatic Operation
• Press the AUTO button or AUTO soft-key.
• Select the desired temperature by pressing the Temperature Controls for the driver orpassenger.
• The system will maintain the set temperature automatically.
SYNC Temperature Soft-Key
• Press the SYNC soft-key once to control driver and passenger temperatures simultane- ously.
• Press the SYNC soft-key a second time to control the temperatures individually.
Air Recirculation
• Use Recirculation for maximum A/C operation.
• For window defogging, turn the Recirculation button off.
• If the Recirculation button is pushed while in the AUTO mode, the indicator light may flash three times to indicate the cabin air is being controlled automatically.
Heated Mirrors
• The mirrors are heated to melt frost or ice. This feature is activated whenever you turn onthe rear window defroster.
OPERATING YOUR VEHICLE
33
Page 42 of 140
Uconnect® 200
NOTE:
•
Your radio may not be equipped with the Uconnect® Voice Command and Uconnect® Phone
features. To determine if your radio has these features, locate and press the Uconnect®
Voice Command
and Uconnect® Phonebuttons on the steering wheel.
• Your radio has many features that add to the comfort and convenience of you and your passengers. Some of these radio features should not be used when driving because they
take your eyes from the road or your attention from driving.
Anti-Theft Protection
• This radio will not operate in any vehicle other than the vehicle in which it was delivered.The radio display will prompt you to enter an anti-theft code and the radio will not
function, if this radio is transferred to another vehicle. You must contact your authorized
dealer to get the anti-theft code to unlock the radio.
Clock Setting
• Press and hold the TIME button until the hours are highlighted.
• Adjust the hours by turning the right side TUNE/SCROLL control knob.
• After adjusting the hours, press the right side ENTER/BROWSE control knob to set theminutes. The minutes will highlight.
• Adjust the minutes using the right side TUNE/SCROLL control knob.
• To exit, press the TIME button or press the BACK button to return to the previous menu.
ELECTRONICS
40
Page 43 of 140
NOTE:
Time format has the options of 12HR or 24HR. Selecting one of these options will change
the way the clock is displayed.
Equalizer, Balance And Fade
• To set the Bass, Mid Range, Treble, Balance or Fade settings press the AUDIO button toaccess the Audio sub-menu.
• The Audio sub-menu can also be reached by pressing the MENU button until AUDIO appears in the display. Press the ENTER/BROWSE button to select the AUDIO menu and
use the TUNE/SCROLL knob to highlight select Bass, Mid Range, Treble, Balance or Fade.
Once the desired selection is highlighted, press the ENTER/BROWSE button to select the
item and use the TUNE/SCROLL knob to adjust the setting.
Radio Operation
RADIO Button
• Press the button to select either AM, FM or SiriusXM mode.
Seek Up/Down Buttons
• Press to seek through radio stations in AM, FM, or SXM bands.
• Hold either button to bypass stations without stopping.
Buttons1-5
• These buttons tune the radio to the stations that you commit to pushbutton memory AM(A, B, C), FM (A, B, C) and SXM (A,B,C) — 15 AM, 15 FM and 15 SXM stations.
Store Radio Presets
• When you are receiving a station that you wish to commit to pushbutton memory, pressand hold the button (1–5) you wish to lock onto this station for three seconds.
• You may add a second or third station to each pushbutton by repeating the above procedure with this exception: Press the “A–B–C” button to select the A, B or C mode.
Each button can be set for up to three stations in both AM and FM. This allows a total of
15 AM, 15 FM and 15 SXM stations to be stored into push-button memory.
INFO Button
• Press the INFO button for an RDS station (one with call letters displayed). The radio willreturn a Radio Text message broadcast from an FM station (FM mode only).
Player Button
• Pressing the “Player” button will allow you to switch from AM/FM/SXM modes to Playermode (AUX/CD/Bluetooth® Steaming (BT)/USB).
ELECTRONICS
41
Page 44 of 140
MENU Button
• Pressing the MENU button allows you to scroll between the setting sub-menus. Once thedesired sub-menu setting is highlighted press the TUNE/SCROLL knob to select the
setting. The following items are selectable:
Radio Mode
• Audio — Selecting the Audio sub-menu will allow you to adjust the Bass, Mid Range,
Treble, Balance or Fade, just like pressing the AUDIO hard control. If the BACK button is
pressed the radio will return to the Main Menu.
• Clock — Selecting Clock will allow you to set the clock. Adjust the hours by turning the
TUNE/SCROLL control knob. After adjusting the hours, press the ENTER/BROWSE but-
ton to set the minutes. The minutes will highlight. Adjust the minutes using the right side
TUNE/SCROLL control knob. Press the ENTER/BROWSE button to save time change.
Player Mode
• Player Browse — Selecting Player Browse will go to the appropriate browse menu
depending on the device currently playing (will function the same as pressing the browse
button while in that mode). This will only appear in the menu if the device currently
playing can support these features.
• Shuffle (SHFL) — This function shuffles (randomizes the order of the files). This will only
appear in the menu if the device currently playing can support these features.
• Repeat (RPT) — When Repeat is activated, the currently playing song will begin again
when it ends. It will continue to cycle through the same song until repeat is turned Off.
Repeat will be turned off once one for the following conditions are met: 1) The source is
ejected 2) A different track list within that source is initiated 3) The REPEAT button is
toggled OFF. This will only appear in the menu if the device currently playing can support
these features.
• Audio — Selecting the Audio sub-menu will allow you to adjust the Bass, Mid Range,
Treble, Balance or Fade, just like pressing the AUDIO hard control. If the BACK button is
pressed the radio will return to the Main Menu.
• Clock — Selecting Clock will allow you to set the clock. Adjust the hours by turning the
right-side TUNE/SCROLL control knob. After adjusting the hours, press the ENTER/
BROWSE button to set the minutes. The minutes will highlight. Adjust the minutes using
the right side TUNE/SCROLL control knob. Press the ENTER/BROWSE button to save
time change.
System Info
• Selecting System Info will display the software version, serial number and SIRIUS ID.
SiriusXM Satellite Radio
•SiriusXM Satellite Radio gives you over 130 channels, including 100% commercial-free music
from nearly every genre, plus all your favorite sports, news, talk and entertainment channels–
all with crystal clear, coast-to-coast coverage, all in one place and all at your fingertips.
• To access SiriusXM Satellite Radio, press the RADIO button.
ELECTRONICS
42
Page 54 of 140
Radio Operation
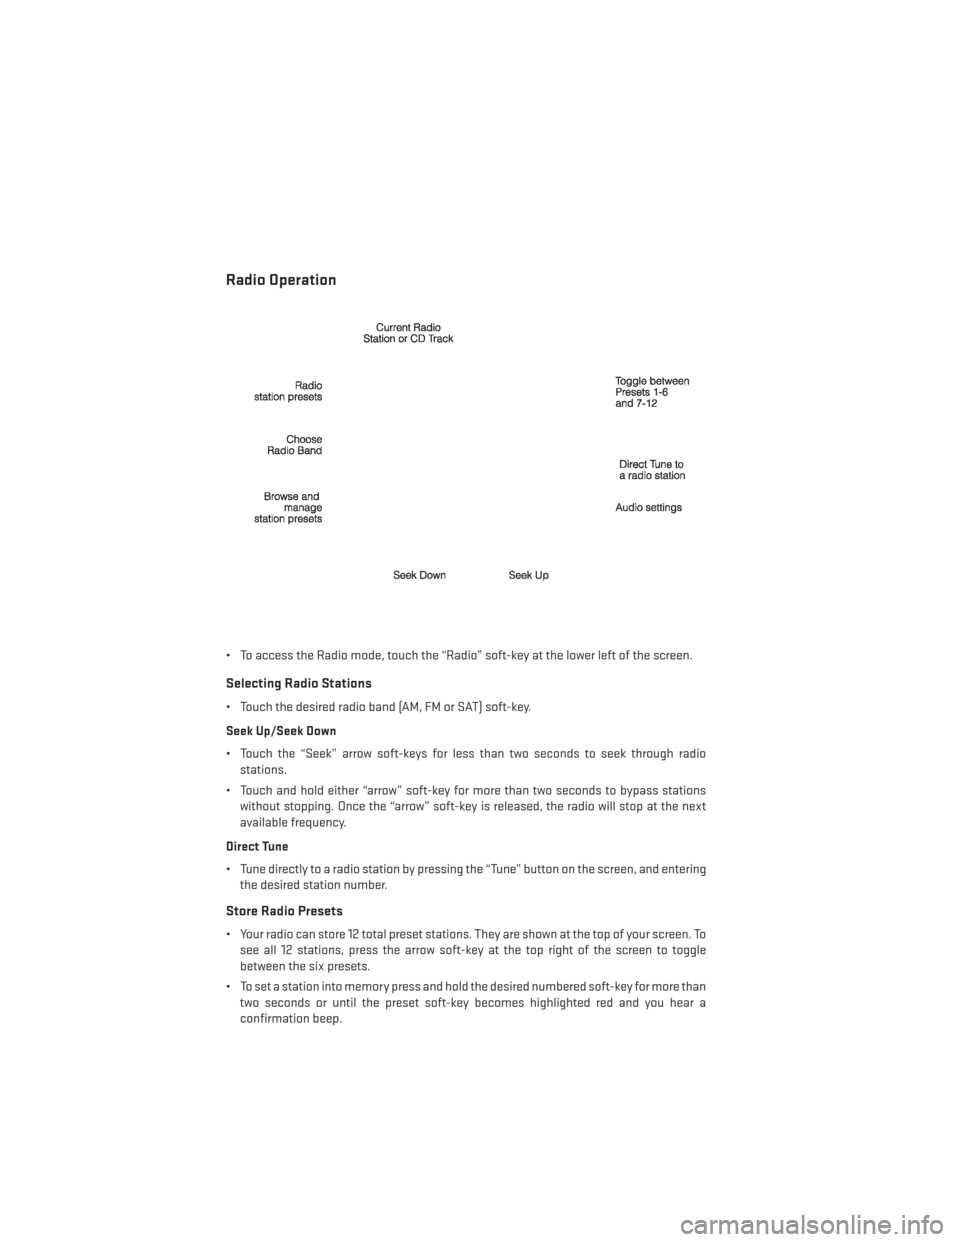
• To access the Radio mode, touch the “Radio” soft-key at the lower left of the screen.
Selecting Radio Stations
• Touch the desired radio band (AM, FM or SAT) soft-key.
Seek Up/Seek Down
• Touch the “Seek” arrow soft-keys for less than two seconds to seek through radiostations.
• Touch and hold either “arrow” soft-key for more than two seconds to bypass stations without stopping. Once the “arrow” soft-key is released, the radio will stop at the next
available frequency.
Direct Tune
• Tune directly to a radio station by pressing the “Tune” button on the screen, and entering the desired station number.
Store Radio Presets
• Your radio can store 12 total preset stations. They are shown at the top of your screen. Tosee all 12 stations, press the arrow soft-key at the top right of the screen to toggle
between the six presets.
• To set a station into memory press and hold the desired numbered soft-key for more than two seconds or until the preset soft-key becomes highlighted red and you hear a
confirmation beep.
ELECTRONICS
52
Page 64 of 140
Adding A Via Point
• To add a via point you must be navigating a route.
• Touch the “back” arrow to return to the Main Navigation menu.
• Touch the “Where To?” soft-key, then search for the via point. Select the via point to addfrom the search results.
• Touch “Go,” then touch “Add as a Via Point.”
Taking A Detour
• To take a detour you must be navigating a route.
• Touch “Detour.”
NOTE:
If the route you are currently taking is the only reasonable option, the device might not
calculate a detour.
Traffic
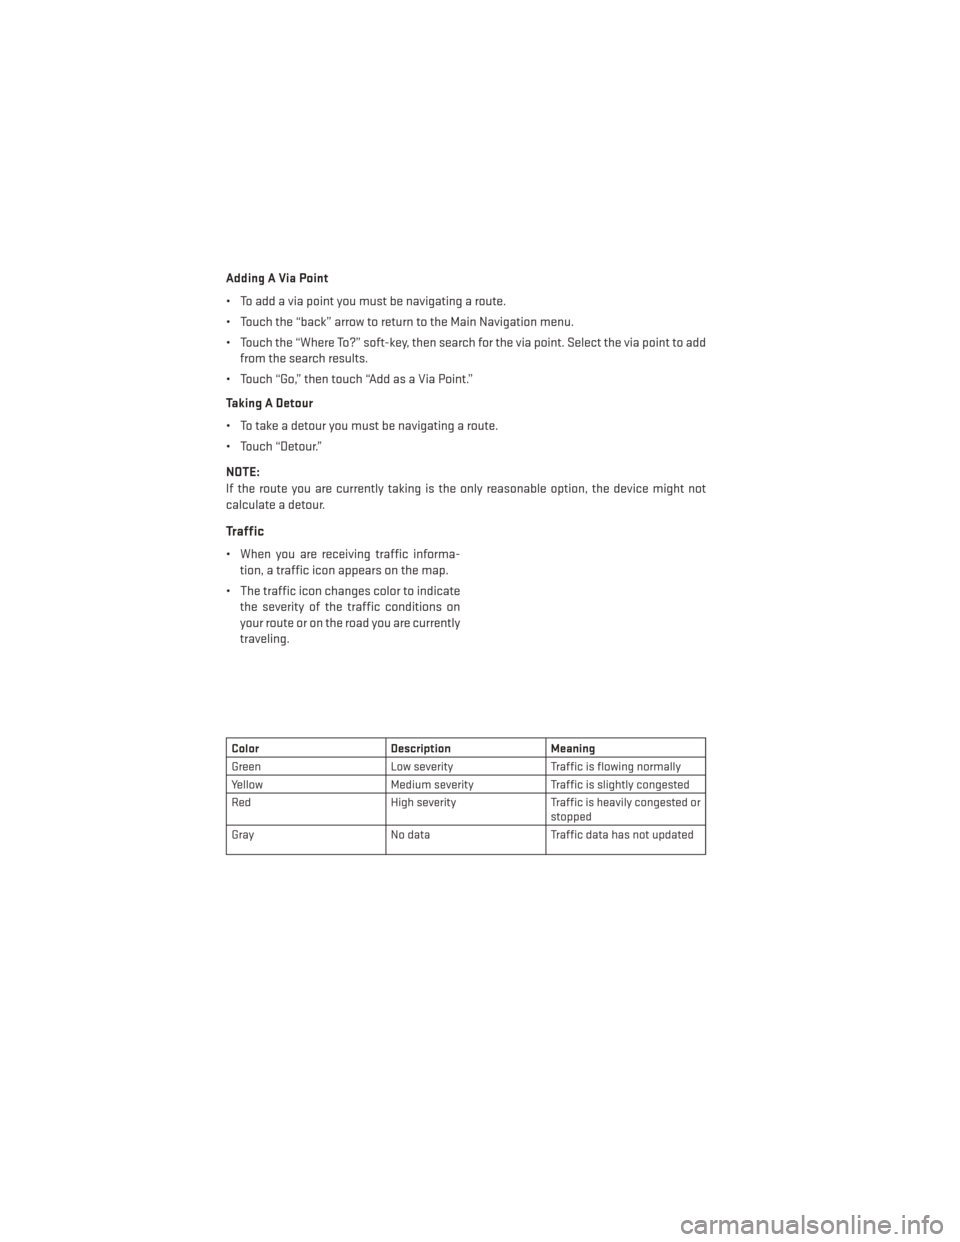
• When you are receiving traffic informa- tion, a traffic icon appears on the map.
• The traffic icon changes color to indicate the severity of the traffic conditions on
your route or on the road you are currently
traveling.
Color Description Meaning
Green Low severity Traffic is flowing normally
Yellow Medium severity Traffic is slightly congested
Red High severity Traffic is heavily congested or
stopped
Gray No data Traffic data has not updated
ELECTRONICS
62
Page 77 of 140
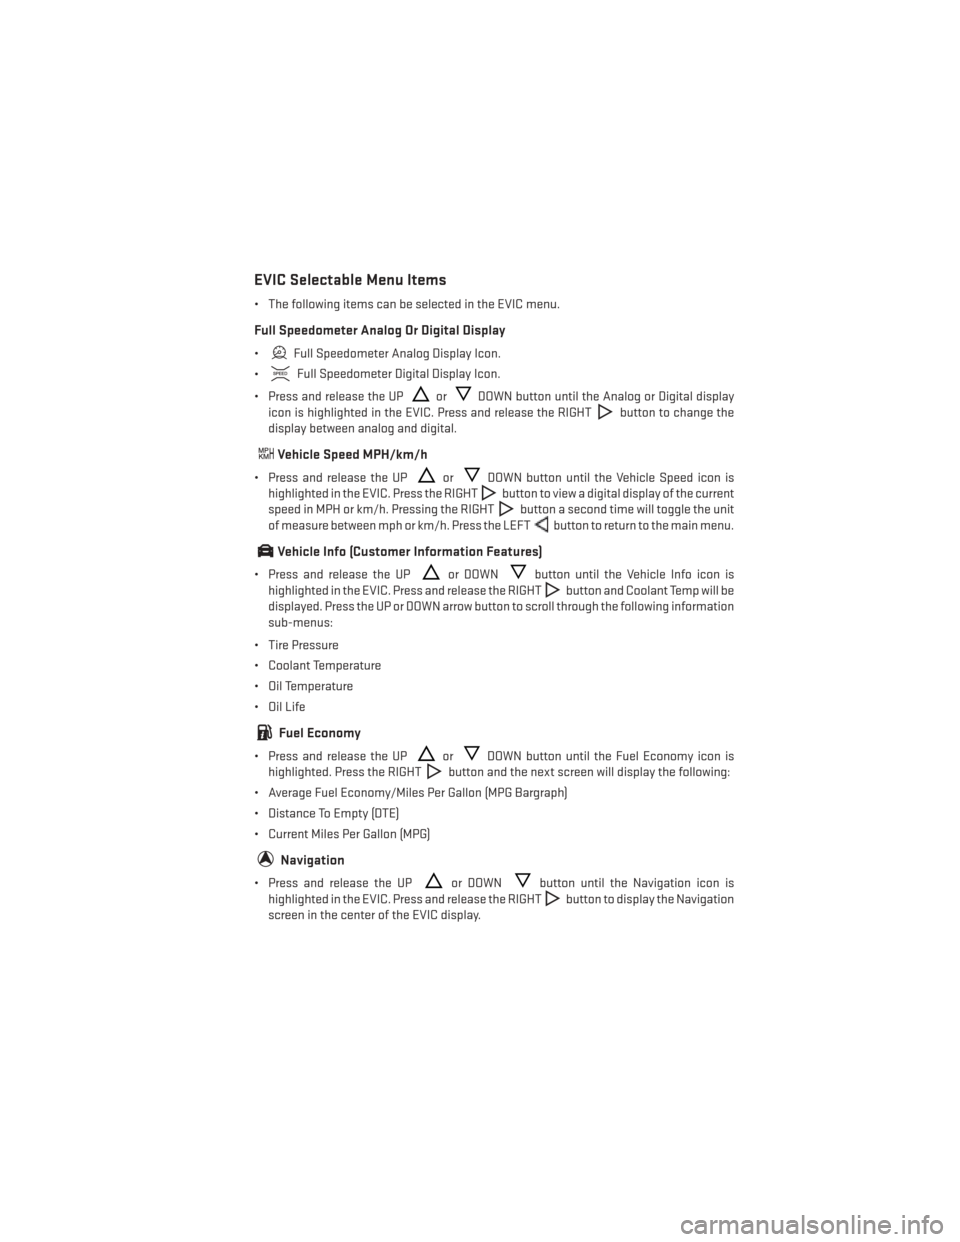
EVIC Selectable Menu Items
• The following items can be selected in the EVIC menu.
Full Speedometer Analog Or Digital Display
•Full Speedometer Analog Display Icon.
•
Full Speedometer Digital Display Icon.
• Press and release the UP
orDOWN button until the Analog or Digital display
icon is highlighted in the EVIC. Press and release the RIGHT
button to change the
display between analog and digital.
Vehicle Speed MPH/km/h
• Press and release the UPorDOWN button until the Vehicle Speed icon is
highlighted in the EVIC. Press the RIGHT
button to view a digital display of the current
speed in MPH or km/h. Pressing the RIGHT
button a second time will toggle the unit
of measure between mph or km/h. Press the LEFT
button to return to the main menu.
Vehicle Info (Customer Information Features)
• Press and release the UPor DOWNbutton until the Vehicle Info icon is
highlighted in the EVIC. Press and release the RIGHT
button and Coolant Temp will be
displayed. Press the UP or DOWN arrow button to scroll through the following information
sub-menus:
• Tire Pressure
• Coolant Temperature
• Oil Temperature
• Oil Life
Fuel Economy
• Press and release the UPorDOWN button until the Fuel Economy icon is
highlighted. Press the RIGHT
button and the next screen will display the following:
• Average Fuel Economy/Miles Per Gallon (MPG Bargraph)
• Distance To Empty (DTE)
• Current Miles Per Gallon (MPG)
Navigation
• Press and release the UPor DOWNbutton until the Navigation icon is
highlighted in the EVIC. Press and release the RIGHT
button to display the Navigation
screen in the center of the EVIC display.
ELECTRONICS
75
Page 78 of 140
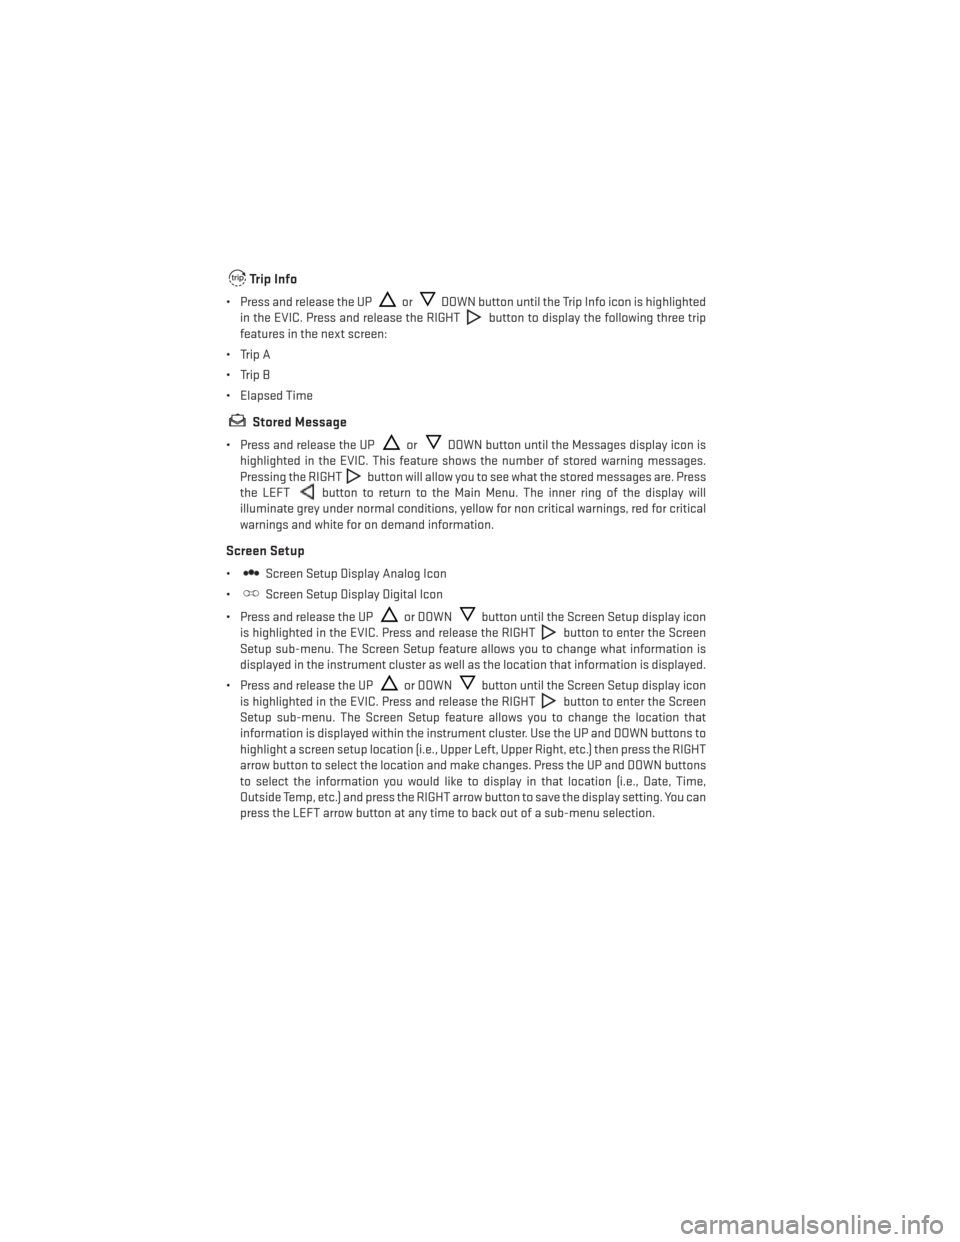
Trip Info
• Press and release the UPorDOWN button until the Trip Info icon is highlighted
in the EVIC. Press and release the RIGHT
button to display the following three trip
features in the next screen:
• Trip A
• Trip B
• Elapsed Time
Stored Message
• Press and release the UPorDOWN button until the Messages display icon is
highlighted in the EVIC. This feature shows the number of stored warning messages.
Pressing the RIGHT
button will allow you to see what the stored messages are. Press
the LEFT
button to return to the Main Menu. The inner ring of the display will
illuminate grey under normal conditions, yellow for non critical warnings, red for critical
warnings and white for on demand information.
Screen Setup
•Screen Setup Display Analog Icon
•
Screen Setup Display Digital Icon
• Press and release the UP
or DOWNbutton until the Screen Setup display icon
is highlighted in the EVIC. Press and release the RIGHT
button to enter the Screen
Setup sub-menu. The Screen Setup feature allows you to change what information is
displayed in the instrument cluster as well as the location that information is displayed.
• Press and release the UP
or DOWNbutton until the Screen Setup display icon
is highlighted in the EVIC. Press and release the RIGHT
button to enter the Screen
Setup sub-menu. The Screen Setup feature allows you to change the location that
information is displayed within the instrument cluster. Use the UP and DOWN buttons to
highlight a screen setup location (i.e., Upper Left, Upper Right, etc.) then press the RIGHT
arrow button to select the location and make changes. Press the UP and DOWN buttons
to select the information you would like to display in that location (i.e., Date, Time,
Outside Temp, etc.) and press the RIGHT arrow button to save the display setting. You can
press the LEFT arrow button at any time to back out of a sub-menu selection.
ELECTRONICS
76