tow DODGE DURANGO 2011 3.G Service Manual
[x] Cancel search | Manufacturer: DODGE, Model Year: 2011, Model line: DURANGO, Model: DODGE DURANGO 2011 3.GPages: 576, PDF Size: 3.57 MB
Page 349 of 576
Overdrive Operation
The automatic transmission includes an electronically
controlled Overdrive (fifth gear for 3.6L engine, fourth
and fifth gears for 5.7L engine). The transmission will
automatically shift to Overdrive, if the following condi-
tions are present:
•the shift lever is in DRIVE;
•the engine coolant has reached normal operating tem-
perature;
•vehicle speed is above approximately 30 mph
(48 km/h);
•the TOW/HAUL switch has not been activated;
•transmission has reached normal operating
temperature.
NOTE: If the vehicle is started in extremely cold tem-
peratures, the transmission may not shift into Overdrive and will automatically select the most desirable gear for
operation at this temperature. Normal operation will
resume when the transmission fluid temperature has
risen to a suitable level. Refer to the “Note” under
“Torque Converter Clutch” in this section.
During cold temperature operation you may notice de-
layed upshifts, depending on engine and transmission
temperature. This feature improves the warm-up time of
the engine and transmission.
If the transmission temperature gets extremely hot, the
transmission will automatically select the most desirable
gear for operation at this temperature. If the transmission
temperature becomes hot enough, the “TRANSMISSION
OVER TEMP” message may display, and the transmis-
sion may downshift out of Overdrive until the transmis-
sion cools down. After cool down, the transmission will
resume normal operation.
5
STARTING AND OPERATING 347
Page 350 of 576
The transmission will downshift from Overdrive, to the
most desirable gear, if the accelerator pedal is fully
pressed at vehicle speeds above approximately 35 mph
(56 km/h).
When To Use TOW/HAUL Mode – If Equipped
When driving in hilly areas, towing a trailer, carrying a
heavy load, etc., and frequent transmission shifting oc-
curs, press the TOW/HAUL switch. This will improve
performance and reduce the potential for transmission
overheating or failure due to excessive shifting. When
operating in TOW/HAUL mode, the transmission will
shift into direct gear and Overdrive will be enabled
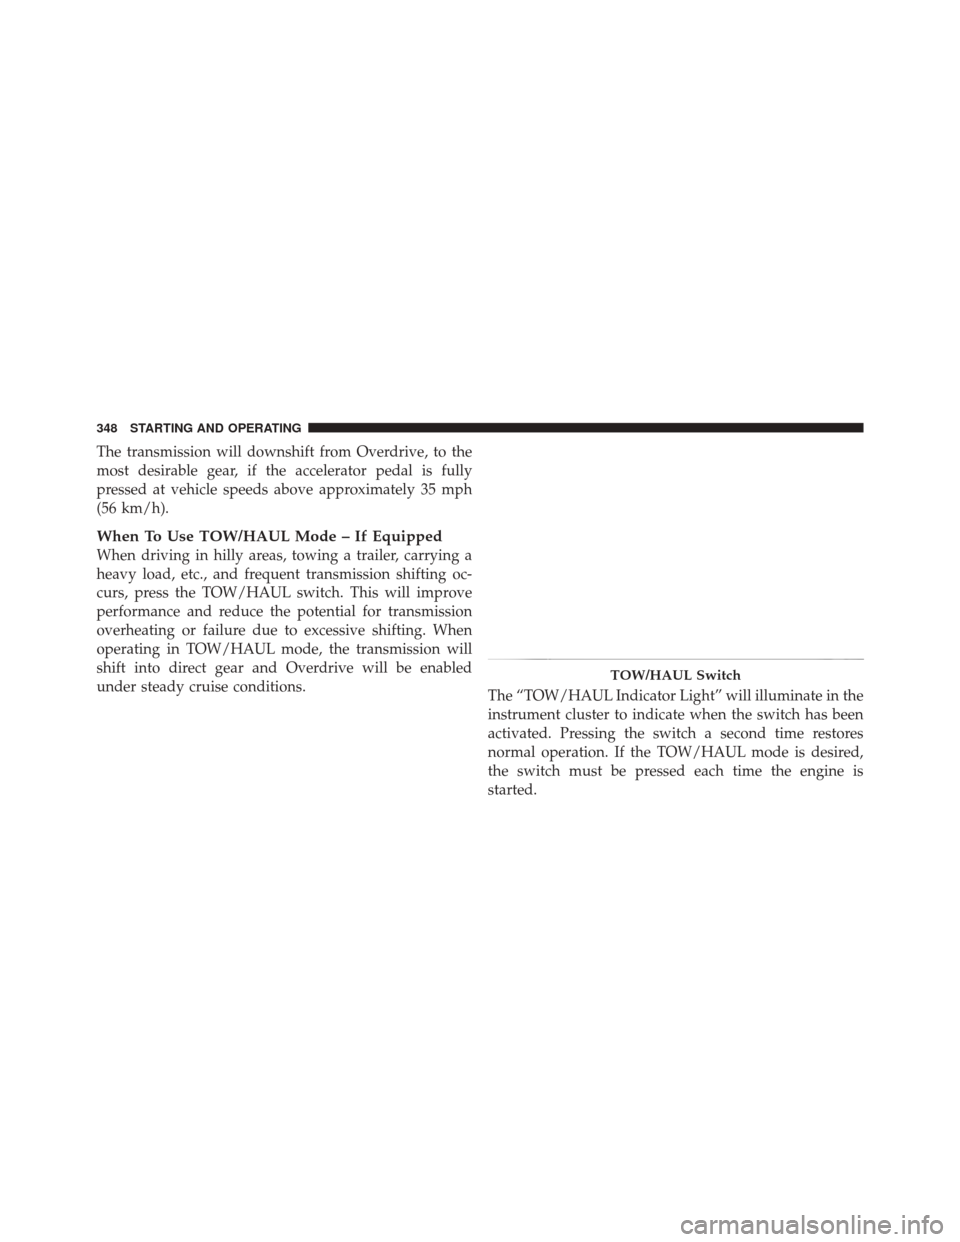
under steady cruise conditions.The “TOW/HAUL Indicator Light” will illuminate in the
instrument cluster to indicate when the switch has been
activated. Pressing the switch a second time restores
normal operation. If the TOW/HAUL mode is desired,
the switch must be pressed each time the engine is
started.
TOW/HAUL Switch
348 STARTING AND OPERATING
Page 351 of 576

In high ambient temperatures with sustained high engine
speed and load, an upshift, followed shortly thereafter by a
downshift, may occur. The “TOW/HAUL Indicator Light”
will turn off. This is a normal part of the overheat protec-
tion strategy when operating in the TOW/HAUL mode.
Transmission Limp Home Mode
Transmission function is monitored for abnormal condi-
tions. If a condition is detected that could result in
transmission damage, the Transmission Limp Home
Mode will be engaged. In this mode, the transmission
will remain in the current gear (3.6L engine) or in direct
gear (5.7L engine) until the vehicle is brought to a stop.
To reset the transmission, use the following procedure:
1. Stop the vehicle.
2. Move the shift lever into the PARK position.
3. Turn the engine off, and be sure to turn the ignition
switch to the LOCK position.4. Wait approximately 10 seconds, then restart the en-
gine.
5. Move the shift lever to the desired gear range.
If the problem is no longer detected, the transmission will
return to normal operation. If the problem persists,
PARK, REVERSE, and NEUTRAL will continue to oper-
ate normally. Only second gear (3.6L engine) or third gear
(5.7L engine) will be available in the DRIVE position.
Have the transmission checked at your authorized dealer
as soon as possible.
Torque Converter Clutch
A feature, designed to improve fuel economy, has been
included in the automatic transmission on your vehicle.
A clutch within the torque converter engages automati-
cally, at a calibrated speed, at light throttle. It engages at
higher speeds under heavier acceleration. This may re-
sult in a slightly different feeling or response during
normal operation in high gear. When the vehicle speed
5
STARTING AND OPERATING 349
Page 357 of 576
LOW RANGE
All-Wheel Drive Low Range - This range provides low
speed all-wheel drive. Locks the front and rear drive-
shafts together forcing the front and rear wheels to rotate
at the same speed. Additional traction and maximum
pulling power for loose, slippery road surfaces only. Do
not exceed 25 mph (40 km/h).
N
Neutral - This range disengages both the front and rear
driveshafts from the powertrain. To be used for flat
towing behind another vehicle. Refer to “Recreational
Towing” in “Starting and Operating” for further
information.
Shifting Procedure
NOTE:
•If any of the requirements to select a new transfer case
position have not been met, the transfer case will not
shift. The position indicator light for the previousposition will remain ON, and the newly selected
position indicator light will continue to flash until all
the requirements for the selected position have been
met. To retry a shift: return the control knob back to the
original position, make certain all shift requirements
have been met, wait five seconds and try the shift
again.
•If all the requirements to select a new transfer case
position have been met, the current position indicator
light will turn OFF, the selected position indicator light
will flash until the transfer case completes the shift.
When the shift is complete, the position indicator light
for the selected position will stop flashing and remain
ON.
AWD AUTO⇔LOW RANGE
NOTE:
When shifting into or out of LOW RANGE some
gear noise may be heard. This noise is normal and is not
detrimental to the vehicle or occupants.
5
STARTING AND OPERATING 355
Page 359 of 576
NEUTRAL Shift Procedure
1. Turn the ignition switch to the ON position, engine off.
2. Vehicle stopped, with foot on brake.
3. Place the transmission into NEUTRAL.
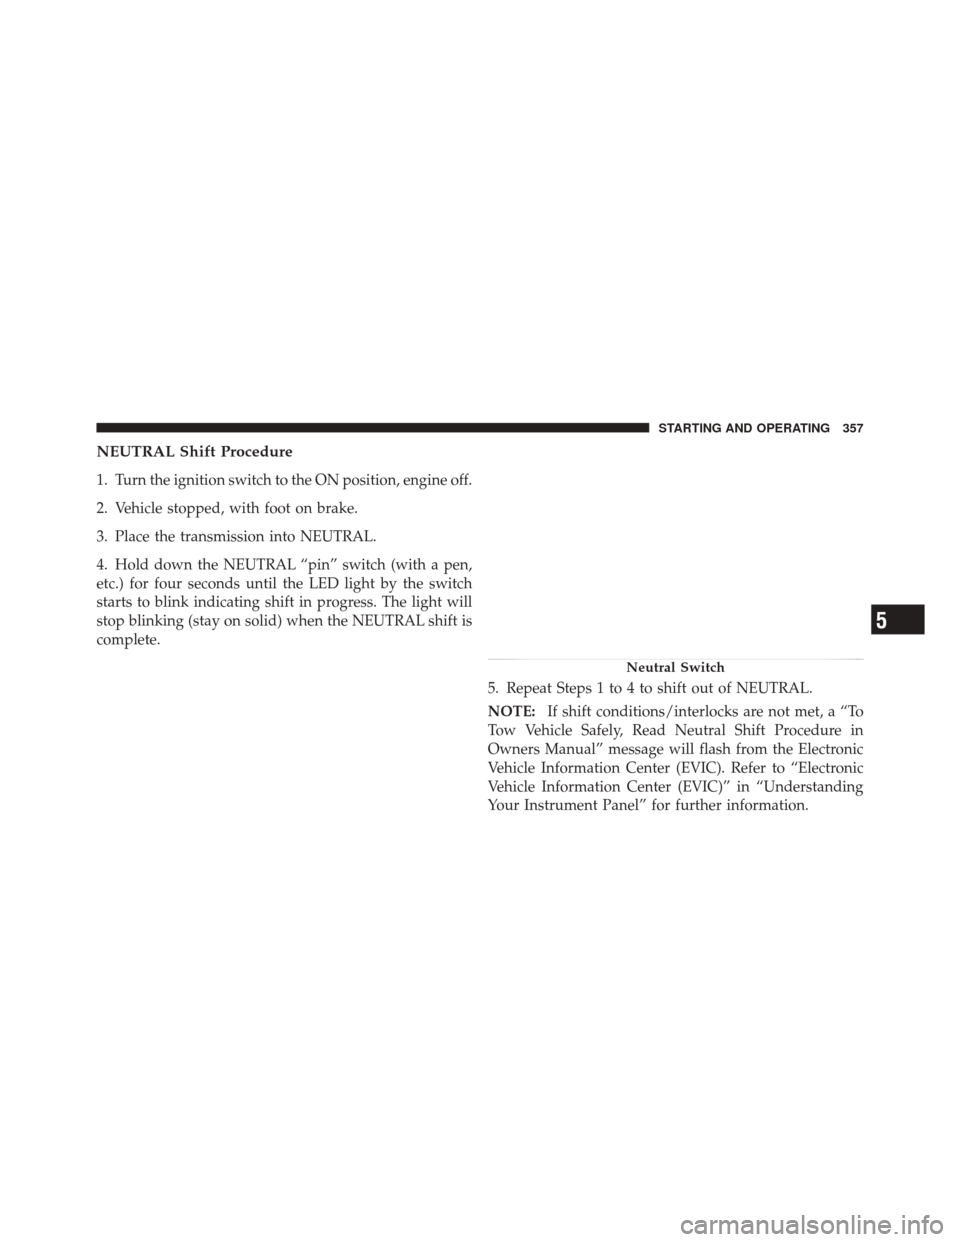
4. Hold down the NEUTRAL “pin” switch (with a pen,
etc.) for four seconds until the LED light by the switch
starts to blink indicating shift in progress. The light will
stop blinking (stay on solid) when the NEUTRAL shift is
complete.5. Repeat Steps 1 to 4 to shift out of NEUTRAL.
NOTE:If shift conditions/interlocks are not met, a “To
Tow Vehicle Safely, Read Neutral Shift Procedure in
Owners Manual” message will flash from the Electronic
Vehicle Information Center (EVIC). Refer to “Electronic
Vehicle Information Center (EVIC)” in “Understanding
Your Instrument Panel” for further information.
Neutral Switch
5
STARTING AND OPERATING 357
Page 368 of 576
The foot operated parking brake is located below the
lower left corner of the instrument panel. To apply the
park brake, firmly push the park brake pedal fully. To
release the parking brake, press the park brake pedal a
second time and let your foot up as you feel the brake
disengage.When the parking brake is applied with the ignition
switch in the ON position, the “Brake Warning Light” in
the instrument cluster will illuminate.
NOTE:
•When the parking brake is applied and the transmis-
sion is placed in gear, the “Brake Warning Light” will
flash. If vehicle speed is detected, a chime will sound
to alert the driver. Fully release the parking brake
before attempting to move the vehicle.
•This light only shows that the parking brake is ap-
plied. It does not show the degree of brake application.
When parking on a hill, it is important to turn the front
wheels toward the curb on a downhill grade and away
from the curb on an uphill grade. Apply the parking
brake before placing the shift lever in PARK, otherwise
the load on the transmission locking mechanism may
Parking Brake
366 STARTING AND OPERATING
Page 375 of 576
NOTE:To improve the vehicle’s traction when driving
with snow chains, or starting off in deep snow, sand, or
gravel, it may be desirable to switch to the “Partial Off”
mode by pressing the “ESC OFF” switch. Once the
situation requiring ESC to be switched to the “Partial
Off” mode is overcome, turn ESC back on by momen-
tarily pressing the “ESC OFF” switch. This may be done
while the vehicle is in motion.
AWD Low Range (LOW)
Partial Off
This is the normal operating mode for ESC in AWD LOW
range. Whenever the vehicle is started in AWD LOW
range, or the transfer case (if equipped) is shifted from
AWD AUTO range or NEUTRAL to AWD LOW range,
the ESC system will be in the “Partial Off” mode.
Trailer Sway Control (TSC)
TSC uses sensors in the vehicle to recognize an exces-
sively swaying trailer and will take the appropriate
actions to attempt to stop the sway. The system may
reduce engine power and apply the brake of the appro-
priate wheel(s) to counteract the sway of the trailer. TSC
will become active automatically once an excessively
swaying trailer is recognized. No driver action is re-
quired. Note that TSC cannot stop all trailers from
swaying. Always use caution when towing a trailer and
follow the trailer tongue weight recommendations. Refer
to “Trailer Towing” in “Starting and Operating” for
further information. When TSC is functioning, the “ESC
Malfunction Indicator Light” will flash, the engine power
may be reduced and you may feel the brakes being
applied to individual wheels to attempt to stop the trailer
from swaying. TSC is disabled when the ESC system is in
the “Partial Off” mode.
5
STARTING AND OPERATING 373
Page 386 of 576
This placard tells you important information about
the:
1) number of people that can be carried in the vehicle
2) total weight your vehicle can carry
3) tire size designed for your vehicle
4) cold tire inflation pressures for the front, rear, and
spare tires.
Loading
The vehicle maximum load on the tire must not exceed
the load carrying capacity of the tire on your vehicle. You
will not exceed the tire’s load carrying capacity if you
adhere to the loading conditions, tire size, and cold tire
inflation pressures specified on the Tire and Loading
Information placard and in the “Vehicle Loading” section
of this manual.
NOTE:Under a maximum loaded vehicle condition,
gross axle weight ratings (GAWRs) for the front and rear axles must not be exceeded. For further information on
GAWRs, vehicle loading, and trailer towing, refer to
“Vehicle Loading” in this section.
To determine the maximum loading conditions of your
vehicle, locate the statement “The combined weight of
occupants and cargo should never exceed XXX lbs or
XXX kg” on the Tire and Loading Information placard.
The combined weight of occupants, cargo/luggage and
trailer tongue weight (if applicable) should never exceed
the weight referenced here.
Steps For Determining Correct Load Limit
1. Locate the statement “The combined weight of occu-
pants and cargo should never exceed XXX lbs or XXX kg”
on your vehicle’s placard.
2. Determine the combined weight of the driver and
passengers that will be riding in your vehicle.
384 STARTING AND OPERATING
Page 387 of 576
3. Subtract the combined weight of the driver and pas-
sengers from XXX lbs or XXX kg.
4. The resulting figure equals the available amount of
cargo and luggage load capacity. For example, if “XXX”
amount equals 1,400 lbs (635 kg) and there will be five
150 lb (68 kg) passengers in your vehicle, the amount of
available cargo and luggage load capacity is 650 lbs
(295 kg) (since 5 x 150 = 750, and 1400 – 750 = 650 lbs
[295 kg]).
5. Determine the combined weight of luggage and cargo
being loaded on the vehicle. That weight may not safely
exceed the available cargo and luggage load capacity
calculated in Step 4.6. If your vehicle will be towing a trailer, load from your
trailer will be transferred to your vehicle. Consult this
manual to determine how this reduces the available
cargo and luggage load capacity of your vehicle.
NOTE:
•The following table shows examples on how to calcu-
late total load, cargo/luggage, and towing capacities
of your vehicle with varying seating configurations
and number and size of occupants. This table is for
illustration purposes only and may not be accurate for
the seating and load carry capacity of your vehicle.
•For the following example, the combined weight of
occupants and cargo should never exceed 865 lbs
(392 kg).
5
STARTING AND OPERATING 385
Page 426 of 576
the front or rear axles has been exceeded, but the total
load is within the specified GVWR. If so, weight must be
shifted from front to rear, or rear to front, as appropriate
until the specified weight limitations are met. Store the
heavier items down low and be sure that the weight is
distributed equally. Stow all loose items securely before
driving.
Improper weight distributions can have an adverse affect
on the way your vehicle steers and handles, and the way
the brakes operate.
CAUTION!
Do not load your vehicle any heavier than the GVWR
or the maximum front and rear GAWR. If you do,
parts on your vehicle can break, or it can change the
way your vehicle handles. This could cause you to
lose control. Also, overloading can shorten the life of
your vehicle.
TRAILER TOWING
In this section you will find safety tips and information
on limits to the type of towing you can reasonably do
with your vehicle. Before towing a trailer, carefully
review this information to tow your load as efficiently
and safely as possible.
To maintain warranty coverage, follow the requirements
and recommendations in this manual concerning ve-
hicles used for trailer towing.
Common Towing Definitions
The following trailer towing related definitions will assist
you in understanding the following information.
424 STARTING AND OPERATING