and thus remain a part of the AM reception. They
interfere very little with the frequency variations that
carry the FM signal.
AM Reception
AM sound is based on wave amplitude, so AM reception
can be disrupted by such things as lightning, power lines
and neon signs.
FM Reception
Because FM transmission is based on frequency varia-
tions, interference that consists of amplitude variations
can be filtered out, leaving the reception relatively clear,
which is the major feature of FM radio.
NOTE:The radio, steering wheel radio controls, and 6
disc CD/DVD changer (if equipped) will remain active
for up to 60 minutes after the ignition switch is turned
off. Opening either front door will cancel this feature. The
time is programmable. For details, refer to ªDelay Power
Off to Accessories Until Exit,º under ªPersonal Settings
(Customer Programmable Features),º under ªElectronic
Vehicle Information Center (EVIC)º in Section 4 of this
manual.
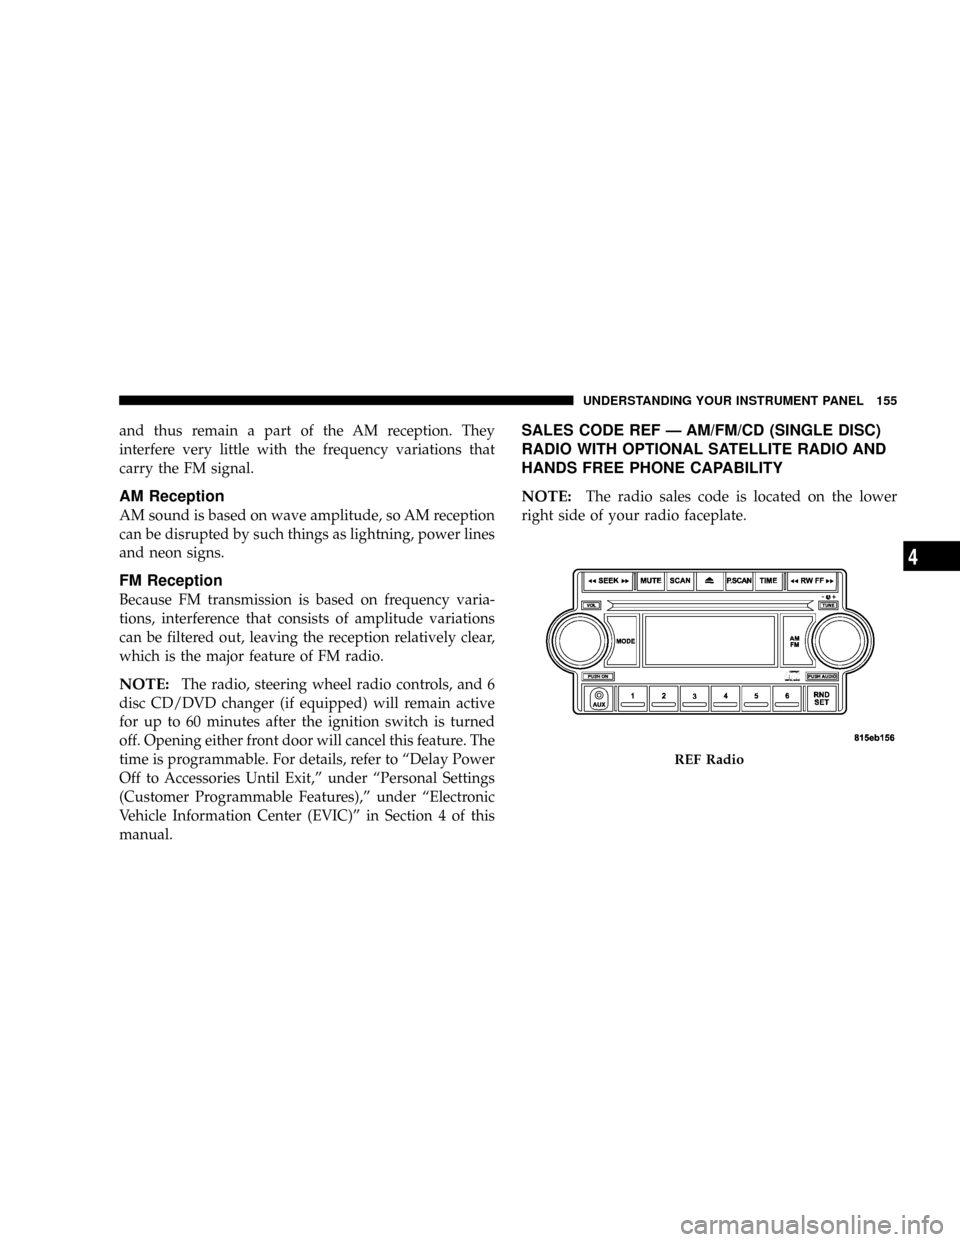
SALES CODE REF Ð AM/FM/CD (SINGLE DISC)
RADIO WITH OPTIONAL SATELLITE RADIO AND
HANDS FREE PHONE CAPABILITY
NOTE:
The radio sales code is located on the lower
right side of your radio faceplate.
REF Radio
UNDERSTANDING YOUR INSTRUMENT PANEL 155
4
screen to provide maps, turn identification, selection
menus and instructions for selecting a variety of destina-
tions and routes, AM/FM stereo radio and six-disc CD
changer with MP3 capability.
Mapping information for navigation is supplied on a
DVD that is loaded into the unit. One map DVD covers
all of North America. Refer to your ªNavigation User's
Manualº for detailed operating instructions.
Operating Instructions Ð Satellite Radio (If
Equipped)
Refer to your ªNavigation User's Manualº for detailed
operating instructions.
REC Setting the Clock
GPS Clock
The GPS receiver used in this system is synchronized to
the time data being transmitted by the GPS satellites. The
satellites' clock is Greenwich Mean Time (GMT). This is
the worldwide standard for time. This makes the sys-
tem's clock very accurate once the appropriate time zone
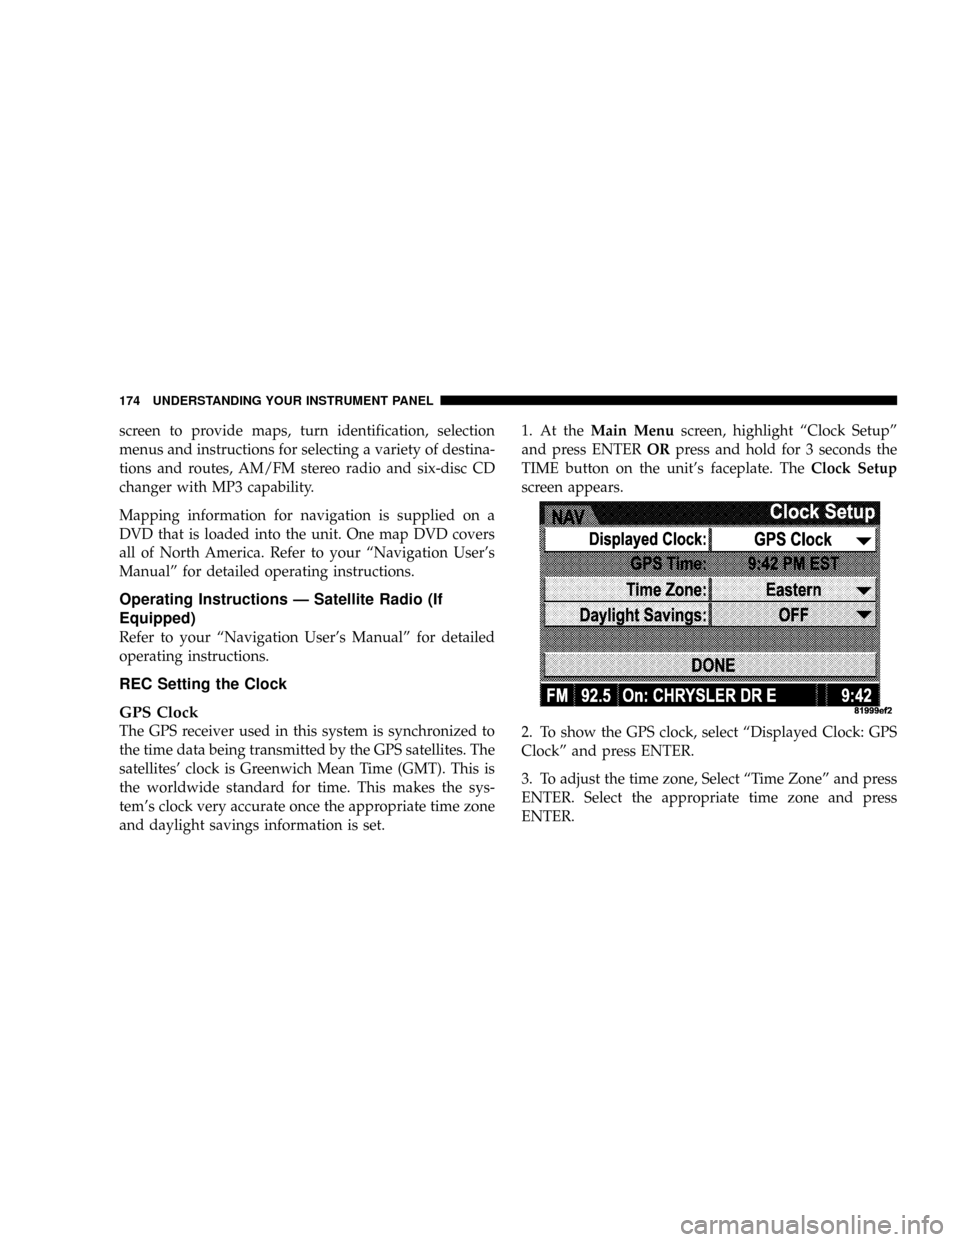
and daylight savings information is set.1. At theMain Menuscreen, highlight ªClock Setupº
and press ENTERORpress and hold for 3 seconds the
TIME button on the unit's faceplate. TheClock Setup
screen appears.
2. To show the GPS clock, select ªDisplayed Clock: GPS
Clockº and press ENTER.
3. To adjust the time zone, Select ªTime Zoneº and press
ENTER. Select the appropriate time zone and press
ENTER.
174 UNDERSTANDING YOUR INSTRUMENT PANEL

