fuel DODGE MAGNUM SRT 2007 1.G Owners Manual
[x] Cancel search | Manufacturer: DODGE, Model Year: 2007, Model line: MAGNUM SRT, Model: DODGE MAGNUM SRT 2007 1.GPages: 380, PDF Size: 6.63 MB
Page 60 of 380
Front seat belt assemblies must be replaced after a
collision. Rear seat belt assemblies must be replaced after
a collision if they have been damaged (bent retractor, torn
webbing, etc. If there is any question regarding belt or
retractor condition, replace the belt.
Airbag Warning Light
The light should come on and remain on for 6 to 8
seconds as a bulb check when the ignition switch is first
turned ON. If the light is not lit during starting, see you
authorized dealer. If the light stays on, flickers, or comes
on while driving, have the system checked by an autho-
rized dealer.
Defroster
Check operation by selecting the defrost mode and place
the blower control on high speed. You should be able to
feel the air directed against the windshield.
Periodic Safety Checks You Should Make Outside
The Vehicle
Tires
Examine tires for excessive tread wear and uneven wear
patterns. Check for stones, nails, glass, or other objects
lodged in the tread. Inspect tread and sidewall for cuts
and cracks. Check the wheel nuts for tightness. Check the
tires (including spare) for proper pressure.
Lights
Have someone observe the operation of exterior lights
while you work the controls. Check turn signal and high
beam indicator lights on the instrument panel.
Door Latches
Check for positive closing, latching, and locking.
Fluid Leaks
Check area under vehicle after overnight parking for fuel,
engine coolant, oil, or other fluid leaks. Also, if gasoline
fumes are detected or if fuel, power steering fluid, or
brake fluid leaks are suspected, the cause should be
located and corrected immediately.
THINGS TO KNOW BEFORE STARTING YOUR VEHICLE 59
2
Page 136 of 380
INSTRUMENT CLUSTER DESCRIPTIONS
1. Fuel Gauge
The pointer shows the level of fuel in the fuel tank when
the ignition switch is in the ON position.
2. Trip Odometer Button
Press this button to change the display from odometer to
either of two trip odometer settings. The letter ªAº or ªBº
will appear when in the trip odometer mode. Push in and
hold the button for two seconds to reset the trip odometer
to 0 miles (kilometers). The odometer must be in trip
mode to reset it.
3. Speedometer
Indicates vehicle speed.
4. Electronic Speed Control Indicator Light
This light will turn on when the electronic
speed control is ON. (See page 103 for more
information.)5. Tachometer
The red segments indicate the maximum permissible
engine revolutions-per-minute (r.p.m. x 1000) for each
gear range. Ease up on the accelerator before reaching the
red area.
6. Voltage Light
This light monitors the electrical system volt-
age. The light should turn on momentarily as
the engine is started. If the light stays on or turns on
while driving, it indicates a problem with the charging
system. Immediate service should be obtained.
7. Electronic Throttle Control (ETC) Light
This light will turn on briefly as a bulb check
when the ignition switch is turned ON. This
light will also turn on while the engine is
running if there is a problem with the Elec-
tronic Throttle Control system.
If the light comes on while the engine is running, safely
bring the vehicle to a complete stop as soon as possible,
place the gear selector in park, and cycle the ignition key.
The light should turn off. If the light remains lit with the
UNDERSTANDING YOUR INSTRUMENT PANEL 135
4
Page 140 of 380
Loose Fuel Filler Cap
If the vehicle diagnostic system determines that the fuel
filler cap is loose, improperly installed, or damaged, a
ªCheck Gascapº message will display in the Electronic
Vehicle Information Center (EVIC). Tighten the fuel filler
cap properly and press the odometer reset button to turn
off the message. If the problem continues, the message
will appear the next time the vehicle is started.
A loose, improperly installed, or damaged fuel filler cap
may also turn on the Malfunction Indicator Light (MIL).
(See page 292 for more information.)
20. Brake System Warning Light
This light monitors various brake functions,
including brake fluid level and parking
brake application. If the brake light turns on,
it may indicate that the parking brake is
applied, that the brake fluid level is low, or that there
is a problem with the anti-lock brake system.
The dual brake system provides a reserve braking capac-
ity to a portion of the hydraulic system in the event of a
failure. Failure of either half of the dual brake system isindicated by the Brake Warning Light, which will turn on
when the brake fluid level in the master cylinder drops
below a specified level.
The light will remain on until the cause is corrected.
NOTE:The light may flash momentarily during sharp
cornering maneuvers, which change fluid level condi-
tions. The vehicle should have service performed, and
the brake fluid level checked.
Immediate repair is necessary if brake failure is indicated.
WARNING!
Driving a vehicle with the brake light on is danger-
ous. Part of the brake system may have failed. It will
take longer to stop the vehicle. You could have an
accident. Have the vehicle checked immediately.
Vehicles equipped with Anti-Lock brakes (ABS) are also
equipped with Electronic Brake Force Distribution (EBD).
Both the Brake Warning Light and the ABS Light will
UNDERSTANDING YOUR INSTRUMENT PANEL 139
4
Page 141 of 380
turn on in the event of an EBD failure. Immediate repair
of the ABS system is required in the event of an EBD
failure.
The operation of the Brake Warning Light can be checked
by turning the ignition switch from the OFF position to
the ON position. The light should turn on for approxi-
mately two seconds and then turn off. The light will
remain on if the parking brake is applied or if a brake
fault is detected. If the parking brake is not applied and
the light remains on, or if the light does not turn on, have
the light inspected by an authorized dealer.
NOTE:The light will turn on when the ignition switch
in the ON position and the parking brake is applied. This
light shows only that the parking brake is applied. It does
not show the degree of brake application. (See page 219
for more information.)
21. Vehicle Security Alarm (VSA) Indicator Light Ð
If Equipped
The VSA indicator Light flashes rapidly when the VSA is
arming, and slowly when the VSA is armed. (See page 15
for more information.)
22. Tire Pressure Monitoring Telltale Light Ð If
Equipped
Each tire, including the spare (if provided),
should be checked monthly when cold and
inflated to the inflation pressure recom-
mended by the vehicle manufacturer on the
vehicle placard or tire inflation pressure label. (If your
vehicle has tires of a different size than the size
indicated on the vehicle placard or tire inflation pres-
sure label, you should determine the proper tire
inflation pressure for those tires.)
As an added safety feature, your vehicle has been
equipped with a tire pressure monitoring system (TPMS)
that illuminates a low tire pressure telltale when one or
more of your tires are significantly under-inflated. Ac-
cordingly, when the low tire pressure telltale illuminates,
you should stop and check your tires as soon as possible,
and inflate them to the proper pressure. Driving on a
significantly under-inflated tire causes the tire to over-
heat and can lead to tire failure. Under-inflation also
reduces fuel efficiency and tire tread life, and may affect
the vehicle's handling and stopping ability.
140 UNDERSTANDING YOUR INSTRUMENT PANEL
Page 143 of 380
23. Anti-Lock Brake Light
This light monitors the Anti-Lock Brake System.
The light will turn on when the ignition switch
is turned to the ON position and may stay on for as
long as four seconds.
If the ABS light remains on or turns on while driving,
then the Anti-Lock portion of the brake system is not
functioning and service is required. However, the con-
ventional brake system will continue to operate normally
if the BRAKE warning light is not on.
If the ABS light is on, the brake system should be serviced
as soon as possible to restore the benefits of Anti-Lock
brakes. If the ABS light does not turn on when the
Ignition switch is turned to the ON position, have the
light inspected by an authorized dealer. (See page 219 for
more information.)
24. Low Fuel Indicator Light
This light will turn on and a single chime will
sound when the fuel level drops to 1/8 tank. (See
page 257 for more information.)25. Malfunction Indicator Light
This light is part of an onboard diagnostic
system called OBD. The OBD system monitors
engine and automatic transmission control sys-
tems. The light will turn on when the key is in the ON
position before engine start. If the light does not come
on when turning the key from OFF to ON, have the
condition checked promptly.
Certain conditions such as a loose or missing gas cap,
poor fuel quality, etc. may illuminate the light after
engine start. The vehicle should be serviced if the light
stays on through several of your typical driving cycles. In
most situations, the vehicle will drive normally and will
not require towing.
The Malfunction Indicator Light flashes to alert you to
serious conditions that could lead to immediate loss of
power or severe catalytic converter damage. The vehicle
should be serviced as soon as possible if this occurs. (See
page 292 for more information.)
142 UNDERSTANDING YOUR INSTRUMENT PANEL
Page 146 of 380
![DODGE MAGNUM SRT 2007 1.G Owners Manual ²Left/Right Front Door Ajar (one or more, with a single
chime if speed is above 1 mph [1.6 km])
²Left/Right Rear Door Ajar (one or more, with a single
chime if speed is above 1 mph [1.6 km])
²Door( DODGE MAGNUM SRT 2007 1.G Owners Manual ²Left/Right Front Door Ajar (one or more, with a single
chime if speed is above 1 mph [1.6 km])
²Left/Right Rear Door Ajar (one or more, with a single
chime if speed is above 1 mph [1.6 km])
²Door(](/img/12/5658/w960_5658-145.png)
²Left/Right Front Door Ajar (one or more, with a single
chime if speed is above 1 mph [1.6 km])
²Left/Right Rear Door Ajar (one or more, with a single
chime if speed is above 1 mph [1.6 km])
²Door(s) Ajar (with a single chime if vehicle is in
motion)
²Trunk Ajar (with a single chime)
²Low Washer Fluid (with a single chime)
²Channel 1, 2, OR 3 Transmit
²Channel 1, 2, OR 3 Training
²Channel 1, 2, OR 3 Trained
²Clearing Channels
²Channels Cleared
²Channels Defaulted
²Did Not Train
²Left Front Low Pressure (with a single chime). Refer to
ªStarting And Operating, Tire Sectionº
²Left Rear Low Pressure (with a single chime). Refer to
ªStarting And Operating, Tire Sectionº
²Right Front Low Pressure (with a single chime). Refer
to ªStarting And Operating, Tire Sectionº
²Right Rear Low Pressure (with a single chime). Refer
to ªStarting And Operating, Tire Sectionº
²Check TPM System (with a single chime). Refer to
ªStarting And Operating, Tire Sectionº
²Check Gascap (refer to ªAdding Fuelº in Section 5 of
this manual for more details)
²Upshift
Trip Functions
Press and release the MENU button until one of the
following Trip Functions displays in the EVIC:
²Average Fuel Economy
²Distance To Empty
²Trip A
²Trip B
UNDERSTANDING YOUR INSTRUMENT PANEL 145
4
Page 147 of 380
²Elapsed Time
²Display Units of Measure in
Press the SCROLL button to cycle through all the Trip
Computer functions.
The Trip Functions mode displays the following:
²Average Fuel Economy
Shows the average fuel economy since the last reset.
When the fuel economy is reset, the display will read
ªRESETº or show dashes for two seconds. Then, the
history information will be erased, and the averaging will
continue from the last fuel average reading before the
reset.
²Distance To Empty (DTE)
Shows the estimated distance that can be traveled with
the fuel remaining in the tank. This estimated distance is
determined by a weighted average of the instantaneous
and average fuel economy, according to the current fuel
tank level. DTE cannot be reset through the FUNCTION
SELECT button.
NOTE:Significant changes in driving style or vehicle
loading will greatly affect the actual drivable distance of
the vehicle, regardless of the DTE displayed value.
²When the DTE value is less than 30 miles (48 km)
estimated driving distance, the DTE display will
change to a text display of9LOW FUEL.9This display
will continue until the vehicle runs out of fuel. Adding
a significant amount of fuel to the vehicle will turn off
the9LOW FUEL9text and a new DTE value will
display.
²Trip A
Shows the total distance traveled for trip A since the last
reset.
²Trip B
Shows the total distance traveled for trip B since the last
reset.
²Elapsed Time
Shows the total elapsed time of travel since the last reset
when the ignition switch is in the ACC position. Elapsed
time will increment when the ignition switch is in the ON
or START position.
146 UNDERSTANDING YOUR INSTRUMENT PANEL
Page 189 of 380
NOTE:To improve fuel economy, leave in defrost only
when necessary.
²Defrost/Floor
Air flows through the front and rear floor
outlets and the outlets at the base of the
windshield. Air is also directed to the front
door windows through the side window demister
grilles.
²
Floor
Air flows through the floor outlets located
under the instrument panel and into the rear
seating area through vents under the front seats.
²
Bi-Level
Air flows through the outlets located in the
instrument panel and through the outlets lo-
cated on the floor. Air flows through the registers in
the back of the center console to the rear seat
passengers. These registers can be closed to par-
tially block airflow.²
Panel
Air flows through the outlets located in the
instrument panel. Air flows through the regis-
ters in the back of the center console to the rear seat
passengers. These registers can be closed to block
airflow.
²
Recirculation Control
The mode control knob also controls the
recirculation feature. You can choose Bi-
Level Recirculation air outlets, Panel Re-
circulation air outlets, or a mix or both
while in this mode. Normally, air enters from out-
side the vehicle. However, when in Recirculation
mode air inside the vehicle is re-used. Use this
mode to cool the inside of the vehicle rapidly. The
Recirculation mode can also be used to temporarily
block out outside odors, smoke, and dust.
188 UNDERSTANDING YOUR INSTRUMENT PANEL
Page 203 of 380
mElectronic Brake Control System...........222
NABS (Anti-Lock Brake System)............222
NTCS (Traction Control System)............223
NBAS (Brake Assist System)...............223
NESP (Electronic Stability Program).........224
NSynchronizing ESP....................227
NESP/BAS Malfunction Indicator Light And
ESP/TCS Indicator Light................227
mTire Safety Information..................228
NTire Markings........................228
NTire Identification Number (TIN)..........232
NTire Loading And Tire Pressure...........233
mTires Ð General Information..............237
NTire Pressure.........................237
NTire Inflation Pressures.................238
NRadial-Ply Tires......................240NTire Spinning........................240
NTread Wear Indicators..................241
NLife Of Tire.........................241
NReplacement Tires.....................242
NAlignment And Balance.................243
mTire Chains...........................243
mSnow Tires...........................244
mTire Rotation Recommendations...........245
NTire Rotation Ð Standard Tires............245
NTire Rotation Ð All Season Tires..........246
mTire Pressure Monitor System (TPMS) Ð If
Equipped
............................246
NBase System Ð If Equipped..............249
NPremium System Ð If Equipped..........250
NGeneral Information...................253
mFuel Requirements.....................253
202 STARTING AND OPERATING
Page 204 of 380
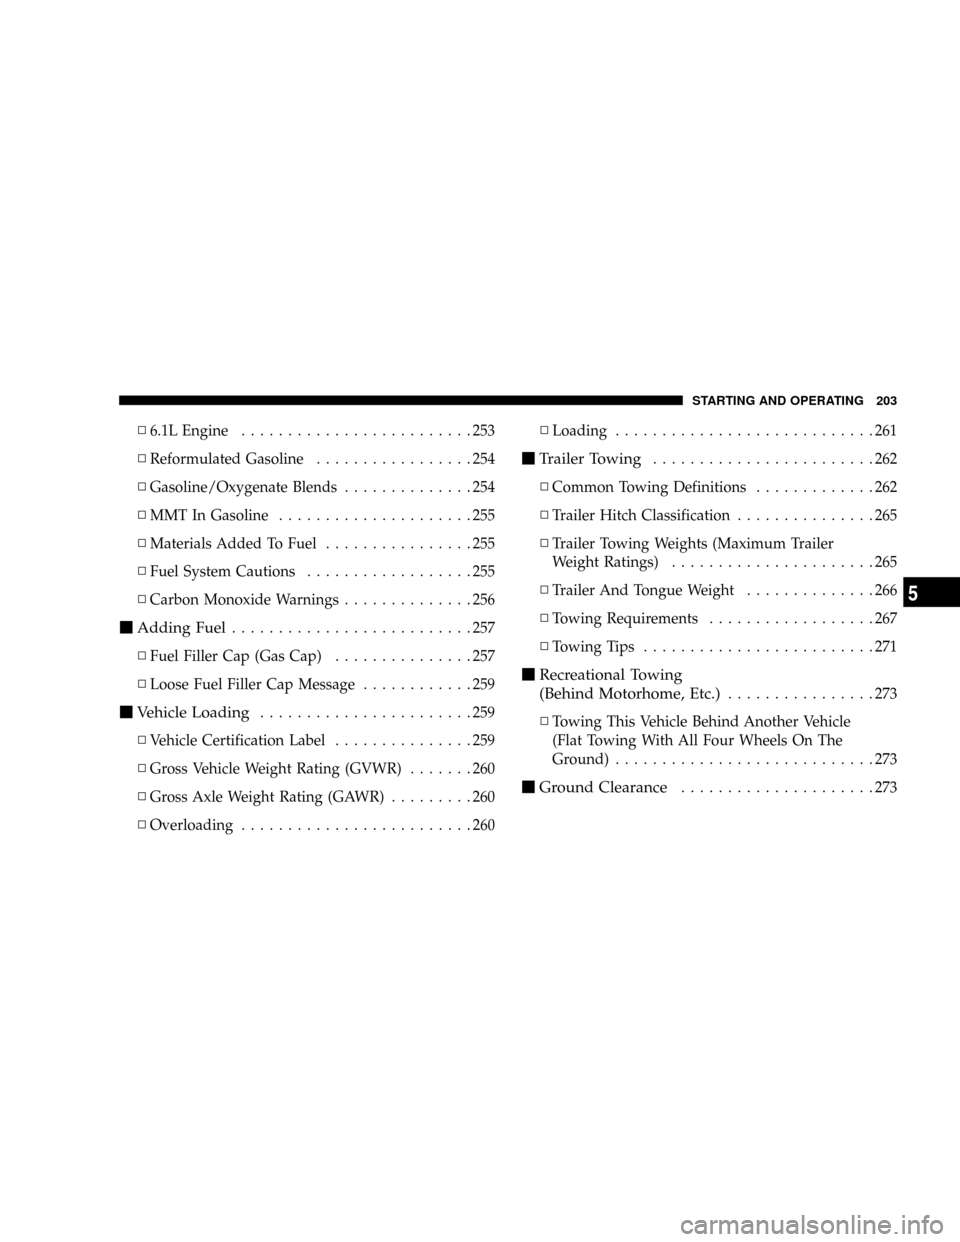
N6.1L Engine.........................253
NReformulated Gasoline.................254
NGasoline/Oxygenate Blends..............254
NMMT In Gasoline.....................255
NMaterials Added To Fuel................255
NFuel System Cautions..................255
NCarbon Monoxide Warnings..............256
mAdding Fuel..........................257
NFuel Filler Cap (Gas Cap)...............257
NLoose Fuel Filler Cap Message............259
mVehicle Loading.......................259
NVehicle Certification Label...............259
NGross Vehicle Weight Rating (GVWR).......260
NGross Axle Weight Rating (GAWR).........260
NOverloading.........................260NLoading............................261
mTrailer Towing........................262
NCommon Towing Definitions.............262
NTrailer Hitch Classification...............265
NTrailer Towing Weights (Maximum Trailer
Weight Ratings)......................265
NTrailer And Tongue Weight..............266
NTowing Requirements..................267
NTowing Tips.........................271
mRecreational Towing
(Behind Motorhome, Etc.)
................273
NTowing This Vehicle Behind Another Vehicle
(Flat Towing With All Four Wheels On The
Ground)............................273
mGround Clearance.....................273
STARTING AND OPERATING 203
5