low oil pressure DODGE MAGNUM SRT 2007 1.G Owners Manual
[x] Cancel search | Manufacturer: DODGE, Model Year: 2007, Model line: MAGNUM SRT, Model: DODGE MAGNUM SRT 2007 1.GPages: 380, PDF Size: 6.63 MB
Page 60 of 380
Front seat belt assemblies must be replaced after a
collision. Rear seat belt assemblies must be replaced after
a collision if they have been damaged (bent retractor, torn
webbing, etc. If there is any question regarding belt or
retractor condition, replace the belt.
Airbag Warning Light
The light should come on and remain on for 6 to 8
seconds as a bulb check when the ignition switch is first
turned ON. If the light is not lit during starting, see you
authorized dealer. If the light stays on, flickers, or comes
on while driving, have the system checked by an autho-
rized dealer.
Defroster
Check operation by selecting the defrost mode and place
the blower control on high speed. You should be able to
feel the air directed against the windshield.
Periodic Safety Checks You Should Make Outside
The Vehicle
Tires
Examine tires for excessive tread wear and uneven wear
patterns. Check for stones, nails, glass, or other objects
lodged in the tread. Inspect tread and sidewall for cuts
and cracks. Check the wheel nuts for tightness. Check the
tires (including spare) for proper pressure.
Lights
Have someone observe the operation of exterior lights
while you work the controls. Check turn signal and high
beam indicator lights on the instrument panel.
Door Latches
Check for positive closing, latching, and locking.
Fluid Leaks
Check area under vehicle after overnight parking for fuel,
engine coolant, oil, or other fluid leaks. Also, if gasoline
fumes are detected or if fuel, power steering fluid, or
brake fluid leaks are suspected, the cause should be
located and corrected immediately.
THINGS TO KNOW BEFORE STARTING YOUR VEHICLE 59
2
Page 137 of 380
engine running, your vehicle will usually be drivable.
However, see your dealer for service as soon as possible.
If the light is flashing when the engine is running,
immediate service is required. In this case, you may
experience reduced performance, an elevated/rough idle
or engine stall, and your vehicle may require towing.
Also, have the system checked by an authorized dealer if
the light does not come on during starting.
8. Temperature Gauge
The temperature gauge shows engine coolant tempera-
ture. Any reading within the normal range indicates that
the engine cooling system is operating satisfactorily.
The gauge pointer will likely indicate a higher tempera-
ture when driving in hot weather, up mountain grades,
or when towing a trailer. It should not be allowed to
exceed the upper limits of the normal operating range.
CAUTION!
Driving with a hot cooling system could damage
your vehicle. If temperature gauge reads 240ÉF
(116ÉC) or greater, pull over and stop the vehicle. Idle
the vehicle with the air conditioner turned off until
the pointer drops back into the normal range 200±
230ÉF (93±110ÉC). If the pointer remains at 240ÉF
(116ÉC) or greater and you hear a chime, turn the
engine off immediately, and call for service.
WARNING!
A hot engine cooling system is dangerous. You or
others could be badly burned by steam or boiling
coolant. You may want to call a service center if your
vehicle overheats. If you decide to look under the
hood yourself, see Section 7 of this manual. Follow
the warnings under the Cooling System Pressure
Cap paragraph.
136 UNDERSTANDING YOUR INSTRUMENT PANEL
Page 139 of 380
cycles, and the vehicle has been driven several miles at
speeds greater than 30 mph (48 km/h), see your
authorized dealer as soon as possible to have the
problem diagnosed and corrected. (See page 222 for
more information.)
14. Oil Pressure Warning Light
This light shows low engine oil pressure. The
light should turn on momentarily when the
engine is started. If the light turns on while driving,
stop the vehicle, and shut off the engine as soon as
possible. A single chime will sound when this light
turns on.
Do not operate the vehicle until the cause is corrected.
This light does not show how much oil is in the engine.
The engine oil level must be checked using the procedure
shown in section 7. (See page 295 for more information.)
15. High Beam Light
This light will turn on when the high beam
headlights are ON. Push the Multi-Function
lever away from the steering wheel to switch the
headlights to high beam. (See page 96 for more
information.)16. Seat Belt Reminder Light
This light will turn on for 5 to 8 seconds as a
bulb check when the ignition switch is first
turned ON. A chime will sound if the driver's
seat belt is unbuckled during the bulb check. The Seat
Belt Warning Light will flash or remain on continu-
ously if the driver's seat belt remains unbuckled after
the bulb check or when driving. (See page 36 for more
information.)
17. Transmission Range Indicator
This display indicator shows the automatic transmission
gear selection.
18. Front Fog Light Indicator Ð If Equipped
This light will turn on when the front fog lights
are ON. (See page 95 for more information.)
19. Electronic Vehicle Information Center Display
This display shows the Electronic Vehicle Information
Center (EVIC) messages when the appropriate conditions
exist. (See page 143 for more information.)
138 UNDERSTANDING YOUR INSTRUMENT PANEL
Page 152 of 380
Navigation Ð If Equipped
Navigation Display Control
Press and release the MENU button until Navigation
displays in the EVIC. When the Navigation System is On,
the steering wheel buttons can be used to select the Map
or Menu display on the Navigation Unit. When the Menu
display is active, the SCROLL button can be used to scroll
through the list, the FUNCTION SELECT button can be
used to select an item, and the AUDIO MODE button can
be used to return to the previous menu. When the Map
display is active, pressing the FUNCTION SELECT but-
ton will change the Navigation Unit Display to the Menu.
Turn By Turn Directions
The EVIC displays turn-by-turn directions to a pro-
grammed destination when Turn by Turn Navigation is
enabled through Personal Settings. When enabled, the
EVIC displays the name of the approaching road at the
top of the screen, followed by an arrow to indicate the
direction to turn the vehicle, and a count down to
indicate the distance to the turn.
NOTE:Refer to your ªNavigation User's Manualº for
detailed operating instructions.
System Warnings (Customer Information
Features)
Press and release the MENU button until ªSYSTEM
WARNINGSº displays in the EVIC. Then, press the
SCROLL button to display anyone of the following
choices:
²Oil Temperature
Shows the actual oil temperature.
²Oil Pressure
Shows the actual oil pressure.
²Tire Pressure
Shows the actual tire pressure for each tire (EXCLUDING
THE SPARE TIRE).
Personal Settings (Customer Programmable
Features)
Personal Settings allows the driver to set and recall
features when the transmission is in PARK.
Press and release the MENU button until Personal Set-
tings displays in the EVIC.
UNDERSTANDING YOUR INSTRUMENT PANEL 151
4
Page 242 of 380
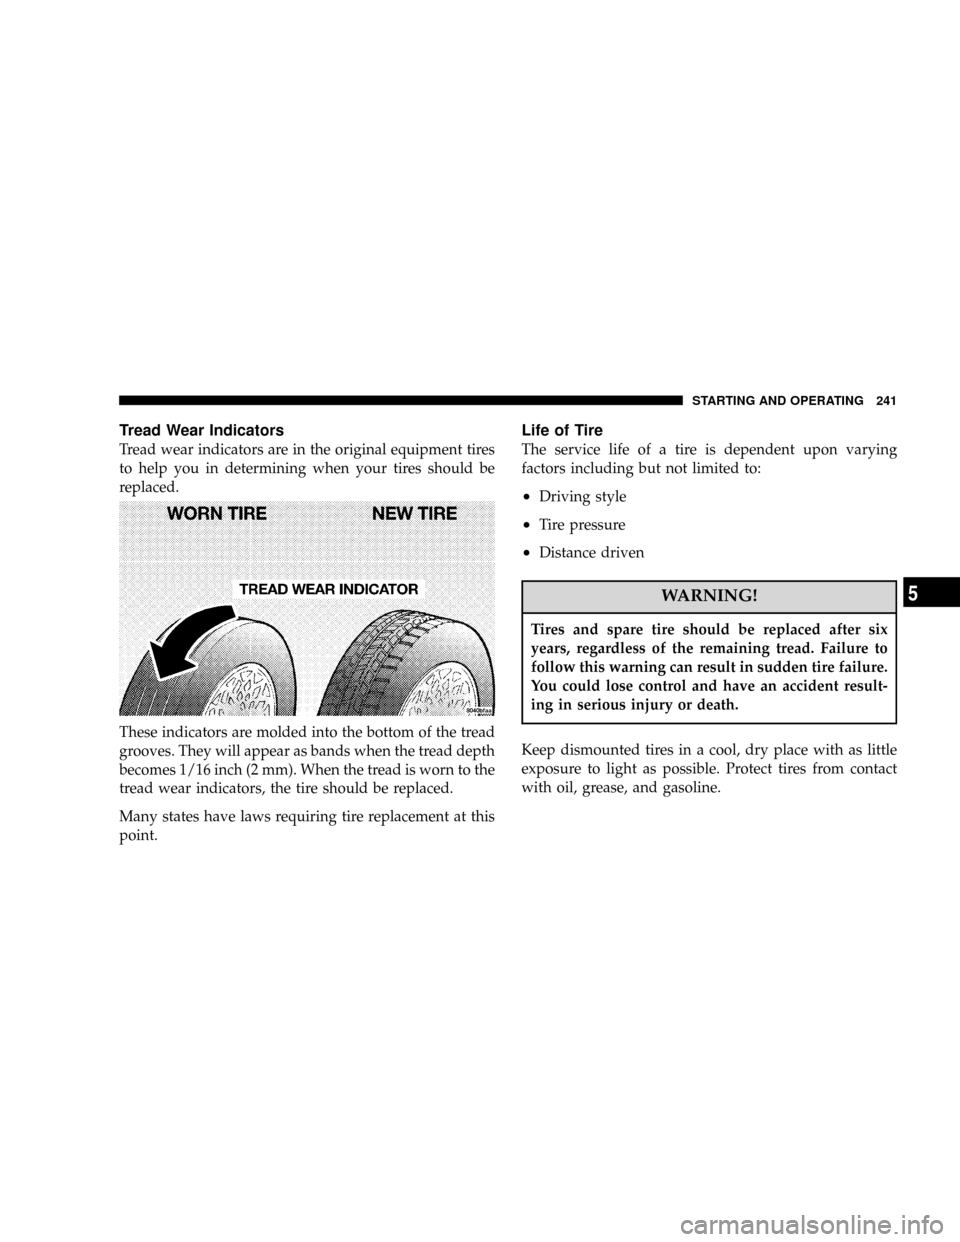
Tread Wear Indicators
Tread wear indicators are in the original equipment tires
to help you in determining when your tires should be
replaced.
These indicators are molded into the bottom of the tread
grooves. They will appear as bands when the tread depth
becomes 1/16 inch (2 mm). When the tread is worn to the
tread wear indicators, the tire should be replaced.
Many states have laws requiring tire replacement at this
point.
Life of Tire
The service life of a tire is dependent upon varying
factors including but not limited to:
²Driving style
²Tire pressure
²Distance driven
WARNING!
Tires and spare tire should be replaced after six
years, regardless of the remaining tread. Failure to
follow this warning can result in sudden tire failure.
You could lose control and have an accident result-
ing in serious injury or death.
Keep dismounted tires in a cool, dry place with as little
exposure to light as possible. Protect tires from contact
with oil, grease, and gasoline.
STARTING AND OPERATING 241
5
Page 278 of 380
NOTE:There are steps that you can take to slow down
an impending overheat condition. If your air conditioner
is on, turn it off. The air conditioning system adds heat to
the engine cooling system and turning off the A/C
removes this heat. You can also turn the Temperature
control to maximum heat, the Mode control to floor, and
the fan control to HI. This allows the heater core to act as
a supplement to the radiator and aids in removing heat
from the engine cooling system.
CAUTION!
Driving with a hot cooling system could damage
your vehicle. If temperature gauge reads 240ÉF
(116ÉC) or greater pull over and stop the vehicle. Idle
the vehicle with the air conditioner turned off until
the pointer drops back into the normal range 200±
230ÉF (93±110ÉC). If the pointer remains at 240ÉF
(116ÉC) or greater and you hear a chime, turn the
engine off immediately, and call for service.
WARNING!
A hot engine cooling system is dangerous. You or
others could be badly burned by steam or boiling
coolant. You may want to call a service center if your
vehicle overheats. If you decide to look under the
hood yourself, see Section 7, Maintenance, of this
manual. Follow the warnings under the Cooling
System Pressure Cap paragraph.
TIREFIT TIRE REPAIR
Small punctures, particularly those in the tread, can be
sealed with TIREFIT. Foreign objects (e.g., screws or
nails) should not be removed from the tire. TIREFIT can
be used in outside temperatures down to approximately
-4ÉF (-20ÉC).
The TIREFIT system is located under a hinged access
cover in the load floor in the cargo area.
WHAT TO DO IN EMERGENCIES 277
6
Page 297 of 380
CAUTION!
Overfilling or underfilling will cause oil aeration or
loss of oil pressure. This could damage your engine.
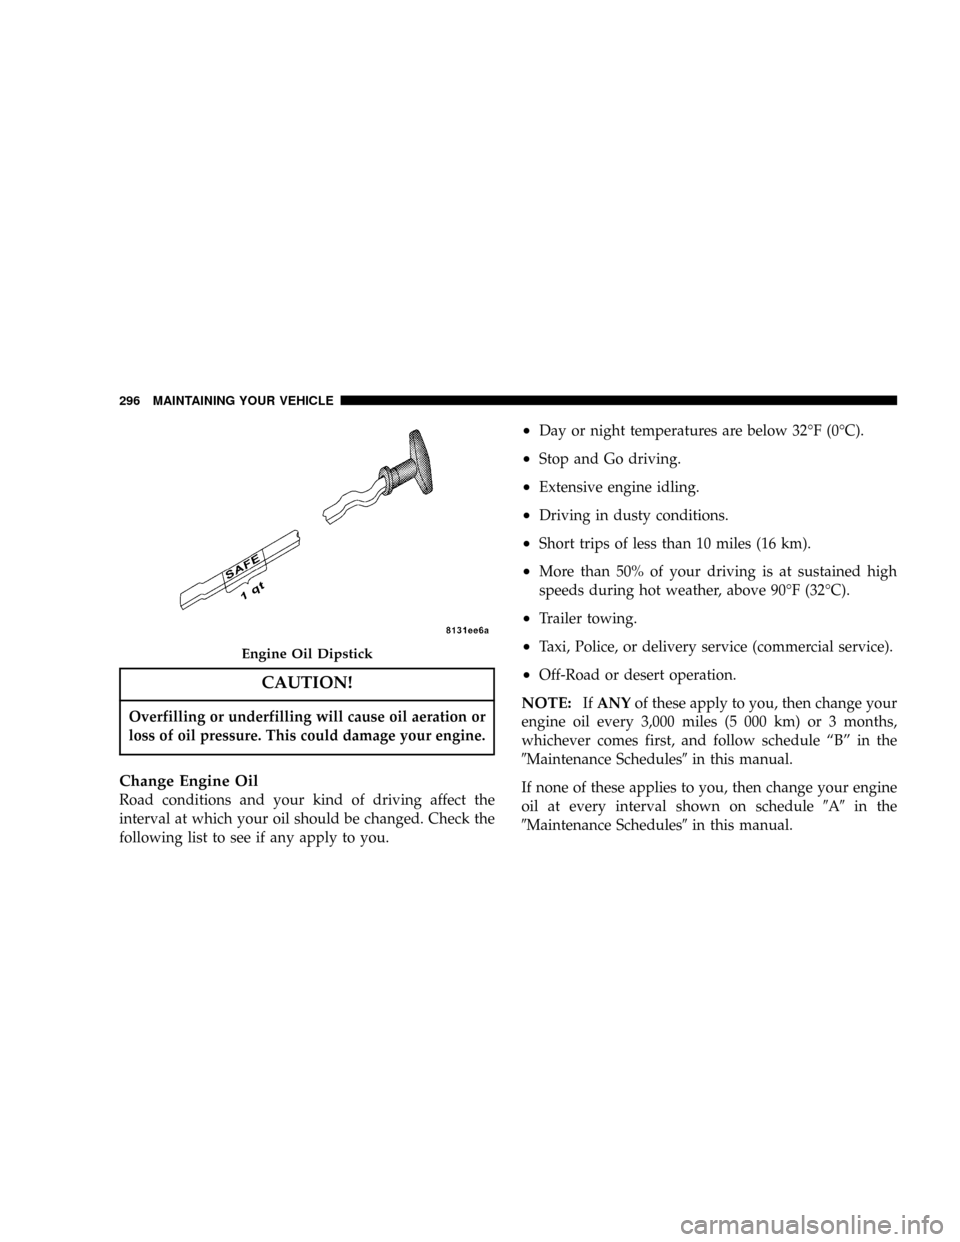
Change Engine Oil
Road conditions and your kind of driving affect the
interval at which your oil should be changed. Check the
following list to see if any apply to you.
²Day or night temperatures are below 32ÉF (0ÉC).
²Stop and Go driving.
²Extensive engine idling.
²Driving in dusty conditions.
²Short trips of less than 10 miles (16 km).
²More than 50% of your driving is at sustained high
speeds during hot weather, above 90ÉF (32ÉC).
²Trailer towing.
²Taxi, Police, or delivery service (commercial service).
²Off-Road or desert operation.
NOTE:IfANYof these apply to you, then change your
engine oil every 3,000 miles (5 000 km) or 3 months,
whichever comes first, and follow schedule ªBº in the
9Maintenance Schedules9in this manual.
If none of these applies to you, then change your engine
oil at every interval shown on schedule9A9in the
9Maintenance Schedules9in this manual.
Engine Oil Dipstick
296 MAINTAINING YOUR VEHICLE
Page 304 of 380
WARNING!
²Use only refrigerants and compressor lubricants
approved by the manufacturer for your air condi-
tioning system. Some unapproved refrigerants are
flammable and can explode, injuring you. Other
unapproved refrigerants or lubricants can cause
the system to fail, requiring costly repairs. Refer
to Section 3 of the Warranty Information book for
further warranty information.
²The air conditioning system contains refrigerant
under high pressure. To avoid risk of personal
injury or damage to the system, adding refrigerant
or any repair requiring lines to be disconnected
should be done by an experienced technician.
Refrigerant Recovery and Recycling
R-134a Air Conditioning Refrigerant is a hydrofluorocar-
bon (HFC) that is endorsed by the Environmental Pro-
tection Agency and is an ozone-saving product. How-
ever, the manufacturer recommends that air conditioning
service be performed by dealers or other service facilities
using recovery and recycling equipment.
NOTE:Use only manufacturer approved A/C System
Sealers, Stop Leak Products, Seal Conditioners, Compres-
sor Oil, and Refrigerants.
A/C Air Filter Ð If Equipped
The filter is located in the fresh air inlet under the hood,
behind a removable panel in the cowl on the passenger
side of the vehicle, next to the windshield wipers. When
installing a new filter, ensure its proper orientation. To
replace the filter remove the access door in the cowl
screen by pressing the retaining clips. Slide the lid on the
filter adapter forward and down and remove used filter.
Install new filter with arrows pointing in the direction of
airflow, which is toward the rear of the vehicle (text and
arrows on the filter indicate this).
MAINTAINING YOUR VEHICLE 303
7
Page 372 of 380
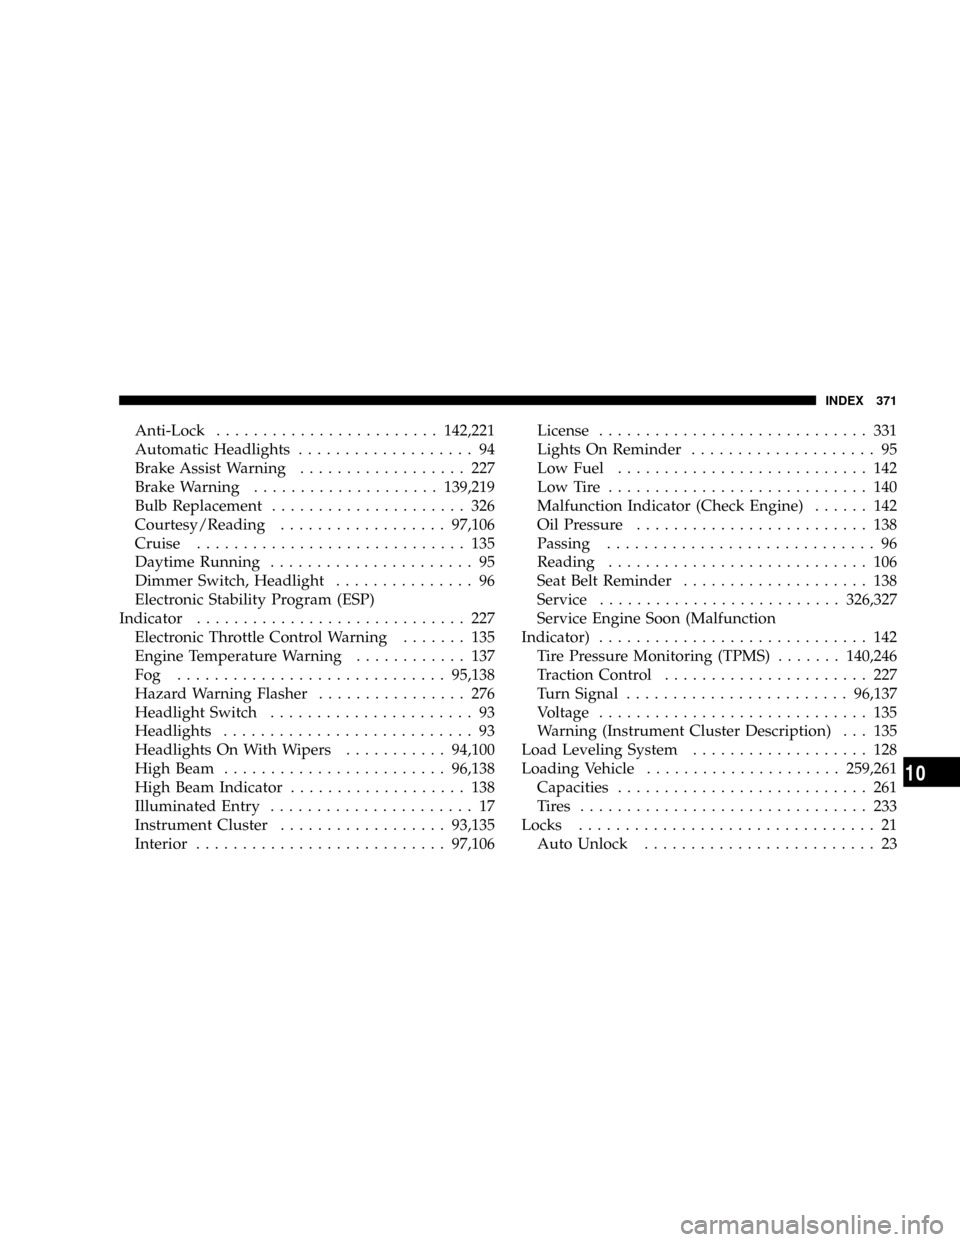
Anti-Lock........................142,221
Automatic Headlights................... 94
Brake Assist Warning.................. 227
Brake Warning....................139,219
Bulb Replacement..................... 326
Courtesy/Reading..................97,106
Cruise............................. 135
Daytime Running...................... 95
Dimmer Switch, Headlight............... 96
Electronic Stability Program (ESP)
Indicator............................. 227
Electronic Throttle Control Warning....... 135
Engine Temperature Warning............ 137
Fog .............................95,138
Hazard Warning Flasher................ 276
Headlight Switch...................... 93
Headlights........................... 93
Headlights On With Wipers...........94,100
High Beam........................96,138
High Beam Indicator................... 138
Illuminated Entry...................... 17
Instrument Cluster..................93,135
Interior...........................97,106License............................. 331
Lights On Reminder.................... 95
Low Fuel........................... 142
LowTire ............................ 140
Malfunction Indicator (Check Engine)...... 142
Oil Pressure......................... 138
Passing............................. 96
Reading............................ 106
Seat Belt Reminder.................... 138
Service..........................326,327
Service Engine Soon (Malfunction
Indicator)............................. 142
Tire Pressure Monitoring (TPMS).......140,246
Traction Control...................... 227
Turn Signal........................96,137
Voltage............................. 135
Warning (Instrument Cluster Description) . . . 135
Load Leveling System................... 128
Loading Vehicle.....................259,261
Capacities........................... 261
Tires ............................... 233
Locks................................ 21
Auto Unlock......................... 23
INDEX 371
10
Page 373 of 380
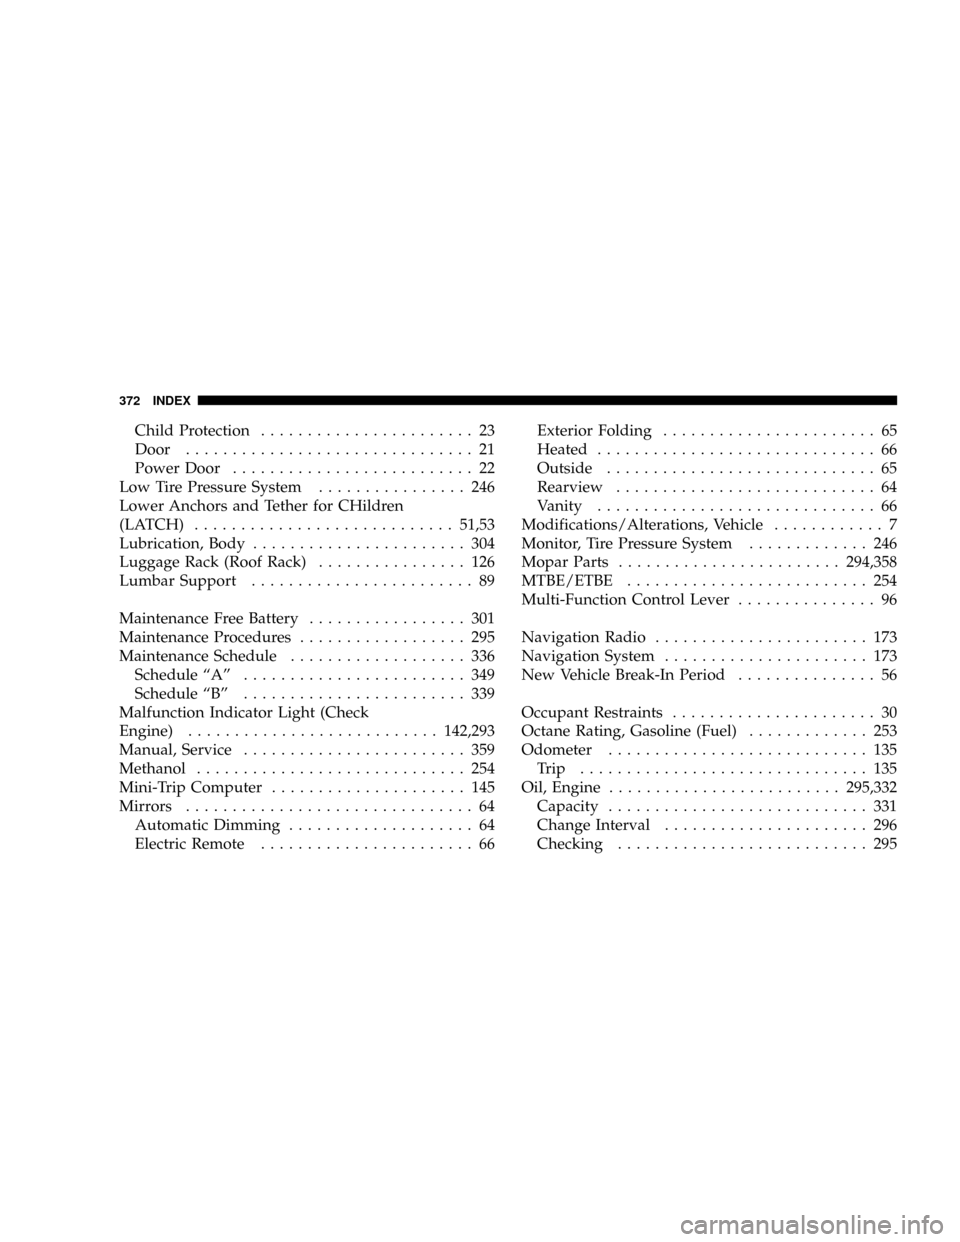
Child Protection....................... 23
Door............................... 21
Power Door.......................... 22
Low Tire Pressure System................ 246
Lower Anchors and Tether for CHildren
(LATCH)............................51,53
Lubrication, Body....................... 304
Luggage Rack (Roof Rack)................ 126
Lumbar Support........................ 89
Maintenance Free Battery................. 301
Maintenance Procedures.................. 295
Maintenance Schedule................... 336
Schedule ªAº........................ 349
Schedule ªBº........................ 339
Malfunction Indicator Light (Check
Engine)...........................142,293
Manual, Service........................ 359
Methanol............................. 254
Mini-Trip Computer..................... 145
Mirrors............................... 64
Automatic Dimming.................... 64
Electric Remote....................... 66Exterior Folding....................... 65
Heated.............................. 66
Outside............................. 65
Rearview............................ 64
Vanity.............................. 66
Modifications/Alterations, Vehicle............ 7
Monitor, Tire Pressure System............. 246
Mopar Parts........................294,358
MTBE/ETBE.......................... 254
Multi-Function Control Lever............... 96
Navigation Radio....................... 173
Navigation System...................... 173
New Vehicle Break-In Period............... 56
Occupant Restraints...................... 30
Octane Rating, Gasoline (Fuel)............. 253
Odometer............................ 135
Trip ............................... 135
Oil, Engine.........................295,332
Capacity............................ 331
Change Interval...................... 296
Checking........................... 295
372 INDEX