ECU FIAT BARCHETTA 2003 1.G Owners Manual
[x] Cancel search | Manufacturer: FIAT, Model Year: 2003, Model line: BARCHETTA, Model: FIAT BARCHETTA 2003 1.GPages: 170, PDF Size: 3.55 MB
Page 26 of 170

25
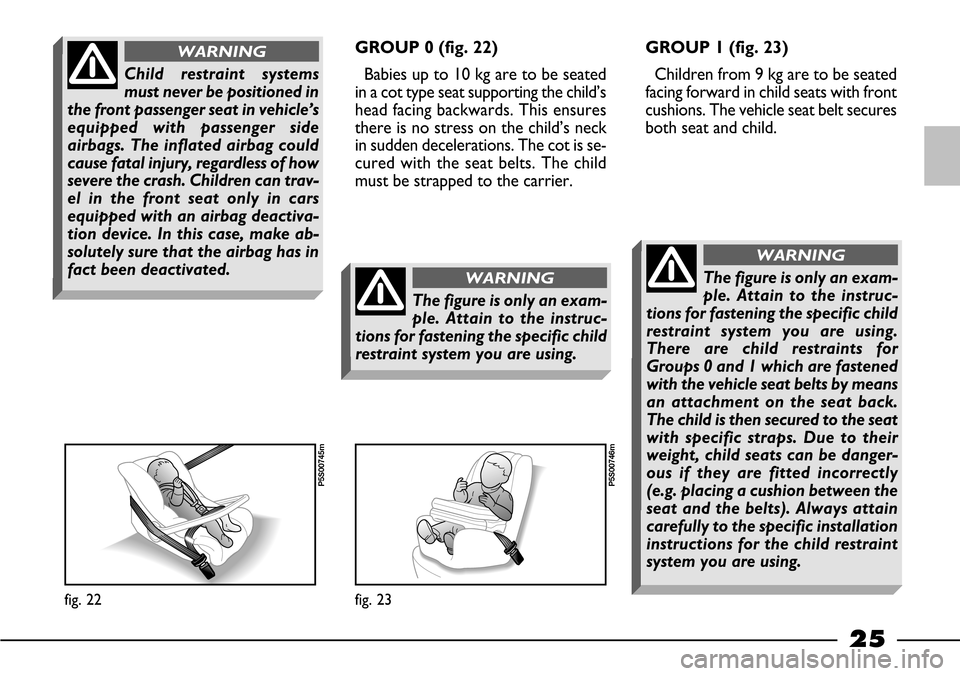
GROUP 0 (fig. 22)
Babies up to 10 kg are to be seated
in a cot type seat supporting the child’s
head facing backwards. This ensures
there is no stress on the child’s neck
in sudden decelerations. The cot is se-
cured with the seat belts. The child
must be strapped to the carrier.GROUP 1 (fig. 23)
Children from 9 kg are to be seated
facing forward in child seats with front
cushions. The vehicle seat belt secures
both seat and child.
fig. 22
P5S00745m
fig. 23
P5S00746m
Child restraint systems
must never be positioned in
the front passenger seat in vehicle’s
equipped with passenger side
airbags. The inflated airbag could
cause fatal injury, regardless of how
severe the crash. Children can trav-
el in the front seat only in cars
equipped with an airbag deactiva-
tion device. In this case, make ab-
solutely sure that the airbag has in
fact been deactivated.
WARNING
The figure is only an exam-
ple. Attain to the instruc-
tions for fastening the specific child
restraint system you are using.
WARNINGThe figure is only an exam-
ple. Attain to the instruc-
tions for fastening the specific child
restraint system you are using.
There are child restraints for
Groups 0 and 1 which are fastened
with the vehicle seat belts by means
an attachment on the seat back.
The child is then secured to the seat
with specific straps. Due to their
weight, child seats can be danger-
ous if they are fitted incorrectly
(e.g. placing a cushion between the
seat and the belts). Always attain
carefully to the specific installation
instructions for the child restraint
system you are using.
WARNING
Page 27 of 170

26
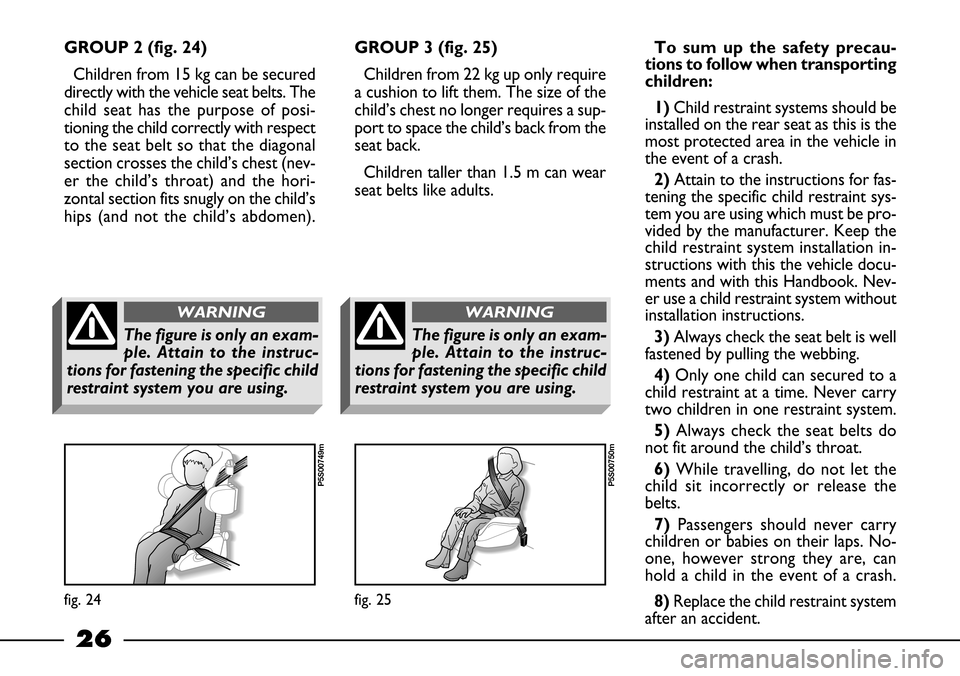
GROUP 2 (fig. 24)
Children from 15 kg can be secured
directly with the vehicle seat belts. The
child seat has the purpose of posi-
tioning the child correctly with respect
to the seat belt so that the diagonal
section crosses the child’s chest (nev-
er the child’s throat) and the hori-
zontal section fits snugly on the child’s
hips (and not the child’s abdomen). GROUP 3 (fig. 25)
Children from 22 kg up only require
a cushion to lift them. The size of the
child’s chest no longer requires a sup-
port to space the child’s back from the
seat back.
Children taller than 1.5 m can wear
seat belts like adults.To sum up the safety precau-
tions to follow when transporting
children:
1) Child restraint systems should be
installed on the rear seat as this is the
most protected area in the vehicle in
the event of a crash.
2) Attain to the instructions for fas-
tening the specific child restraint sys-
tem you are using which must be pro-
vided by the manufacturer. Keep the
child restraint system installation in-
structions with this the vehicle docu-
ments and with this Handbook. Nev-
er use a child restraint system without
installation instructions.
3) Always check the seat belt is well
fastened by pulling the webbing.
4) Only one child can secured to a
child restraint at a time. Never carry
two children in one restraint system.
5) Always check the seat belts do
not fit around the child’s throat.
6) While travelling, do not let the
child sit incorrectly or release the
belts.
7)Passengers should never carry
children or babies on their laps. No-
one, however strong they are, can
hold a child in the event of a crash.
8) Replace the child restraint system
after an accident.
fig. 24
P5S00749m
fig. 25
P5S00750m
The figure is only an exam-
ple. Attain to the instruc-
tions for fastening the specific child
restraint system you are using.
WARNING
The figure is only an exam-
ple. Attain to the instruc-
tions for fastening the specific child
restraint system you are using.
WARNING
Page 98 of 170

97
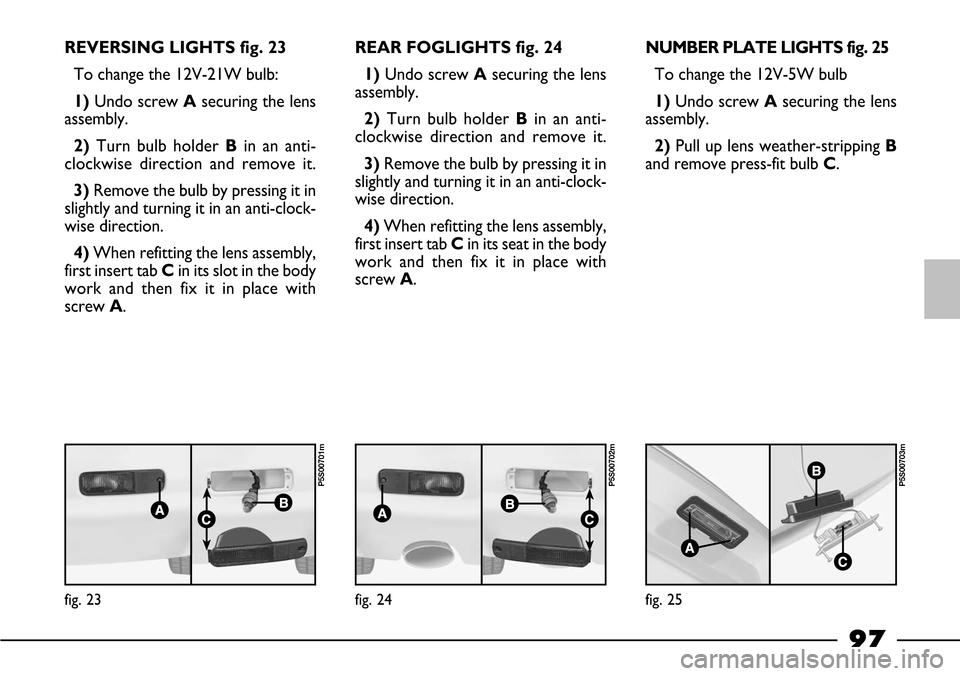
REVERSING LIGHTS fig. 23
To change the 12V-21W bulb:
1)Undo screw Asecuring the lens
assembly.
2) Turn bulb holder Bin an anti-
clockwise direction and remove it.
3)Remove the bulb by pressing it in
slightly and turning it in an anti-clock-
wise direction.
4) When refitting the lens assembly,
first insert tab Cin its slot in the body
work and then fix it in place with
screw A.REAR FOGLIGHTS fig. 24
1)Undo screw Asecuring the lens
assembly.
2)Turn bulb holder Bin an anti-
clockwise direction and remove it.
3)Remove the bulb by pressing it in
slightly and turning it in an anti-clock-
wise direction.
4)When refitting the lens assembly,
first insert tab Cin its seat in the body
work and then fix it in place with
screw A.NUMBER PLATE LIGHTS fig. 25
To change the 12V-5W bulb
1) Undo screw Asecuring the lens
assembly.
2) Pull up lens weather-stripping B
and remove press-fit bulb C.
fig. 23
P5S00701m
fig. 24
P5S00702m
fig. 25
P5S00703m