lock FIAT MULTIPLA 2004 1.G Connect NavPlus Manual
[x] Cancel search | Manufacturer: FIAT, Model Year: 2004, Model line: MULTIPLA, Model: FIAT MULTIPLA 2004 1.GPages: 202, PDF Size: 2.22 MB
Page 110 of 202
109
CONNECT NAV
NAVIGATOR
Shifting to the CD Changer
functions menu (where fitted)
To shift from the main CD-Changer
menu to the CD-Changer functions
menu, press SRC (17): the display will
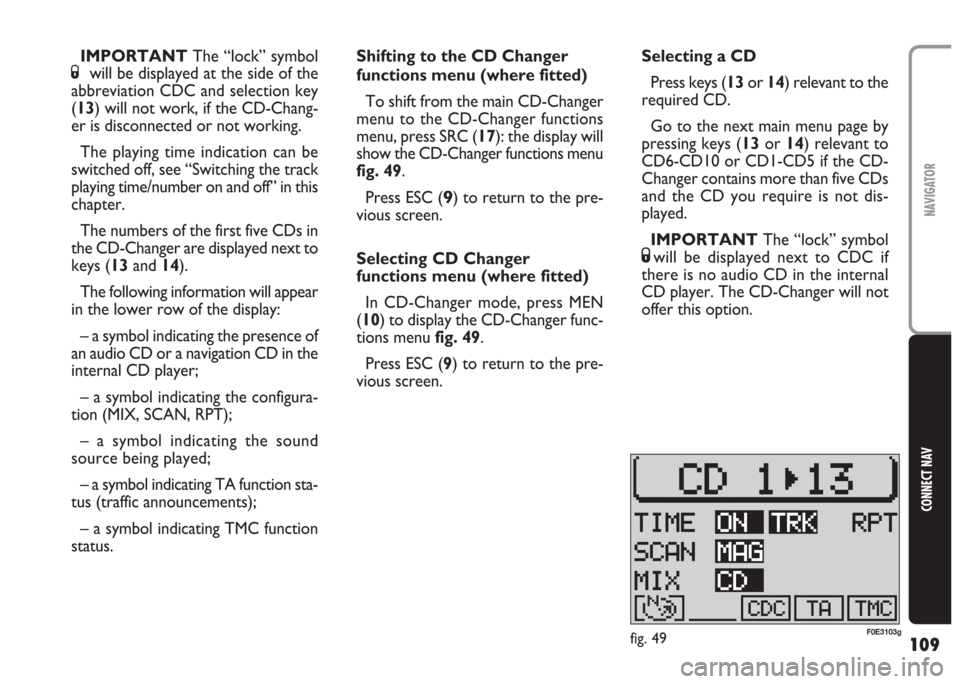
show the CD-Changer functions menu
fig. 49.
Press ESC (
9) to return to the pre-
vious screen.
Selecting CD Changer
functions menu (where fitted)
In CD-Changer mode, press MEN
(10) to display the CD-Changer func-
tions menu fig. 49.
Press ESC (9) to return to the pre-
vious screen.Selecting a CD
Press keys (13or 14) relevant to the
required CD.
Go to the next main menu page by
pressing keys (13or 14) relevant to
CD6-CD10 or CD1-CD5 if the CD-
Changer contains more than five CDs
and the CD you require is not dis-
played.
IMPORTANT The “lock” symbol
Swill be displayed next to CDC if
there is no audio CD in the internal
CD player. The CD-Changer will not
offer this option. IMPORTANT The “lock” symbol
Swill be displayed at the side of the
abbreviation CDC and selection key
(13) will not work, if the CD-Chang-
er is disconnected or not working.
The playing time indication can be
switched off, see “Switching the track
playing time/number on and off” in this
chapter.
The numbers of the first five CDs in
the CD-Changer are displayed next to
keys (13and 14).
The following information will appear
in the lower row of the display:
– a symbol indicating the presence of
an audio CD or a navigation CD in the
internal CD player;
– a symbol indicating the configura-
tion (MIX, SCAN, RPT);
– a symbol indicating the sound
source being played;
– a symbol indicating TA function sta-
tus (traffic announcements);
– a symbol indicating TMC function
status.
fig. 49F0E3103g
Page 122 of 202
121
CONNECT NAV
NAVIGATOR
6)press the knob/button (11) to
confirm. The selected character is dis-
played in the editing field 3-fig. 64
7) repeat the procedure for the oth-
er letters in the name
8)when entering the name, the list
of destinations matching the entered
letters will appear in the editing list 2-
fig. 64.
9) position the cursor on the symbol
jand press the knob/button (11) or
hold the knob/button (11) pressed for
longer than two seconds. The alpha-
betical list of destinations will appear
10)turn the knob/button (11) to
seek the required town destination
name in the editing list
11) confirm the destination by press-
ing the knob/button (11).Press ESC (9) to not confirm the
destination and return to the editing
menu (Speller) fig. 64.
After selecting the destination, the
sound/navigation system offers the fol-
lowing options: STREET, CENTRE,
DEST. SURROUND)
IMPORTANT Only the options
for which data is available on the nav-
igation CD are offered. A lock symbol
Swill appear next to the unavailable
options.
“STREET” The destination street
can be entered. This option depends
on the size of the town and data
stored on the navigation CD.Confirm the street. The entering
procedure will continue with the fol-
lowing options:
– CONTINUE: select this item to
continue;
– INTERSECTION: select this item
to define an intersection with the pre-
viously selected street as a destination.
In this case, an alphabetical list where
to select the required intersection will
be displayed;
– HOUSE NUMBER: select this item
to define a house number on the pre-
viously selected street as a destination.
“CENTRE” The town centre or
district (for big cities) can be entered
as a destination.
Page 124 of 202
123
CONNECT NAV
NAVIGATOR
9)position the cursor on the symbol
jand press the knob/button (11) or
hold the knob/button (11) pressed for
longer than two seconds. The alpha-
betical list of destinations will appear
on the display
10)turn the knob/button (11) to
seek the required street name in the
editing list
11) confirm the destination by press-
ing the knob/button (11).IMPORTANT Only the options
for which data is available on the nav-
igation CD are offered. A lock symbol
Swill appear next to the unavailable
options.
Press ESC (9) to return to the pre-
vious menu.
Entering the destination
“HOUSE NUMBER”
Proceed as follows to reach a house
number:
1) enter the street as described pre-
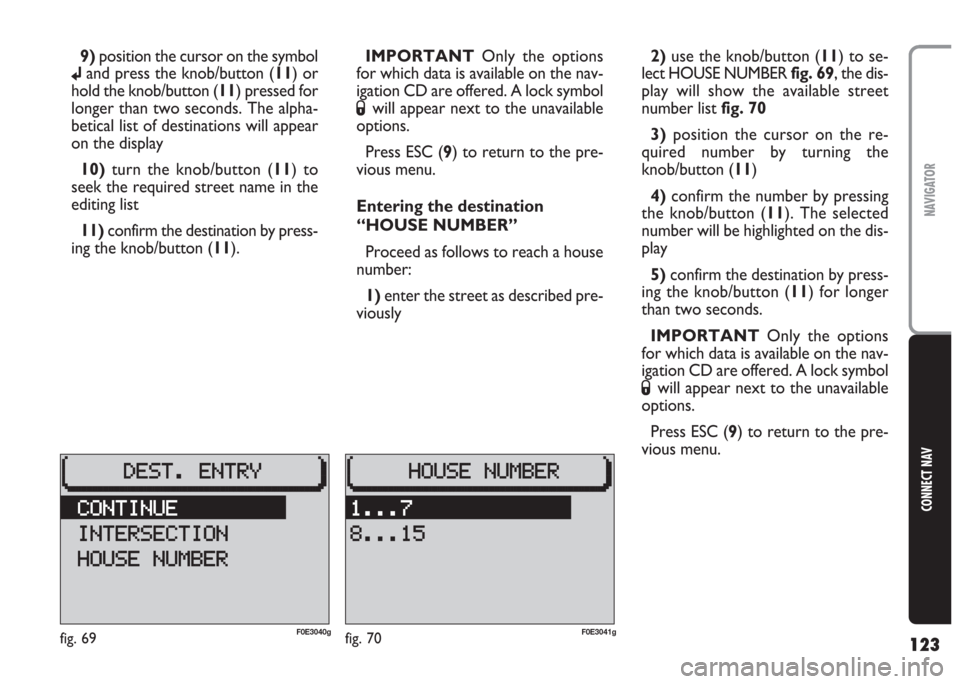
viously2)use the knob/button (11) to se-
lect HOUSE NUMBERfig. 69, the dis-
play will show the available street
number listfig. 70
3) position the cursor on the re-
quired number by turning the
knob/button (11)
4)confirm the number by pressing
the knob/button (11). The selected
number will be highlighted on the dis-
play
5)confirm the destination by press-
ing the knob/button (11) for longer
than two seconds.
IMPORTANT Only the options
for which data is available on the nav-
igation CD are offered. A lock symbol
Swill appear next to the unavailable
options.
Press ESC (9) to return to the pre-
vious menu.
fig. 69F0E3040gfig. 70F0E3041g
Page 125 of 202
124
CONNECT NAV
NAVIGATOR
Entering the destination
“INTERSECTION”
Proceed as follows to reach an in-
tersection:
1) enter the street name as de-
scribed above
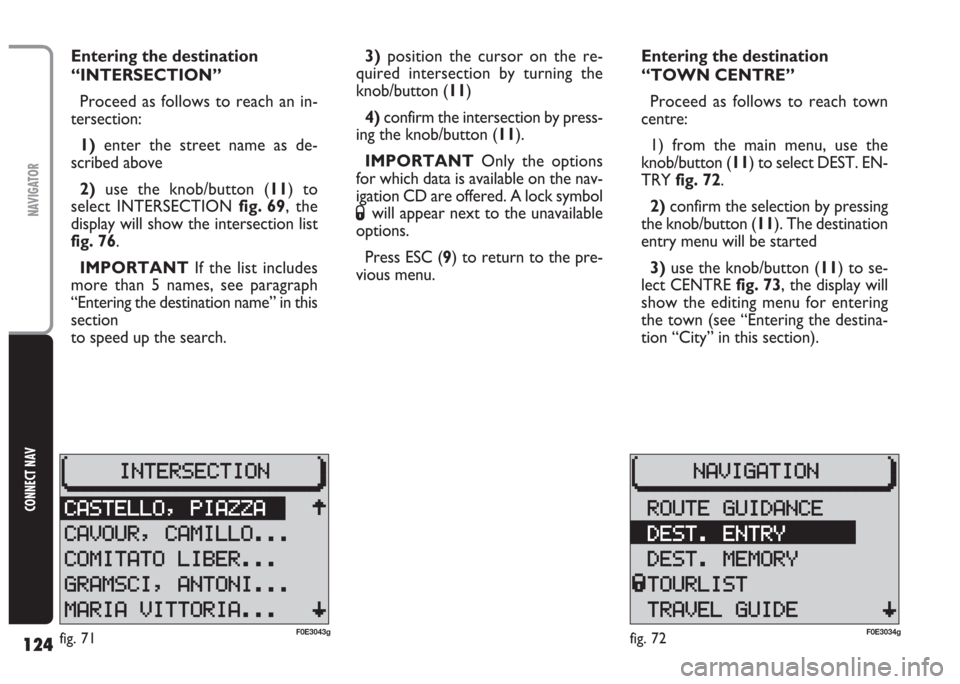
2) use the knob/button (11) to
select INTERSECTION fig. 69, the
display will show the intersection list
fig. 76.
IMPORTANT If the list includes
more than 5 names, see paragraph
“Entering the destination name” in this
section
to speed up the search.3)position the cursor on the re-
quired intersection by turning the
knob/button (11)
4)confirm the intersection by press-
ing the knob/button (11).
IMPORTANT Only the options
for which data is available on the nav-
igation CD are offered. A lock symbol
Swill appear next to the unavailable
options.
Press ESC (9) to return to the pre-
vious menu.Entering the destination
“TOWN CENTRE”
Proceed as follows to reach town
centre:
1) from the main menu, use the
knob/button (11) to select DEST. EN-
TRY fig. 72.
2)confirm the selection by pressing
the knob/button (11). The destination
entry menu will be started
3) use the knob/button (11) to se-
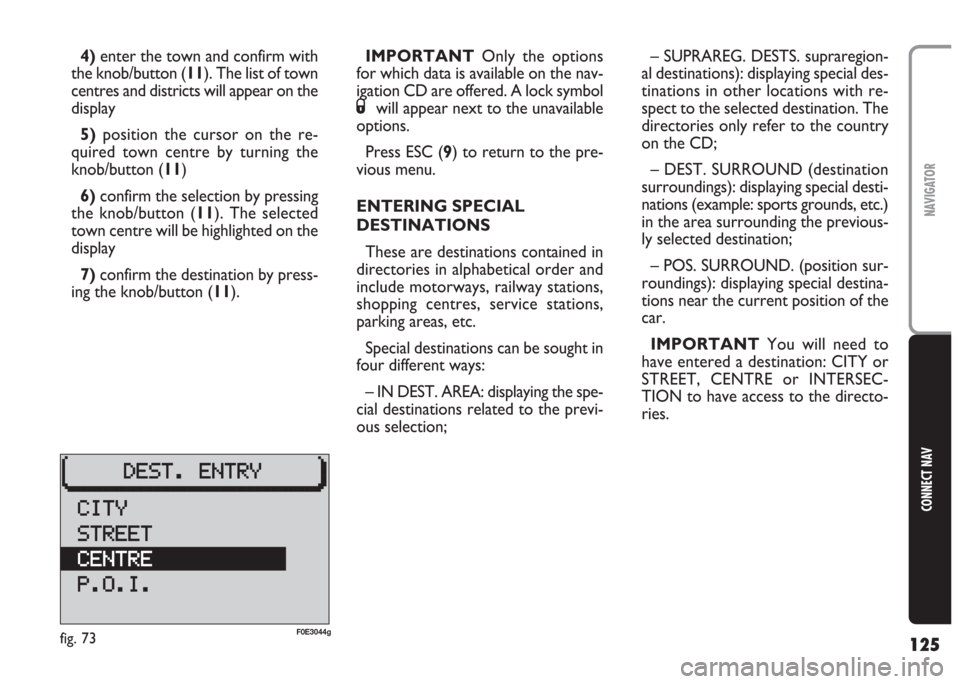
lect CENTRE fig. 73, the display will
show the editing menu for entering
the town (see “Entering the destina-
tion “City” in this section).
fig. 72F0E3034gfig. 71F0E3043g
Page 126 of 202
125
CONNECT NAV
NAVIGATOR
4)enter the town and confirm with
the knob/button (11). The list of town
centres and districts will appear on the
display
5)position the cursor on the re-
quired town centre by turning the
knob/button (11)
6)confirm the selection by pressing
the knob/button (11). The selected
town centre will be highlighted on the
display
7) confirm the destination by press-
ing the knob/button (11).IMPORTANT Only the options
for which data is available on the nav-
igation CD are offered. A lock symbol
Swill appear next to the unavailable
options.
Press ESC (9) to return to the pre-
vious menu.
ENTERING SPECIAL
DESTINATIONS
These are destinations contained in
directories in alphabetical order and
include motorways, railway stations,
shopping centres, service stations,
parking areas, etc.
Special destinations can be sought in
four different ways:
– IN DEST. AREA: displaying the spe-
cial destinations related to the previ-
ous selection;– SUPRAREG. DESTS. supraregion-
al destinations): displaying special des-
tinations in other locations with re-
spect to the selected destination. The
directories only refer to the country
on the CD;
– DEST. SURROUND (destination
surroundings): displaying special desti-
nations (example: sports grounds, etc.)
in the area surrounding the previous-
ly selected destination;
– POS. SURROUND. (position sur-
roundings): displaying special destina-
tions near the current position of the
car.
IMPORTANT You will need to
have entered a destination: CITY or
STREET, CENTRE or INTERSEC-
TION to have access to the directo-
ries.
fig. 73F0E3044g
Page 140 of 202
139
CONNECT NAV
NAVIGATOR
GPS STATUS AND POSITION
INFORMATION
Proceed as follows to display the
number of GPS satellites which can be
received and the car position:
1) Press the NAV button (12). The
main navigation menu will appear on
the display
2) select GPS STATUS by turning the
knob/button (11)
3) confirm the selection by pressing
the knob/button (11).
Press ESC (9) to return to the pre-
vious menu.AVOIDING TAILBACKS
DURING NAVIGATION
When active navigation is on, the sys-
tem can detour tailbacks or road in-
terruptions.
IMPORTANT Only the options
for which data is available on the nav-
igation CD are offered. A lock symbol
Swill appear next to the unavailable
options.
Proceed as follows:
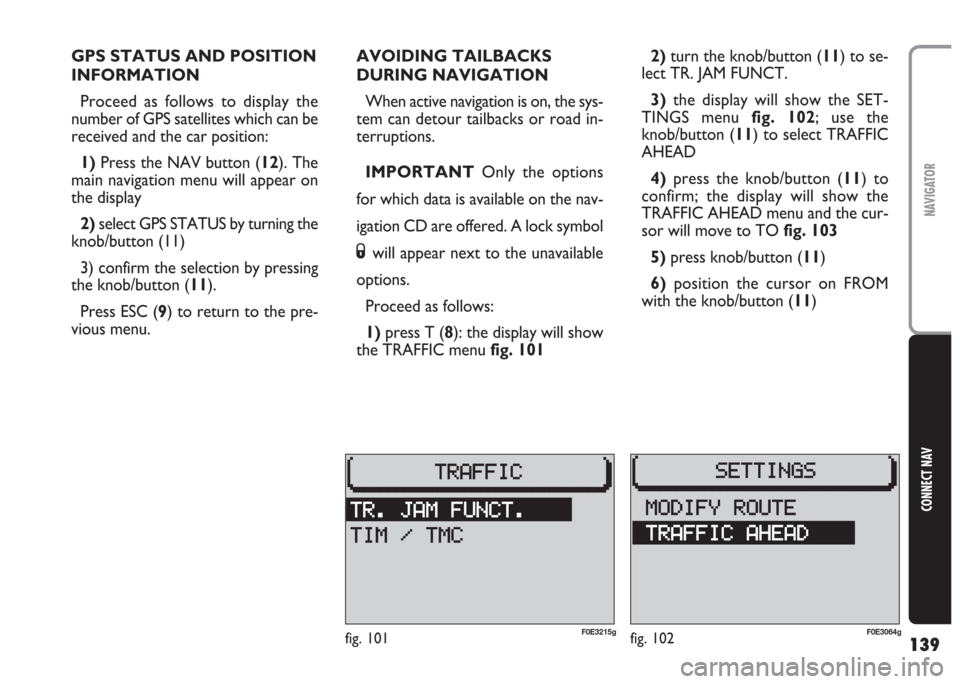
1)press T (8): the display will show
the TRAFFIC menu fig. 1012)turn the knob/button (11) to se-
lect TR. JAM FUNCT.
3)the display will show the SET-
TINGS menu fig. 102; use the
knob/button (11) to select TRAFFIC
AHEAD
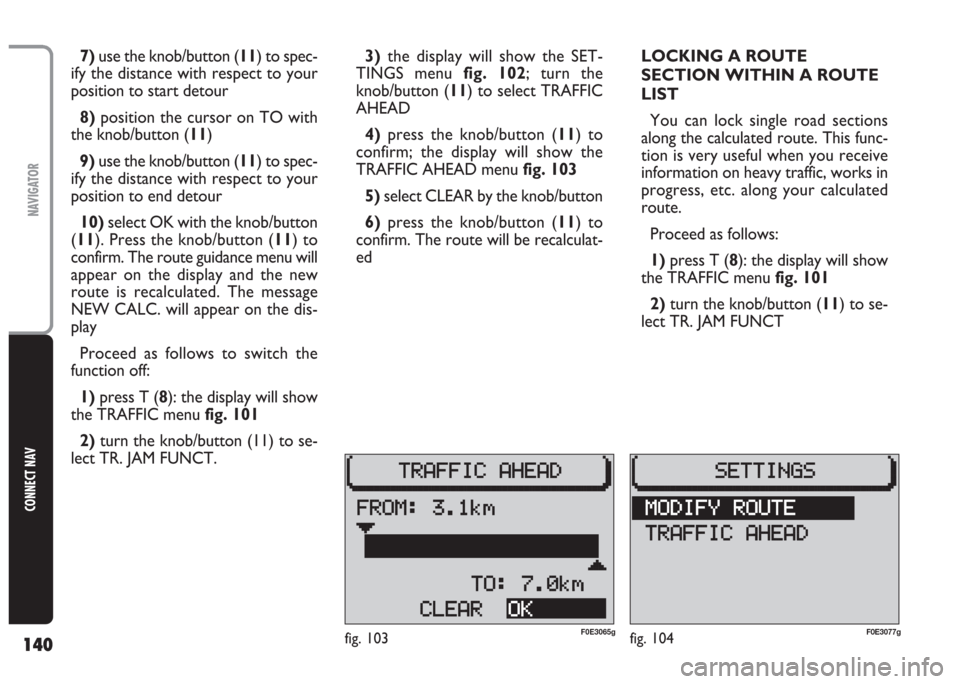
4) press the knob/button (11) to
confirm; the display will show the
TRAFFIC AHEAD menu and the cur-
sor will move to TO fig. 103
5)press knob/button (11)
6) position the cursor on FROM
with the knob/button (11)
fig. 101F0E3215gfig. 102F0E3064g
Page 141 of 202
140
CONNECT NAV
NAVIGATOR
7) use the knob/button (11) to spec-
ify the distance with respect to your
position to start detour
8)position the cursor on TO with
the knob/button (11)
9) use the knob/button (11) to spec-
ify the distance with respect to your
position to end detour
10) select OK with the knob/button
(11). Press the knob/button (11) to
confirm. The route guidance menu will
appear on the display and the new
route is recalculated. The message
NEW CALC. will appear on the dis-
play
Proceed as follows to switch the
function off:
1)press T (8): the display will show
the TRAFFIC menu fig. 101
2) turn the knob/button (11) to se-
lect TR. JAM FUNCT. 3)the display will show the SET-
TINGS menu fig. 102; turn the
knob/button (11) to select TRAFFIC
AHEAD
4)press the knob/button (11) to
confirm; the display will show the
TRAFFIC AHEAD menu fig. 103
5) select CLEAR by the knob/button
6)press the knob/button (11) to
confirm. The route will be recalculat-
edLOCKING A ROUTE
SECTION WITHIN A ROUTE
LIST
You can lock single road sections
along the calculated route. This func-
tion is very useful when you receive
information on heavy traffic, works in
progress, etc. along your calculated
route.
Proceed as follows:
1) press T (8): the display will show
the TRAFFIC menu fig. 101
2) turn the knob/button (11) to se-
lect TR. JAM FUNCT
fig. 103F0E3065gfig. 104F0E3077g
Page 142 of 202
141
CONNECT NAV
NAVIGATOR
3)the display will show the SET-
TINGS menu fig. 102
4) turn the knob/button (11) to se-
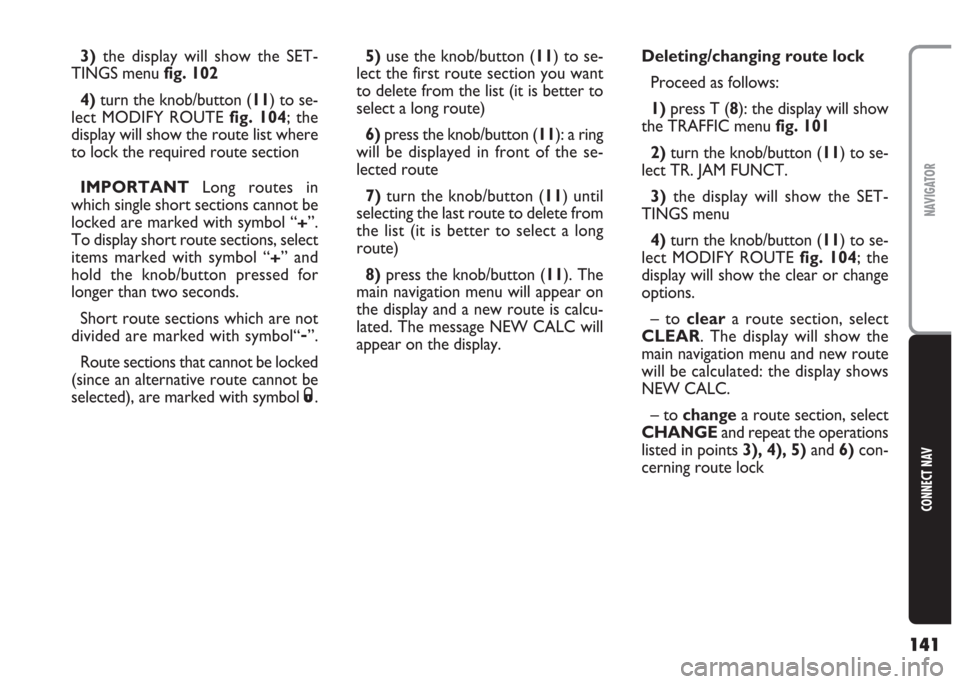
lect MODIFY ROUTE fig. 104; the
display will show the route list where
to lock the required route section
IMPORTANT Long routes in
which single short sections cannot be
locked are marked with symbol “
+”.
To display short route sections, select
items marked with symbol “
+” and
hold the knob/button pressed for
longer than two seconds.
Short route sections which are not
divided are marked with symbol“
-”.
Route sections that cannot be locked
(since an alternative route cannot be
selected), are marked with symbol
S.5) use the knob/button (11) to se-
lect the first route section you want
to delete from the list (it is better to
select a long route)
6) press the knob/button (11): a ring
will be displayed in front of the se-
lected route
7) turn the knob/button (11) until
selecting the last route to delete from
the list (it is better to select a long
route)
8)press the knob/button (11). The
main navigation menu will appear on
the display and a new route is calcu-
lated. The message NEW CALC will
appear on the display.Deleting/changing route lock
Proceed as follows:
1) press T (8): the display will show
the TRAFFIC menu fig. 101
2)turn the knob/button (11) to se-
lect TR. JAM FUNCT.
3)the display will show the SET-
TINGS menu
4) turn the knob/button (11) to se-
lect MODIFY ROUTE fig. 104; the
display will show the clear or change
options.
– to cleara route section, select
CLEAR. The display will show the
main navigation menu and new route
will be calculated: the display shows
NEW CALC.
– to changea route section, select
CHANGEand repeat the operations
listed in points 3), 4), 5)and 6)con-
cerning route lock
Page 165 of 202
164
CONNECT NAV
NAVIGATOR
GENERAL INFORMATION
This telephone can be used to make
the same telephone connections of a
portable cellular phone. Therefore, to
make a telephone call you need a SIM
card and you must be in a place served
by the GSM 900/1800 network, with
enough signal intensity.
IMPORTANT The network ser-
vices described in this section (e.g. in-
coming call) are managed by the tele-
phone, but their availability depends
on the network and the type of con-
tract agreed with the network
provider.
IMPORTANT If power supply is
lower than the minimum preset
threshold, phone call quality is not as-
sured. For this reason, turning the en-
gine on during a telephone call might
interrupt it.TURNING THE phone on
To activate the phone, if a valid SIM
card has been inserted, press
£(15).
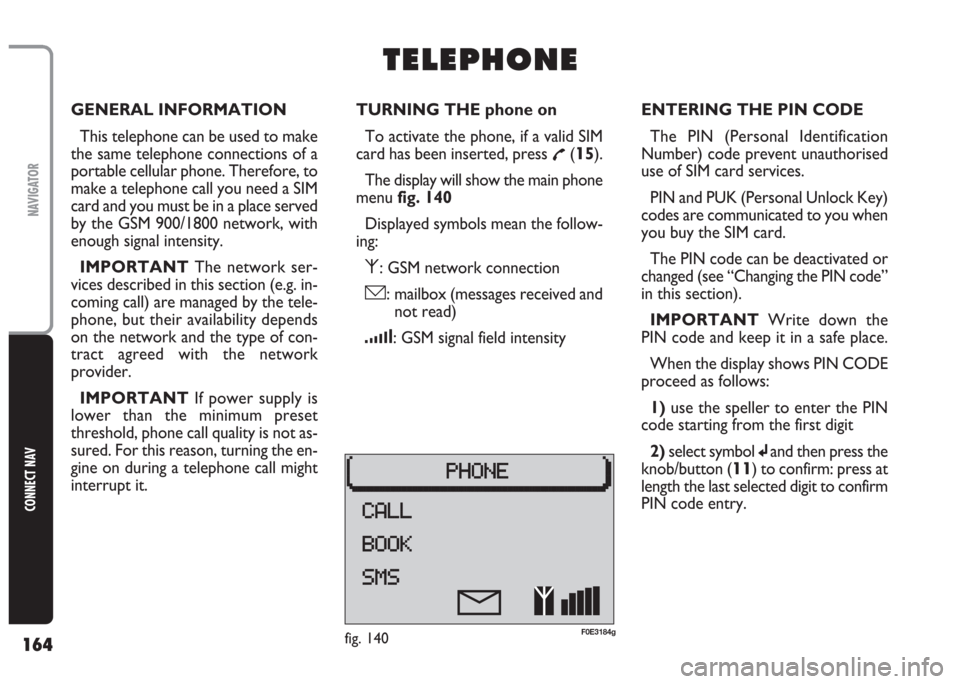
The display will show the main phone
menu fig. 140
Displayed symbols mean the follow-
ing:
⁄: GSM network connection
ó: mailbox (messages received and
not read)
¿: GSM signal field intensity
T T
E E
L L
E E
P P
H H
O O
N N
E E
ENTERING THE PIN CODE
The PIN (Personal Identification
Number) code prevent unauthorised
use of SIM card services.
PIN and PUK (Personal Unlock Key)
codes are communicated to you when
you buy the SIM card.
The PIN code can be deactivated or
changed (see “Changing the PIN code”
in this section).
IMPORTANT Write down the
PIN code and keep it in a safe place.
When the display shows PIN CODE
proceed as follows:
1) use the speller to enter the PIN
code starting from the first digit
2)select symbol
jand then press the
knob/button (
11) to confirm: press at
length the last selected digit to confirm
PIN code entry.
fig. 140F0E3184g
Page 166 of 202
165
CONNECT NAV
NAVIGATOR
IMPORTANT After three unsuc-
cessful PIN code entries, the SIM card
is locked. To unlock the SIM card, en-
ter the PUK code (see paragraph “SIM
card unlocking” in this section).
After entering the correct PIN code,
the system will turn on to the last
source selected (Radio, CD or CD-
Changer, where fitted) and the main
phone menu fig. 140will be displayed.Changing the PIN code
To change the PIN code, proceed as
follows:
1) press
£(15) to turn the phone
mode on
2) press MEN (10): the display will
show the phone Setup menufig. 140
3) turn the knob/button (11) to se-
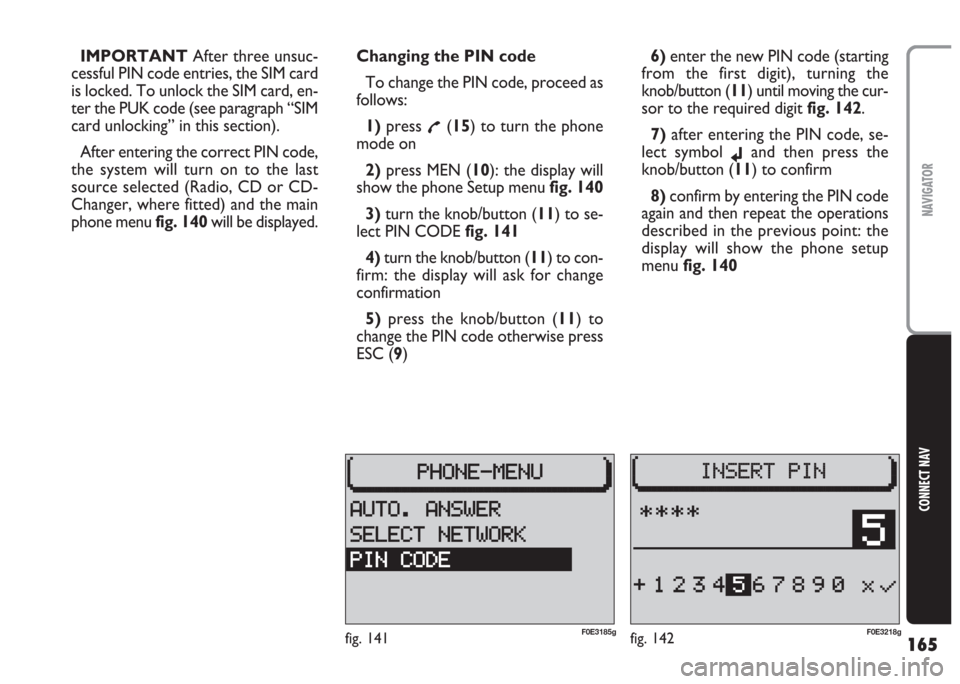
lect PIN CODE fig. 141
4)turn the knob/button (11) to con-
firm: the display will ask for change
confirmation
5)press the knob/button (11) to
change the PIN code otherwise press
ESC (9)6)enter the new PIN code (starting
from the first digit), turning the
knob/button (11) until moving the cur-
sor to the required digit fig. 142.
7) after entering the PIN code, se-
lect symbol
jand then press the
knob/button (11) to confirm
8) confirm by entering the PIN code
again and then repeat the operations
described in the previous point: the
display will show the phone setup
menu fig. 140
fig. 142F0E3218gfig. 141F0E3185g