FORD CONTOUR 1999 2.G Owners Manual
Manufacturer: FORD, Model Year: 1999, Model line: CONTOUR, Model: FORD CONTOUR 1999 2.GPages: 244, PDF Size: 2.26 MB
Page 111 of 244
Starting
111 USING THE ENGINE BLOCK
HEATER (if equipped)
An engine block heater warms the
engine coolant, which improves
starting, warms up the engine
faster and allows the heater-
defroster system to respond
quickly. It is strongly recommended
if you live in a region where
temperatures reach Ð23¡C (Ð10¡F)
or below.
For best results, plug the heater in
at least three hours before starting
the vehicle. Using the heater for
more than three hours will not
harm the engine, so the heater can
be plugged in the night before
starting the vehicle.
To prevent electrical shock,
do not use your heater with
ungrounded electrical systems or
two-pronged (cheater) adapters.
21CSten 3/25/99 3:27 PM Page 111
Page 112 of 244
112
Driving
BRAKES
Your brakes are self-adjusting.
Refer to the ÒScheduled
Maintenance GuideÓ for
maintenance intervals.
Anti-lock braking system (ABS)
(if equipped)
The ABS operates by detecting the
onset of wheel lock-up during
brake applications and
compensating for this tendency.
The wheels are prevented from
locking even when the brakes are
firmly applied, helping to ensure
that the vehicle can be steered and
the driver can avoid obstacles.
Operation of the anti-lock
braking system
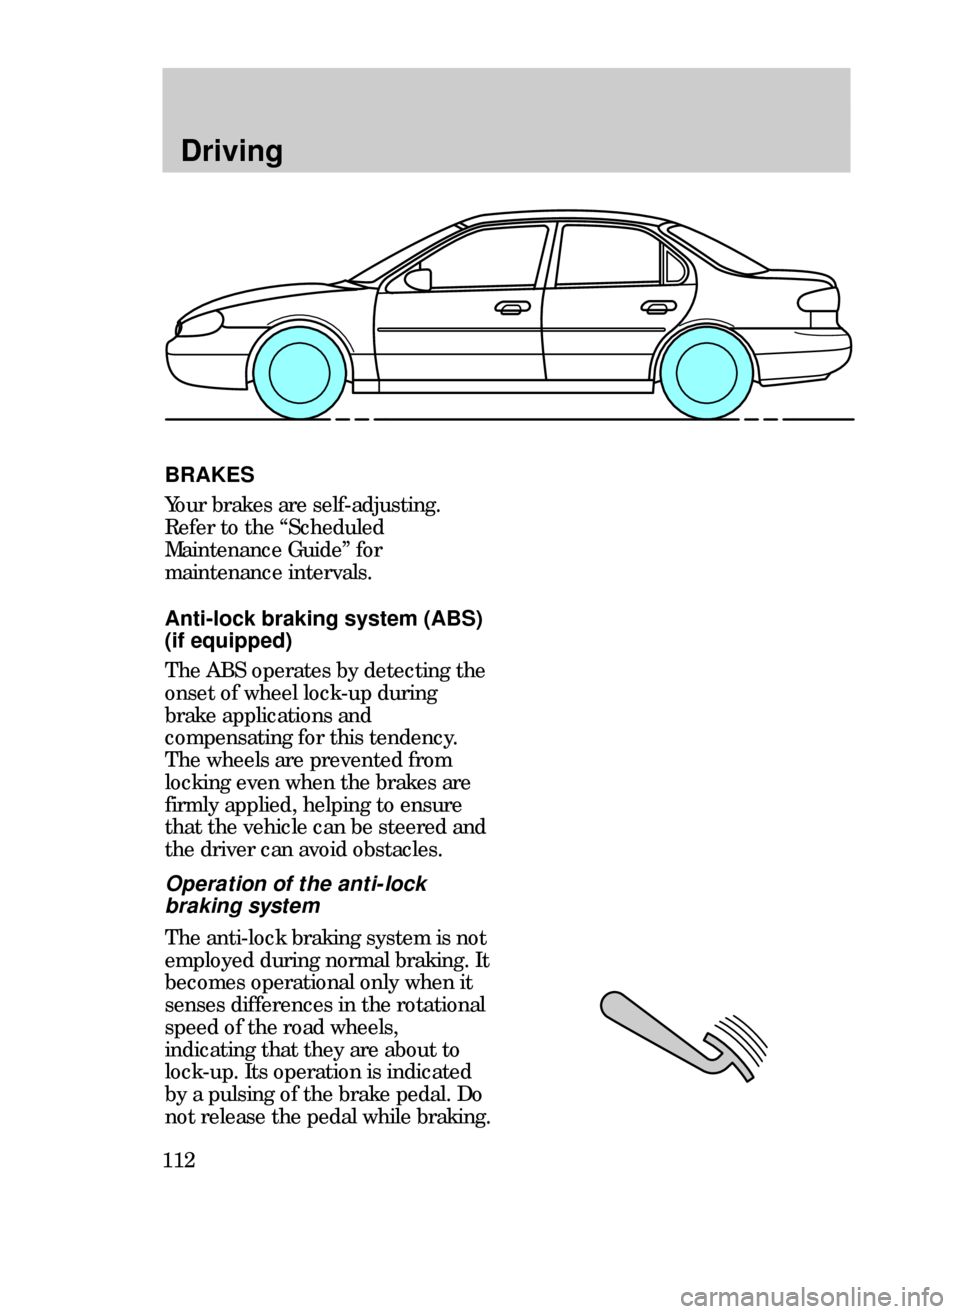
The anti-lock braking system is not
employed during normal braking. It
becomes operational only when it
senses differences in the rotational
speed of the road wheels,
indicating that they are about to
lock-up. Its operation is indicated
by a pulsing of the brake pedal. Do
not release the pedal while braking.
22CDren 3/25/99 3:32 PM Page 112
Page 113 of 244
Driving
113
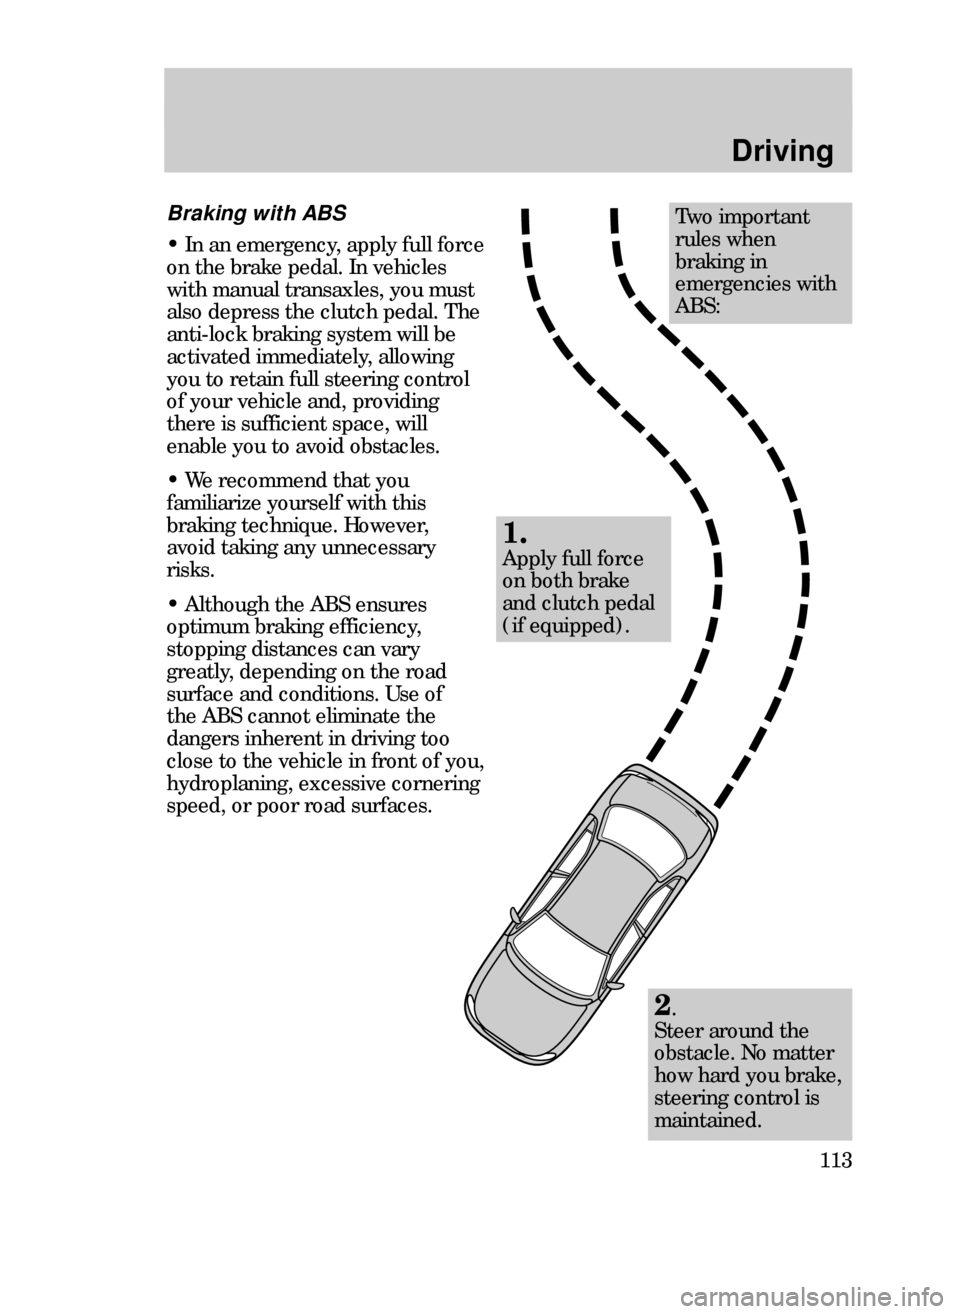
Two important
rules when
braking in
emergencies with
ABS:
1.
Apply full force
on both brake
and clutch pedal
(if equipped).
Braking with ABS
¥ In an emergency, apply full force
on the brake pedal. In vehicles
with manual transaxles, you must
also depress the clutch pedal. The
anti-lock braking system will be
activated immediately, allowing
you to retain full steering control
of your vehicle and, providing
there is sufficient space, will
enable you to avoid obstacles.
¥ We recommend that you
familiarize yourself with this
braking technique. However,
avoid taking any unnecessary
risks.
¥ Although the ABS ensures
optimum braking efficiency,
stopping distances can vary
greatly, depending on the road
surface and conditions. Use of
the ABS cannot eliminate the
dangers inherent in driving too
close to the vehicle in front of you,
hydroplaning, excessive cornering
speed, or poor road surfaces.
2.
Steer around the
obstacle. No matter
how hard you brake,
steering control is
maintained.
22CDren 3/25/99 3:32 PM Page 113
Page 114 of 244
Driving
114
Parking brake
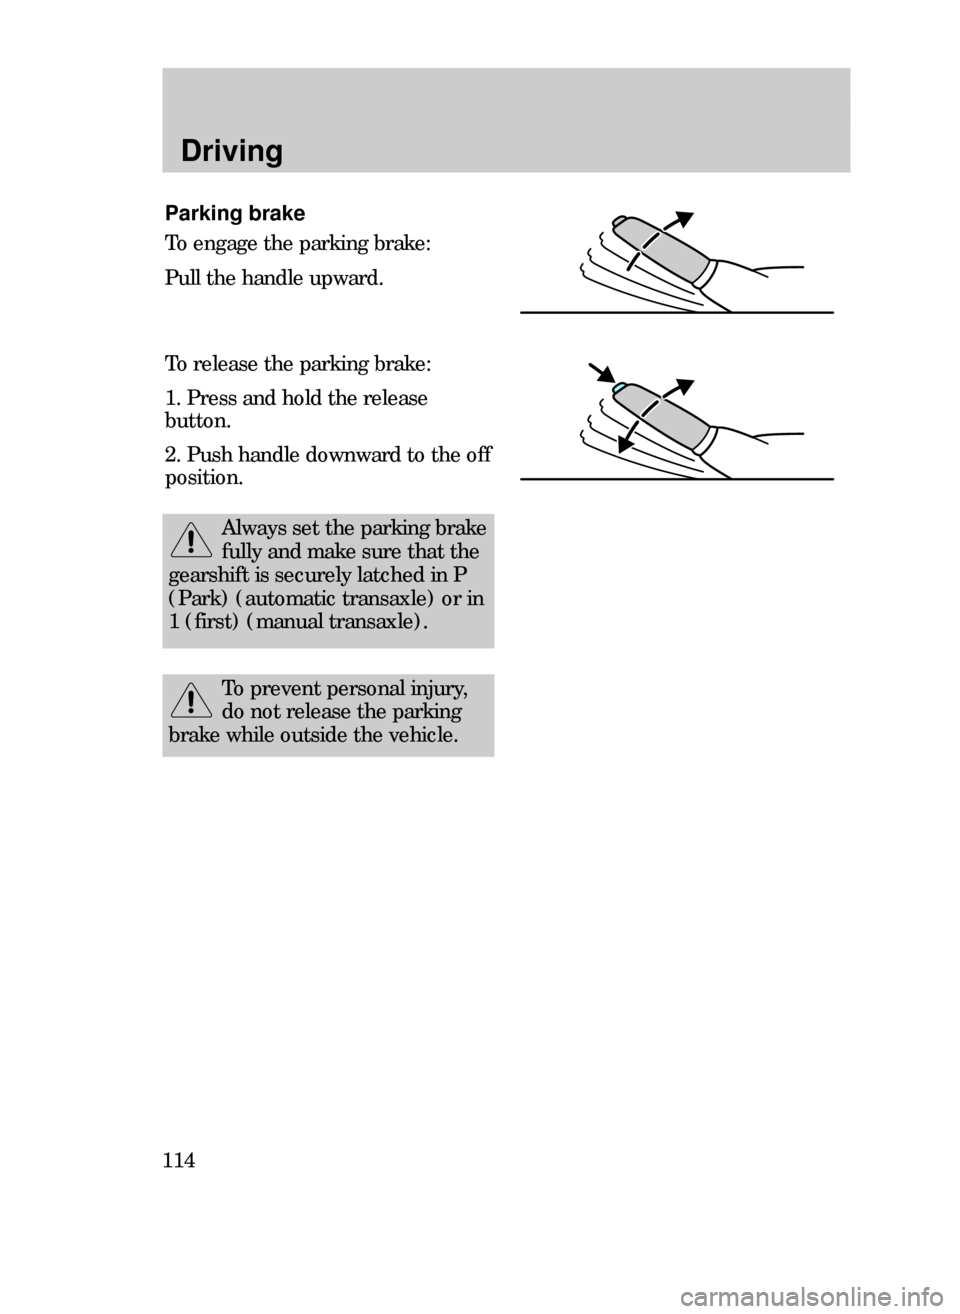
To engage the parking brake:
Pull the handle upward.
To release the parking brake:
1. Press and hold the release
button.
2. Push handle downward to the off
position.
Always set the parking brake
fully and make sure that the
gearshift is securely latched in P
(Park) (automatic transaxle) or in
1 (first) (manual transaxle).
To prevent personal injury,
do not release the parking
brake while outside the vehicle.
22CDren 3/25/99 3:32 PM Page 114
Page 115 of 244
Driving
115
TRACTION CONTROL
(if equipped)
This system prevents wheel spin at
all speeds. The control will toggle
this function on and off, but the
feature defaults to on after each
cycle of the ignition key.
The traction control system
controls excessive wheel spin by
automatically applying and
releasing the brakes in conjunction
with engine torque reductions.
This can occur when accelerating
on a slippery road, a loose surface
or when pulling away on a hill. The
traction control lamp flashes on the
instrument panel when the system
is functioning to regulate tire
traction.
When the ignition is turned to the
on position, the traction control
system light comes on for
approximately three (3) seconds. If
the light does not come on when
the ignition is turned to the on
position or if it remains on
continuously when the traction
control system is turned on, have
the system serviced by your dealer
or a qualified service technician.
You can continue to drive and do
not need to have the vehicle towed
in.
You should not take unnecessary
driving risks because of the
systemÕs safety potential.
22CDren 3/25/99 3:32 PM Page 115
Page 116 of 244
Driving
116
STEERING YOUR VEHICLE
Your vehicle comes with power
steering. Power steering uses
energy from the engine to help
steer your vehicle.
If the amount of effort needed to
steer your vehicle at a constant
vehicle speed, have the power
steering system checked. If the
power steering system breaks
down (or if the engine is turned
off), you can steer the vehicle
manually but it takes more effort.
Never hold the steering wheel to
the extreme right or left for more
than five seconds if the engine is
running. This can damage the
power steering pump.
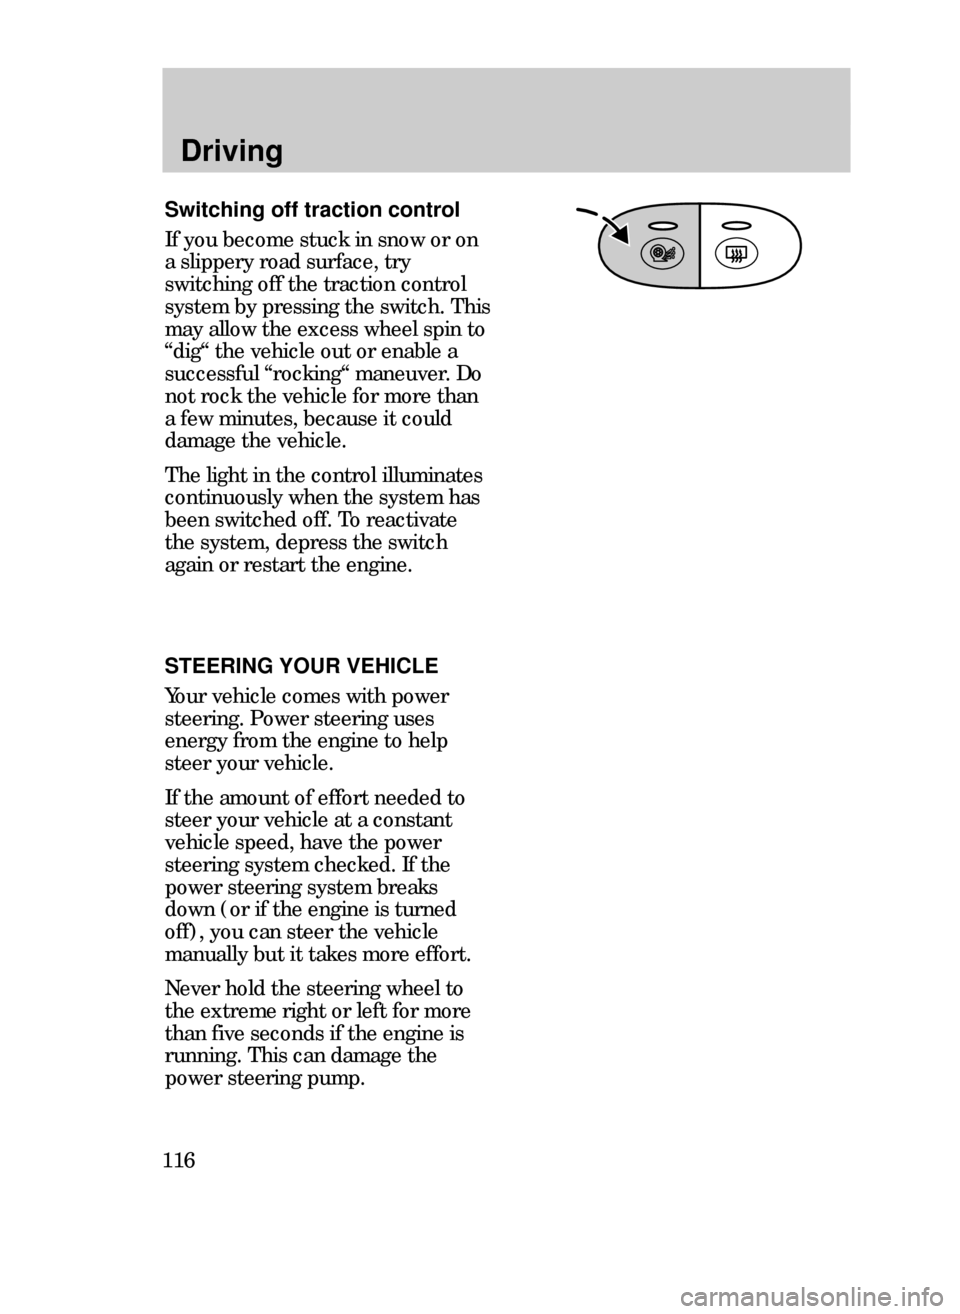
Switching off traction control
If you become stuck in snow or on
a slippery road surface, try
switching off the traction control
system by pressing the switch. This
may allow the excess wheel spin to
ÒdigÒ the vehicle out or enable a
successful ÒrockingÒ maneuver. Do
not rock the vehicle for more than
a few minutes, because it could
damage the vehicle.
The light in the control illuminates
continuously when the system has
been switched off. To reactivate
the system, depress the switch
again or restart the engine.
22CDren 3/25/99 3:32 PM Page 116
Page 117 of 244
Driving
117
TRANSAXLE OPERATION
Automatic transaxle
(if equipped)
Vehicles equipped with an
automatic transaxle are equipped
with a brake-shift interlock feature
that prevents the gearshift lever
from being moved from the
P (Park) position unless the brake
pedal is depressed.
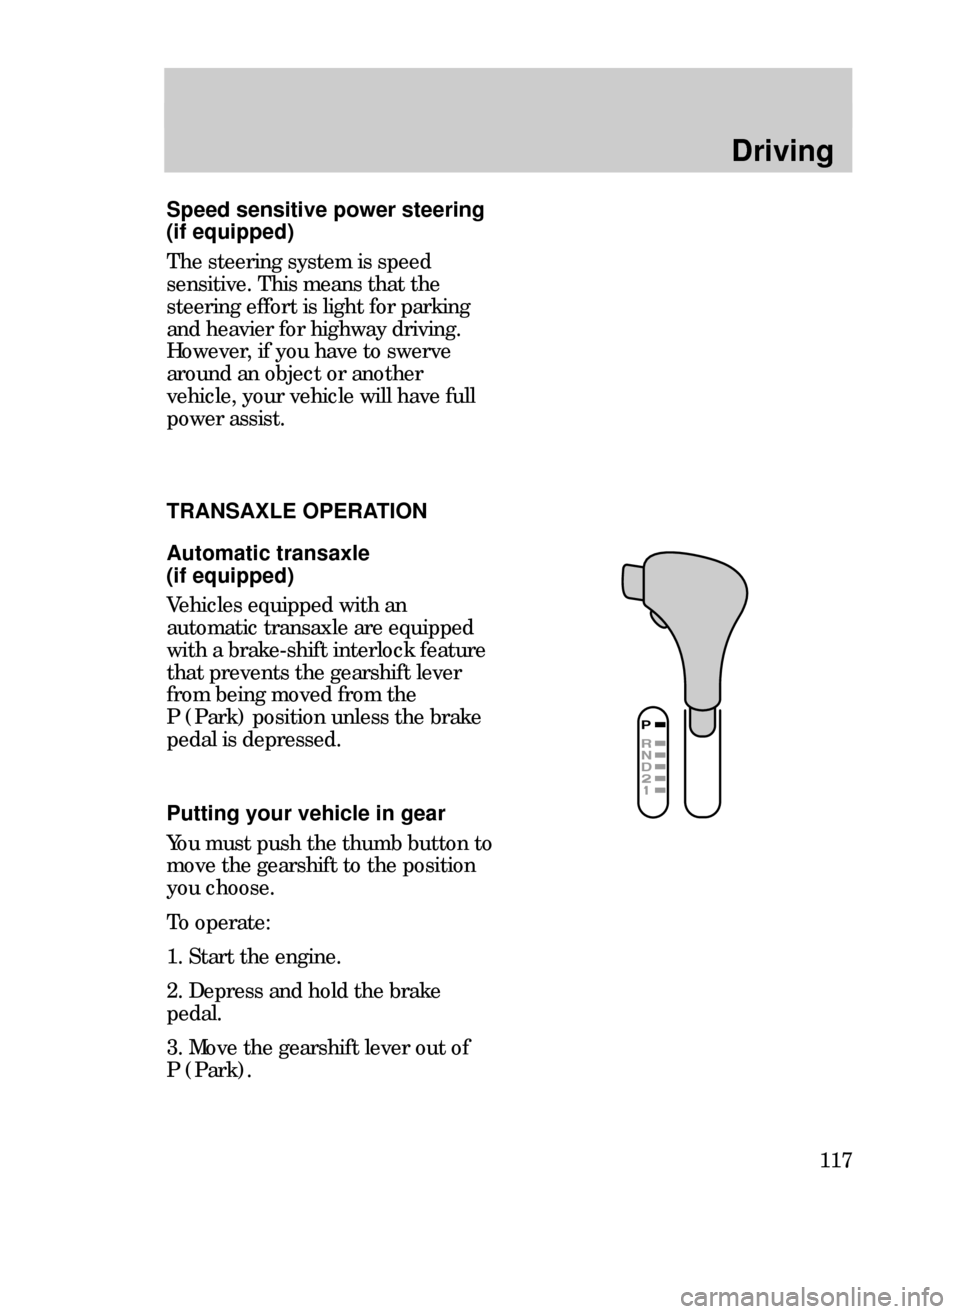
Putting your vehicle in gear
You must push the thumb button to
move the gearshift to the position
you choose.
To operate:
1. Start the engine.
2. Depress and hold the brake
pedal.
3. Move the gearshift lever out of
P (Park).
Speed sensitive power steering
(if equipped)
The steering system is speed
sensitive. This means that the
steering effort is light for parking
and heavier for highway driving.
However, if you have to swerve
around an object or another
vehicle, your vehicle will have full
power assist.
22CDren 3/25/99 3:32 PM Page 117
Page 118 of 244
Driving
118
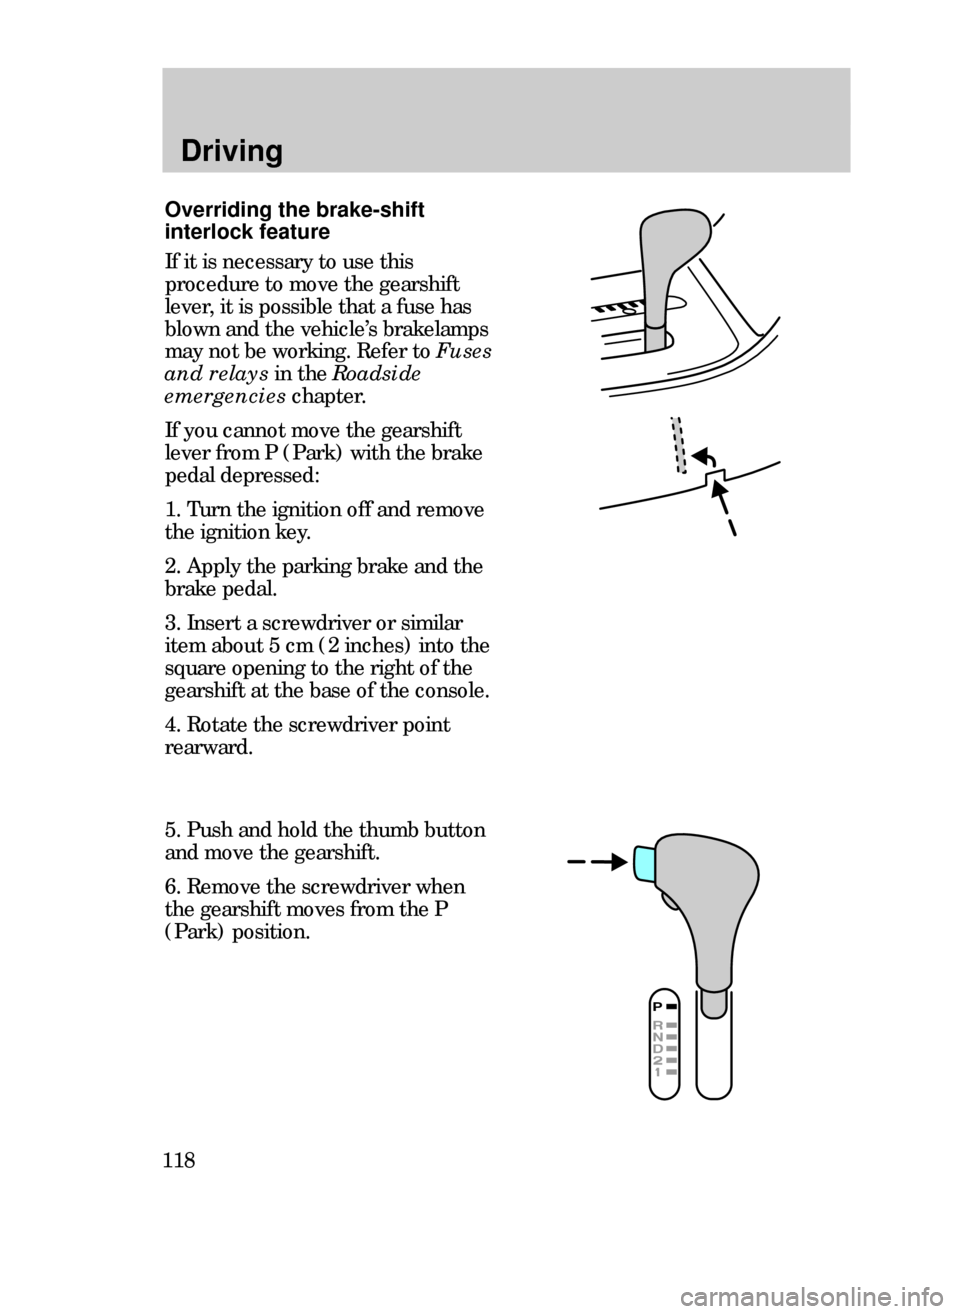
5. Push and hold the thumb button
and move the gearshift.
6. Remove the screwdriver when
the gearshift moves from the P
(Park) position.
Overriding the brake-shift
interlock feature
If it is necessary to use this
procedure to move the gearshift
lever, it is possible that a fuse has
blown and the vehicleÕs brakelamps
may not be working. Refer to Fuses
and relaysin the Roadside
emergencieschapter.
If you cannot move the gearshift
lever from P (Park) with the brake
pedal depressed:
1. Turn the ignition off and remove
the ignition key.
2. Apply the parking brake and the
brake pedal.
3. Insert a screwdriver or similar
item about 5 cm (2 inches) into the
square opening to the right of the
gearshift at the base of the console.
4. Rotate the screwdriver point
rearward.
22CDren 3/25/99 3:32 PM Page 118
Page 119 of 244
Driving
119
The console-mounted gearshift will
lock when you turn the key to the
lock position. When the gearshift is
in any position except P (Park),
the ignition key cannot be turned
to lock or removed from the
steering column. To remove the
key, the gearshift lever must be in
P (Park).
Once the gearshift is secure in the
desired position, release the brake
pedal and use the accelerator as
necessary.
Driving
Never leave a vehicle
unattended while it is
running.
¥P(Park)
Always come to a complete stop
before shifting into P (Park). This
locks the transaxle and prevents
the front wheels from rotating.
¥R(Reverse)
The vehicle only moves backward.
Always come to a complete stop
before shifting in or out of R
(Reverse).
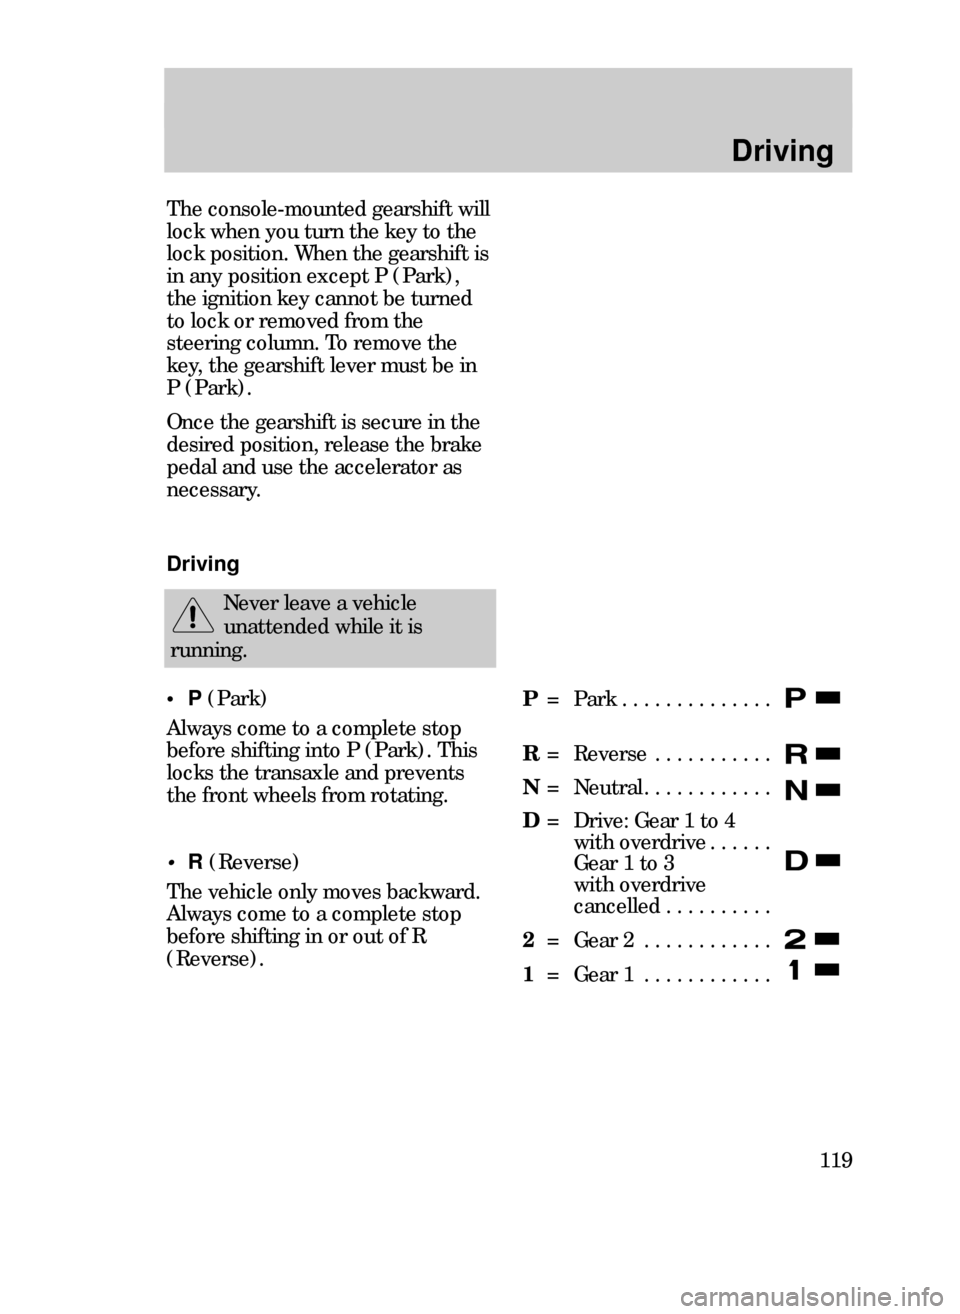
P= Park . . . . . . . . . . . . . .
R= Reverse . . . . . . . . . . .
N= Neutral . . . . . . . . . . . .
D= Drive: Gear 1 to 4
with overdrive . . . . . .
Gear 1 to 3
with overdrive
cancelled . . . . . . . . . .
2= Gear 2 . . . . . . . . . . . .
1= Gear 1 . . . . . . . . . . . .
22CDren 3/25/99 3:32 PM Page 119
Page 120 of 244
Driving
120
¥D (Overdrive)
Note that the vehicleÕs gearshift is
console-mounted on the floor. The
transaxle control switch (TCS) is
located on the gearshift handle.
The transaxle control indicator
light (O/D light) is located on the
instrument panel.
Overdrive is not shown on the
display, but is the default mode for
the D gearshift position. This is the
normal driving mode for the best
fuel economy. The transaxle
operates in gears one through four.
The O/D light is off (not
illuminated) during normal vehicle
operation.
Overdrive can be deactivated by
pressing the transaxle control
switch (TCS) located on the
gearshift handle. The O/D OFF
indicator light will illuminate in the
instrument cluster.
¥N(Neutral)
The wheels of the transaxle are not
locked. Your vehicle will roll freely,
even on the slightest incline, unless
the parking brake or brakes are on.
22CDren 3/25/99 3:32 PM Page 120