FORD CONTOUR 1999 2.G Manual PDF
Manufacturer: FORD, Model Year: 1999, Model line: CONTOUR, Model: FORD CONTOUR 1999 2.GPages: 244, PDF Size: 2.26 MB
Page 71 of 244
Controls and features
71
Spare key programming
A maximum of 8 keys in all can be
coded with any two coded keys.
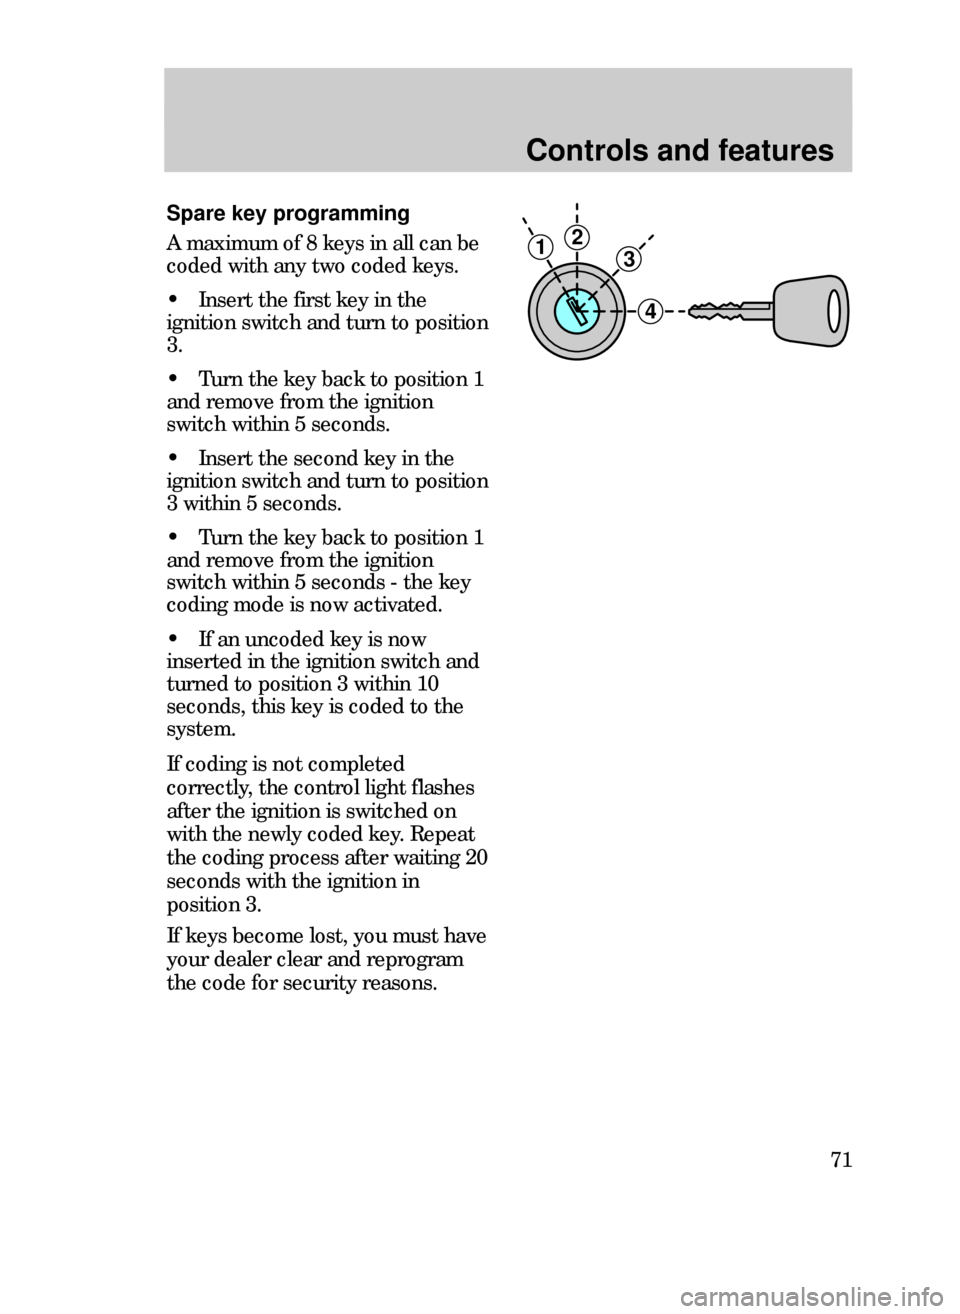
¥ Insert the first key in the
ignition switch and turn to position
3.
¥ Turn the key back to position 1
and remove from the ignition
switch within 5 seconds.
¥ Insert the second key in the
ignition switch and turn to position
3 within 5 seconds.
¥ Turn the key back to position 1
and remove from the ignition
switch within 5 seconds - the key
coding mode is now activated.
¥ If an uncoded key is now
inserted in the ignition switch and
turned to position 3 within 10
seconds, this key is coded to the
system.
If coding is not completed
correctly, the control light flashes
after the ignition is switched on
with the newly coded key. Repeat
the coding process after waiting 20
seconds with the ignition in
position 3.
If keys become lost, you must have
your dealer clear and reprogram
the code for security reasons.
3
4
21
13CCfen 3/25/99 1:51 PM Page 71
Page 72 of 244
Seating and safety restraints
72
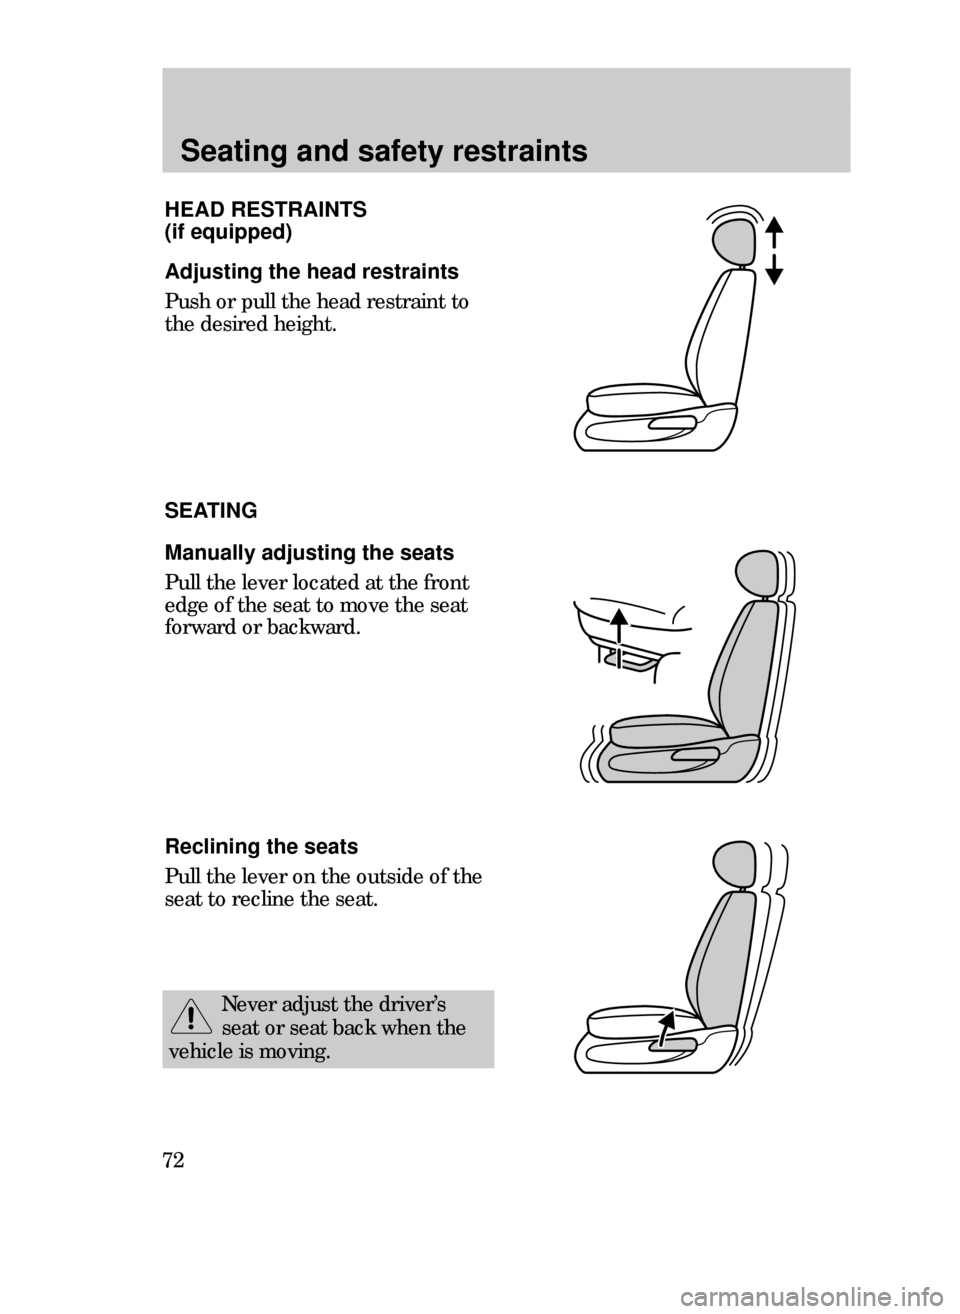
Adjusting the head restraints
Push or pull the head restraint to
the desired height.
SEATING
Manually adjusting the seats
Pull the lever located at the front
edge of the seat to move the seat
forward or backward.
Reclining the seats
Pull the lever on the outside of the
seat to recline the seat.
HEAD RESTRAINTS
(if equipped)
Never adjust the driverÕs
seat or seat back when the
vehicle is moving.
14CSSen 3/25/99 1:58 PM Page 72
Page 73 of 244
Seating and safety restraints
73
Adjusting the power seats
(if equipped)
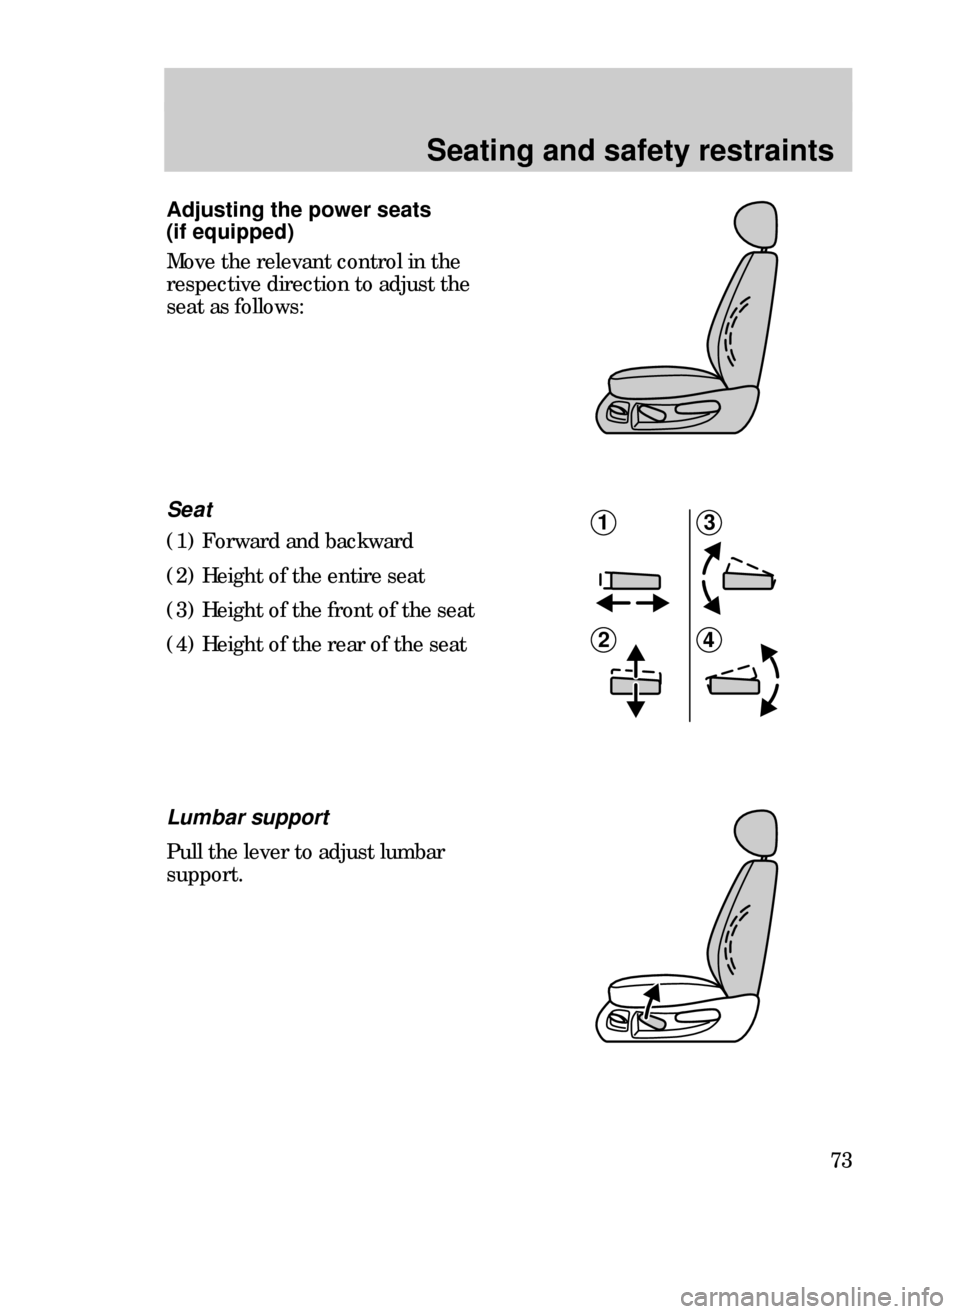
Move the relevant control in the
respective direction to adjust the
seat as follows:
1
2
3
4
Seat
(1) Forward and backward
(2) Height of the entire seat
(3) Height of the front of the seat
(4) Height of the rear of the seat
Lumbar support
Pull the lever to adjust lumbar
support.
14CSSen 3/25/99 1:58 PM Page 73
Page 74 of 244
Seating and safety restraints
74
Folding rear seats (if equipped)
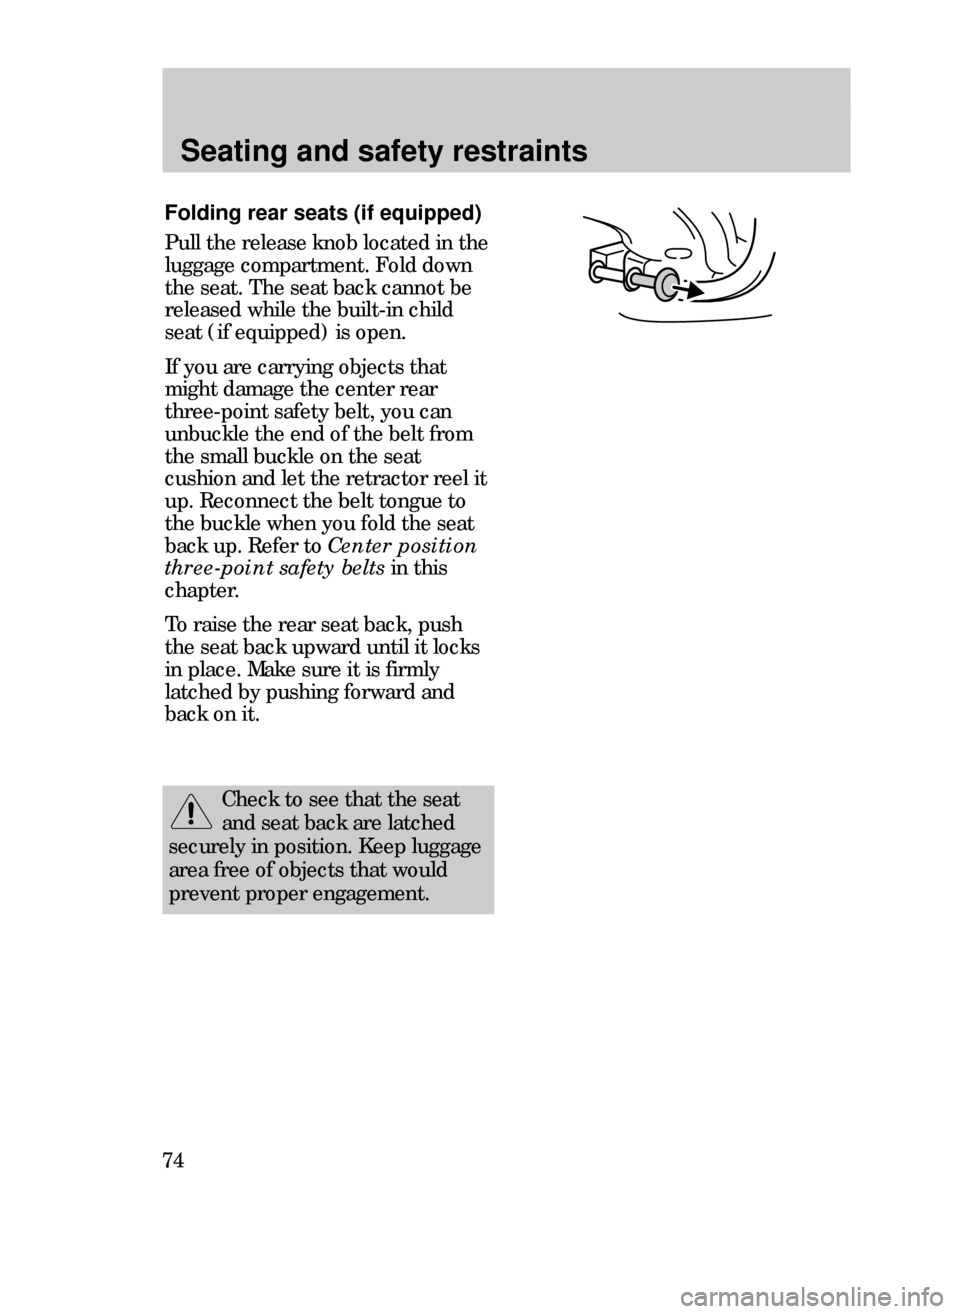
Pull the release knob located in the
luggage compartment. Fold down
the seat. The seat back cannot be
released while the built-in child
seat (if equipped) is open.
If you are carrying objects that
might damage the center rear
three-point safety belt, you can
unbuckle the end of the belt from
the small buckle on the seat
cushion and let the retractor reel it
up. Reconnect the belt tongue to
the buckle when you fold the seat
back up. Refer to Center position
three-point safety beltsin this
chapter.
To raise the rear seat back, push
the seat back upward until it locks
in place. Make sure it is firmly
latched by pushing forward and
back on it.
Check to see that the seat
and seat back are latched
securely in position. Keep luggage
area free of objects that would
prevent proper engagement.
14CSSen 3/25/99 1:58 PM Page 74
Page 75 of 244
Seating and safety restraints
75
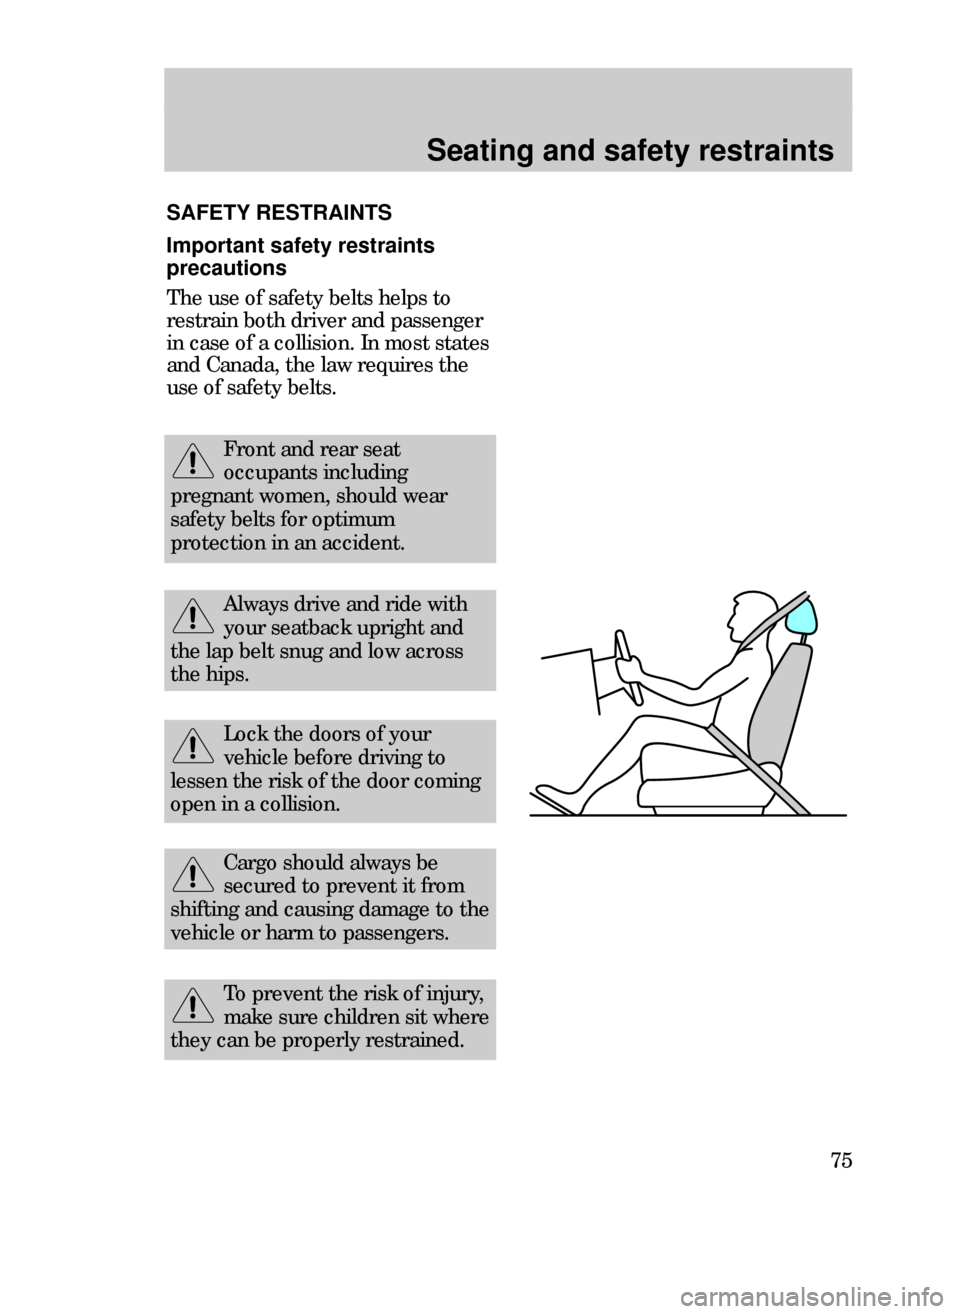
Important safety restraints
precautions
The use of safety belts helps to
restrain both driver and passenger
in case of a collision. In most states
and Canada, the law requires the
use of safety belts.
Always drive and ride with
your seatback upright and
the lap belt snug and low across
the hips.
Lock the doors of your
vehicle before driving to
lessen the risk of the door coming
open in a collision.
Cargo should always be
secured to prevent it from
shifting and causing damage to the
vehicle or harm to passengers.
To prevent the risk of injury,
make sure children sit where
they can be properly restrained.
SAFETY RESTRAINTS
Front and rear seat
occupants including
pregnant women, should wear
safety belts for optimum
protection in an accident.
14CSSen 3/25/99 1:58 PM Page 75
Page 76 of 244
Seating and safety restraints
76
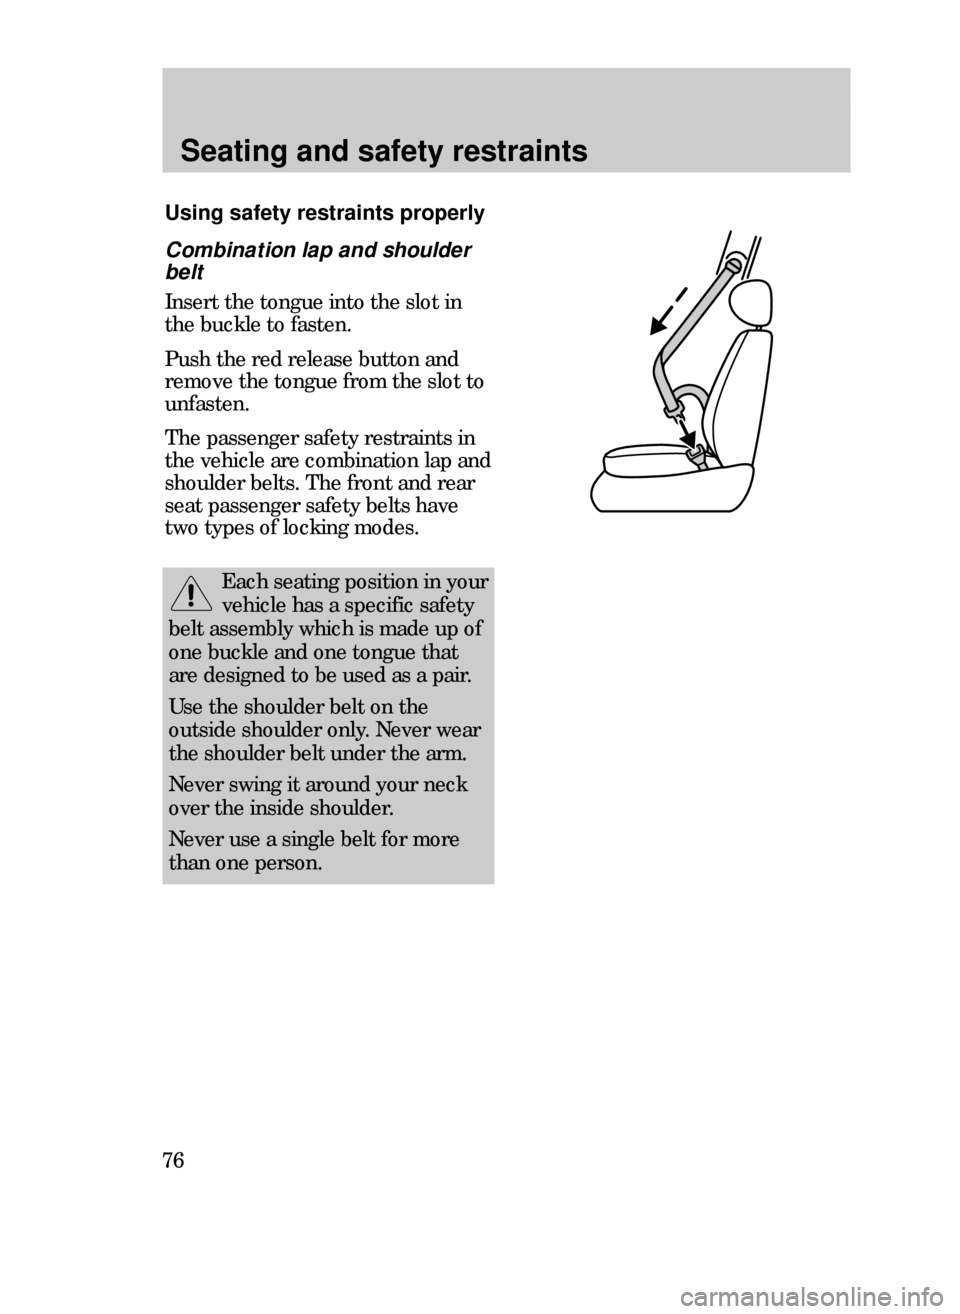
Combination lap and shoulder
belt
Insert the tongue into the slot in
the buckle to fasten.
Push the red release button and
remove the tongue from the slot to
unfasten.
The passenger safety restraints in
the vehicle are combination lap and
shoulder belts. The front and rear
seat passenger safety belts have
two types of locking modes.
Using safety restraints properly
Each seating position in your
vehicle has a specific safety
belt assembly which is made up of
one buckle and one tongue that
are designed to be used as a pair.
Use the shoulder belt on the
outside shoulder only. Never wear
the shoulder belt under the arm.
Never swing it around your neck
over the inside shoulder.
Never use a single belt for more
than one person.
14CSSen 3/25/99 1:58 PM Page 76
Page 77 of 244
Seating and safety restraints
77
Automatic locking mode
In this mode, the shoulder belt is
automatically prelocked; however,
the belt will react to remove any
slack in the shoulder belt.
The automatic locking mode is not
available on the driverÕs safety belt.
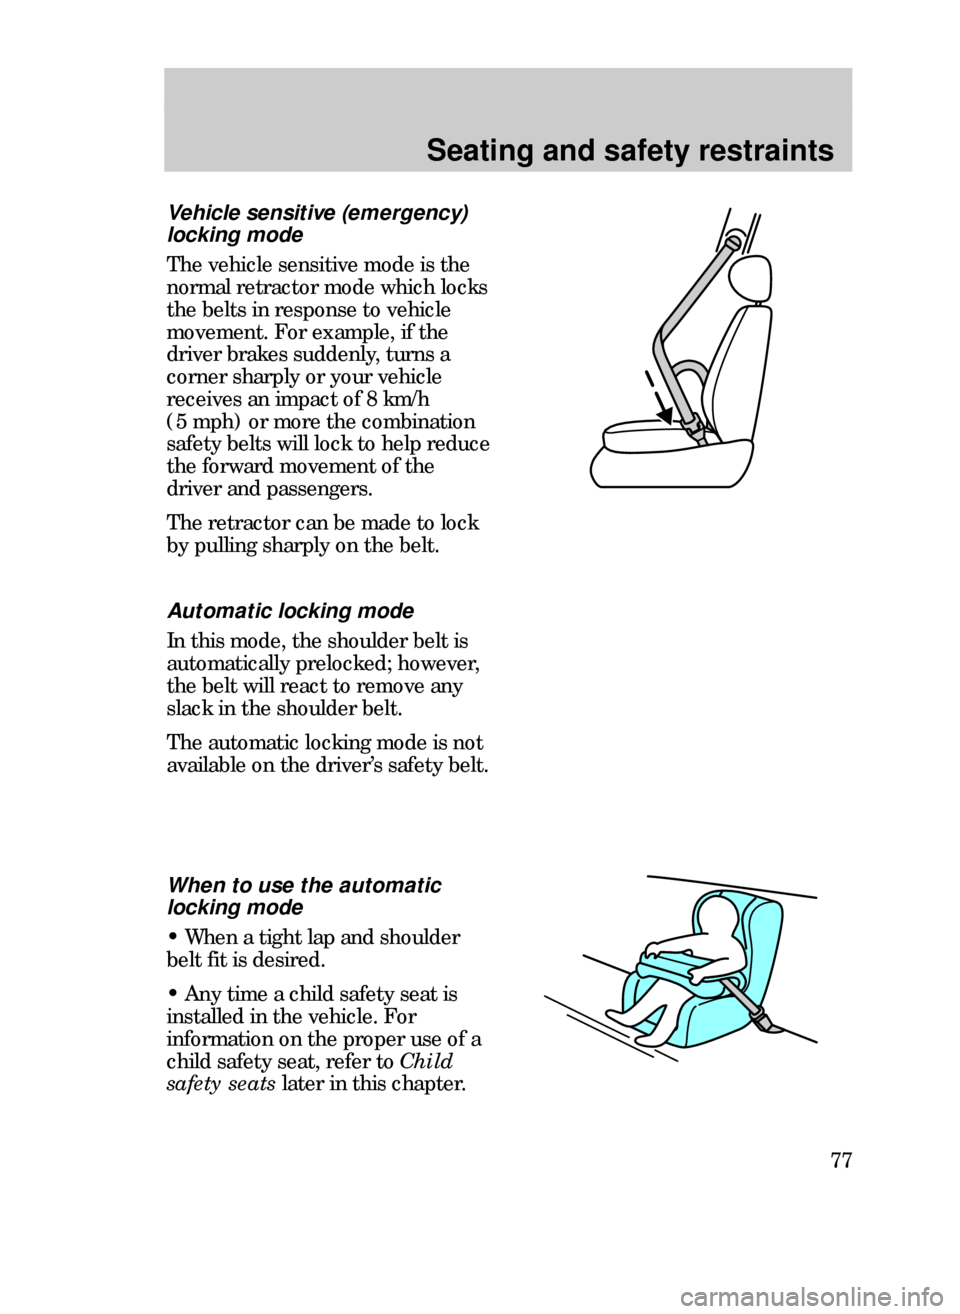
When to use the automatic
locking mode
¥ When a tight lap and shoulder
belt fit is desired.
¥ Any time a child safety seat is
installed in the vehicle. For
information on the proper use of a
child safety seat, refer to Child
safety seatslater in this chapter.
Vehicle sensitive (emergency)
locking mode
The vehicle sensitive mode is the
normal retractor mode which locks
the belts in response to vehicle
movement. For example, if the
driver brakes suddenly, turns a
corner sharply or your vehicle
receives an impact of 8 km/h
(5 mph) or more the combination
safety belts will lock to help reduce
the forward movement of the
driver and passengers.
The retractor can be made to lock
by pulling sharply on the belt.
14CSSen 3/25/99 1:59 PM Page 77
Page 78 of 244
Seating and safety restraints
78
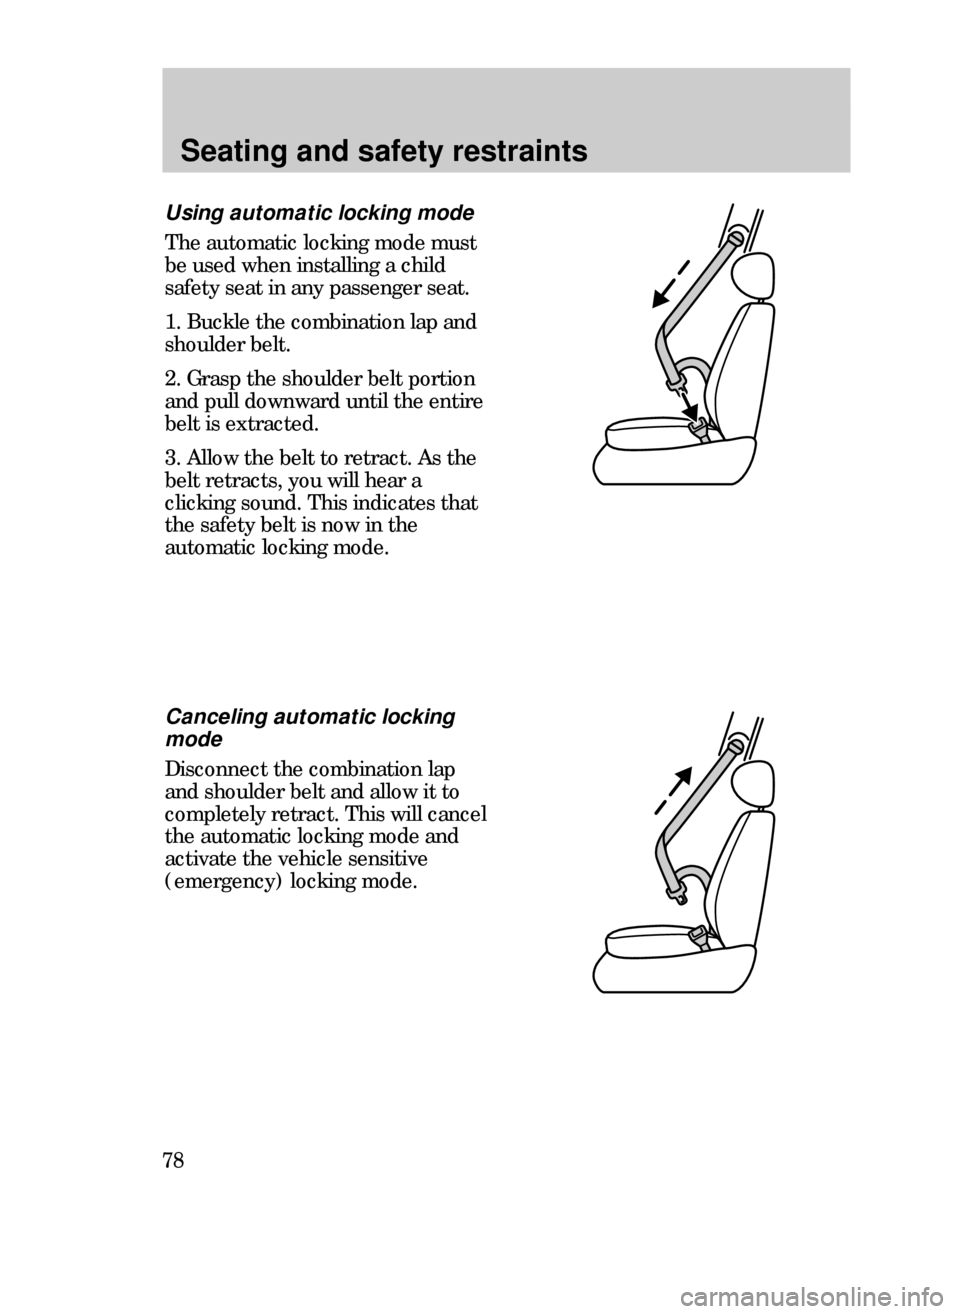
Using automatic locking mode
The automatic locking mode must
be used when installing a child
safety seat in any passenger seat.
1. Buckle the combination lap and
shoulder belt.
2. Grasp the shoulder belt portion
and pull downward until the entire
belt is extracted.
3. Allow the belt to retract. As the
belt retracts, you will hear a
clicking sound. This indicates that
the safety belt is now in the
automatic locking mode.
Canceling automatic locking
mode
Disconnect the combination lap
and shoulder belt and allow it to
completely retract. This will cancel
the automatic locking mode and
activate the vehicle sensitive
(emergency) locking mode.
14CSSen 3/25/99 1:59 PM Page 78
Page 79 of 244
Seating and safety restraints
79
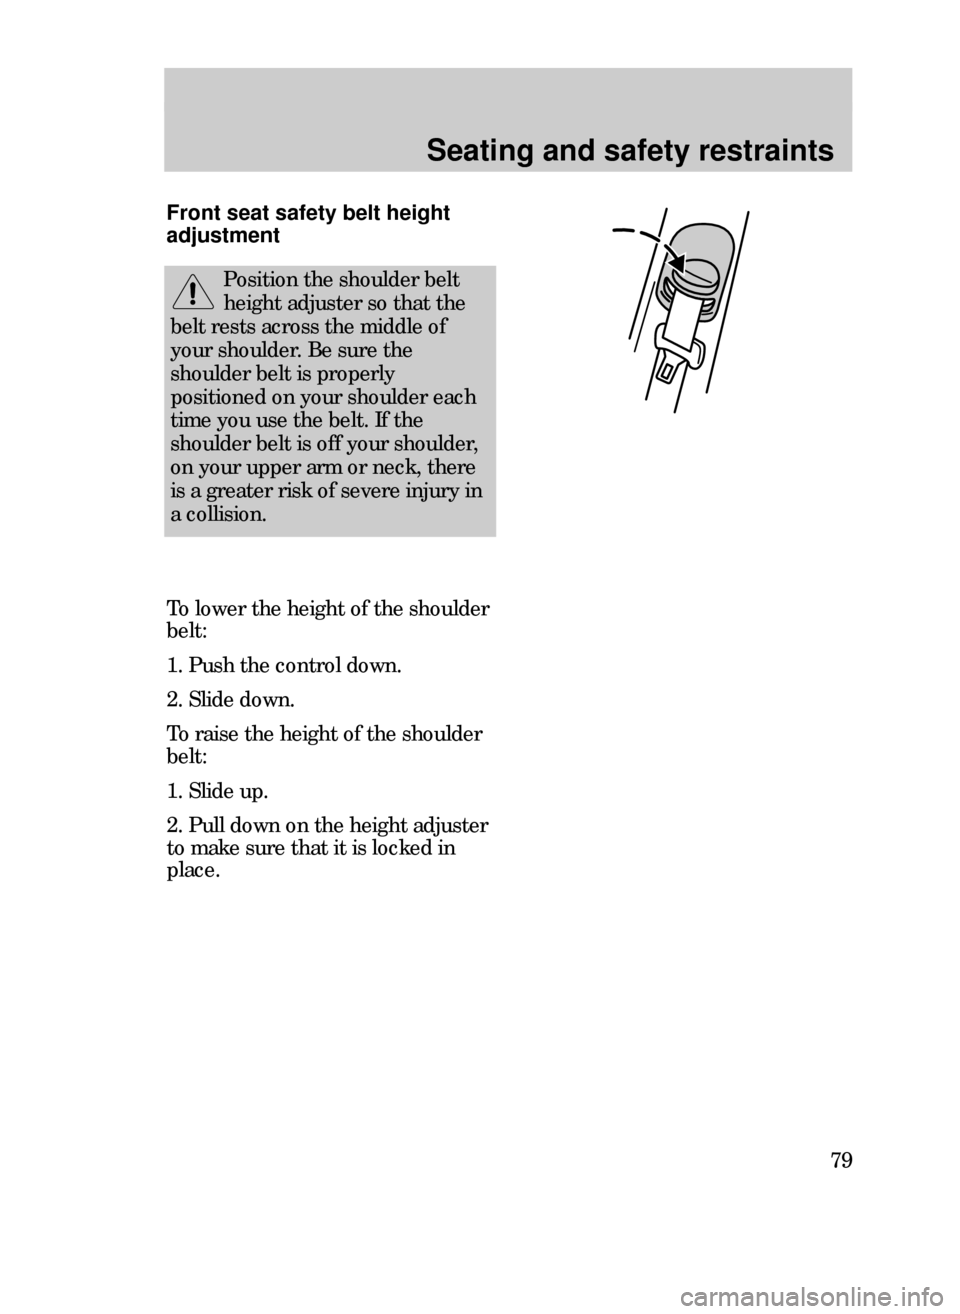
Front seat safety belt height
adjustment
To lower the height of the shoulder
belt:
1. Push the control down.
2. Slide down.
To raise the height of the shoulder
belt:
1. Slide up.
2. Pull down on the height adjuster
to make sure that it is locked in
place.
Position the shoulder belt
height adjuster so that the
belt rests across the middle of
your shoulder. Be sure the
shoulder belt is properly
positioned on your shoulder each
time you use the belt. If the
shoulder belt is off your shoulder,
on your upper arm or neck, there
is a greater risk of severe injury in
a collision.
14CSSen 3/25/99 1:59 PM Page 79
Page 80 of 244
Seating and safety restraints
80
Safety belt indicator light and
warning chime
Illuminates in the instrument
cluster and a chime sounds to
remind the occupants to fasten
their safety belts.
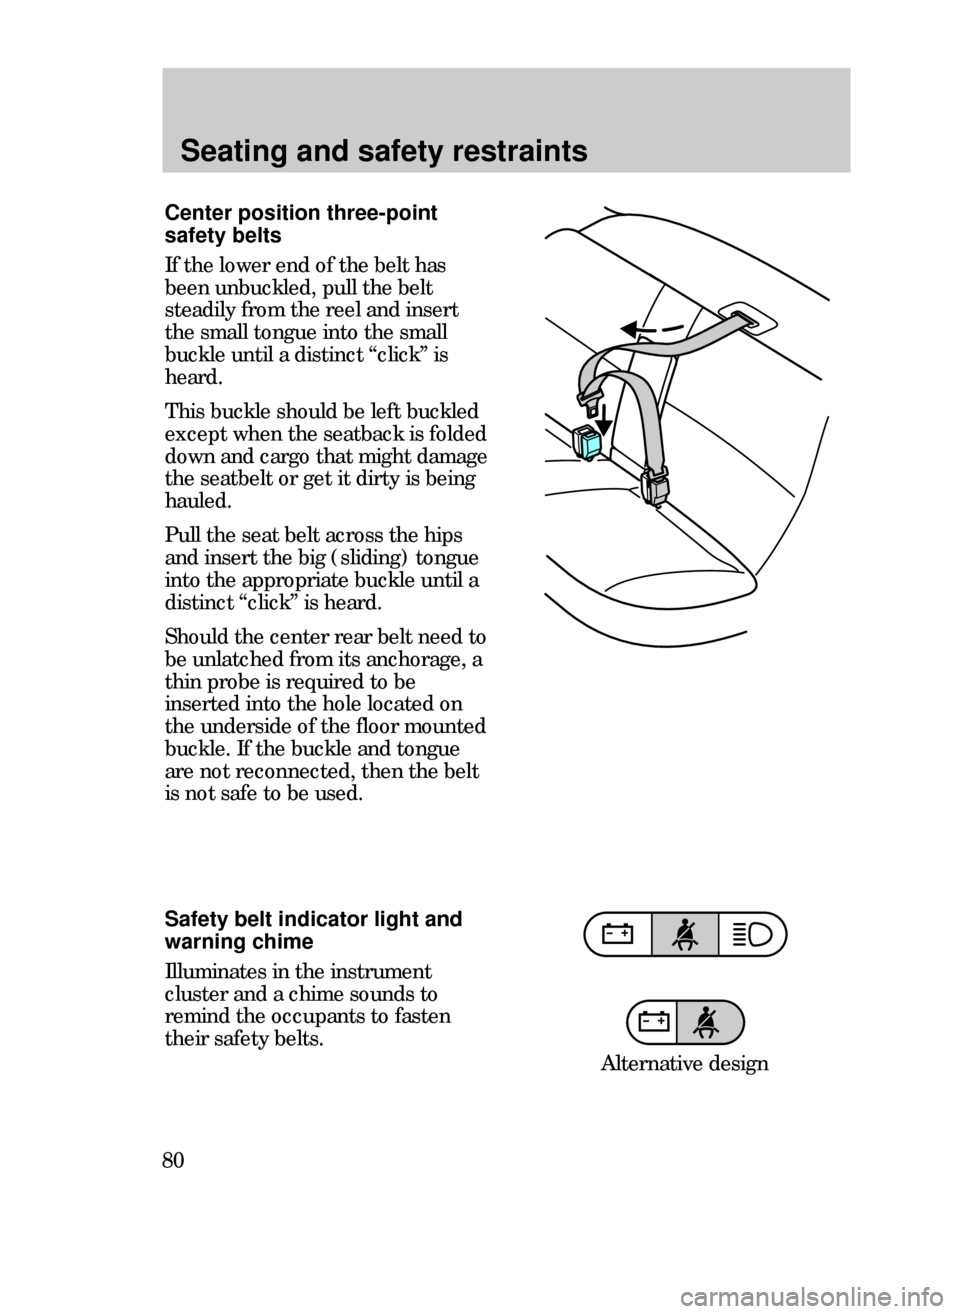
Center position three-point
safety belts
If the lower end of the belt has
been unbuckled, pull the belt
steadily from the reel and insert
the small tongue into the small
buckle until a distinct ÒclickÓ is
heard.
This buckle should be left buckled
except when the seatback is folded
down and cargo that might damage
the seatbelt or get it dirty is being
hauled.
Pull the seat belt across the hips
and insert the big (sliding) tongue
into the appropriate buckle until a
distinct ÒclickÓ is heard.
Should the center rear belt need to
be unlatched from its anchorage, a
thin probe is required to be
inserted into the hole located on
the underside of the floor mounted
buckle. If the buckle and tongue
are not reconnected, then the belt
is not safe to be used.
Alternative design
14CSSen 3/25/99 1:59 PM Page 80