automatic FORD E SERIES 2015 4.G Owners Manual
[x] Cancel search | Manufacturer: FORD, Model Year: 2015, Model line: E SERIES, Model: FORD E SERIES 2015 4.GPages: 360, PDF Size: 3.28 MB
Page 5 of 360
Roadside Emergencies 145
Getting roadside assistance..............................145
Hazard flasher control..................................147
Fuel pump shut-off....................................147
Jump-starting the vehicle...............................148
Customer Assistance 151
Reporting safety defects (U.S. only).......................158
Reporting safety defects (Canada only).....................158
Fuses 159
Changing a fuse......................................159
Fuse specification chart................................160
Maintenance 168
General information...................................168
Opening and closing the hood............................169
Under hood overview..................................170
Engine oil dipstick....................................171
Engine oil check......................................171
Engine coolant check..................................172
Automatic transmission fluid check........................177
Brake fluid check.....................................185
Power steering fluid check..............................185
Fuel filter...........................................185
Washer fluid check....................................186
Changing the vehicle battery.............................186
Checking the wiper blades..............................189
Changing the wiper blades..............................190
Air filter(s).........................................190
Adjusting the headlamps................................191
Changing a bulb......................................195
Removing a headlamp..................................195
4Table of Contents
2015 Econoline(eco)
Owners Guide gf, 1st Printing, June 2014
USA(fus)
Page 25 of 360
When installing a child safety seat with combination lap and shoulder belts:
•Use the correct safety belt buckle for that seating position.
•Insert the belt tongue into the proper buckle until you hear a snap
and feel it latch. Make sure the tongue is securely fastened in the
buckle.
•Keep the buckle release button pointing up and away from the safety
seat, with the tongue between the child seat and the release button,
to prevent accidental unbuckling.
•Place the vehicle seat upon which the child seat will be installed in
the upright position.
•Put the safety belt in the automatic locking mode. See Step 5. This
vehicle does not require the use of a locking clip.
Perform the following steps when installing the child seat with lap and
shoulder belts:
Note:Although the child seat illustrated is a forward facing child seat,
the steps are the same for installing a rear facing child seat.
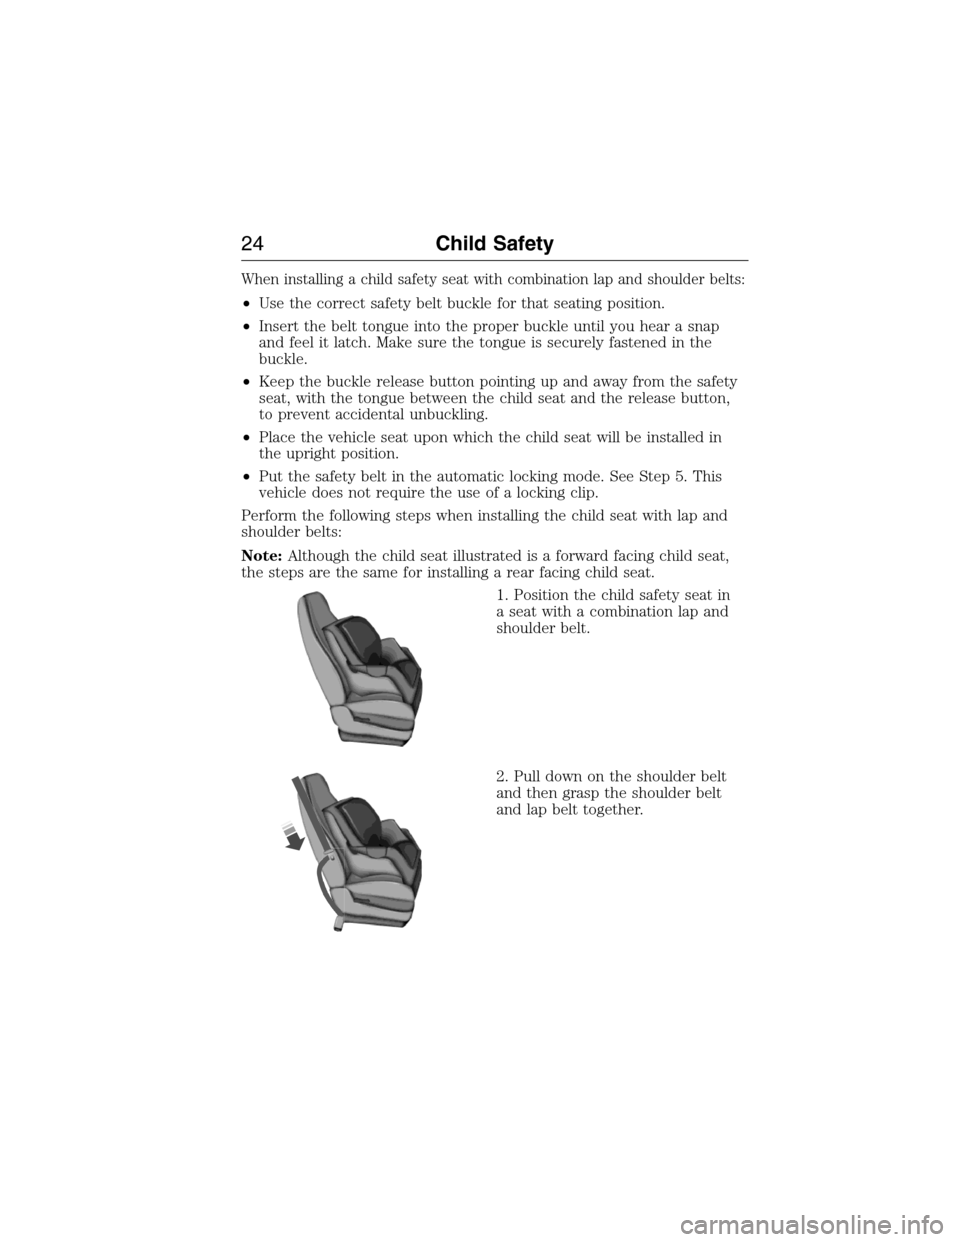
1. Position the child safety seat in
a seat with a combination lap and
shoulder belt.
2. Pull down on the shoulder belt
and then grasp the shoulder belt
and lap belt together.
24Child Safety
2015 Econoline(eco)
Owners Guide gf, 1st Printing, June 2014
USA(fus)
Page 26 of 360
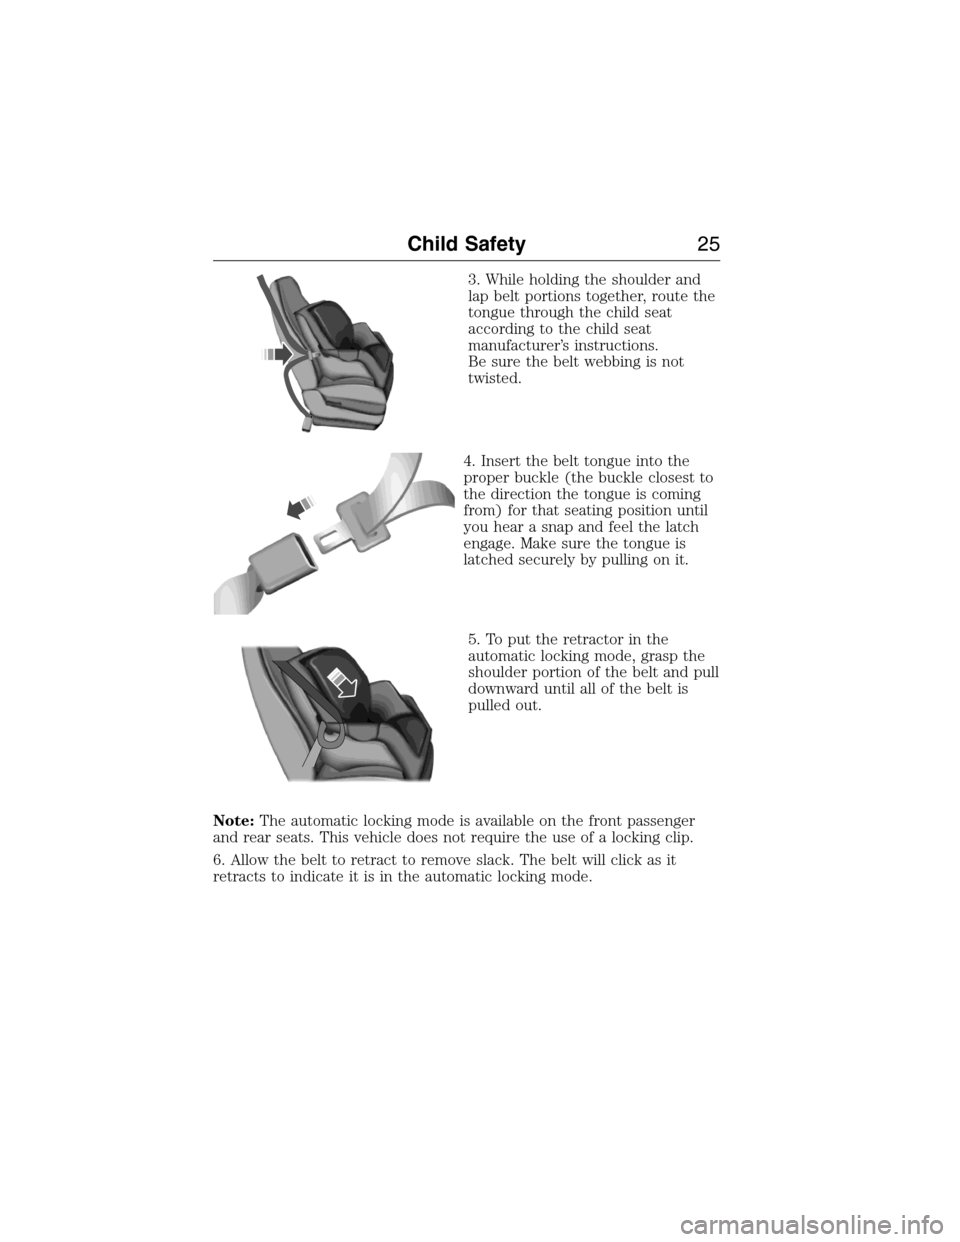
3. While holding the shoulder and
lap belt portions together, route the
tongue through the child seat
according to the child seat
manufacturer’s instructions.
Be sure the belt webbing is not
twisted.
4. Insert the belt tongue into the
proper buckle (the buckle closest to
the direction the tongue is coming
from) for that seating position until
you hear a snap and feel the latch
engage. Make sure the tongue is
latched securely by pulling on it.
5. To put the retractor in the
automatic locking mode, grasp the
shoulder portion of the belt and pull
downward until all of the belt is
pulled out.
Note:The automatic locking mode is available on the front passenger
and rear seats. This vehicle does not require the use of a locking clip.
6. Allow the belt to retract to remove slack. The belt will click as it
retracts to indicate it is in the automatic locking mode.
Child Safety25
2015 Econoline(eco)
Owners Guide gf, 1st Printing, June 2014
USA(fus)
Page 27 of 360
7.Try to pull the belt out of the retractor to make sure the retractor is in
the automatic locking mode (you should not be able to pull more belt out).
If the retractor is not locked, unbuckle the belt and repeat Steps 5 and 6.
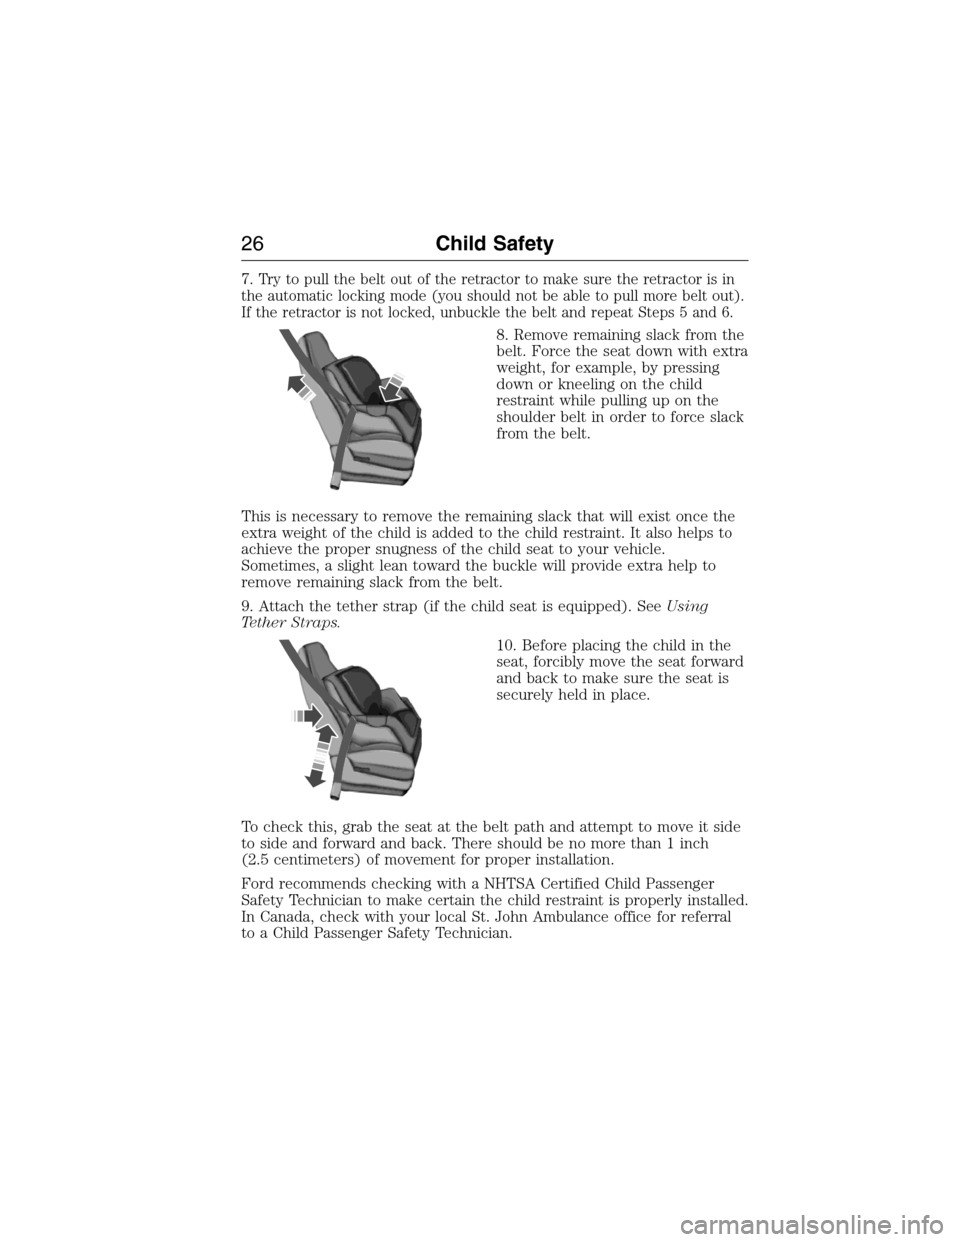
8. Remove remaining slack from the
belt. Force the seat down with extra
weight, for example, by pressing
down or kneeling on the child
restraint while pulling up on the
shoulder belt in order to force slack
from the belt.
This is necessary to remove the remaining slack that will exist once the
extra weight of the child is added to the child restraint. It also helps to
achieve the proper snugness of the child seat to your vehicle.
Sometimes, a slight lean toward the buckle will provide extra help to
remove remaining slack from the belt.
9. Attach the tether strap (if the child seat is equipped). SeeUsing
Tether Straps.
10. Before placing the child in the
seat, forcibly move the seat forward
and back to make sure the seat is
securely held in place.
To check this, grab the seat at the belt path and attempt to move it side
to side and forward and back. There should be no more than 1 inch
(2.5 centimeters) of movement for proper installation.
Ford recommends checking with a NHTSA Certified Child Passenger
Safety Technician to make certain the child restraint is properly installed.
In Canada, check with your local St. John Ambulance office for referral
to a Child Passenger Safety Technician.
26Child Safety
2015 Econoline(eco)
Owners Guide gf, 1st Printing, June 2014
USA(fus)
Page 31 of 360
WARNING:Safety belts and seats can become hot in a vehicle
that has been closed up in sunny weather; they could burn a
small child. Check seat covers and buckles before you place a child
anywhere near them.
WARNING:Front seat occupants, including pregnant women,
should wear safety belts for optimum protection in an accident.
All seating positions in this vehicle have lap and shoulder safety belts.
All occupants of the vehicle should always properly wear their safety
belts, even when an airbag supplemental restraint system is provided.
The safety belt system consists of:
•Lap and shoulder safety belts.
•Shoulder safety belt with automatic locking mode (except driver
safety belt).
•Height adjuster at the front outboard seating positions.
•Safety belt pretensioner at the front outboard seating positions.
•Safety belt warning light and chime. SeeSafety belt warning
light and indicator chime.
•Crash sensors and monitoring system with readiness
indicator. SeeCrash sensors and airbag indicatorin the
Supplemental Restraints Systemchapter.
The safety belt pretensioners are designed to activate in frontal or
near-frontal crashes and may deploy in rollovers if the vehicle is
equipped with roll stability control. The safety belt pretensioners at the
front seating positions are designed to tighten the safety belts firmly
against the occupant’s body when activated. This helps increase the
effectiveness of the safety belts.
30Safety Belts
2015 Econoline(eco)
Owners Guide gf, 1st Printing, June 2014
USA(fus)
Page 33 of 360
Using Safety Belts During Pregnancy
WARNING:Always ride and drive with your seatback upright
and the safety belt properly fastened. The lap portion of the
safety belt should fit snug and be positioned low across the hips.
The shoulder portion of the safety belt should be positioned across the
chest. Pregnant women should also follow this practice. See the
following figure.
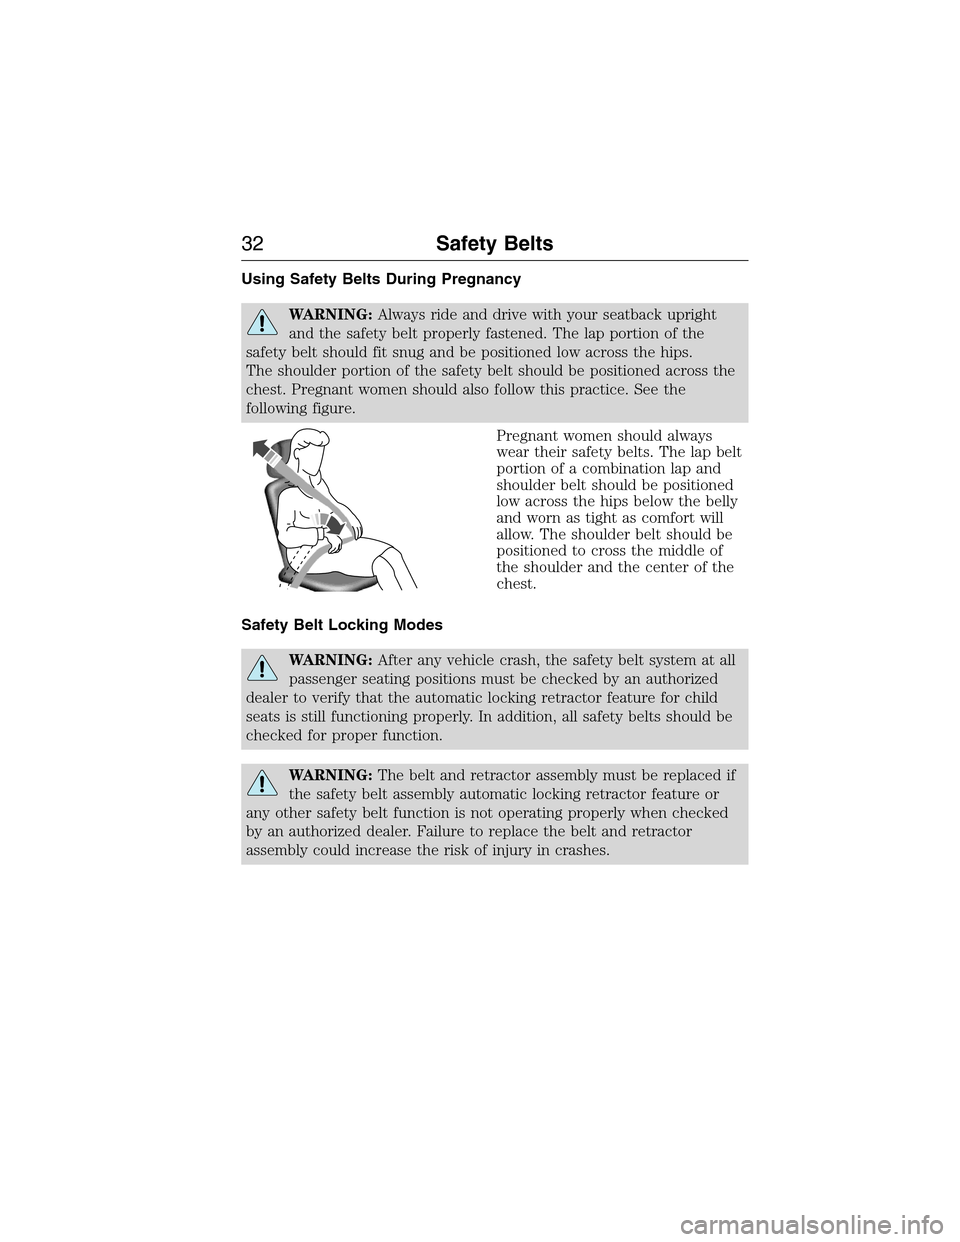
Pregnant women should always
wear their safety belts. The lap belt
portion of a combination lap and
shoulder belt should be positioned
low across the hips below the belly
and worn as tight as comfort will
allow. The shoulder belt should be
positioned to cross the middle of
the shoulder and the center of the
chest.
Safety Belt Locking Modes
WARNING:After any vehicle crash, the safety belt system at all
passenger seating positions must be checked by an authorized
dealer to verify that the automatic locking retractor feature for child
seats is still functioning properly. In addition, all safety belts should be
checked for proper function.
WARNING:The belt and retractor assembly must be replaced if
the safety belt assembly automatic locking retractor feature or
any other safety belt function is not operating properly when checked
by an authorized dealer. Failure to replace the belt and retractor
assembly could increase the risk of injury in crashes.
32Safety Belts
2015 Econoline(eco)
Owners Guide gf, 1st Printing, June 2014
USA(fus)
Page 34 of 360
All safety restraints in the vehicle are combination lap and shoulder
belts. The driver safety belt has the first type of locking mode.
The front outboard passenger safety belt has both types of locking
modes described as follows:
Vehicle Sensitive Mode
This is the normal retractor mode, which allows free shoulder belt length
adjustment to your movements and locking in response to vehicle
movement. For example, if the driver brakes suddenly or turns a corner
sharply, or the vehicle receives an impact of about 5 mph (8 km/h) or
more, the combination safety belts will lock to help reduce forward
movement of the driver and passengers.
In addition, the retractor is designed to lock if the webbing is pulled out
too quickly. If this occurs, let the belt retract slightly and pull webbing
out again in a slow and controlled manner.
Automatic Locking Mode
In this mode, the shoulder belt is automatically pre-locked. The belt will
still retract to remove any slack in the shoulder belt. The automatic
locking mode is not available on the driver safety belt.
When to Use the Automatic Locking Mode
This mode should be used any time a child safety seat, except a booster,
is installed in the passenger front seating position. See theChild Safety
chapter.
How to Use the Automatic Locking Mode
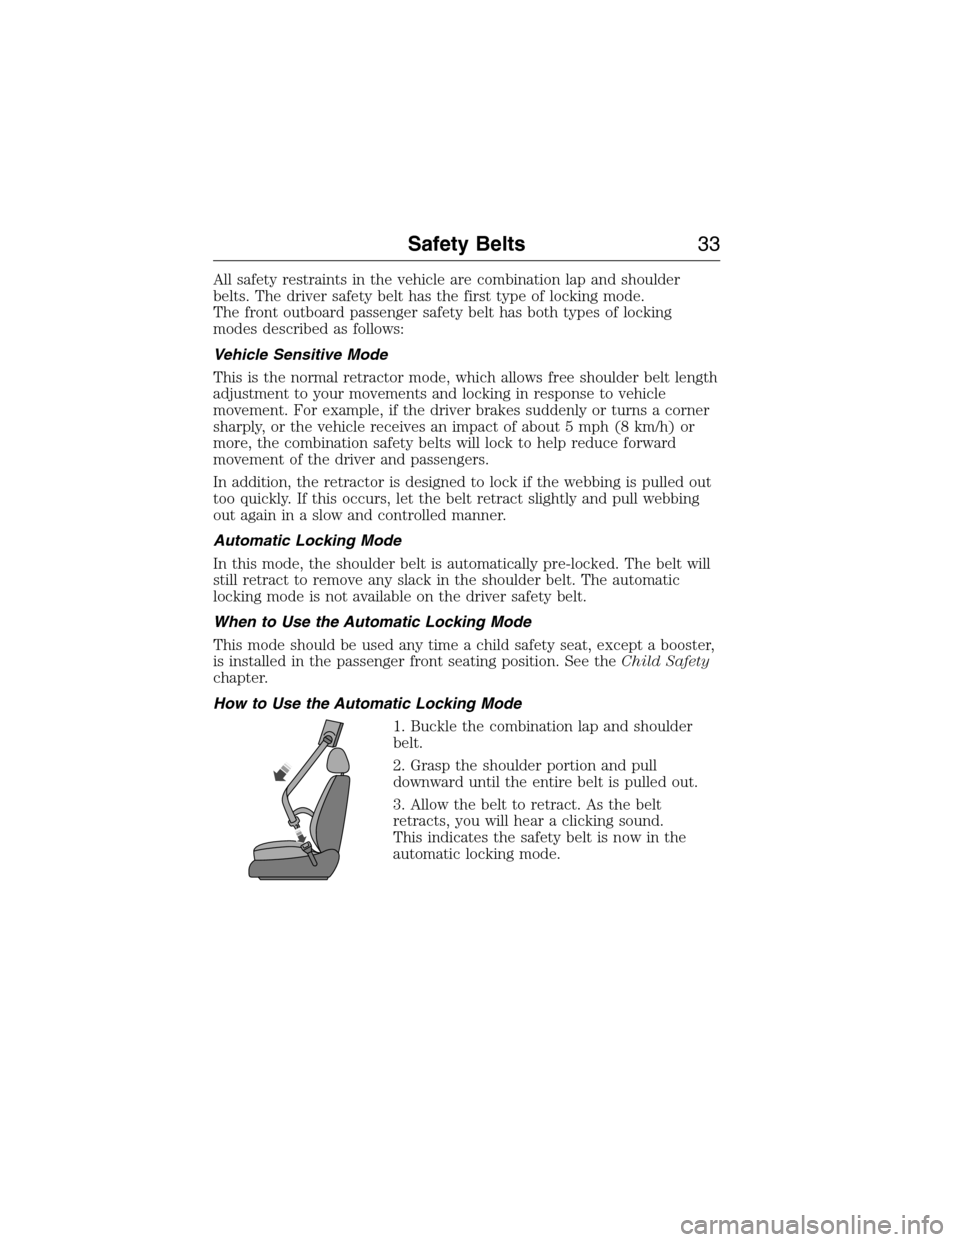
1. Buckle the combination lap and shoulder
belt.
2. Grasp the shoulder portion and pull
downward until the entire belt is pulled out.
3. Allow the belt to retract. As the belt
retracts, you will hear a clicking sound.
This indicates the safety belt is now in the
automatic locking mode.
Safety Belts33
2015 Econoline(eco)
Owners Guide gf, 1st Printing, June 2014
USA(fus)
Page 35 of 360
How to Disengage the Automatic Locking Mode
Unbuckle the combination lap and shoulder belt and allow it to retract
completely to disengage the automatic locking mode and activate the
vehicle sensitive (emergency) locking mode.
Safety Belt Extension Assembly
WARNING:Do not use extensions to change the fit of the
shoulder belt across the torso.
If the safety belt is too short when fully extended, you can obtain a
safety belt extension assembly from an authorized dealer.
Use only extensions manufactured by the same supplier as the safety
belt. Manufacturer identification is on a label located either at the end of
the webbing or on the retractor behind the trim. Also, use the safety belt
extension only if the safety belt is too short for you when fully extended.
SAFETY BELT HEIGHT ADJUSTMENT
WARNING:Position the safety belt height adjusters so that the
belt rests across the middle of your shoulder. Failure to adjust
the safety belt properly could reduce the effectiveness of the safety belt
and increase the risk of injury in a crash.
Adjust the height of the shoulder belt so the belt rests across the middle
of your shoulder.
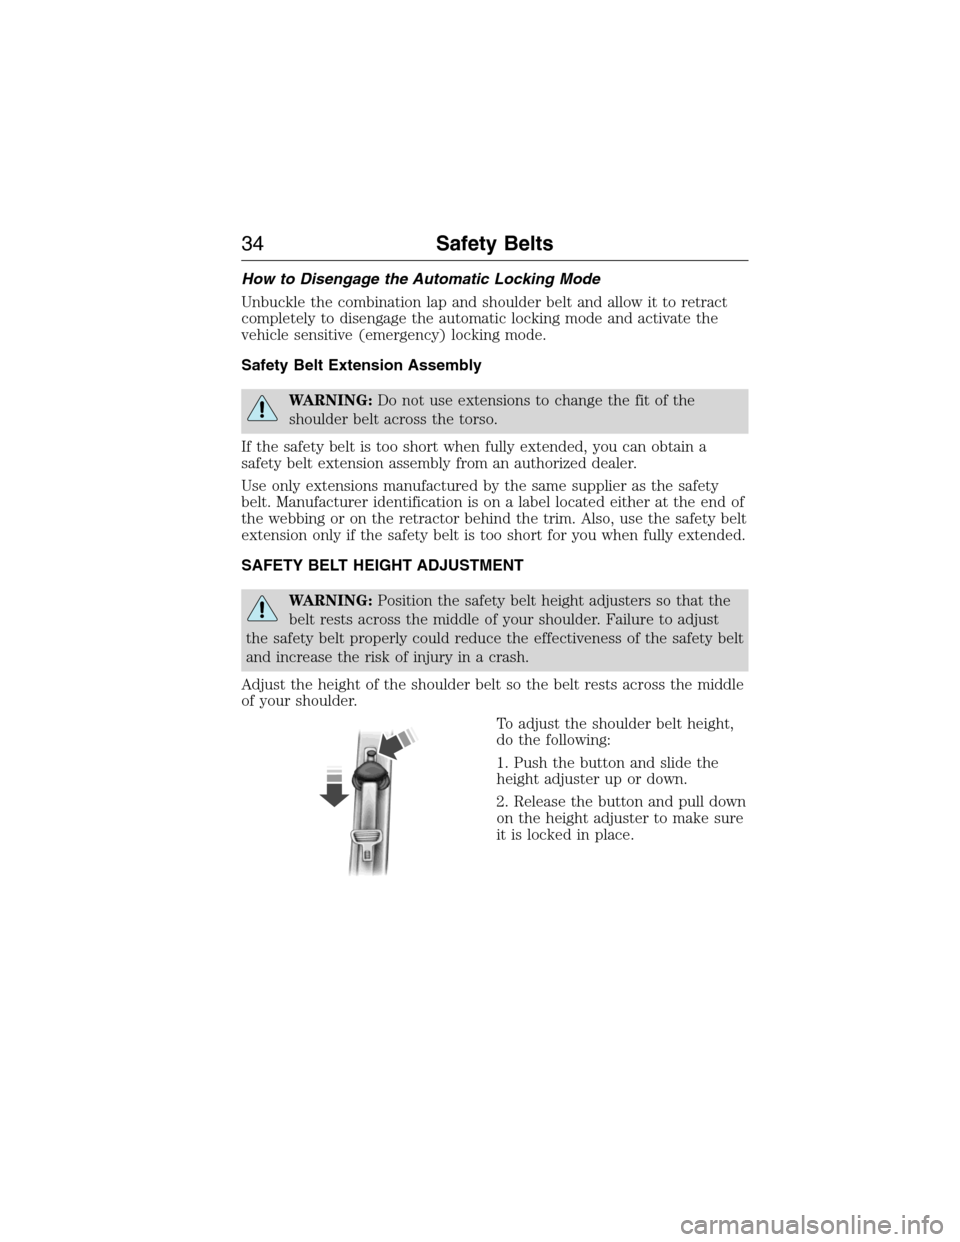
To adjust the shoulder belt height,
do the following:
1. Push the button and slide the
height adjuster up or down.
2. Release the button and pull down
on the height adjuster to make sure
it is locked in place.
34Safety Belts
2015 Econoline(eco)
Owners Guide gf, 1st Printing, June 2014
USA(fus)
Page 52 of 360
LOCKING AND UNLOCKING
You can use the power door lock control or the remote control to lock
and unlock your vehicle.
Power Door Locks (If Equipped)
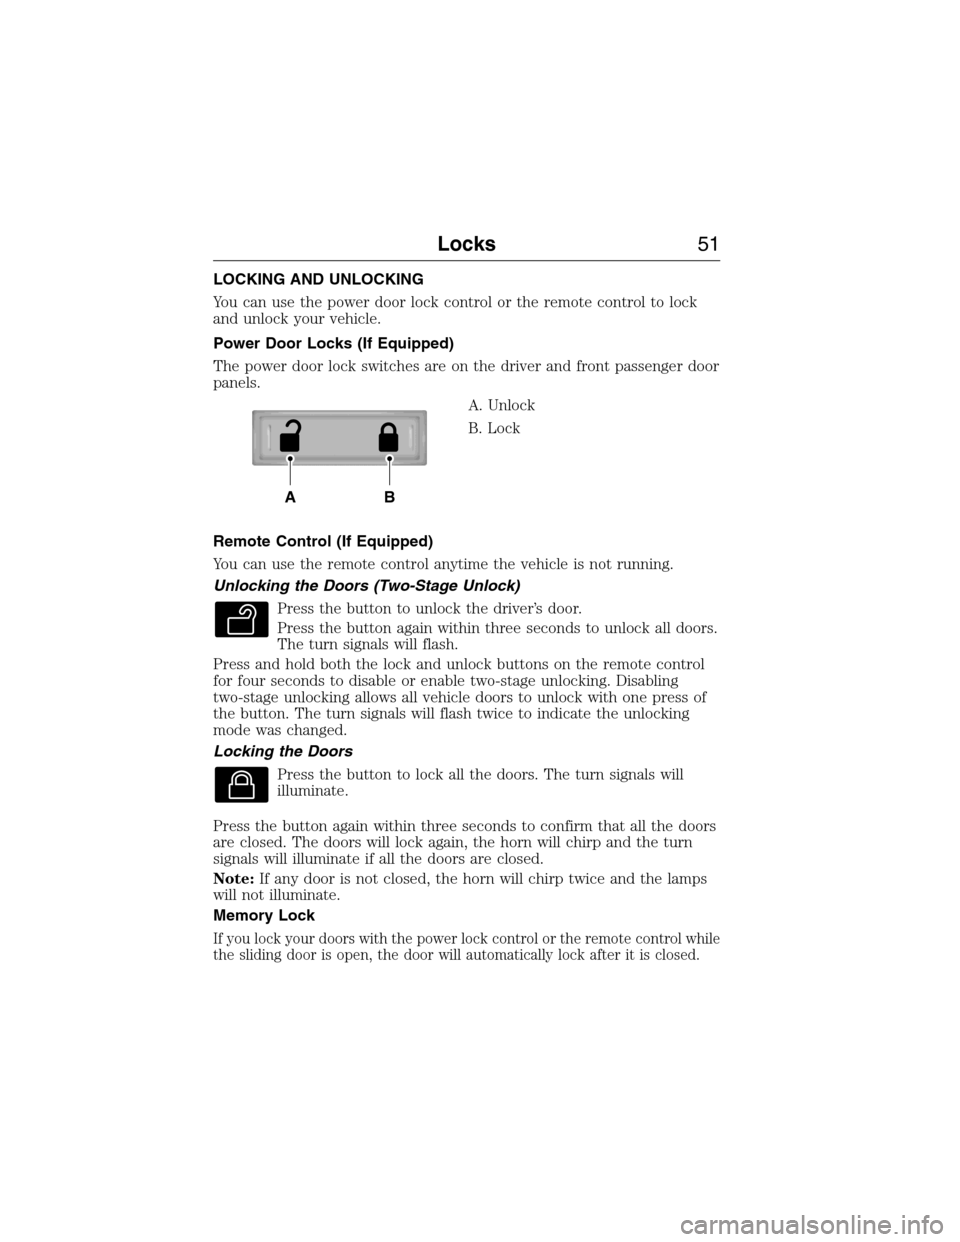
The power door lock switches are on the driver and front passenger door
panels.
A. Unlock
B. Lock
Remote Control (If Equipped)
You can use the remote control anytime the vehicle is not running.
Unlocking the Doors (Two-Stage Unlock)
Press the button to unlock the driver’s door.
Press the button again within three seconds to unlock all doors.
The turn signals will flash.
Press and hold both the lock and unlock buttons on the remote control
for four seconds to disable or enable two-stage unlocking. Disabling
two-stage unlocking allows all vehicle doors to unlock with one press of
the button. The turn signals will flash twice to indicate the unlocking
mode was changed.
Locking the Doors
Press the button to lock all the doors. The turn signals will
illuminate.
Press the button again within three seconds to confirm that all the doors
are closed. The doors will lock again, the horn will chirp and the turn
signals will illuminate if all the doors are closed.
Note:If any door is not closed, the horn will chirp twice and the lamps
will not illuminate.
Memory Lock
If you lock your doors with the power lock control or the remote control while
the sliding door is open, the door will automatically lock after it is closed.
AB
Locks51
2015 Econoline(eco)
Owners Guide gf, 1st Printing, June 2014
USA(fus)
Page 57 of 360
Automatic Arming
Your vehicle arms immediately after you switch the ignition off.
Automatic Disarming
Your vehicle disarms when you switch the ignition on with a coded key.
Replacement Keys
If your keys are lost or stolen and you do not have an extra coded key,
you will need to have your vehicle towed to an authorized dealer.
The key codes need to be erased from your vehicle and new coded keys
will need to be programmed.
Replacing coded keys can be very costly. Store an extra programmed key
away from the vehicle in a safe place to help prevent any
inconveniences. See an authorized dealer to purchase additional spare or
replacement keys.
Programming a Spare Key
Note:A maximum of eight coded keys can be programmed to your
vehicle.
You can program your own coded keys to your vehicle.
Only use SecuriLock® keys.
You must have two previously programmed coded keys and the new
unprogrammed key readily accessible. See your authorized dealer to have
the spare key programmed if two previously programmed coded keys are
not available
Read and understand the entire procedure before you begin.
1. Insert the first previously programmed coded key into the ignition.
2. Turn the ignition from off to on. Keep the ignition on for at least three
seconds, but no more than 10 seconds.
3. Turn the ignition off and remove the first coded key from the ignition.
4. After three seconds but within 10 seconds of removing the first coded
key, insert the second previously coded key into the ignition.
5. Turn the ignition from off to on. Keep the ignition on for at least one
second, but no more than 10 seconds.
56Security
2015 Econoline(eco)
Owners Guide gf, 1st Printing, June 2014
USA(fus)