radio controls FORD ESCAPE 2022 Owners Manual
[x] Cancel search | Manufacturer: FORD, Model Year: 2022, Model line: ESCAPE, Model: FORD ESCAPE 2022Pages: 585, PDF Size: 6.15 MB
Page 61 of 585
REMOTE CONTROL
LIMITATIONS
WARNING: Changes or
modifications not expressively approved
by the party responsible for compliance
could void the user's authority to operate
the equipment. The term "IC:" before the
radio certification number only signifies
that Industry Canada technical
specifications were met.
This device complies with Part 15 of the
FCC Rules and with Industry Canada
license-exempt RSS standard(s).
Operation is subject to the following two
conditions: (1) This device may not cause
harmful interference, and (2) This device
must accept any interference received,
including interference that may cause
undesired operation.
Make sure a valid remote control is within
5 ft (1.5 m) from the front door handles
and rear of vehicle.
The system may not function if:
• The remote control remains stationary for about a minute.
• The vehicle battery has no charge.
• The remote control battery has no charge.
• There is interference causing issues with the remote control frequencies.
• The remote control is too close to metal objects or electronic devices, for
example keys or a cell phone.
USING THE REMOTE CONTROL
Use your remote control to access various
vehicle systems.
Note: The buttons on your remote may vary
depending on the vehicle region or options.
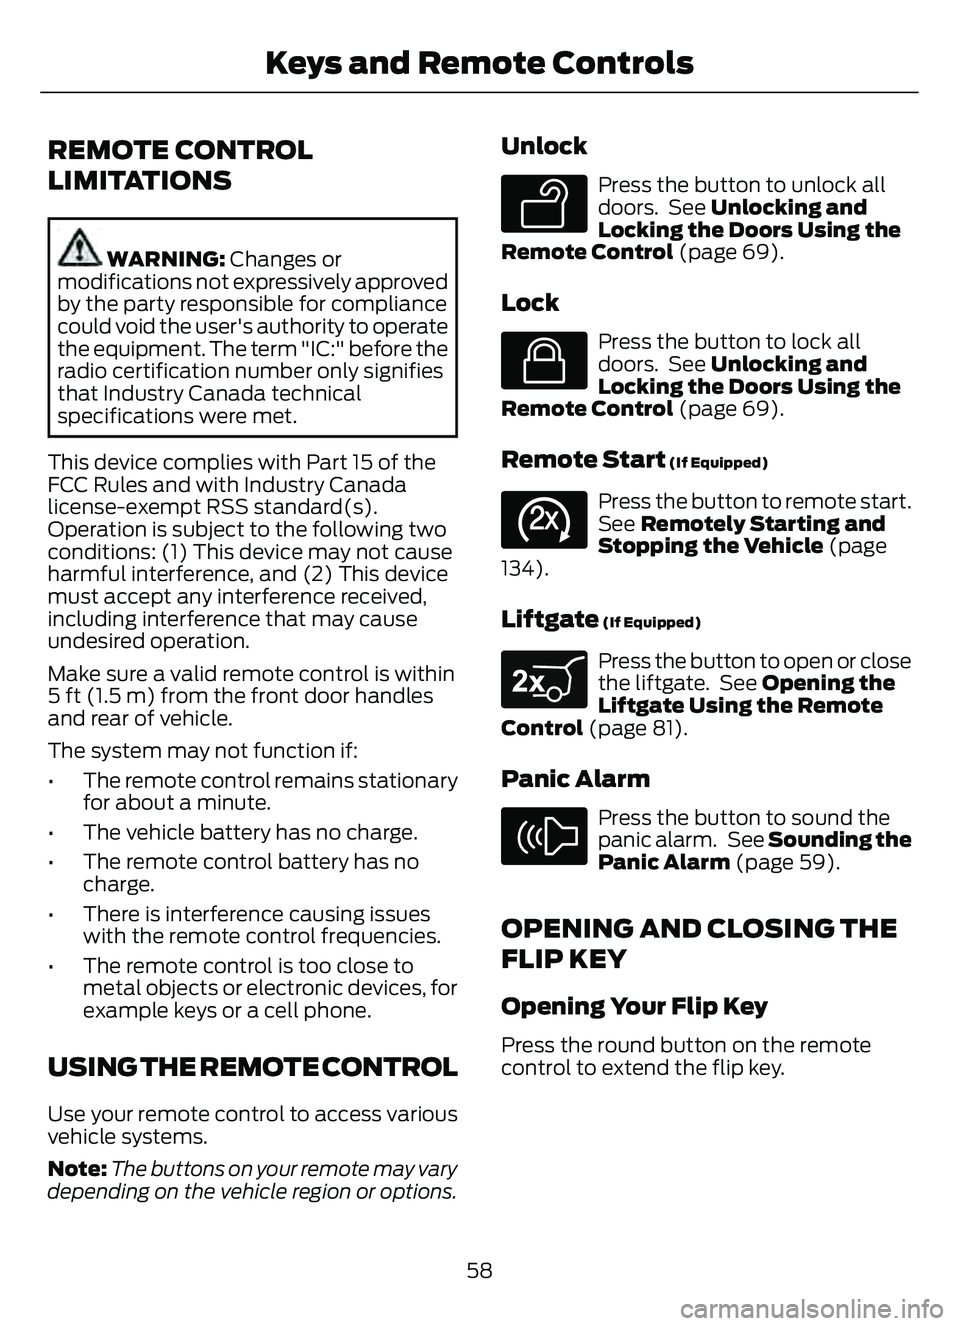
Unlock
E138629
Press the button to unlock all
doors. See Unlocking and
Locking the Doors Using the
Remote Control (page 69).
Lock
E138623
Press the button to lock all
doors. See Unlocking and
Locking the Doors Using the
Remote Control (page 69).
Remote Start (If Equipped)
E138625
Press the button to remote start.
See Remotely Starting and
Stopping the Vehicle (page
134).
Liftgate (If Equipped)
E267940
Press the button to open or close
the liftgate. See Opening the
Liftgate Using the Remote
Control (page 81).
Panic Alarm
E138624
Press the button to sound the
panic alarm. See Sounding the
Panic Alarm (page 59).
OPENING AND CLOSING THE
FLIP KEY
Opening Your Flip Key
Press the round button on the remote
control to extend the flip key.
58
Keys and Remote Controls
Page 172 of 585
WHAT IS THE WIRELESS
ACCESSORY CHARGER
The wireless accessory charger allows you
to charge one compatible Qi wireless
charging device on the charging area.
WIRELESS ACCESSORY
CHARGER PRECAUTIONS
WARNING: Wireless charging
devices can affect the operation of
implanted medical devices, including
cardiac pacemakers. If you have any
implanted medical devices, we
recommend that you consult with your
physician.
Keep the charging area clean and remove
foreign objects prior to charging a device.
Do not place items with a magnetic strip
or radio-frequency identification chip, for
example passports, parking tickets,
transportation passes or credit cards, near
the charging area when charging a device.
Damage could occur to the magnetic strip
or radio-frequency identification chip.
Do not place metal objects, for example
remote controls, coins and candy
wrappers, on or near the charging area
when charging a device. Metal objects may
heat up and degrade the charging
performance, in addition to causing
interruptions in charging.
Charging could be interrupted, degraded,
or could stop if any of the following occur:
• The system detects a foreign object.
• The device is misaligned on the charging area.
• The device moves on the active charging area when the vehicle is in
motion. • The vehicle ambient temperature is too
high.
• You attempt to charge a non-Qi compatible device on the wireless
charger.
Note: During charging, the device and the
charger could heat up, this is normal. If the
battery gets hotter than usual, the device
may stop charging.
LOCATING THE WIRELESS
ACCESSORY CHARGER
E297549
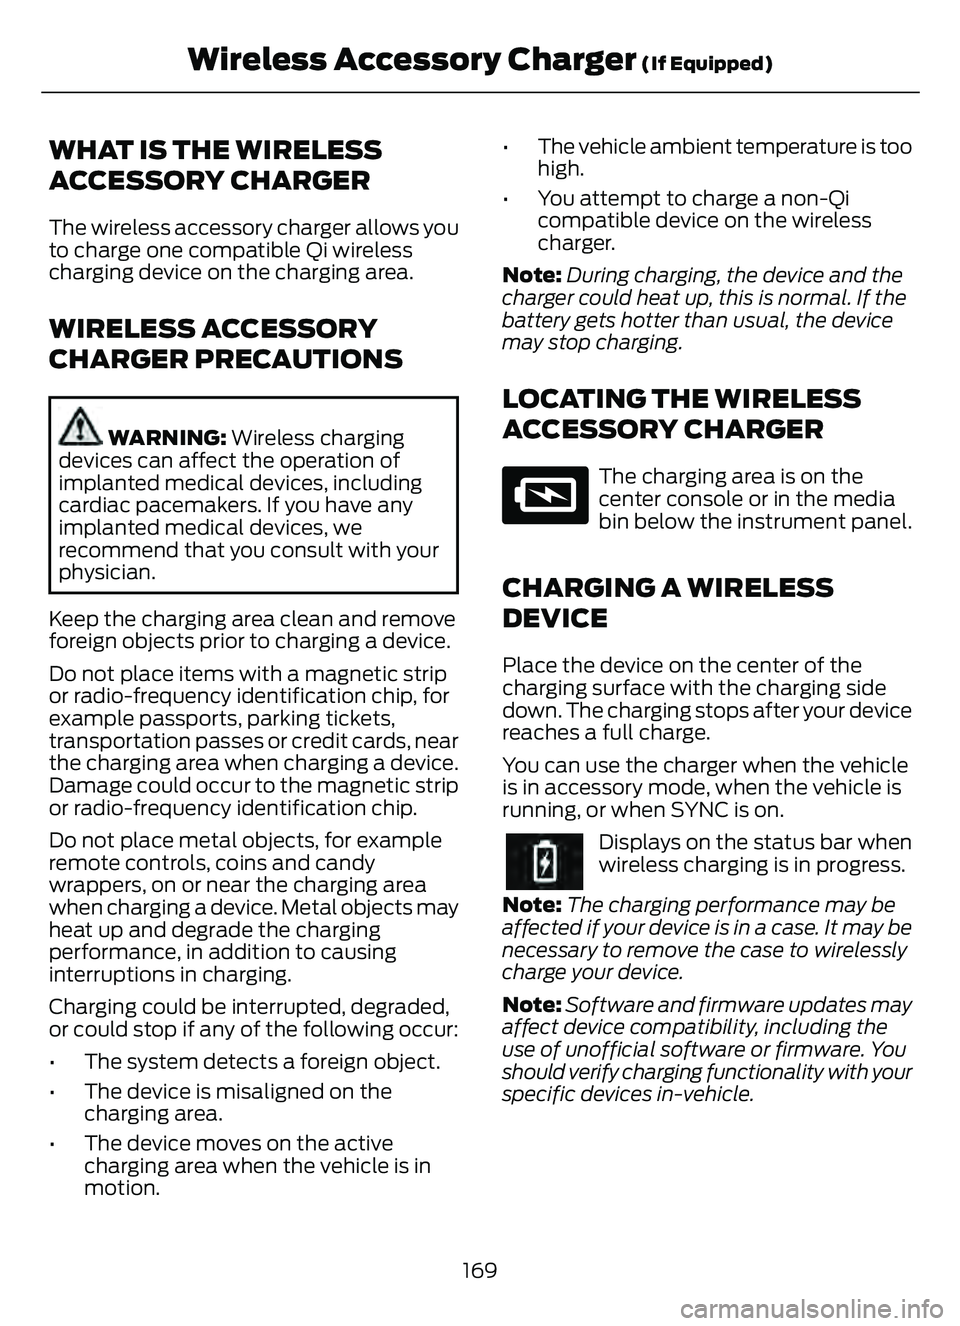
The charging area is on the
center console or in the media
bin below the instrument panel.
CHARGING A WIRELESS
DEVICE
Place the device on the center of the
charging surface with the charging side
down. The charging stops after your device
reaches a full charge.
You can use the charger when the vehicle
is in accessory mode, when the vehicle is
running, or when SYNC is on.
Displays on the status bar when
wireless charging is in progress.
Note: The charging performance may be
affected if your device is in a case. It may be
necessary to remove the case to wirelessly
charge your device.
Note: Software and firmware updates may
affect device compatibility, including the
use of unofficial software or firmware. You
should verify charging functionality with your
specific devices in-vehicle.
169
Wireless Accessory Charger (If Equipped)
Page 424 of 585
Data is sent to Ford in the United States
through the connected device. The
information is encrypted and includes, for
example, the vehicle identification number
of your vehicle, the SYNC module serial
number, odometer, enabled apps, usage
statistics and debugging information.
Updates may take place.
Note:You must enable mobile apps for
each connected device the first time you
select a mobile app using the system.
Note: Standard data rates apply. Ford is
not responsible for any additional charges
you may receive from your service provider,
when your vehicle sends or receives data
through the connected device. This includes
any additional charges incurred due to
driving in areas when roaming out of a home
network.
USING SYNC™ WITH YOUR
MEDIA PLAYER
SYNC supports digital media sources
including: iPod, Bluetooth® devices, and
most USB drives. SYNC also supports
audio formats, such as MP3, WMA, WAV
and ACC.
Media Sources
The AUX or MEDIA button allows you to
view and select available media sources.
Press the AUX or MEDIA button to view
your sources. Use the directional arrows
and OK button to select your source. You
can also use the steering wheel audio
controls.
Audio Voice Commands
E142599
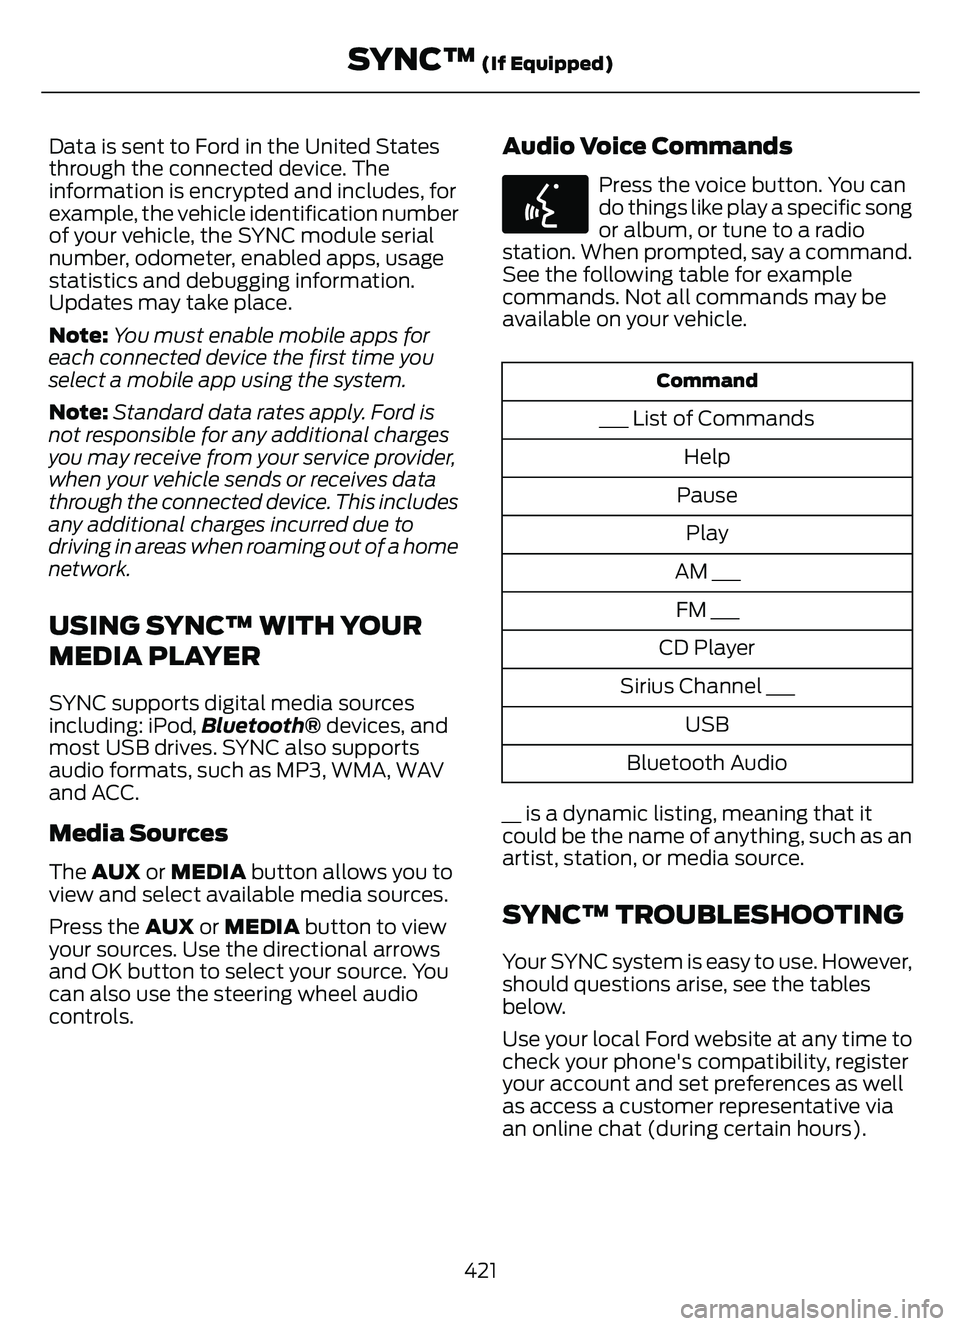
Press the voice button. You can
do things like play a specific song
or album, or tune to a radio
station. When prompted, say a command.
See the following table for example
commands. Not all commands may be
available on your vehicle.
Command
___ List of Commands
Help
Pause Play
AM ___ FM ___
CD Player
Sirius Channel ___ USB
Bluetooth Audio
__ is a dynamic listing, meaning that it
could be the name of anything, such as an
artist, station, or media source.
SYNC™ TROUBLESHOOTING
Your SYNC system is easy to use. However,
should questions arise, see the tables
below.
Use your local Ford website at any time to
check your phone's compatibility, register
your account and set preferences as well
as access a customer representative via
an online chat (during certain hours).
421
SYNC™ (If Equipped)
Page 444 of 585
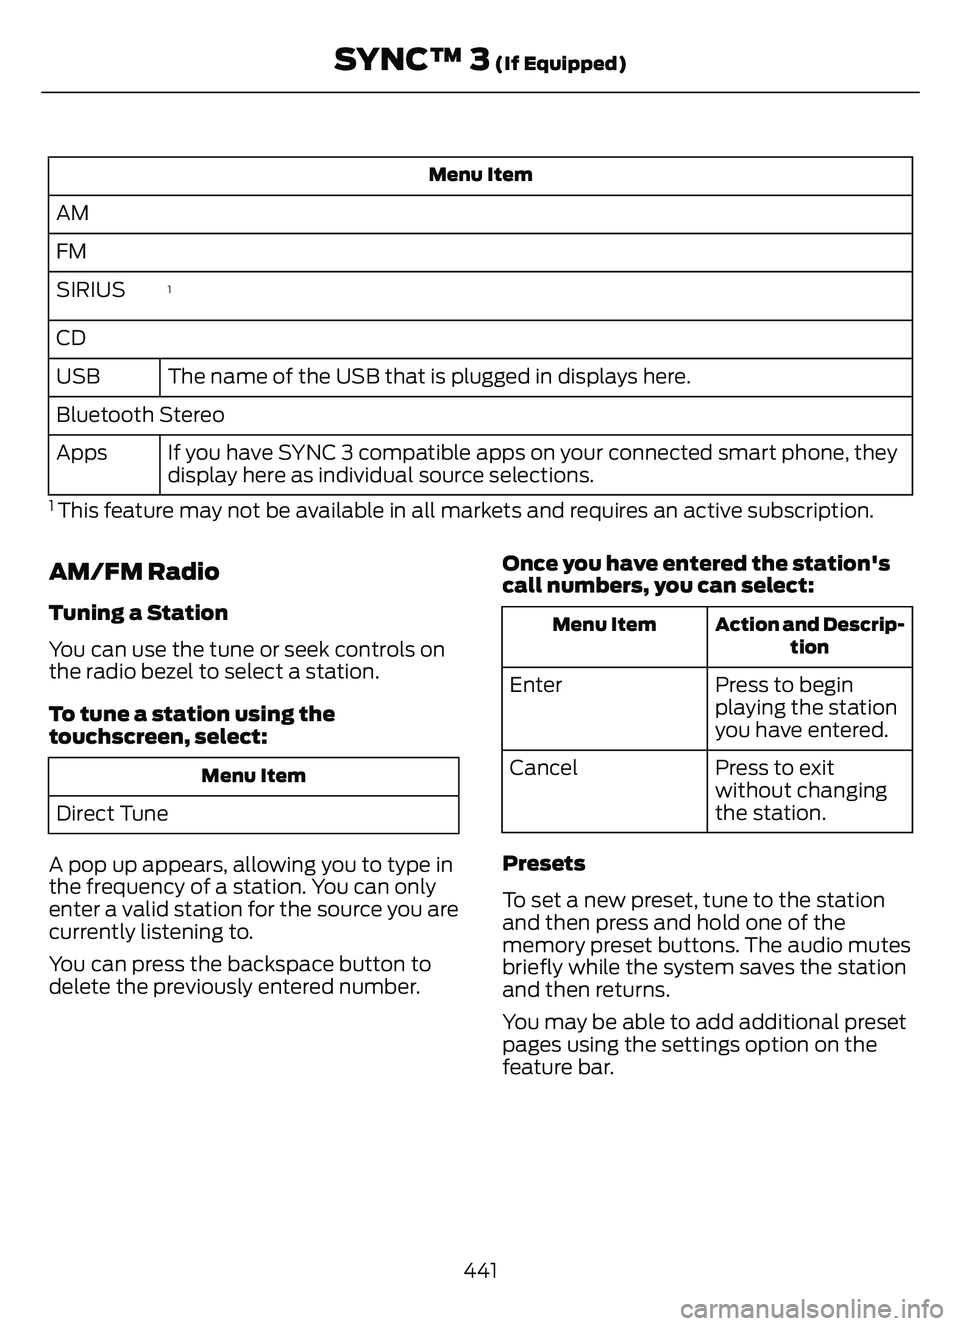
Menu Item
AM
FM
1SIRIUS
CDThe name of the USB that is plugged in displays here.
USB
Bluetooth Stereo
If you have SYNC 3 compatible apps on your connected smart phone, they
display here as individual source selections.
Apps
1 This feature may not be available in all markets and requires an active subscription.
AM/FM Radio
Tuning a Station
You can use the tune or seek controls on
the radio bezel to select a station.
To tune a station using the
touchscreen, select:
Menu Item
Direct Tune
A pop up appears, allowing you to type in
the frequency of a station. You can only
enter a valid station for the source you are
currently listening to.
You can press the backspace button to
delete the previously entered number. Once you have entered the station's
call numbers, you can select:
Action and Descrip-
tion
Menu Item
Press to begin
playing the station
you have entered.
Enter
Press to exit
without changing
the station.
Cancel
Presets
To set a new preset, tune to the station
and then press and hold one of the
memory preset buttons. The audio mutes
briefly while the system saves the station
and then returns.
You may be able to add additional preset
pages using the settings option on the
feature bar.
441
SYNC™ 3 (If Equipped)
Page 579 of 585
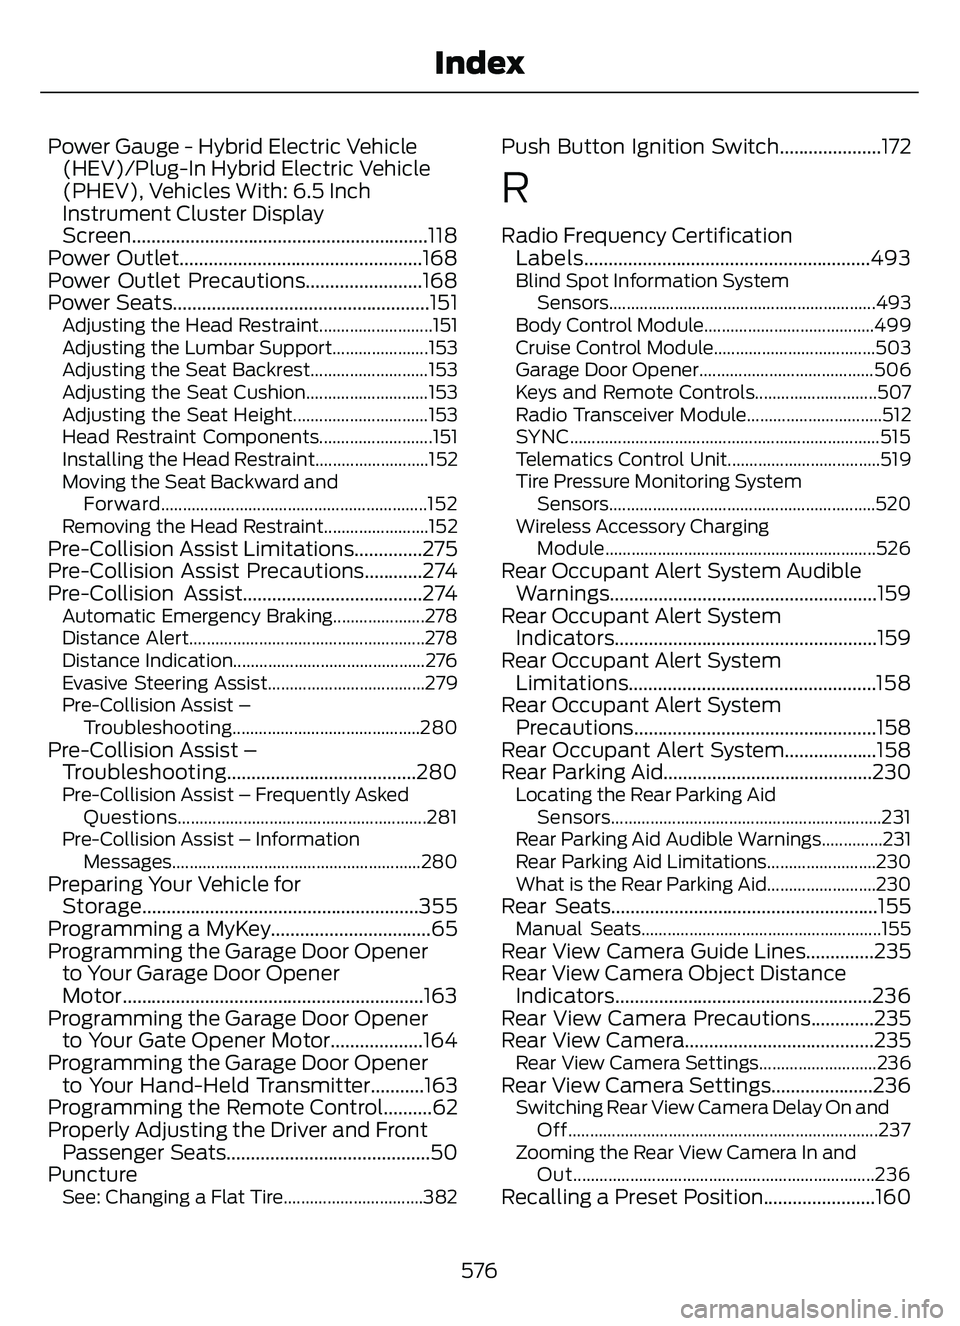
Power Gauge - Hybrid Electric Vehicle(HEV)/Plug-In Hybrid Electric Vehicle
(PHEV), Vehicles With: 6.5 Inch
Instrument Cluster Display
Screen.............................................................118
Power Outlet..................................................168
Power Outlet Precautions........................168
Power Seats.....................................................151
Adjusting the Head Restraint..........................151
Adjusting the Lumbar Support......................153
Adjusting the Seat Backrest...........................153
Adjusting the Seat Cushion............................153
Adjusting the Seat Height...............................153
Head Restraint Components..........................151
Installing the Head Restraint..........................152
Moving the Seat Backward and
Forward.............................................................152
Removing the Head Restraint........................152
Pre-Collision Assist Limitations..............275
Pre-Collision Assist Precautions............274
Pre-Collision Assist.....................................274
Automatic Emergency Braking.....................278
Distance Alert......................................................278
Distance Indication............................................276
Evasive Steering Assist....................................279
Pre-Collision Assist – Troubleshooting...........................................280
Pre-Collision Assist –Troubleshooting.......................................280
Pre-Collision Assist – Frequently Asked
Questions.........................................................281
Pre-Collision Assist – Information Messages.........................................................280
Preparing Your Vehicle forStorage.........................................................355
Programming a MyKey.................................65
Programming the Garage Door Opener to Your Garage Door Opener
Motor..............................................................163
Programming the Garage Door Opener to Your Gate Opener Motor...................164
Programming the Garage Door Opener to Your Hand-Held Transmitter...........163
Programming the Remote Control..........62
Properly Adjusting the Driver and Front Passenger Seats..........................................50
Puncture
See: Changing a Flat Tire................................382
Push Button Ignition Switch.....................172
R
Radio Frequency Certification Labels...........................................................493
Blind Spot Information System
Sensors.............................................................493
Body Control Module.......................................499
Cruise Control Module.....................................503
Garage Door Opener........................................506
Keys and Remote Controls............................507
Radio Transceiver Module...............................512
SYNC.......................................................................5\
15
Telematics Control Unit...................................519
Tire Pressure Monitoring System Sensors.............................................................520
Wireless Accessory Charging Module.............................................................. 526
Rear Occupant Alert System Audible
Warnings.......................................................159
Rear Occupant Alert System Indicator s......................................................159
Rear Occupant Alert System Limitations...................................................158
Rear Occupant Alert System Precautions..................................................158
Rear Occupant Alert System...................158
Rear Parking Aid...........................................230
Locating the Rear Parking Aid
Sensors..............................................................231
Rear Parking Aid Audible Warnings..............231
Rear Parking Aid Limitations.........................230
What is the Rear Parking Aid.........................230
Rear Seats.......................................................155Manual Seats.......................................................155Rear View Camera Guide Lines..............235
Rear View Camera Object Distance Indicators.....................................................236
Rear View Camera Precautions.............235
Rear View Camera.......................................235
Rear View Camera Settings...........................236Rear View Camera Settings.....................236Switching Rear View Camera Delay On and
Off.......................................................................2\
37
Zooming the Rear View Camera In and Out.....................................................................236
Recalling a Preset Position.......................160
576
Index