ECU FORD EXPLORER 2015 5.G Owner's Manual
[x] Cancel search | Manufacturer: FORD, Model Year: 2015, Model line: EXPLORER, Model: FORD EXPLORER 2015 5.GPages: 596, PDF Size: 6.32 MB
Page 90 of 596
Disarming the Alarm
To disarm the alarm, do any of the following:
•Press the power door unlock button within the 20-second pre-armed
mode.
•Press the unlock button on the remote control.
•Unlock the doors with the keyless entry pad.
•Enter the vehicle using intelligent access (if equipped).
•Turn the ignition on with a valid key (if equipped with an integrated
keyhead transmitter only).
•Press the panic button on the remote control. The alarm system will
still be armed, but this shuts off the horn and turn lamps when the
alarm is sounding.
Note:If the driver door is unlocked with a key, a tone will sound when
you open the door and a message will appear in the information display.
You will have 12 seconds to disarm the alarm using any of the actions
above, otherwise the alarm will trigger.
Security89
2015 Explorer(exp)
Owners Guide gf, 2nd Printing, September 2014
USA(fus)
Page 135 of 596
Adaptive Cruise
Control MessagesAction / Description
Adaptive Cruise
MalfunctionDisplayed when a radar malfunction is
preventing the ACC from engaging.
Adaptive Cruise Not
AvailableDisplayed when conditions exist such that the
adaptive cruise cannot function properly.
Adaptive Cruise Not
Available Sensor
BlockedDisplayed when the radar is blocked because
of poor radar visibility due to bad weather or
ice/mud/water in front of radar. Driver can
typically clean the sensor to resolve.
AdvanceTrac® /
Traction Control
MessagesAction / Description
Service AdvanceTrac Displayed when the AdvanceTrac® system has
detected a condition that requires service.
Contact your authorized dealer as soon as
possible.
Trailer Sway Reduce
SpeedDisplayed when the trailer sway control has
detected trailer sway.
Alarm/Security
MessagesAction / Description
To Stop Alarm, Start
VehicleDisplayed when the perimeter alarm system is
armed and the vehicle is entered using the key
on the driver’s side door. In order to prevent
the perimeter alarm system from triggering,
the ignition must be turned to start or on
before the 12 second chime expires.
134Information Displays
2015 Explorer(exp)
Owners Guide gf, 2nd Printing, September 2014
USA(fus)
Page 163 of 596
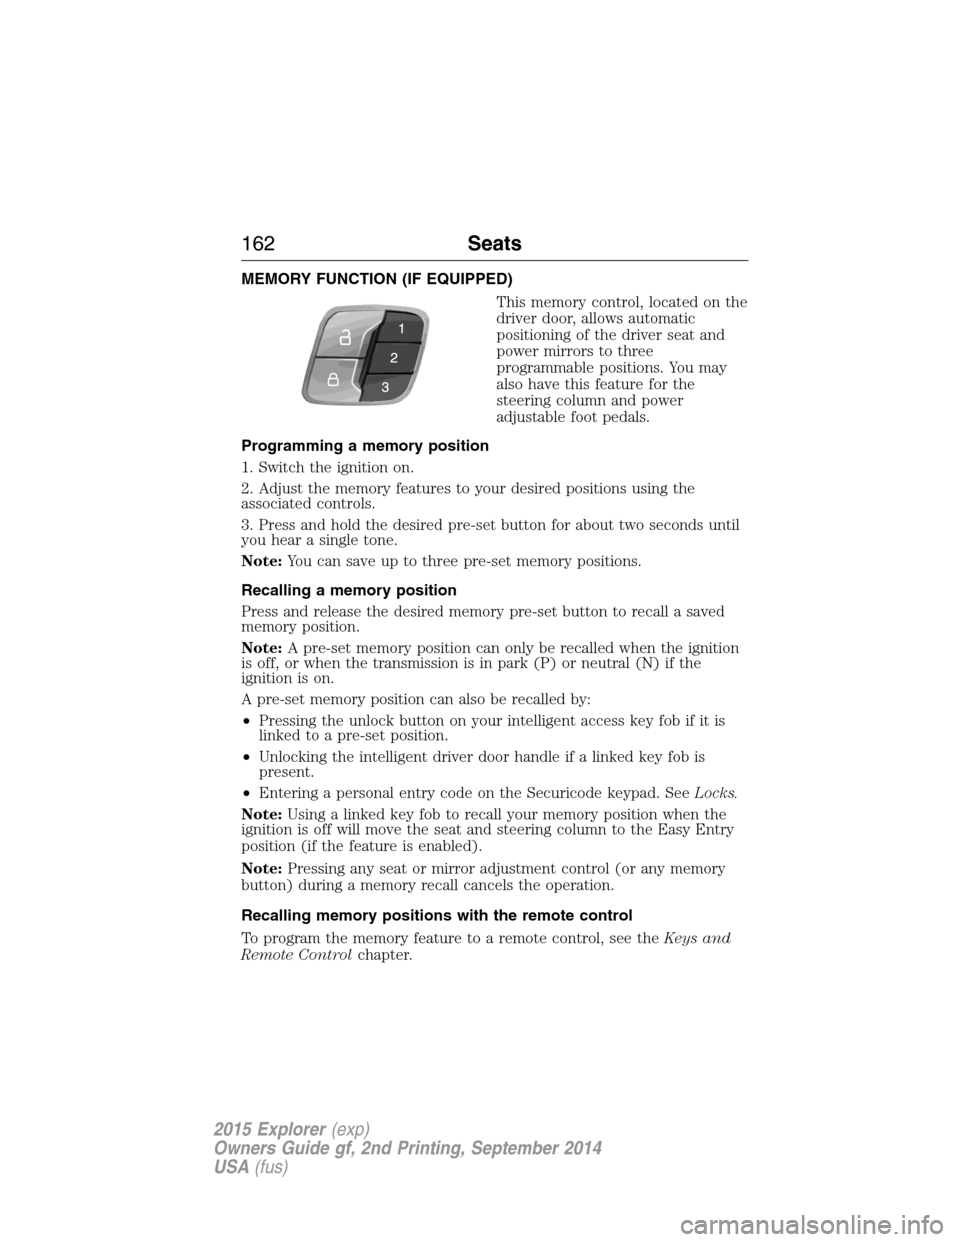
MEMORY FUNCTION (IF EQUIPPED)
This memory control, located on the
driver door, allows automatic
positioning of the driver seat and
power mirrors to three
programmable positions. You may
also have this feature for the
steering column and power
adjustable foot pedals.
Programming a memory position
1. Switch the ignition on.
2. Adjust the memory features to your desired positions using the
associated controls.
3. Press and hold the desired pre-set button for about two seconds until
you hear a single tone.
Note:You can save up to three pre-set memory positions.
Recalling a memory position
Press and release the desired memory pre-set button to recall a saved
memory position.
Note:A pre-set memory position can only be recalled when the ignition
is off, or when the transmission is in park (P) or neutral (N) if the
ignition is on.
A pre-set memory position can also be recalled by:
•Pressing the unlock button on your intelligent access key fob if it is
linked to a pre-set position.
•Unlocking the intelligent driver door handle if a linked key fob is
present.
•Entering a personal entry code on the Securicode keypad. SeeLocks.
Note:Using a linked key fob to recall your memory position when the
ignition is off will move the seat and steering column to the Easy Entry
position (if the feature is enabled).
Note:Pressing any seat or mirror adjustment control (or any memory
button) during a memory recall cancels the operation.
Recalling memory positions with the remote control
To program the memory feature to a remote control, see theKeys and
Remote Controlchapter.
162Seats
2015 Explorer(exp)
Owners Guide gf, 2nd Printing, September 2014
USA(fus)
Page 171 of 596
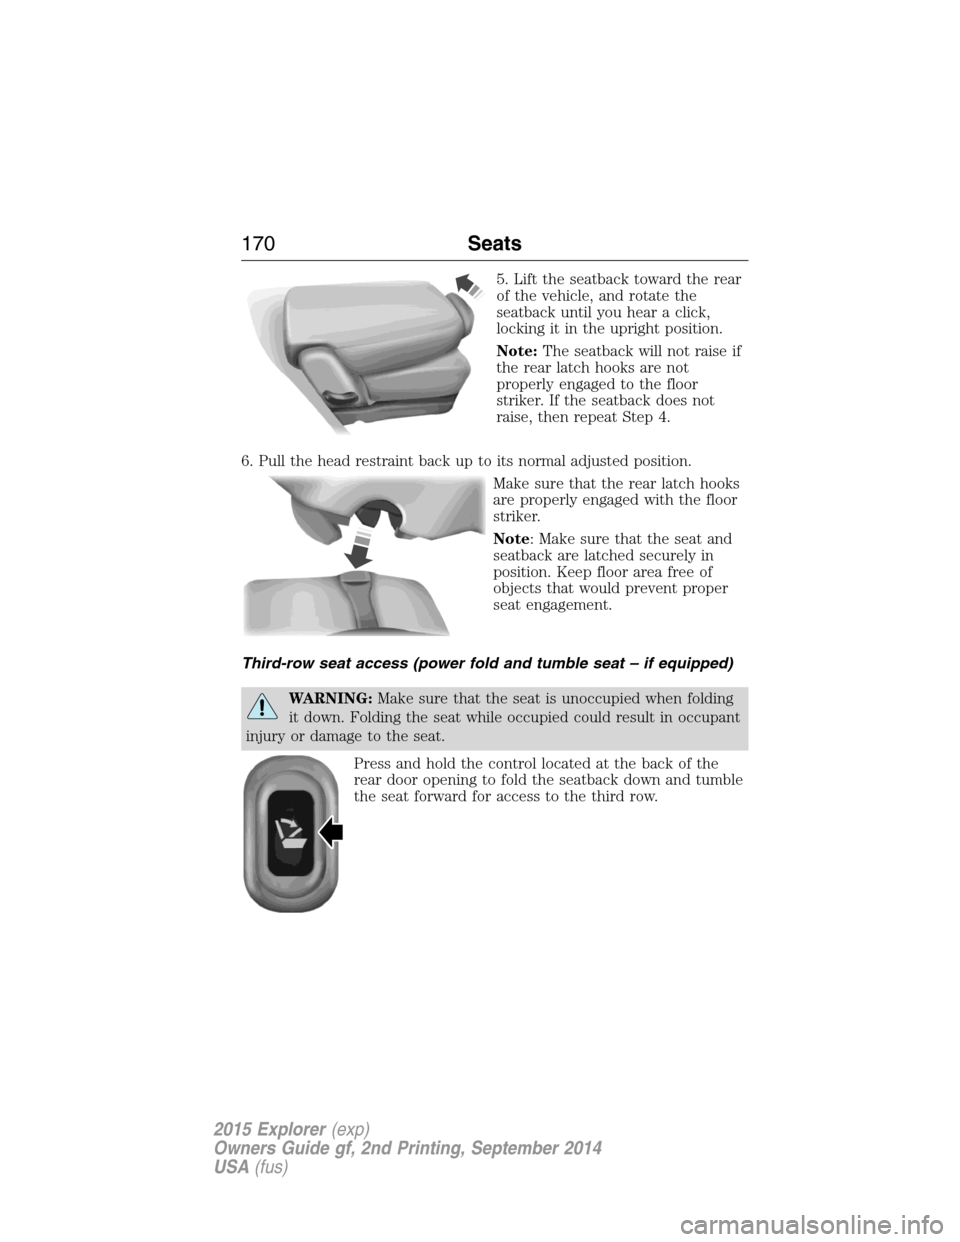
5. Lift the seatback toward the rear
of the vehicle, and rotate the
seatback until you hear a click,
locking it in the upright position.
Note:The seatback will not raise if
the rear latch hooks are not
properly engaged to the floor
striker. If the seatback does not
raise, then repeat Step 4.
6. Pull the head restraint back up to its normal adjusted position.
Make sure that the rear latch hooks
are properly engaged with the floor
striker.
Note: Make sure that the seat and
seatback are latched securely in
position. Keep floor area free of
objects that would prevent proper
seat engagement.
Third-row seat access (power fold and tumble seat – if equipped)
WARNING:Make sure that the seat is unoccupied when folding
it down. Folding the seat while occupied could result in occupant
injury or damage to the seat.
Press and hold the control located at the back of the
rear door opening to fold the seatback down and tumble
the seat forward for access to the third row.
170Seats
2015 Explorer(exp)
Owners Guide gf, 2nd Printing, September 2014
USA(fus)
Page 173 of 596
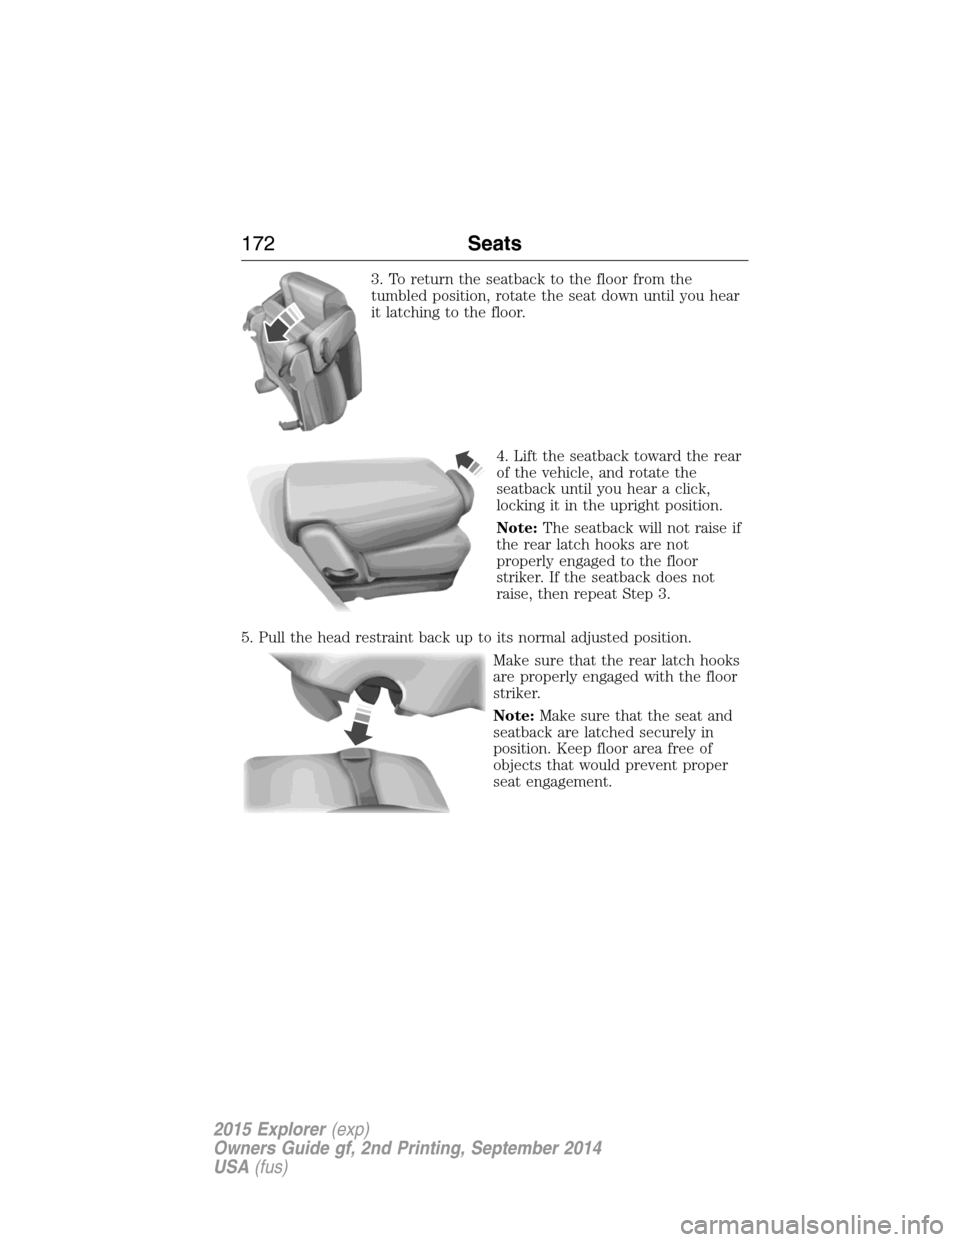
3. To return the seatback to the floor from the
tumbled position, rotate the seat down until you hear
it latching to the floor.
4. Lift the seatback toward the rear
of the vehicle, and rotate the
seatback until you hear a click,
locking it in the upright position.
Note:The seatback will not raise if
the rear latch hooks are not
properly engaged to the floor
striker. If the seatback does not
raise, then repeat Step 3.
5. Pull the head restraint back up to its normal adjusted position.
Make sure that the rear latch hooks
are properly engaged with the floor
striker.
Note:Make sure that the seat and
seatback are latched securely in
position. Keep floor area free of
objects that would prevent proper
seat engagement.
172Seats
2015 Explorer(exp)
Owners Guide gf, 2nd Printing, September 2014
USA(fus)
Page 178 of 596
HOMELINK® WIRELESS CONTROL SYSTEM (IF EQUIPPED)
WARNING:Make sure that the garage door and security device
are free from obstruction when you are programming. Do not
program the system with the vehicle in the garage.
WARNING:Do not use the system with any garage door opener
that does not have the safety stop and reverse feature as
required by U.S. Federal Safety Standards (this includes any garage
door opener manufactured before April 1, 1982).
Note:Make sure you keep the original remote control transmitter for
use in other vehicles as well as for future system programming.
Note:We recommend that upon the sale or lease termination of your
vehicle, you erase the programmed function buttons for security reasons.
SeeErasing the function button codeslater in this section.
Note:You can program a maximum of three devices. To change or
replace any of the three devices after it has been initially programmed,
you must first erase the current settings. SeeErasing the function
button codeslater in this section.
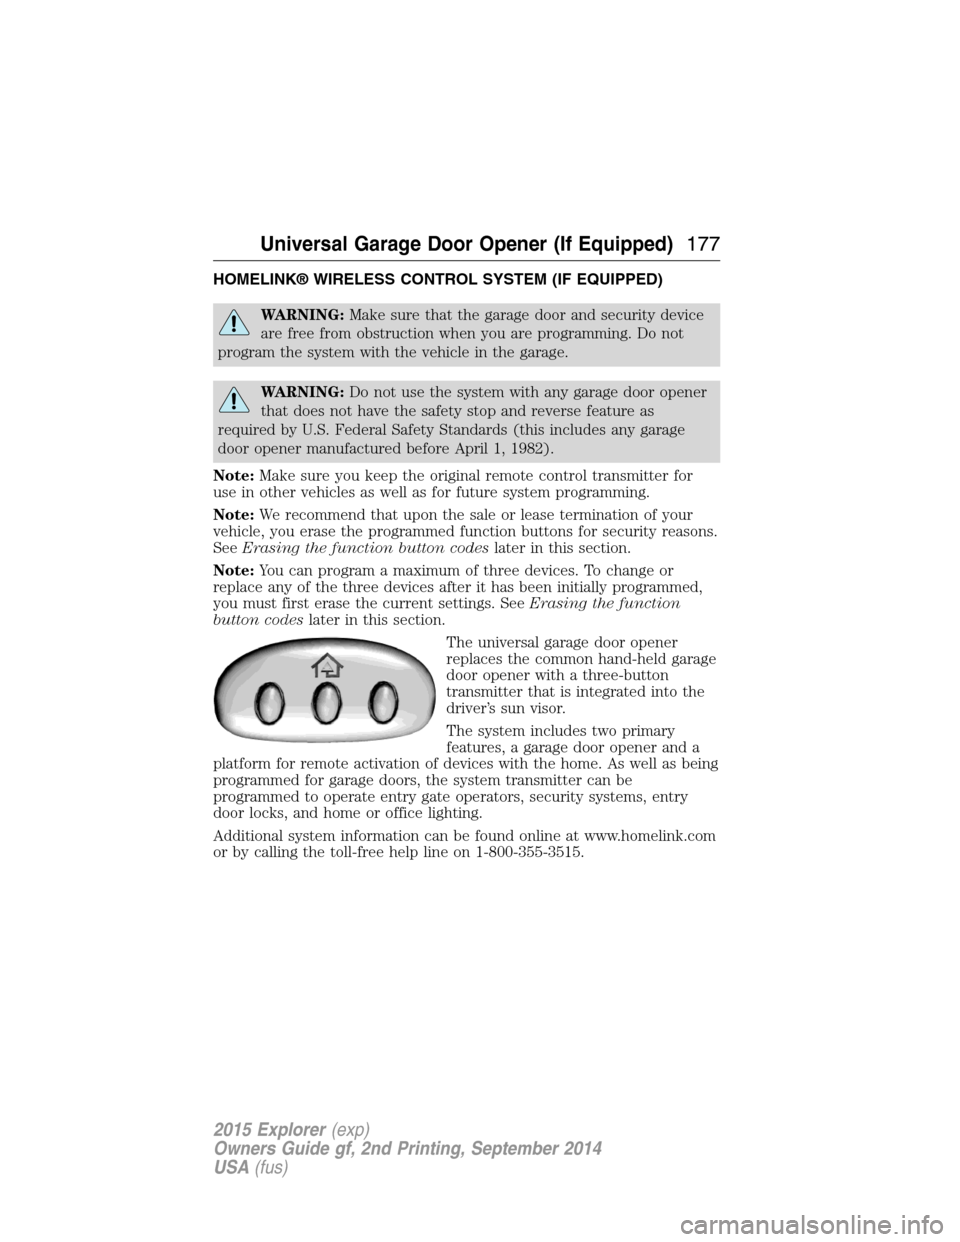
The universal garage door opener
replaces the common hand-held garage
door opener with a three-button
transmitter that is integrated into the
driver’s sun visor.
The system includes two primary
features, a garage door opener and a
platform for remote activation of devices with the home. As well as being
programmed for garage doors, the system transmitter can be
programmed to operate entry gate operators, security systems, entry
door locks, and home or office lighting.
Additional system information can be found online at www.homelink.com
or by calling the toll-free help line on 1-800-355-3515.
Universal Garage Door Opener (If Equipped)177
2015 Explorer(exp)
Owners Guide gf, 2nd Printing, September 2014
USA(fus)
Page 206 of 596
AUTOMATIC TRANSMISSION
WARNING:Always set the parking brake fully and make sure
the gearshift is latched inP(Park). Turn the ignition to the off
position and remove the key whenever you leave your vehicle.
WARNING:Do not use the tow feature when driving in icy or
slippery conditions as the increased engine braking can cause the
rear wheels to slide and the vehicle to swing around with the possible
loss of vehicle control.
Your vehicle has been designed to improve fuel economy by reducing
fuel usage while coasting or decelerating. When you take your foot off
the accelerator pedal and the vehicle begins to slow down, the torque
converter clutch locks up and aggressively shuts off fuel flow to the
engine while decelerating. This fuel economy benefit may be perceived
as a light to medium braking sensation when removing your foot from
the accelerator pedal.
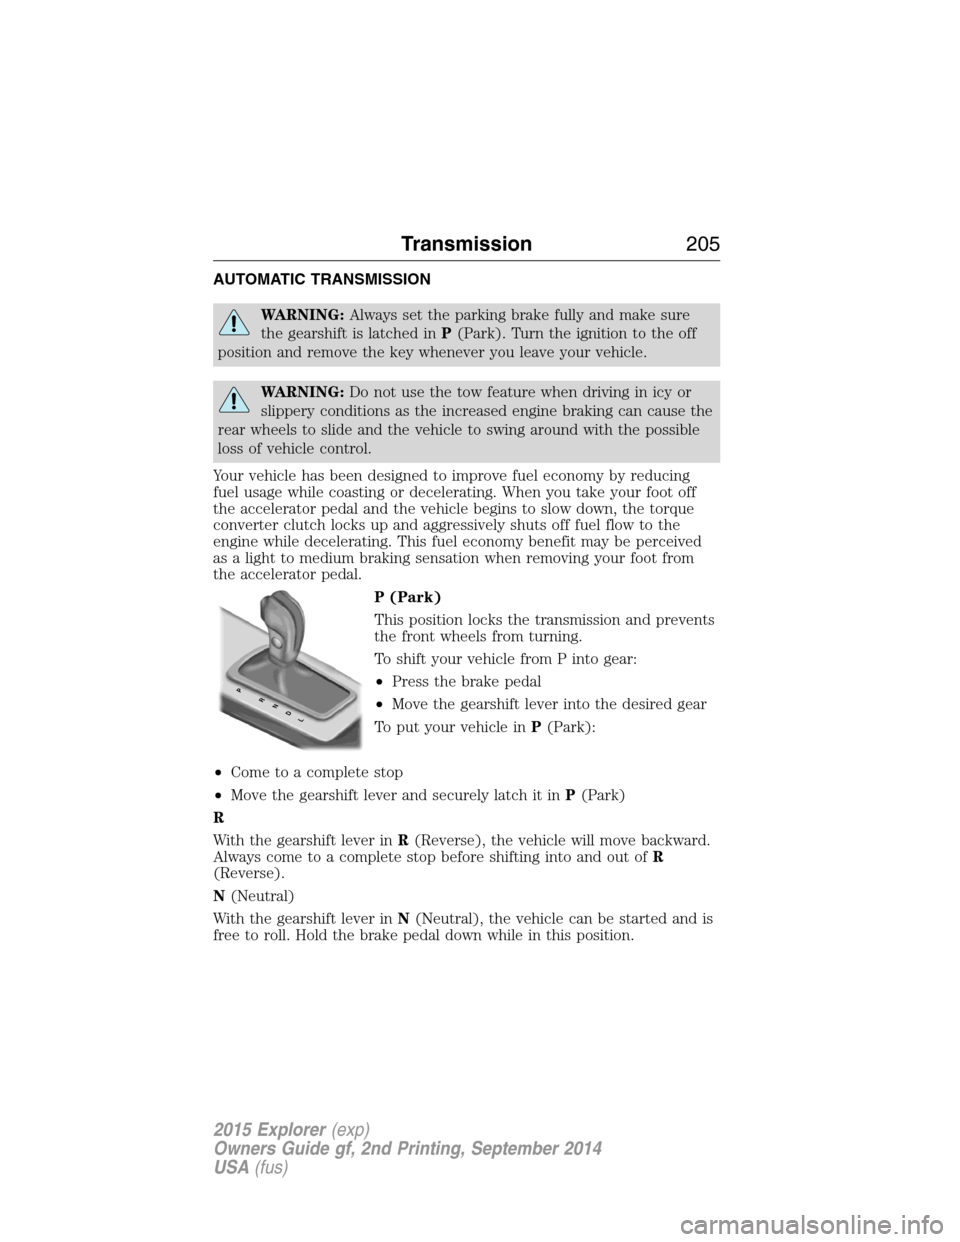
P (Park)
This position locks the transmission and prevents
the front wheels from turning.
To shift your vehicle from P into gear:
•Press the brake pedal
•Move the gearshift lever into the desired gear
To put your vehicle inP(Park):
•Come to a complete stop
•Move the gearshift lever and securely latch it inP(Park)
R
With the gearshift lever inR(Reverse), the vehicle will move backward.
Always come to a complete stop before shifting into and out ofR
(Reverse).
N(Neutral)
With the gearshift lever inN(Neutral), the vehicle can be started and is
free to roll. Hold the brake pedal down while in this position.
PRNDL
Transmission205
2015 Explorer(exp)
Owners Guide gf, 2nd Printing, September 2014
USA(fus)
Page 221 of 596
Anti-Lock Brake System
This system helps you maintain steering control during emergency stops
by keeping the brakes from locking.
This lamp momentarily illuminates when you turn the ignition
on. If the light does not illuminate during start-up, remains on
or flashes, the anti-lock brake system may be disabled. Have
the system checked by an authorized dealer. If the anti-lock brake
system is disabled, normal braking is still effective.
If the brake warning lamp illuminates when you release the
parking brake, have the system checked by an authorized
dealer.
HINTS ON DRIVING WITH ANTI-LOCK BRAKES
When the system is operating, the brake pedal will pulse and may travel
further. Maintain pressure on the brake pedal. You may also hear a noise
from the system. This is normal.
The anti-lock braking system will not eliminate the risks when:
•You drive too closely to the vehicle in front of you.
•Your vehicle is hydroplaning.
•You take corners too fast.
•The road surface is poor.
PARKING BRAKE
WARNING:If the parking brake is fully released, but the brake
warning lamp remains illuminated, then driving your vehicle
could result in reduced braking ability, increased stopping distances and
potential loss of brakes. See your authorized dealer as soon as possible.
WARNING:Always set the parking brake fully and make sure
that the transmission is securely latched in park (P). Failure to
set the parking brake and engage park could result in vehicle roll-away,
property damage or bodily injury.
To set the parking brake, press the parking brake pedal down to its
fullest extent.
To release the parking brake, press the parking brake pedal down again.
220Brakes
2015 Explorer(exp)
Owners Guide gf, 2nd Printing, September 2014
USA(fus)
Page 234 of 596
Deactivating the Park Assist Feature
The system can be deactivated manually by:
•pressing the active park assist button
•grabbing the steering wheel
•driving above approximately 20 mph (35 km/h) for 30 seconds during
an active park search
•driving above 6 mph (10 km/h) during automatic steering
•turning off the traction control system.
Certain vehicle conditions can also deactivate the system:
•Traction control has activated on a slippery or loose surface.
•Anti-lock brake system activation or failure.
•Any door (except the driver’s) opens.
•Something touches the steering wheel.
If a problem occurs with the system, a warning message is displayed,
followed by a chime. Occasional active park assist messages may occur in
normal operation. For recurring or frequent active park assist faults,
contact an authorized dealer to have your vehicle serviced.
Troubleshooting the System
The system does not look for a space
The traction control system may be off
Any door (except the driver’s) may not be completely closed
The system does not offer a particular space
Something may be contacting the front bumper or side sensors
There is not enough room on both sides of the vehicle in order to park
There is not enough space for the parking maneuver on the opposite
side of the parking space
The vehicle is farther than 5 ft (1.5 m) from the parking space
The vehicle is closer than 16 in. (40 cm) from neighboring parked
vehicles
The transmission is in R (Reverse); the vehicle must be moving
forward to detect a parking space
The vehicle is going faster than 20 mph (35 km/h)
Parking Aids233
2015 Explorer(exp)
Owners Guide gf, 2nd Printing, September 2014
USA(fus)
Page 265 of 596
CARGO NETS (IF EQUIPPED)
WARNING:This net is not designed to restrain objects during a
collision or heavy braking.
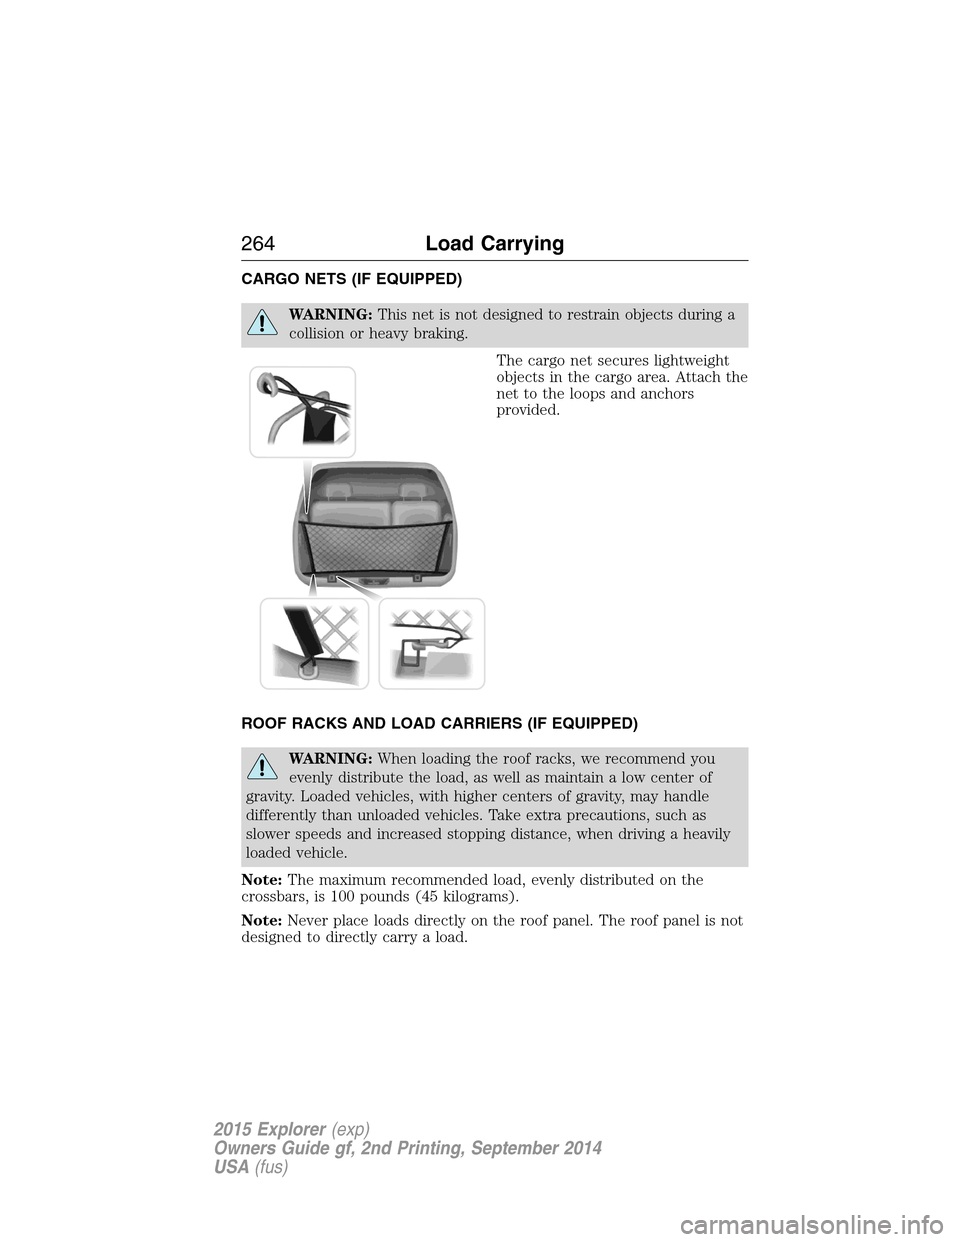
The cargo net secures lightweight
objects in the cargo area. Attach the
net to the loops and anchors
provided.
ROOF RACKS AND LOAD CARRIERS (IF EQUIPPED)
WARNING:When loading the roof racks, we recommend you
evenly distribute the load, as well as maintain a low center of
gravity. Loaded vehicles, with higher centers of gravity, may handle
differently than unloaded vehicles. Take extra precautions, such as
slower speeds and increased stopping distance, when driving a heavily
loaded vehicle.
Note:The maximum recommended load, evenly distributed on the
crossbars, is 100 pounds (45 kilograms).
Note:Never place loads directly on the roof panel. The roof panel is not
designed to directly carry a load.
264Load Carrying
2015 Explorer(exp)
Owners Guide gf, 2nd Printing, September 2014
USA(fus)