heater FORD F150 2004 11.G Owners Manual
[x] Cancel search | Manufacturer: FORD, Model Year: 2004, Model line: F150, Model: FORD F150 2004 11.GPages: 280, PDF Size: 4.13 MB
Page 1 of 280
Introduction 4
Instrument Cluster 10
Warning and control lights 10
Gauges 15
Entertainment Systems 18
AM/FM stereo 18
AM/FM stereo with CD 20
AM/FM stereo cassette with CD 23
AM/FM stereo with in-dash six CD 26
Climate Controls 32
Heater only 32
Manual heating and air conditioning 33
Electronic automatic temperature control 35
Rear window defroster 40
Lights 41
Headlamps 41
Turn signal control 45
Bulb replacement 47
Driver Controls 52
Windshield wiper/washer control 52
Steering wheel adjustment 53
Power windows 58
Mirrors 59
Speed control 61
Message center 70
Tailgate 79
Table of Contents
Table of Contents
1
Page 32 of 280
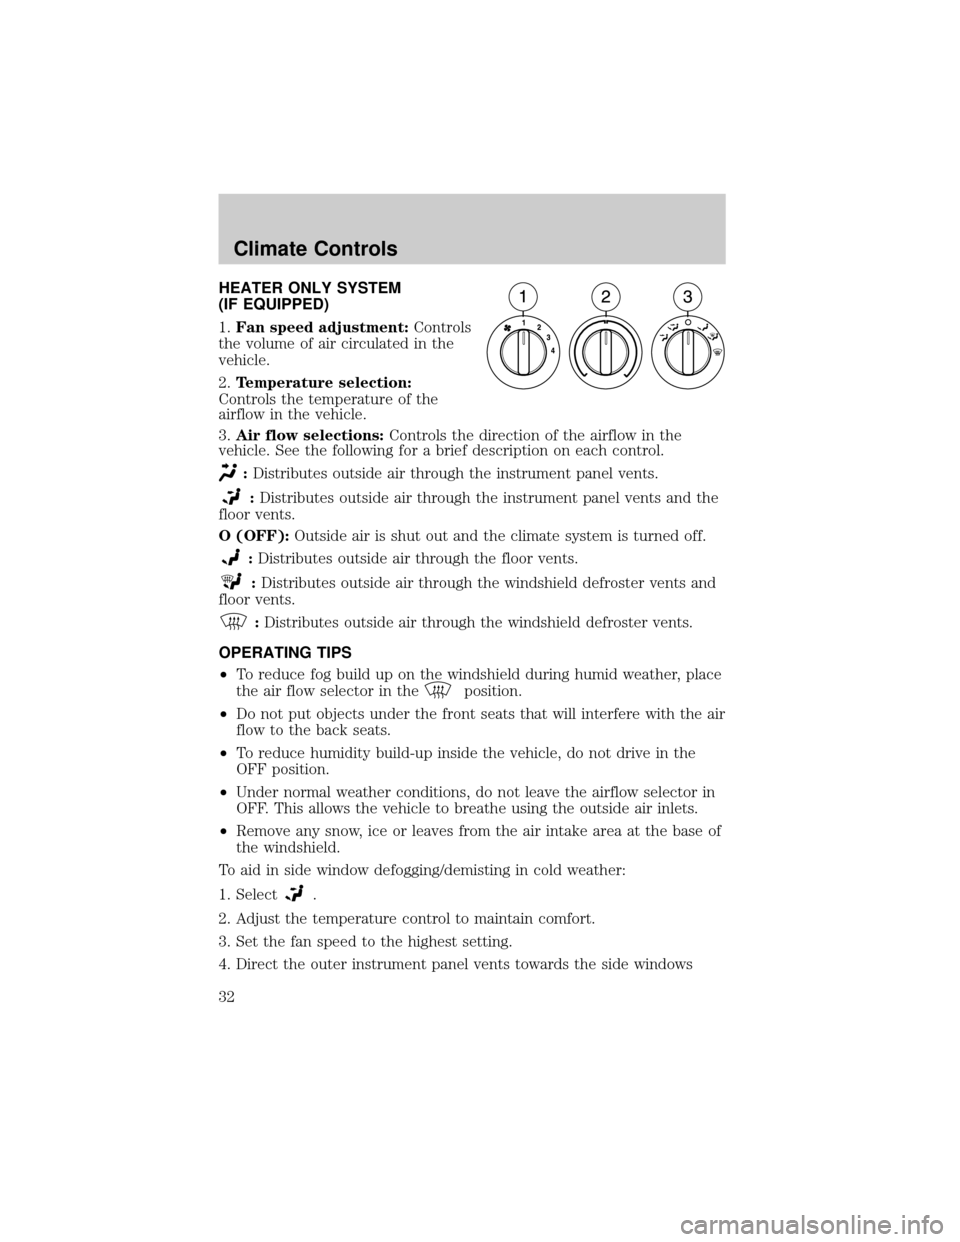
HEATER ONLY SYSTEM
(IF EQUIPPED)
1.Fan speed adjustment:Controls
the volume of air circulated in the
vehicle.
2.Temperature selection:
Controls the temperature of the
airflow in the vehicle.
3.Air flow selections:Controls the direction of the airflow in the
vehicle. See the following for a brief description on each control.
:Distributes outside air through the instrument panel vents.
:Distributes outside air through the instrument panel vents and the
floor vents.
O (OFF):Outside air is shut out and the climate system is turned off.
:Distributes outside air through the floor vents.
:Distributes outside air through the windshield defroster vents and
floor vents.
:Distributes outside air through the windshield defroster vents.
OPERATING TIPS
²To reduce fog build up on the windshield during humid weather, place
the air flow selector in the
position.
²Do not put objects under the front seats that will interfere with the air
flow to the back seats.
²To reduce humidity build-up inside the vehicle, do not drive in the
OFF position.
²Under normal weather conditions, do not leave the airflow selector in
OFF. This allows the vehicle to breathe using the outside air inlets.
²Remove any snow, ice or leaves from the air intake area at the base of
the windshield.
To aid in side window defogging/demisting in cold weather:
1. Select
.
2. Adjust the temperature control to maintain comfort.
3. Set the fan speed to the highest setting.
4. Direct the outer instrument panel vents towards the side windows
Climate Controls
Climate Controls
32
Page 72 of 280
Perform compass calibration in an open area free from steel structures
and high voltage lines. For optimum calibration, turn off all electrical
accessories (heater/air conditioning, wipers, etc.) and make sure all
vehicle doors are shut.
8. Press the RESET control to start
the compass calibration function.
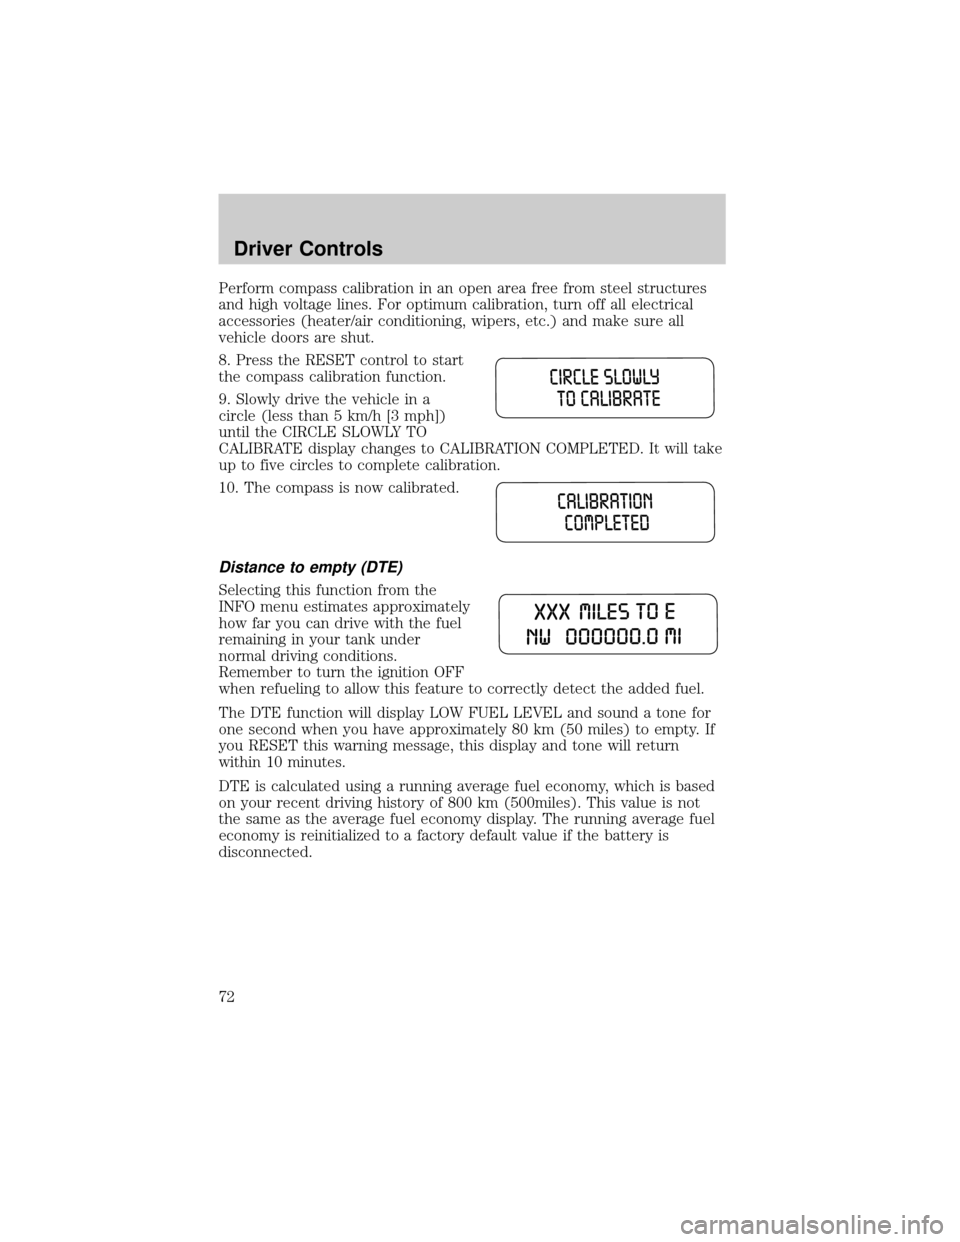
9. Slowly drive the vehicle in a
circle (less than 5 km/h [3 mph])
until the CIRCLE SLOWLY TO
CALIBRATE display changes to CALIBRATION COMPLETED. It will take
up to five circles to complete calibration.
10. The compass is now calibrated.
Distance to empty (DTE)
Selecting this function from the
INFO menu estimates approximately
how far you can drive with the fuel
remaining in your tank under
normal driving conditions.
Remember to turn the ignition OFF
when refueling to allow this feature to correctly detect the added fuel.
The DTE function will display LOW FUEL LEVEL and sound a tone for
one second when you have approximately 80 km (50 miles) to empty. If
you RESET this warning message, this display and tone will return
within 10 minutes.
DTE is calculated using a running average fuel economy, which is based
on your recent driving history of 800 km (500miles). This value is not
the same as the average fuel economy display. The running average fuel
economy is reinitialized to a factory default value if the battery is
disconnected.
Driver Controls
72
Page 79 of 280
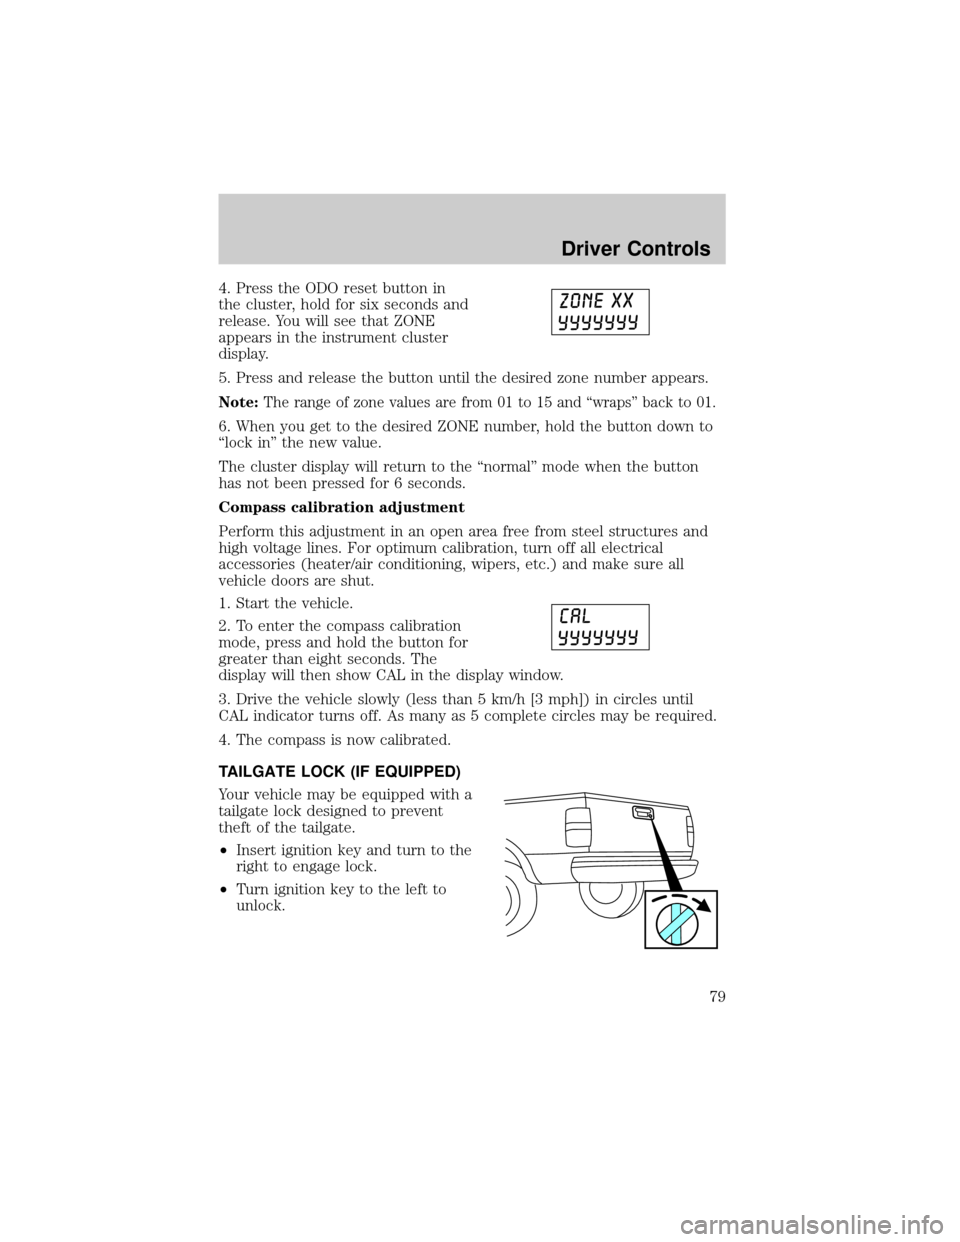
4. Press the ODO reset button in
the cluster, hold for six seconds and
release. You will see that ZONE
appears in the instrument cluster
display.
5. Press and release the button until the desired zone number appears.
Note:The range of zone values are from 01 to 15 and ªwrapsº back to 01.
6. When you get to the desired ZONE number, hold the button down to
ªlock inº the new value.
The cluster display will return to the ªnormalº mode when the button
has not been pressed for 6 seconds.
Compass calibration adjustment
Perform this adjustment in an open area free from steel structures and
high voltage lines. For optimum calibration, turn off all electrical
accessories (heater/air conditioning, wipers, etc.) and make sure all
vehicle doors are shut.
1. Start the vehicle.
2. To enter the compass calibration
mode, press and hold the button for
greater than eight seconds. The
display will then show CAL in the display window.
3. Drive the vehicle slowly (less than 5 km/h [3 mph]) in circles until
CAL indicator turns off. As many as 5 complete circles may be required.
4. The compass is now calibrated.
TAILGATE LOCK (IF EQUIPPED)
Your vehicle may be equipped with a
tailgate lock designed to prevent
theft of the tailgate.
²Insert ignition key and turn to the
right to engage lock.
²Turn ignition key to the left to
unlock.
Driver Controls
79
Page 148 of 280
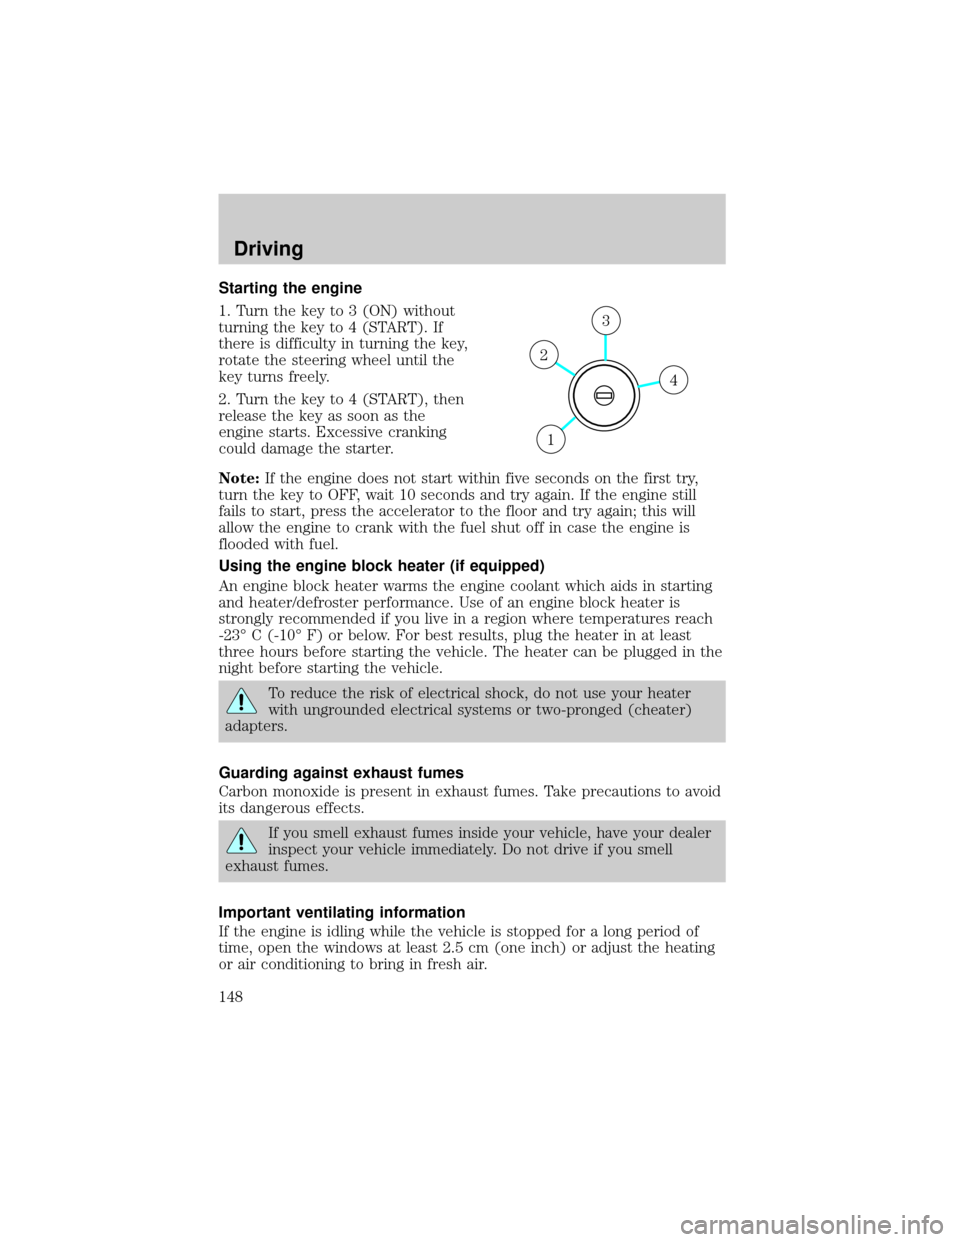
Starting the engine
1. Turn the key to 3 (ON) without
turning the key to 4 (START). If
there is difficulty in turning the key,
rotate the steering wheel until the
key turns freely.
2. Turn the key to 4 (START), then
release the key as soon as the
engine starts. Excessive cranking
could damage the starter.
Note:If the engine does not start within five seconds on the first try,
turn the key to OFF, wait 10 seconds and try again. If the engine still
fails to start, press the accelerator to the floor and try again; this will
allow the engine to crank with the fuel shut off in case the engine is
flooded with fuel.
Using the engine block heater (if equipped)
An engine block heater warms the engine coolant which aids in starting
and heater/defroster performance. Use of an engine block heater is
strongly recommended if you live in a region where temperatures reach
-23É C (-10É F) or below. For best results, plug the heater in at least
three hours before starting the vehicle. The heater can be plugged in the
night before starting the vehicle.
To reduce the risk of electrical shock, do not use your heater
with ungrounded electrical systems or two-pronged (cheater)
adapters.
Guarding against exhaust fumes
Carbon monoxide is present in exhaust fumes. Take precautions to avoid
its dangerous effects.
If you smell exhaust fumes inside your vehicle, have your dealer
inspect your vehicle immediately. Do not drive if you smell
exhaust fumes.
Important ventilating information
If the engine is idling while the vehicle is stopped for a long period of
time, open the windows at least 2.5 cm (one inch) or adjust the heating
or air conditioning to bring in fresh air.
4
3
2
1
Driving
148
Page 154 of 280
Always set the parking brake fully and make sure the gearshift is
latched in P (Park). Turn the ignition to the LOCK position and
remove the key whenever you leave your vehicle.
If the parking brake is fully released, but the brake warning lamp
remains illuminated, the brakes may not be working properly.
See your dealer or a qualified service technician.
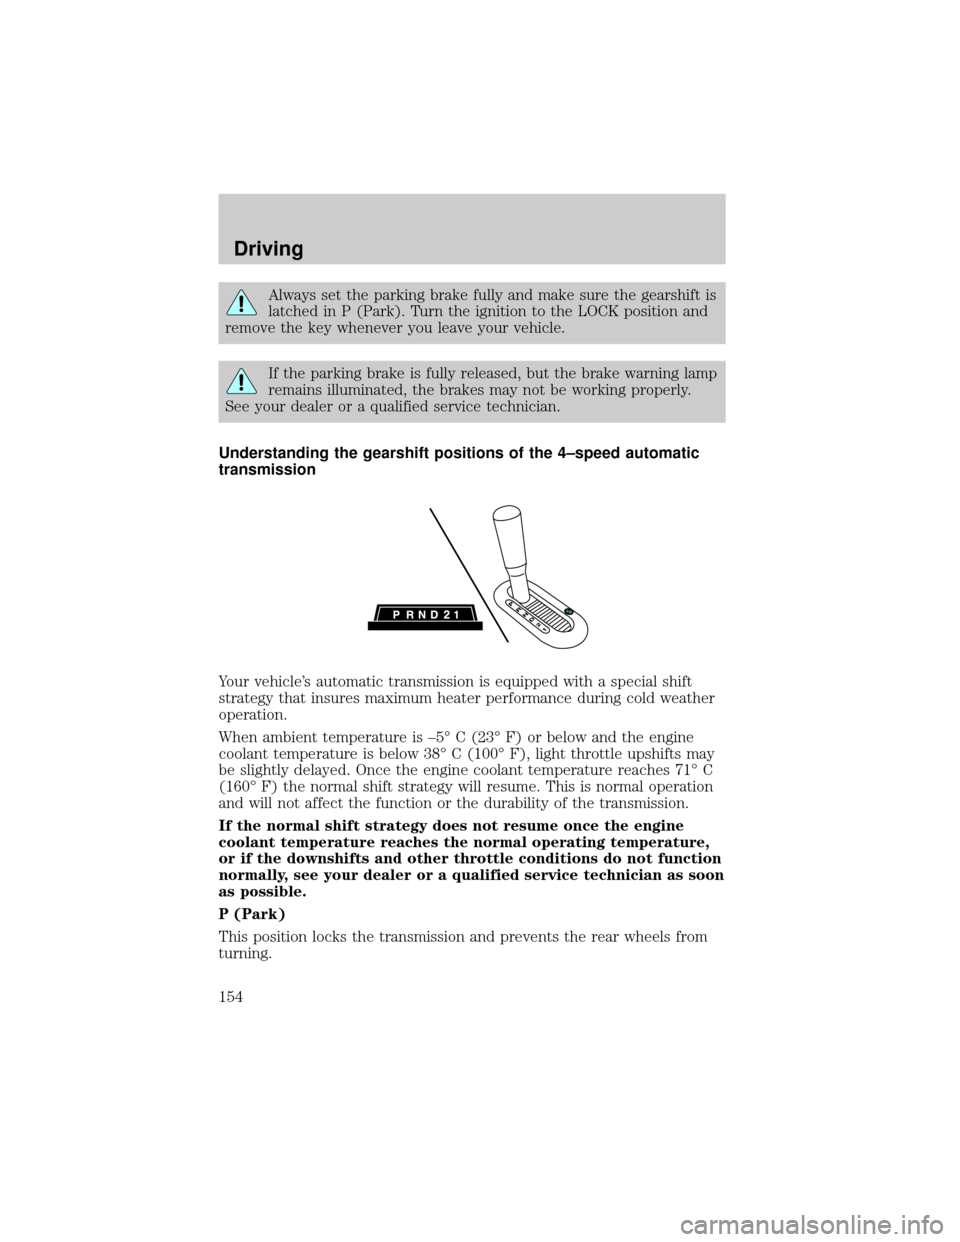
Understanding the gearshift positions of the 4±speed automatic
transmission
Your vehicle's automatic transmission is equipped with a special shift
strategy that insures maximum heater performance during cold weather
operation.
When ambient temperature is ±5É C (23É F) or below and the engine
coolant temperature is below 38É C (100É F), light throttle upshifts may
be slightly delayed. Once the engine coolant temperature reaches 71É C
(160É F) the normal shift strategy will resume. This is normal operation
and will not affect the function or the durability of the transmission.
If the normal shift strategy does not resume once the engine
coolant temperature reaches the normal operating temperature,
or if the downshifts and other throttle conditions do not function
normally, see your dealer or a qualified service technician as soon
as possible.
P (Park)
This position locks the transmission and prevents the rear wheels from
turning.
Driving
154
Page 202 of 280

1.Use only a 12±volt supply to start your vehicle.
2. Do not disconnect the battery of the disabled vehicle as this could
damage the vehicle's electrical system.
3. Park the booster vehicle close to the hood of the disabled vehicle
making sure the two vehiclesdo nottouch. Set the parking brake on
both vehicles and stay clear of the engine cooling fan and other moving
parts.
4. Check all battery terminals and remove any excessive corrosion before
you attach the battery cables. Ensure that vent caps are tight and level.
5. Turn the heater fan on in both vehicles to protect any electrical
surges. Turn all other accessories off.
Connecting the jumper cables
1. Connect the positive (+) jumper cable to the positive (+) terminal of
the discharged battery.
Note:In the illustrations,lightning boltsare used to designate the
assisting (boosting) battery.
+–+–
+–+–
Roadside Emergencies
202
Page 272 of 280

Step bars
Tonneau covers
Truck caps
Wheels
Interior style
Cell phone holders
Consoles
Electrochromatic compass/temperature interior mirrors
Floor mats
Interior trim kits
Leather wrapped steering wheels
Scuff plates
Speed control
Lifestyle
Bedliners and bedmats
Bed tents
Bike racks
Cargo organization and management
Diamond plate accessories
Engine block heaters and blankets
Rear seat entertainment systems
Toolboxes
Towing mirrors
TracRac and accessories
Trailer hitches, wiring harnesses and accessories
Peace of mind
Airbag anti-theft locks
First aid and safety kits
Full vehicle covers
Locking gas cap
Accessories
272
Page 275 of 280

waxing .....................................216
wheels ......................................217
wiper blades ............................219
Climate control
(see Air conditioning or
Heating) ...........................32, 35, 37
Clock adjust
6-CD in dash .............................29
AM/FM Stereo ...........................20
AM/FM/CD .................................23
AM/FM/Tape/CD .......................26
Compass, electronic ..............78±79
calibration .................................79
set zone adjustment ...........71, 79
Console
overhead ..............................53±54
Controls
power seat .................................99
steering column ........................64
Coolant
checking and adding ..............231
refill capacities ................234, 257
specifications ..................261, 263
Cruise control
(see Speed control) ....................61
Customer Assistance ................186
Ford accessories for your
vehicle .....................................220
Ford Extended Service
Plan ..........................................209
Getting assistance outside
the U.S. and Canada ..............213
Getting roadside assistance ...186
Getting the service you
need .........................................207
Ordering additional owner's
literature .................................214
The Dispute Settlement
Board .......................................209Utilizing the
Mediation/Arbitration
Program ...................................212
D
Daytime running lamps
(see Lamps) ................................42
Dipstick
automatic transmission
fluid ..........................................248
engine oil .................................226
Doors
lubricant specifications ..........261
Driveline universal joint and
slip yoke ....................................251
Driving under special
conditions ..................157, 164, 167
sand .........................................166
snow and ice ...........................168
through water .................166, 170
E
Electronic message center .........70
Emergencies, roadside
jump-starting ..........................201
Emergency Flashers .................187
Emission control system ..........245
Engine ........................................263
cleaning ...................................217
coolant .....................................231
fail-safe coolant ......................235
idle speed control ...................229
lubrication
specifications ..................261, 263
refill capacities ........................257
service points ..................224±225
starting after a collision .........187
Engine block heater .................148
Index
275
Page 276 of 280

Engine oil ..................................226
checking and adding ..............226
dipstick ....................................226
filter, specifications ........228, 257
recommendations ...................228
refill capacities ........................257
specifications ..................261, 263
Exhaust fumes ..........................148
F
Fail safe cooling ........................235
Fluid capacities .........................257
Foglamps .....................................42
Four-Wheel Drive vehicles .......159
driving off road .......................162
electronic shift ........................161
indicator light .........................159
lever operated shift ................160
preparing to drive your
vehicle .....................................151
Fuel ............................................237
calculating fuel
economy ............................73, 241
cap ...........................................239
capacity ...................................257
choosing the right fuel ...........240
comparisons with EPA fuel
economy estimates .................244
detergent in fuel .....................241
filling your vehicle with
fuel ...........................237, 239, 242
filter, specifications ........241, 257
fuel pump shut-off switch .....187
improving fuel economy ........241
octane rating ...................240, 263
quality ......................................240
running out of fuel .................241
safety information relating to
automotive fuels .....................237
Fuel pump shut-off switch .......187Fuses ..................................188±189
G
Garage Door Opener
(see Homelink wireless control
system) ........................................66
Gas cap (see Fuel cap) ............239
Gas mileage
(see Fuel economy) .................241
Gauges .........................................15
GAWR (Gross Axle Weight
Rating) .......................................171
calculating ...............................173
definition .................................171
driving with a heavy load ......171
location ....................................171
GVWR (Gross Vehicle Weight
Rating) .......................................171
calculating .......................171, 173
definition .................................171
driving with a heavy load ......171
location ....................................171
H
Hazard flashers .........................187
Head restraints ...................97, 101
Headlamps ...................................41
aiming ........................................43
autolamp system .......................41
bulb specifications ....................47
daytime running lights .............42
flash to pass ..............................43
high beam .................................42
replacing bulbs .........................48
turning on and off ....................41
Heating
heater only system ...................32
Index
276