FORD F650 2003 10.G Manual PDF
Manufacturer: FORD, Model Year: 2003, Model line: F650, Model: FORD F650 2003 10.GPages: 248, PDF Size: 2.54 MB
Page 71 of 248
Usually, when something affects the compass readings, the compass will
correct itself after a few days of operating your vehicle in normal
conditions. If the compass still appears to be inaccurate, a manual
calibration may be necessary. Refer toCompass calibration
adjustment.
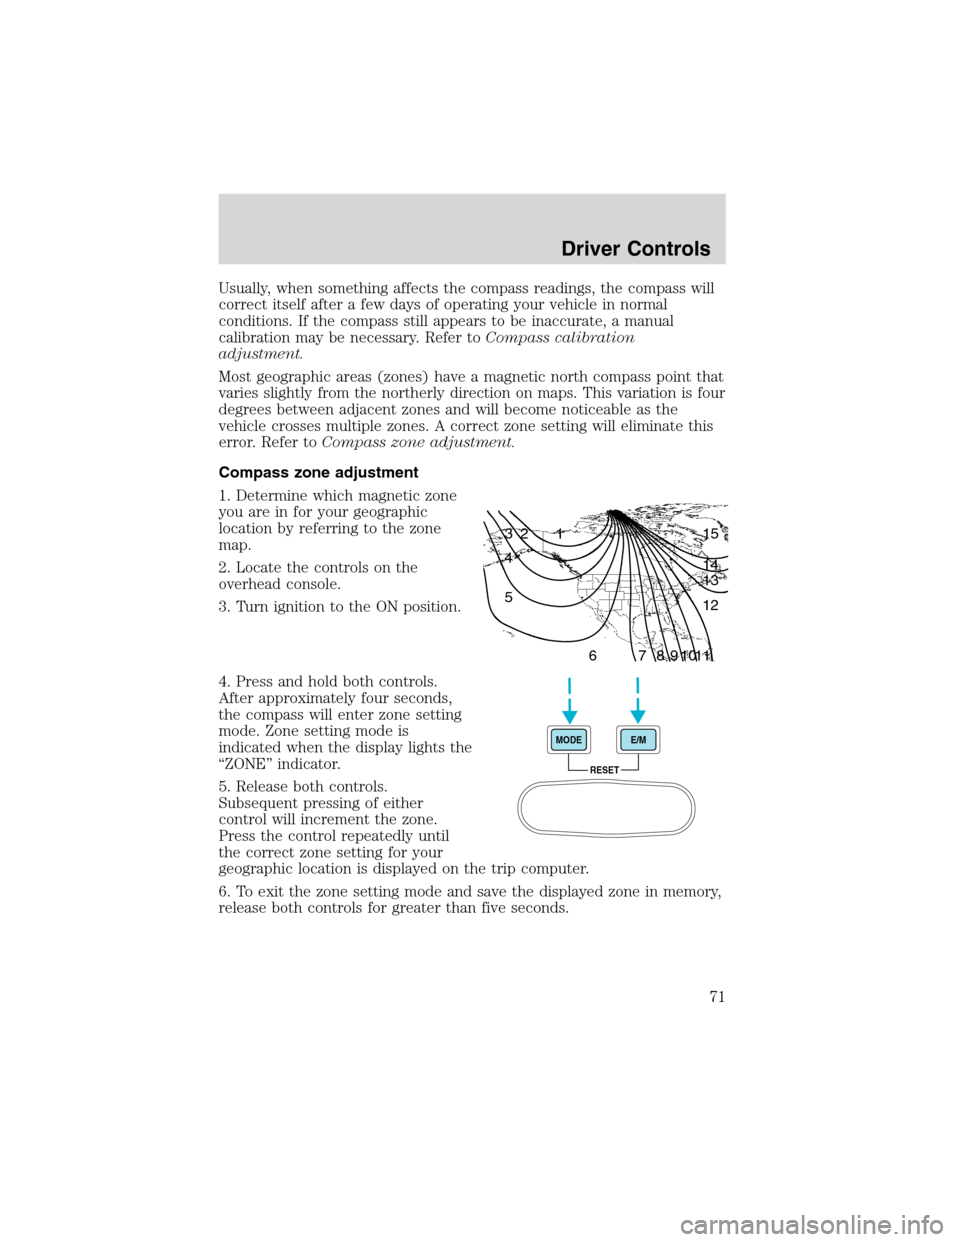
Most geographic areas (zones) have a magnetic north compass point that
varies slightly from the northerly direction on maps. This variation is four
degrees between adjacent zones and will become noticeable as the
vehicle crosses multiple zones. A correct zone setting will eliminate this
error. Refer toCompass zone adjustment.
Compass zone adjustment
1. Determine which magnetic zone
you are in for your geographic
location by referring to the zone
map.
2. Locate the controls on the
overhead console.
3. Turn ignition to the ON position.
4. Press and hold both controls.
After approximately four seconds,
the compass will enter zone setting
mode. Zone setting mode is
indicated when the display lights the
“ZONE”indicator.
5. Release both controls.
Subsequent pressing of either
control will increment the zone.
Press the control repeatedly until
the correct zone setting for your
geographic location is displayed on the trip computer.
6. To exit the zone setting mode and save the displayed zone in memory,
release both controls for greater than five seconds.
1 2 3
4
5
6 7 8 9 101112 13 14 15
RESET MODEE/M
Driver Controls
71
Page 72 of 248
Compass calibration adjustment
Perform this adjustment in an open area free from steel structures and
high voltage lines.
For optimum calibration, turn off all electrical accessories (heater/air
conditioning, wipers, etc.) and make sure all vehicle doors are shut.
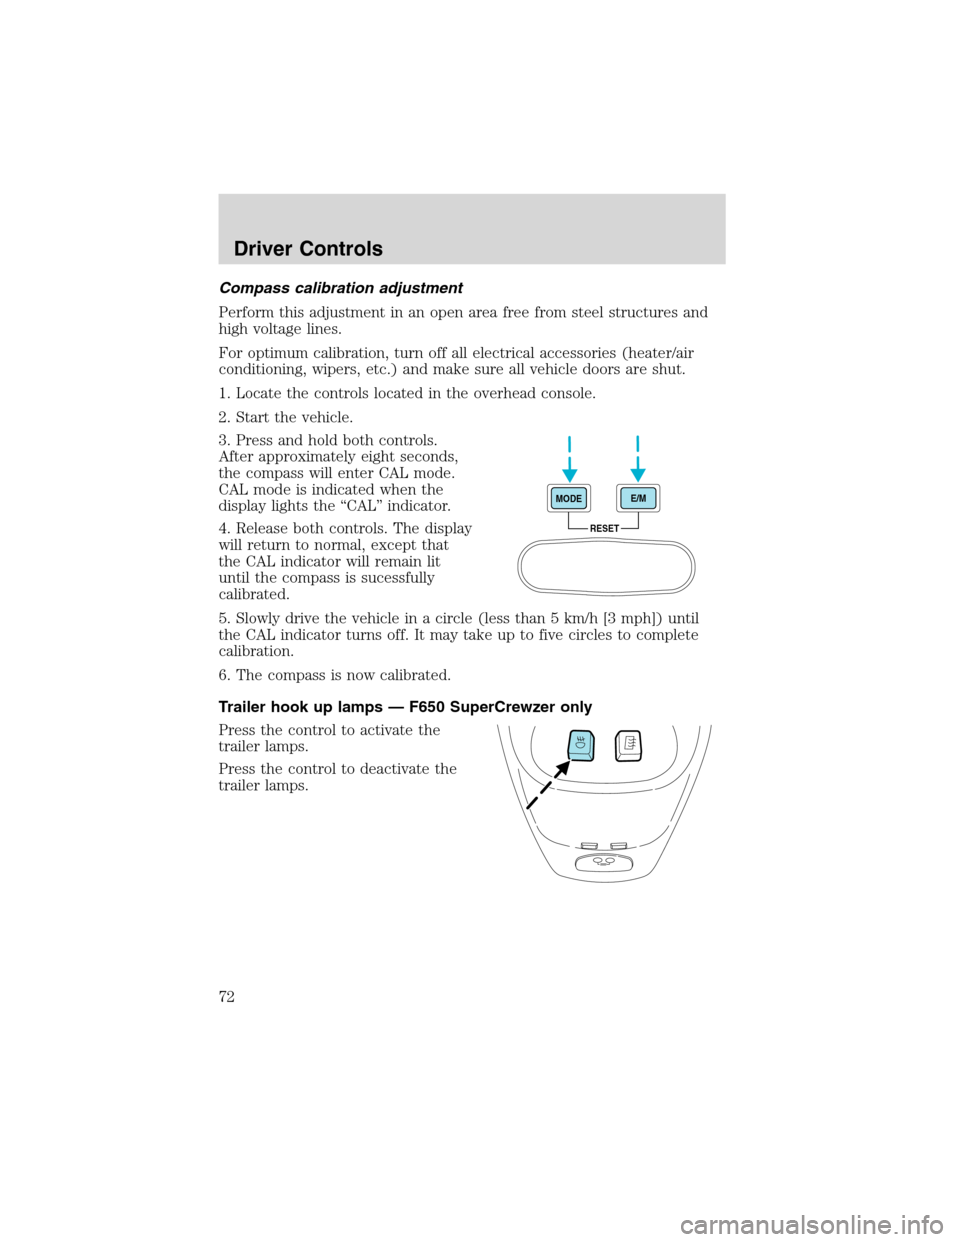
1. Locate the controls located in the overhead console.
2. Start the vehicle.
3. Press and hold both controls.
After approximately eight seconds,
the compass will enter CAL mode.
CAL mode is indicated when the
display lights the“CAL”indicator.
4. Release both controls. The display
will return to normal, except that
the CAL indicator will remain lit
until the compass is sucessfully
calibrated.
5. Slowly drive the vehicle in a circle (less than 5 km/h [3 mph]) until
the CAL indicator turns off. It may take up to five circles to complete
calibration.
6. The compass is now calibrated.
Trailer hook up lamps—F650 SuperCrewzer only
Press the control to activate the
trailer lamps.
Press the control to deactivate the
trailer lamps.
RESET MODEE/M
Driver Controls
72
Page 73 of 248
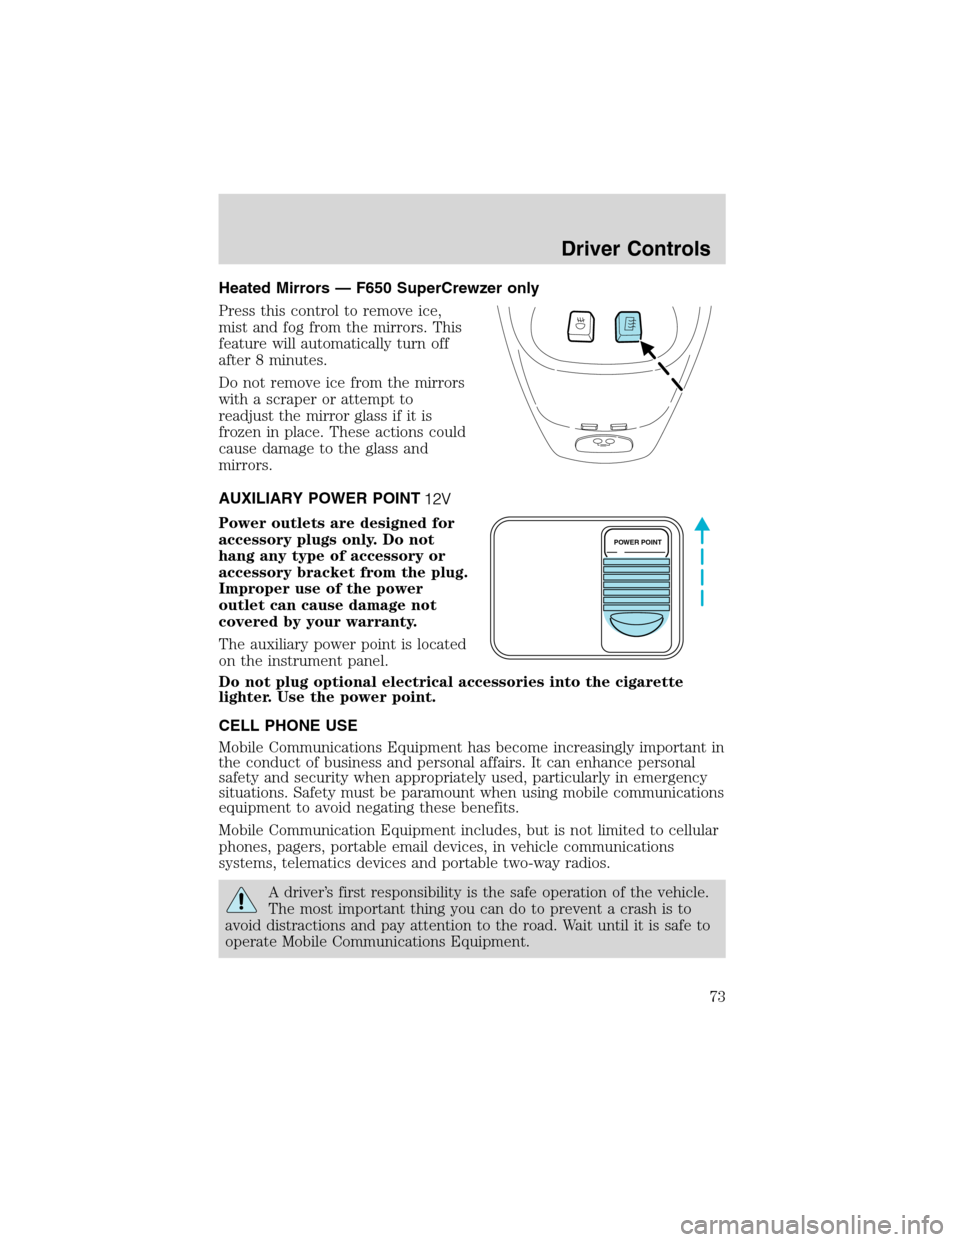
Heated Mirrors—F650 SuperCrewzer only
Press this control to remove ice,
mist and fog from the mirrors. This
feature will automatically turn off
after 8 minutes.
Do not remove ice from the mirrors
with a scraper or attempt to
readjust the mirror glass if it is
frozen in place. These actions could
cause damage to the glass and
mirrors.
AUXILIARY POWER POINT
Power outlets are designed for
accessory plugs only. Do not
hang any type of accessory or
accessory bracket from the plug.
Improper use of the power
outlet can cause damage not
covered by your warranty.
The auxiliary power point is located
on the instrument panel.
Do not plug optional electrical accessories into the cigarette
lighter. Use the power point.
CELL PHONE USE
Mobile Communications Equipment has become increasingly important in
the conduct of business and personal affairs. It can enhance personal
safety and security when appropriately used, particularly in emergency
situations. Safety must be paramount when using mobile communications
equipment to avoid negating these benefits.
Mobile Communication Equipment includes, but is not limited to cellular
phones, pagers, portable email devices, in vehicle communications
systems, telematics devices and portable two-way radios.
A driver’s first responsibility is the safe operation of the vehicle.
The most important thing you can do to prevent a crash is to
avoid distractions and pay attention to the road. Wait until it is safe to
operate Mobile Communications Equipment.
POWER POINT
Driver Controls
73
Page 74 of 248
POWER WINDOWS (IF EQUIPPED)
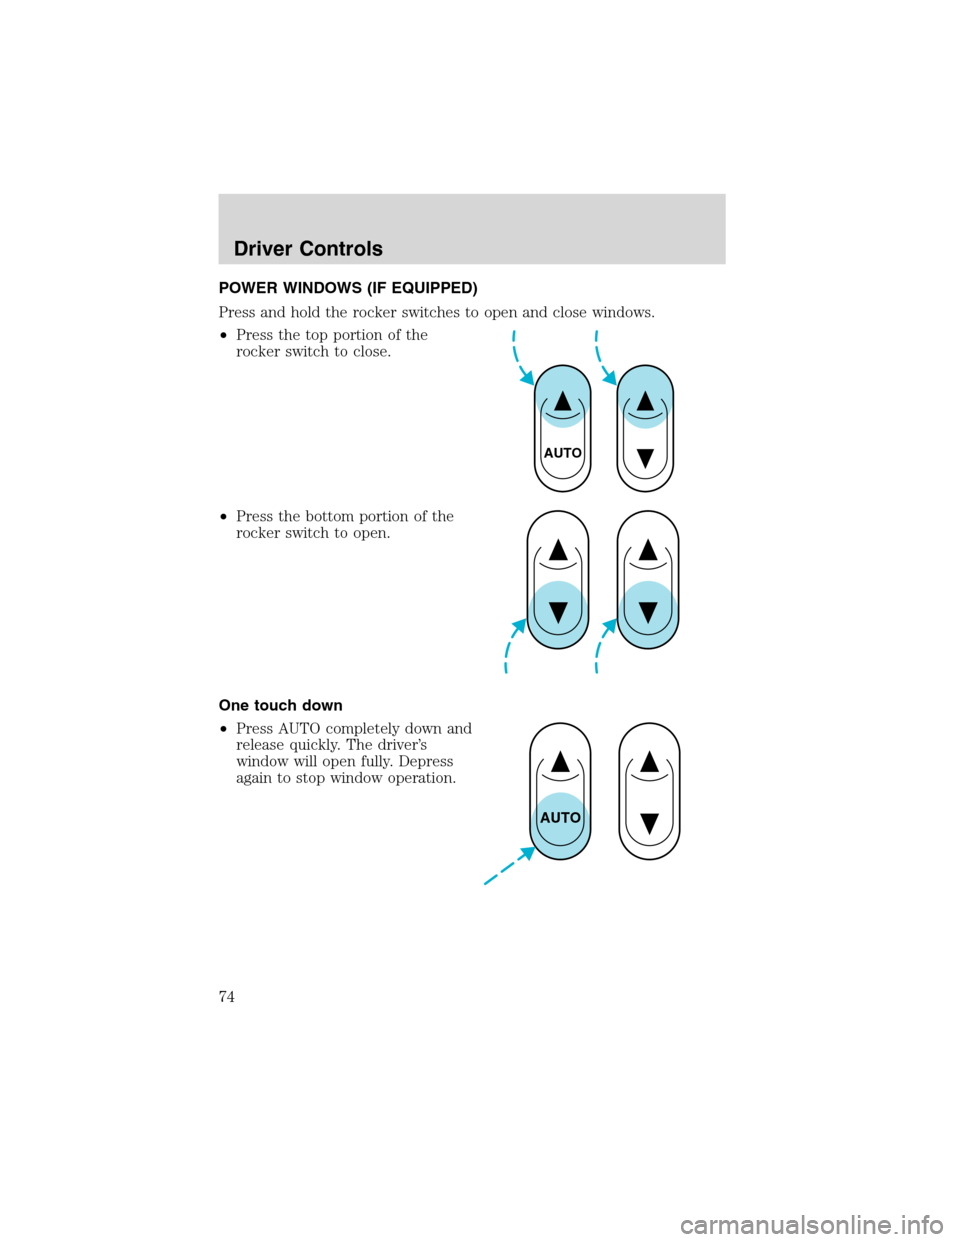
Press and hold the rocker switches to open and close windows.
•Press the top portion of the
rocker switch to close.
•Press the bottom portion of the
rocker switch to open.
One touch down
•Press AUTO completely down and
release quickly. The driver’s
window will open fully. Depress
again to stop window operation.
AUTO
AUTO
Driver Controls
74
Page 75 of 248
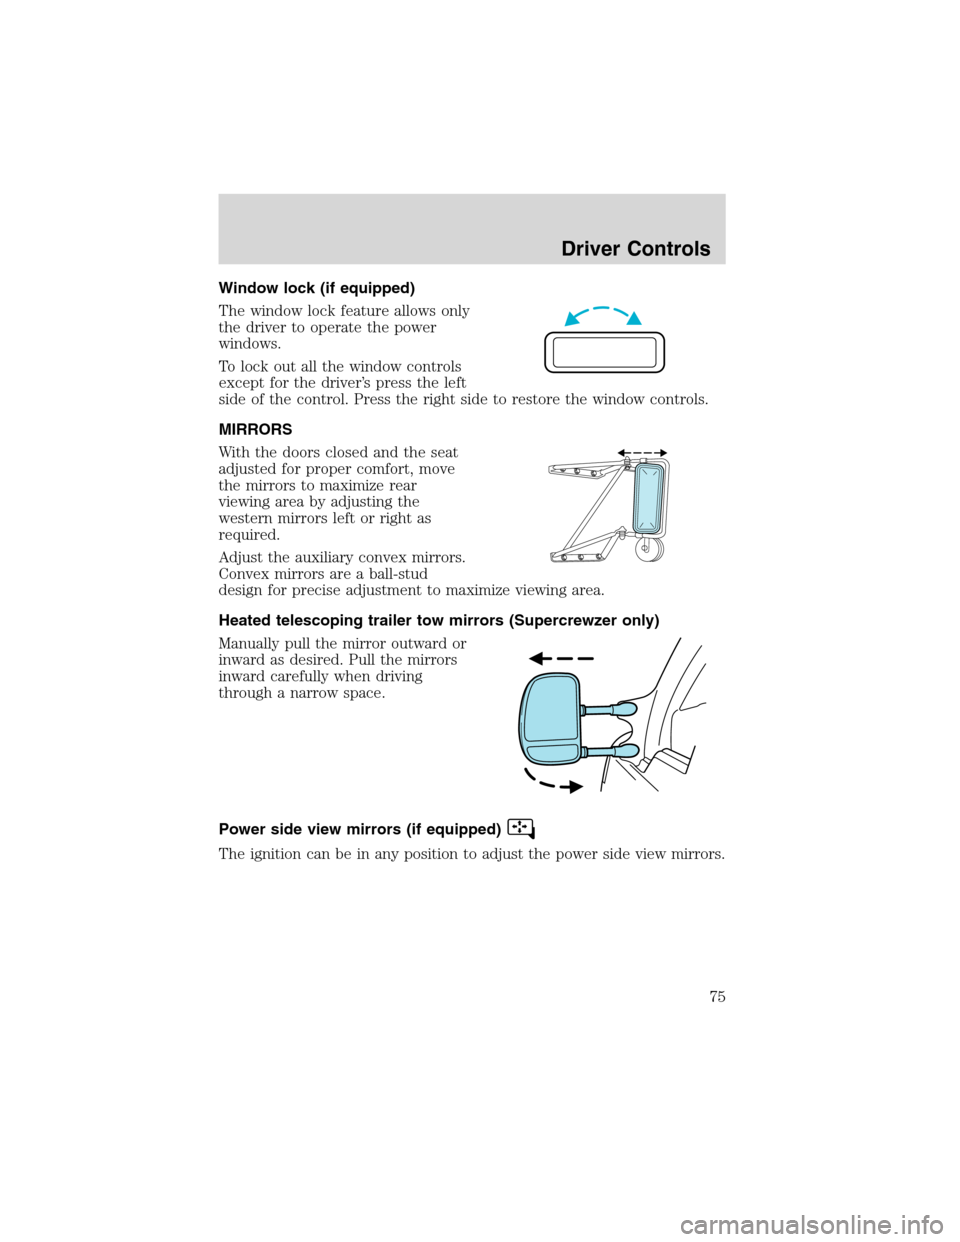
Window lock (if equipped)
The window lock feature allows only
the driver to operate the power
windows.
To lock out all the window controls
except for the driver’s press the left
side of the control. Press the right side to restore the window controls.
MIRRORS
With the doors closed and the seat
adjusted for proper comfort, move
the mirrors to maximize rear
viewing area by adjusting the
western mirrors left or right as
required.
Adjust the auxiliary convex mirrors.
Convex mirrors are a ball-stud
design for precise adjustment to maximize viewing area.
Heated telescoping trailer tow mirrors (Supercrewzer only)
Manually pull the mirror outward or
inward as desired. Pull the mirrors
inward carefully when driving
through a narrow space.
Power side view mirrors (if equipped)
The ignition can be in any position to adjust the power side view mirrors.
Driver Controls
75
Page 76 of 248
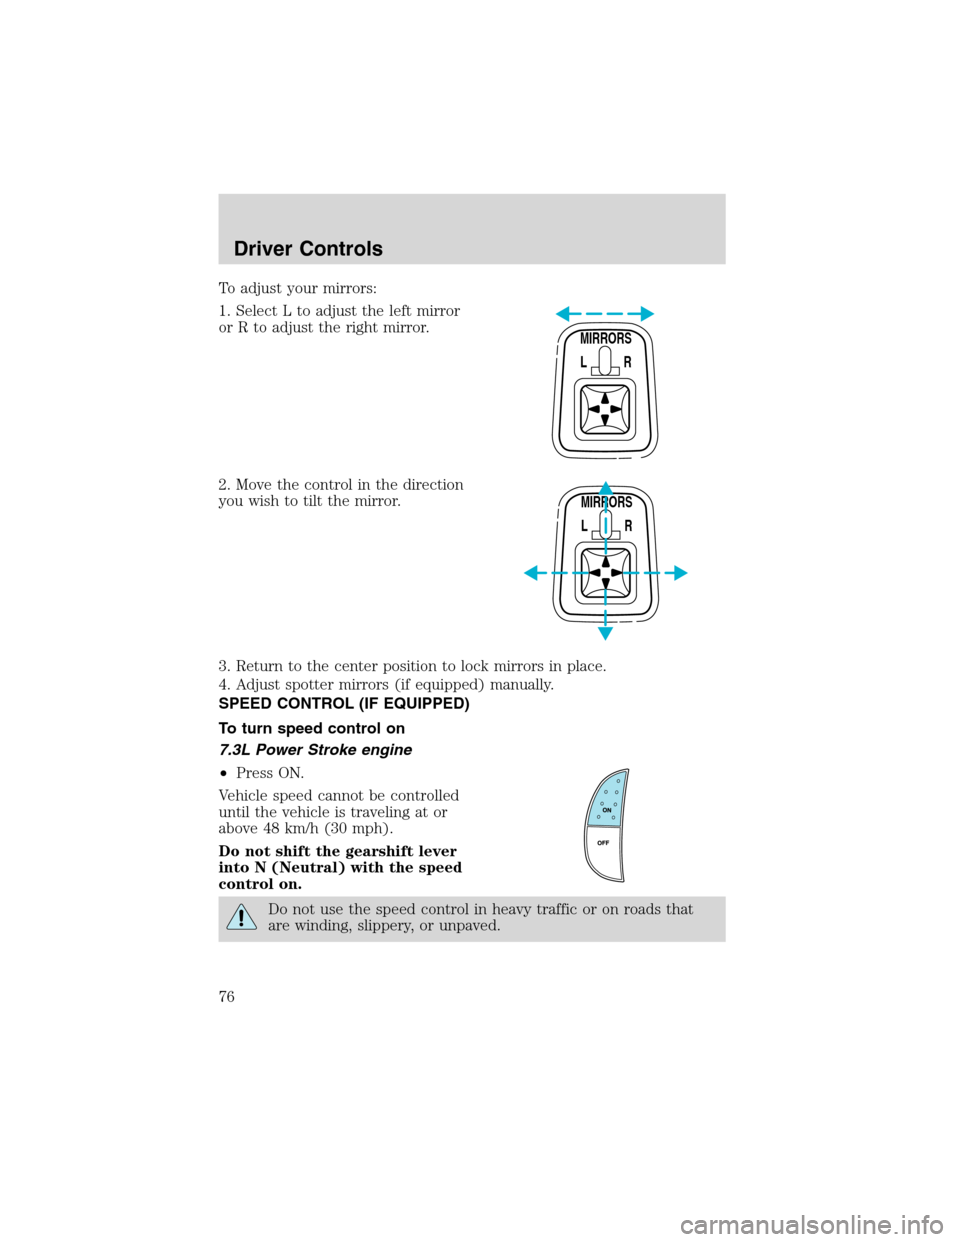
To adjust your mirrors:
1. Select L to adjust the left mirror
or R to adjust the right mirror.
2. Move the control in the direction
you wish to tilt the mirror.
3. Return to the center position to lock mirrors in place.
4. Adjust spotter mirrors (if equipped) manually.
SPEED CONTROL (IF EQUIPPED)
To turn speed control on
7.3L Power Stroke engine
•Press ON.
Vehicle speed cannot be controlled
until the vehicle is traveling at or
above 48 km/h (30 mph).
Do not shift the gearshift lever
into N (Neutral) with the speed
control on.
Do not use the speed control in heavy traffic or on roads that
are winding, slippery, or unpaved.
MIRRORS
L R
MIRRORS
L R
Driver Controls
76
Page 77 of 248
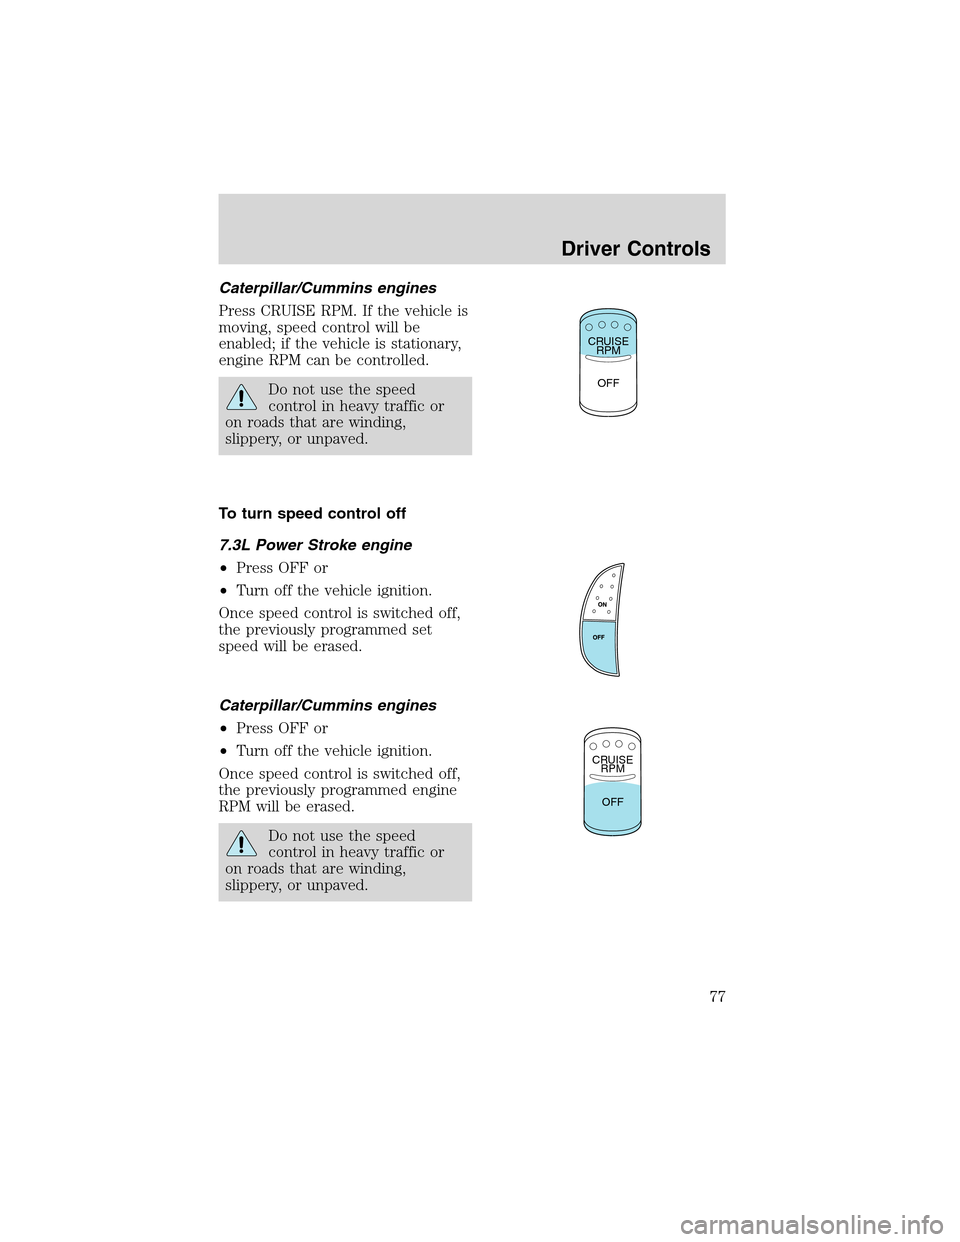
Caterpillar/Cummins engines
Press CRUISE RPM. If the vehicle is
moving, speed control will be
enabled; if the vehicle is stationary,
engine RPM can be controlled.
Do not use the speed
control in heavy traffic or
on roads that are winding,
slippery, or unpaved.
To turn speed control off
7.3L Power Stroke engine
•Press OFF or
•Turn off the vehicle ignition.
Once speed control is switched off,
the previously programmed set
speed will be erased.
Caterpillar/Cummins engines
•Press OFF or
•Turn off the vehicle ignition.
Once speed control is switched off,
the previously programmed engine
RPM will be erased.
Do not use the speed
control in heavy traffic or
on roads that are winding,
slippery, or unpaved.
CRUISE
RPM
OFF
CRUISE
RPM
OFF
Driver Controls
77
Page 78 of 248
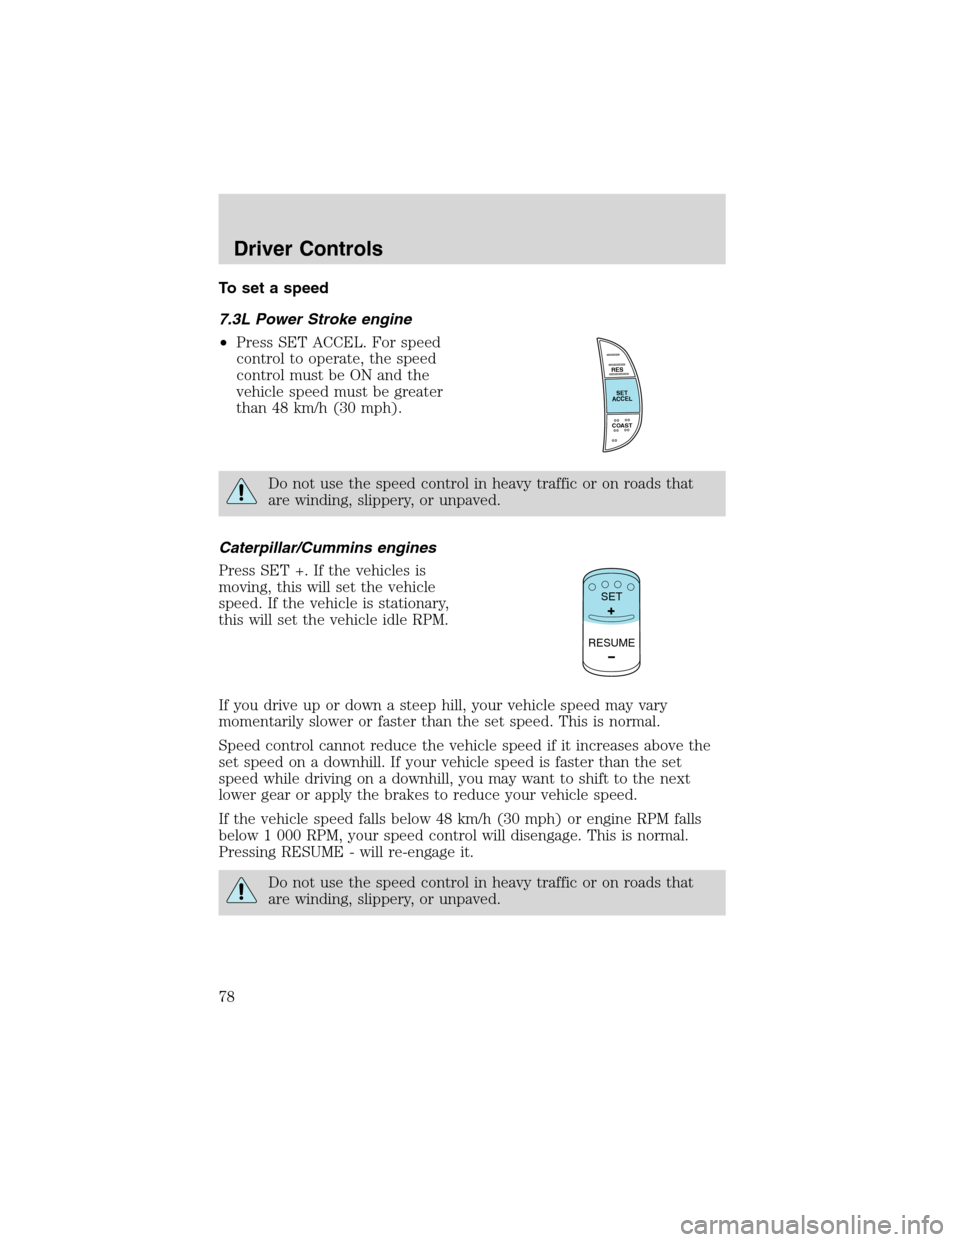
To set a speed
7.3L Power Stroke engine
•Press SET ACCEL. For speed
control to operate, the speed
control must be ON and the
vehicle speed must be greater
than 48 km/h (30 mph).
Do not use the speed control in heavy traffic or on roads that
are winding, slippery, or unpaved.
Caterpillar/Cummins engines
Press SET +. If the vehicles is
moving, this will set the vehicle
speed. If the vehicle is stationary,
this will set the vehicle idle RPM.
If you drive up or down a steep hill, your vehicle speed may vary
momentarily slower or faster than the set speed. This is normal.
Speed control cannot reduce the vehicle speed if it increases above the
set speed on a downhill. If your vehicle speed is faster than the set
speed while driving on a downhill, you may want to shift to the next
lower gear or apply the brakes to reduce your vehicle speed.
If the vehicle speed falls below 48 km/h (30 mph) or engine RPM falls
below 1 000 RPM, your speed control will disengage. This is normal.
Pressing RESUME - will re-engage it.
Do not use the speed control in heavy traffic or on roads that
are winding, slippery, or unpaved.
RES
SET
ACCEL
COAST
SET
RESUME
Driver Controls
78
Page 79 of 248
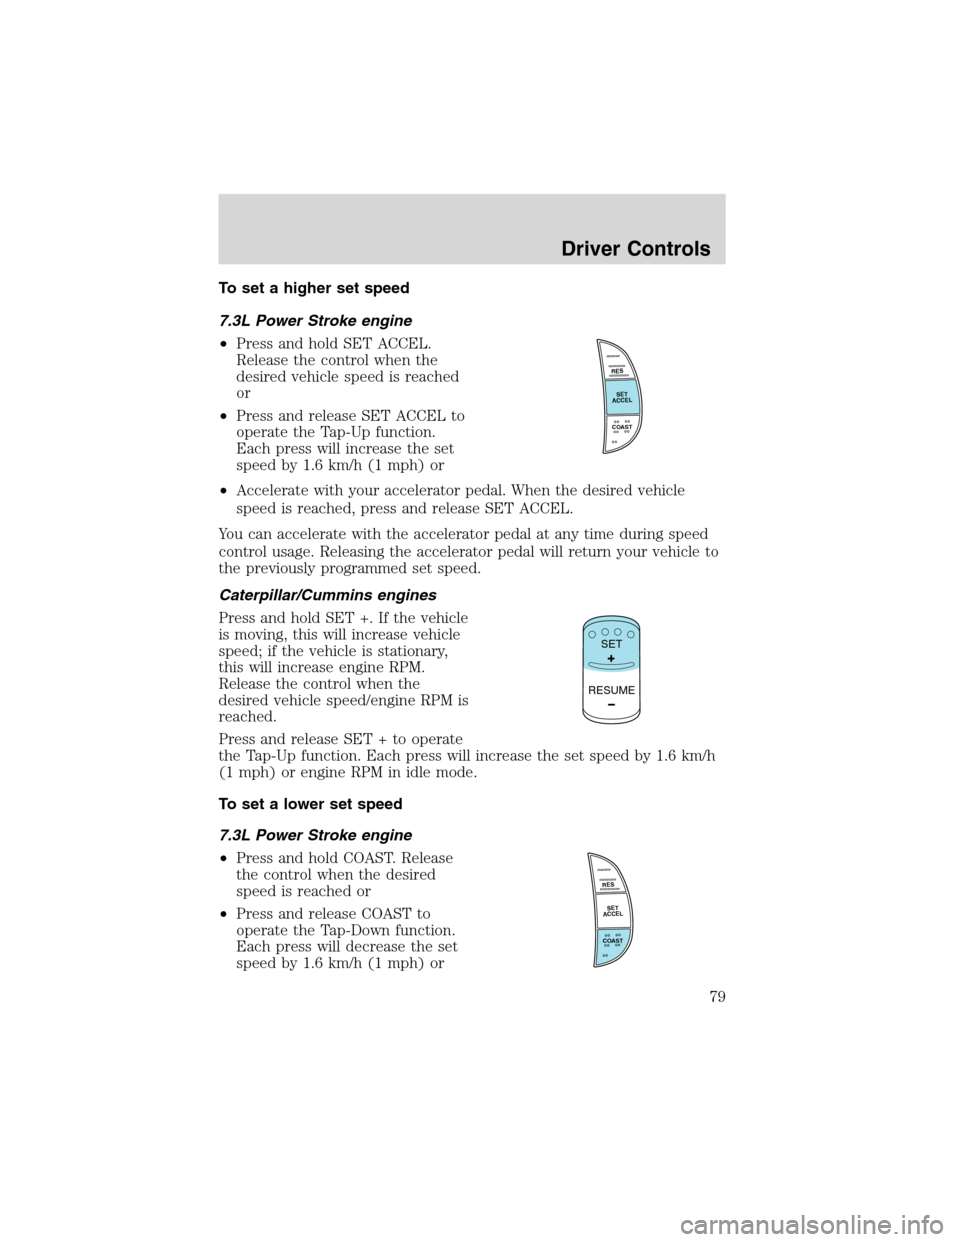
To set a higher set speed
7.3L Power Stroke engine
•Press and hold SET ACCEL.
Release the control when the
desired vehicle speed is reached
or
•Press and release SET ACCEL to
operate the Tap-Up function.
Each press will increase the set
speed by 1.6 km/h (1 mph) or
•Accelerate with your accelerator pedal. When the desired vehicle
speed is reached, press and release SET ACCEL.
You can accelerate with the accelerator pedal at any time during speed
control usage. Releasing the accelerator pedal will return your vehicle to
the previously programmed set speed.
Caterpillar/Cummins engines
Press and hold SET +. If the vehicle
is moving, this will increase vehicle
speed; if the vehicle is stationary,
this will increase engine RPM.
Release the control when the
desired vehicle speed/engine RPM is
reached.
Press and release SET + to operate
the Tap-Up function. Each press will increase the set speed by 1.6 km/h
(1 mph) or engine RPM in idle mode.
To set a lower set speed
7.3L Power Stroke engine
•Press and hold COAST. Release
the control when the desired
speed is reached or
•Press and release COAST to
operate the Tap-Down function.
Each press will decrease the set
speed by 1.6 km/h (1 mph) or
RES
SET
ACCEL
COAST
SET
RESUME
RES
SET
ACCEL
COAST
Driver Controls
79
Page 80 of 248
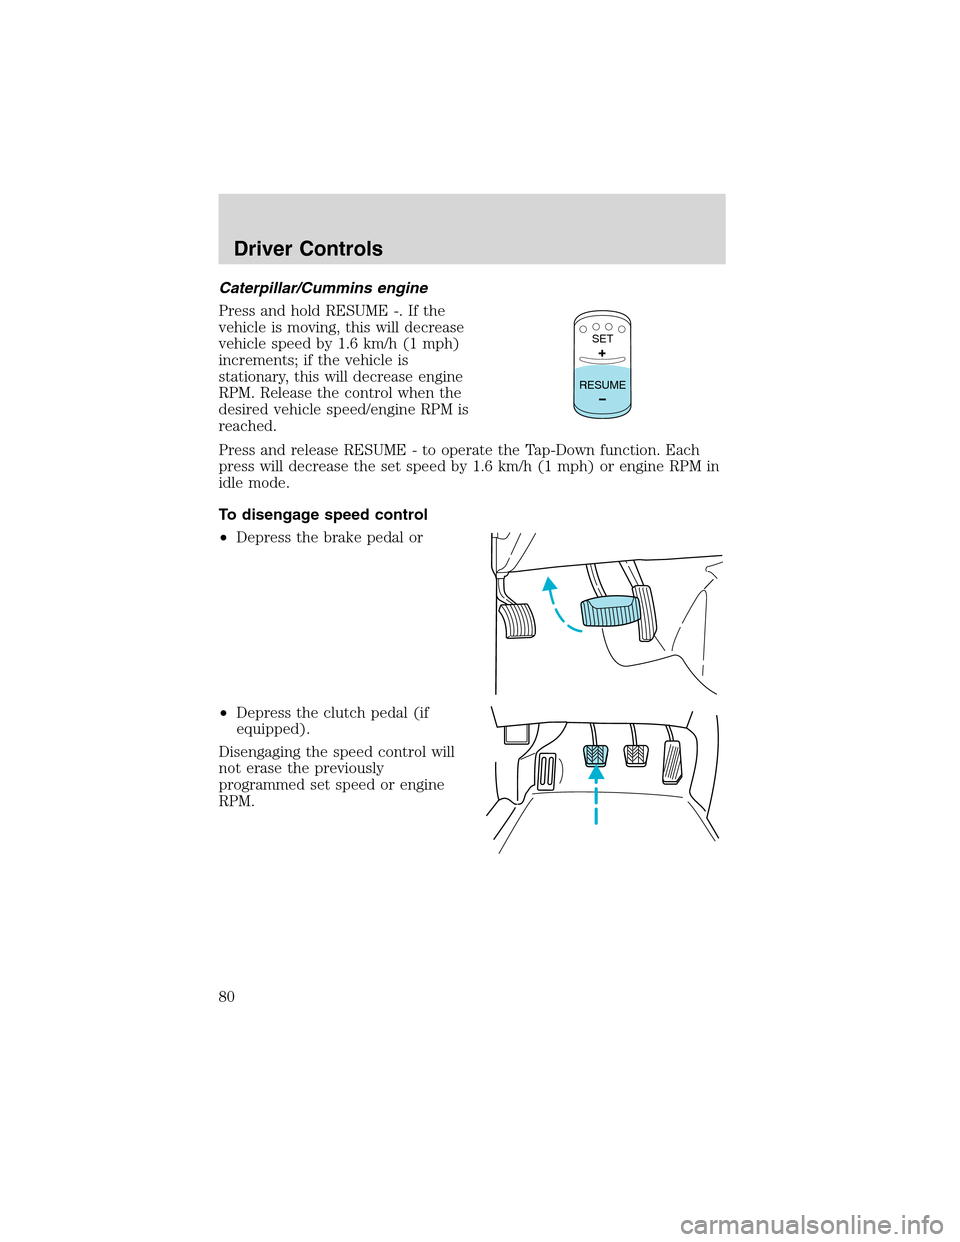
Caterpillar/Cummins engine
Press and hold RESUME -. If the
vehicle is moving, this will decrease
vehicle speed by 1.6 km/h (1 mph)
increments; if the vehicle is
stationary, this will decrease engine
RPM. Release the control when the
desired vehicle speed/engine RPM is
reached.
Press and release RESUME - to operate the Tap-Down function. Each
press will decrease the set speed by 1.6 km/h (1 mph) or engine RPM in
idle mode.
To disengage speed control
•Depress the brake pedal or
•Depress the clutch pedal (if
equipped).
Disengaging the speed control will
not erase the previously
programmed set speed or engine
RPM.
SET
RESUME
Driver Controls
80