stop start FORD F650 2015 13.G Owner's Manual
[x] Cancel search | Manufacturer: FORD, Model Year: 2015, Model line: F650, Model: FORD F650 2015 13.GPages: 384, PDF Size: 4.95 MB
Page 138 of 384
To shift the axle from LOW to HIGH with your vehicle stopped, place the
transmission in positionN,then press the lower part of the switch.
To shift the axle from LOW to HIGH with your vehicle moving, accelerate
to approximately 35 mph (56 km/h), press the lower part of the switch
while the transmission is in positionN,then release and apply the
accelerator.
To shift the axle from HIGH to LOW with the vehicle stopped, place the
transmission in positionN,then press the upper part of the switch.
Split-shifting (Combined Axle and Transmission Shift) (Manual
Transmission Only)
To downshift the axle to a slower ratio and shift the transmission, shift
the transmission and move the switch to the lower ratio before the
clutch is re-engaged.
To upshift the axle and shift the transmission, move the switch to a
faster ratio and make the transmission shift in the usual manner.
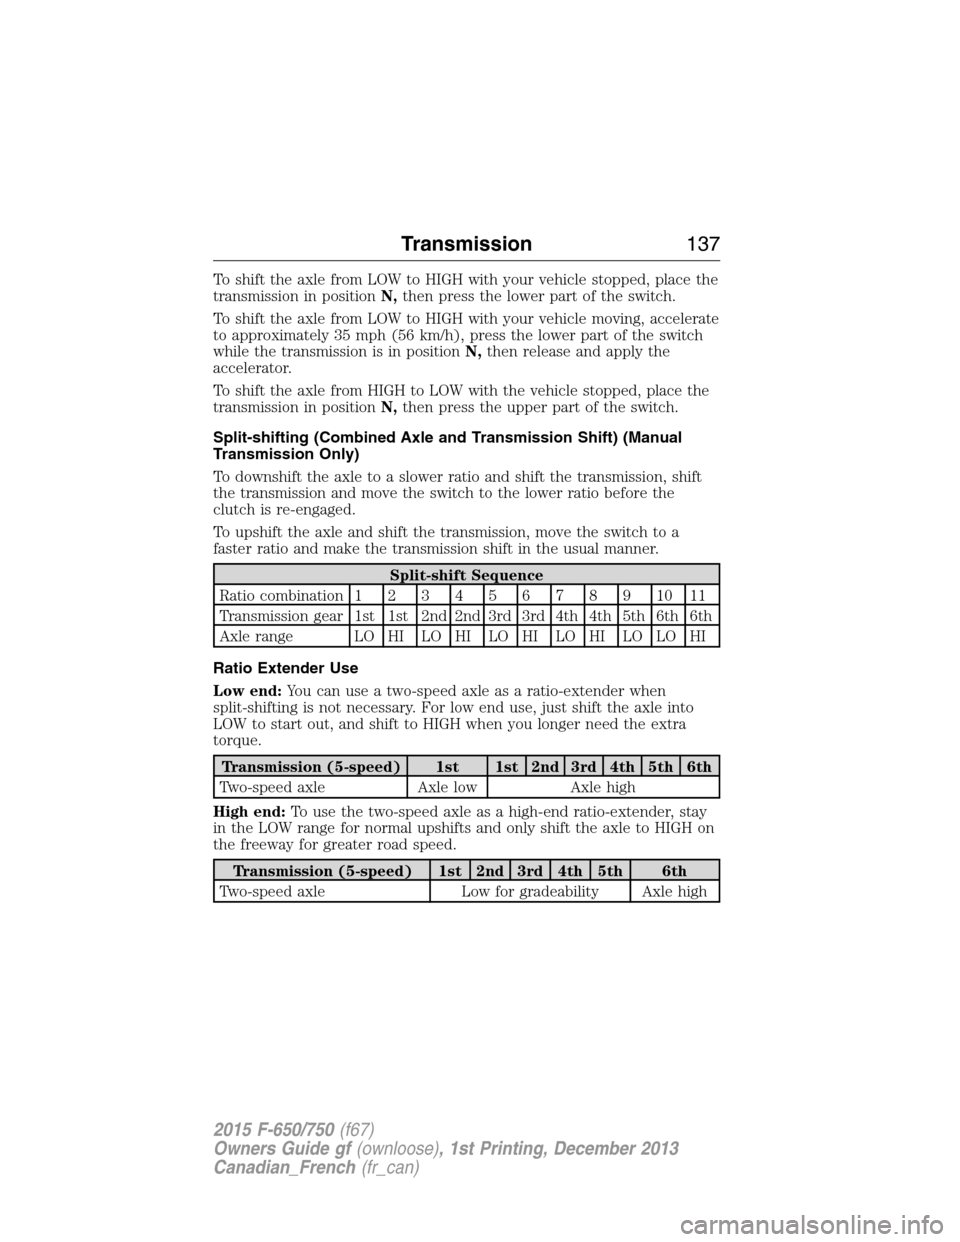
Split-shift Sequence
Ratio combination 1234567891011
Transmission gear 1st 1st 2nd 2nd 3rd 3rd 4th 4th 5th 6th 6th
Axle range LO HI LO HI LO HI LO HI LO LO HI
Ratio Extender Use
Low end:You can use a two-speed axle as a ratio-extender when
split-shifting is not necessary. For low end use, just shift the axle into
LOW to start out, and shift to HIGH when you longer need the extra
torque.
Transmission (5-speed) 1st 1st 2nd 3rd 4th 5th 6th
Two-speed axle Axle low Axle high
High end:To use the two-speed axle as a high-end ratio-extender, stay
in the LOW range for normal upshifts and only shift the axle to HIGH on
the freeway for greater road speed.
Transmission (5-speed) 1st 2nd 3rd 4th 5th 6th
Two-speed axle Low for gradeability Axle high
Transmission137
2015 F-650/750(f67)
Owners Guide gf(ownloose), 1st Printing, December 2013
Canadian_French(fr_can)
Page 140 of 384
Anti-lock Brake System (ABS)
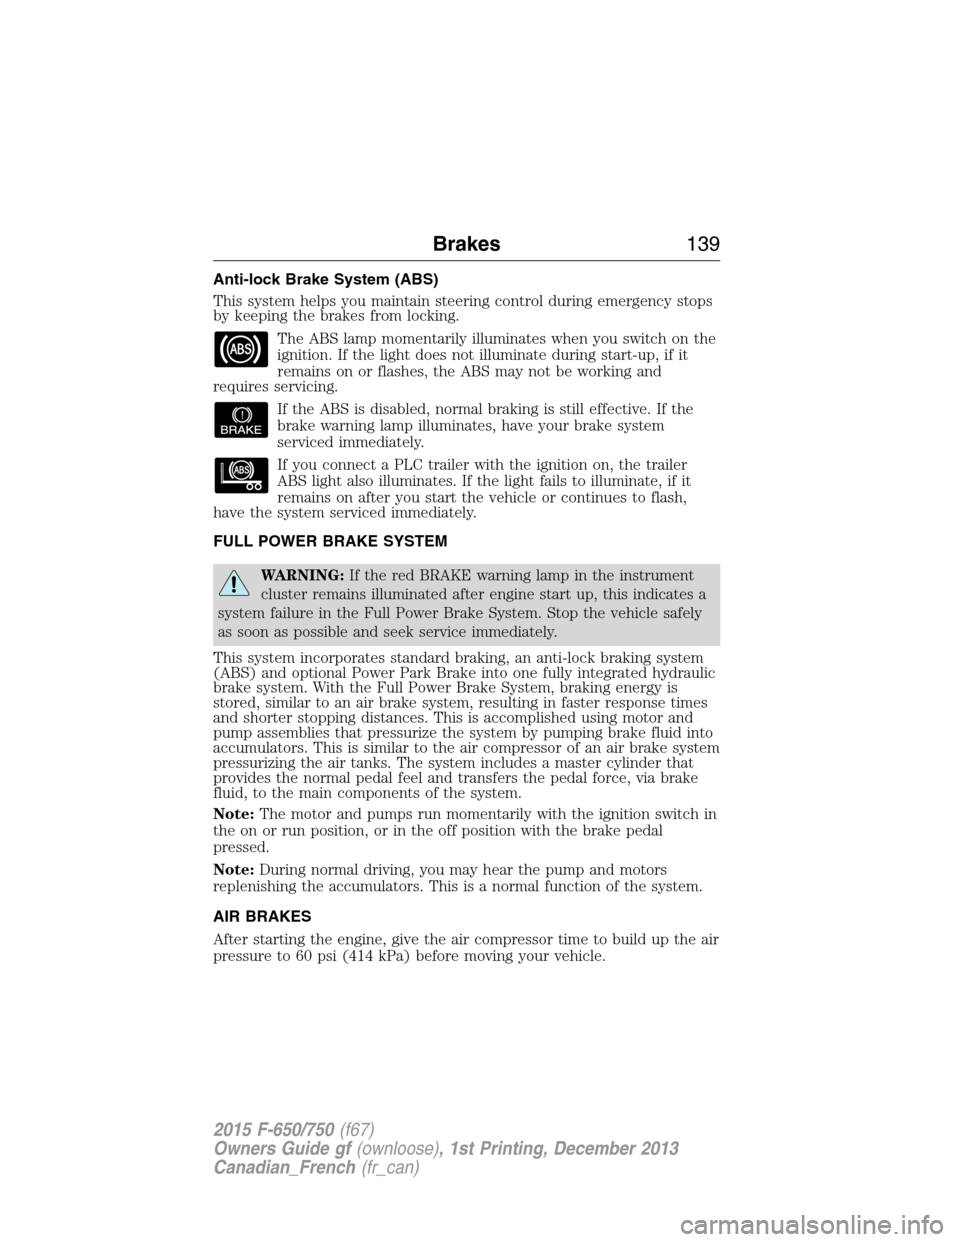
This system helps you maintain steering control during emergency stops
by keeping the brakes from locking.
The ABS lamp momentarily illuminates when you switch on the
ignition. If the light does not illuminate during start-up, if it
remains on or flashes, the ABS may not be working and
requires servicing.
If the ABS is disabled, normal braking is still effective. If the
brake warning lamp illuminates, have your brake system
serviced immediately.
If you connect a PLC trailer with the ignition on, the trailer
ABS light also illuminates. If the light fails to illuminate, if it
remains on after you start the vehicle or continues to flash,
have the system serviced immediately.
FULL POWER BRAKE SYSTEM
WARNING:If the red BRAKE warning lamp in the instrument
cluster remains illuminated after engine start up, this indicates a
system failure in the Full Power Brake System. Stop the vehicle safely
as soon as possible and seek service immediately.
This system incorporates standard braking, an anti-lock braking system
(ABS) and optional Power Park Brake into one fully integrated hydraulic
brake system. With the Full Power Brake System, braking energy is
stored, similar to an air brake system, resulting in faster response times
and shorter stopping distances. This is accomplished using motor and
pump assemblies that pressurize the system by pumping brake fluid into
accumulators. This is similar to the air compressor of an air brake system
pressurizing the air tanks. The system includes a master cylinder that
provides the normal pedal feel and transfers the pedal force, via brake
fluid, to the main components of the system.
Note:The motor and pumps run momentarily with the ignition switch in
the on or run position, or in the off position with the brake pedal
pressed.
Note:During normal driving, you may hear the pump and motors
replenishing the accumulators. This is a normal function of the system.
AIR BRAKES
After starting the engine, give the air compressor time to build up the air
pressure to 60 psi (414 kPa) before moving your vehicle.
Brakes139
2015 F-650/750(f67)
Owners Guide gf(ownloose), 1st Printing, December 2013
Canadian_French(fr_can)
Page 143 of 384
HINTS ON DRIVING WITH ANTI-LOCK BRAKES
When the system is operating, the brake pedal pulses and may travel
further. Maintain pressure on the brake pedal. You may also hear a noise
from the system. This is normal.
The ABS does not eliminate the dangers inherent when:
•You drive too closely to the vehicle in front of you.
•Your vehicle is hydroplaning.
•You take corners too fast.
•The road surface is poor.
EXHAUST BRAKE (IF EQUIPPED)
WARNING:The exhaust brake is not recommended for use on
slippery or low traction road surfaces. Under these conditions a
loss of vehicle control could occur.
Note:Installing an exhaust or auxiliary brake does not necessarily
protect the engine from exceeding maximum governed speed. Use the
primary brakes to make sure the engine never exceeds maximum
governed speed under any conditions.
Note:Before starting the engine, make sure that the exhaust brake
switch is in the off position. Do not turn the exhaust brake on until the
engine has reached normal operating temperature.
Note:Maximum exhaust brake performance relates to the type of
transmission your vehicle has.
Note:Engine speed has a major influence of retarding performance.
When engine speed is stays at the maximum allowable level, the exhaust
brake operates at peak performance.
Note:Manual transmissions should be downshifted to the lowest gear
possible, without exceeding the maximum RPM limit of the engine. This
maximizes the exhaust brake’s retarding effect.
Note:Exhaust brakes operate effectively with automatic transmissions,
but performance varies with engine speed and the gear selected by the
transmission.
An exhaust brake is an auxiliary braking system that assists, but does
not replace, the primary service brake system. It helps control vehicle
speed; it is not a vehicle-stopping device.
142Brakes
2015 F-650/750(f67)
Owners Guide gf(ownloose), 1st Printing, December 2013
Canadian_French(fr_can)
Page 161 of 384
If you install an electrical back up alarm, connect it to the backup lamp
circuit.
Parking
WARNING:When parking your vehicle, do not leave the
transmission in gear; if the key is in the on position and the
vehicle rolls, the engine could start. Failure to follow these instructions
could result in an unattended vehicle moving, possibly causing personal
injury or property damage.
Always use the parking brake. When parking on a grade, block the
wheels and turn the front wheels to one side so that if your vehicle rolls,
the front tires act against the curb to stop your vehicle. The front wheels
are more effective at stopping a rolling vehicle than the rear wheels.
Cold Weather
Note:Idling in cold weather does not heat the engine to its normal
operating temperature. Long periods of idling in cold weather can cause
a build-up of heavy deposits of carbon and rust on valve stems causing
them to stick which, in turn, can cause valvetrain damage.
Note:We recommend against using winter fronts, or other air-restrictive
devices mounted in front of the radiator on vehicles with
chassis-mounted charge air coolers, unless extremely cold weather
conditions exist. Airflow restriction can cause high exhaust temperatures,
power loss, excessive fan usage and a reduction in fuel economy. If you
must use a winter front, the device should have a permanent opening of
at least 120 square inches (774 square centimeters) directly in line with
the fan hub.
For best engine operation in temperatures of 32°F (0°C) or lower:
•Make sure the batteries are the correct type and are fully charged.
Check other electrical components to make sure they are in optimum
condition.
•Use a permanent-type engine coolant to protect the engine against
damage from freezing.
•If your vehicle is equipped with a water-fuel separator, drain it daily.
Fill the fuel tank at the end of daily operation to prevent
condensation in the fuel system.
•Use the proper engine oil and maintain it at its proper level.
160Driving Aids
2015 F-650/750(f67)
Owners Guide gf(ownloose), 1st Printing, December 2013
Canadian_French(fr_can)
Page 170 of 384
Safety Chains
Note:Do not attach safety chains to the bumper.
Always connect the trailer’s safety chains to the frame or hook retainers
of your vehicle hitch.
To connect the trailer’s safety chains, cross the chains under the trailer
tongue and allow enough slack for turning tight corners. Do not allow the
chains to drag on the ground.
Trailer Brakes
WARNING:Do not connect a trailer’s hydraulic brake system
directly to your vehicle’s brake system. Your vehicle may not have
enough braking power and your chances of having a crash greatly
increase.
Electric brakes and manual, automatic or surge-type trailer brakes are
safe if you install them properly and adjust them to the manufacturer’s
specifications. The trailer brakes must meet local and federal regulations.
The rating for the tow vehicle’s braking system operation is at
the gross vehicle weight rating, not the gross combined weight
rating.
Trailer Lamps
WARNING:Never connect any trailer lamp wiring to the
vehicle’s tail lamp wiring; this may damage the electrical system
resulting in a fire. Contact an authorized dealer as soon as possible for
assistance in proper trailer tow wiring installation. Additional electrical
equipment may be required.
Trailer lamps are required on most towed vehicles. Make sure all running
lights, brake lights, turn signals and hazard lights are working.
Before Towing a Trailer
Practice turning, stopping and backing up to get the feel of your
vehicle-trailer combination before starting on a trip. When turning, make
wider turns so the trailer wheels clear curbs and other obstacles.
When Towing a Trailer
•Check your hitch, electrical connections and trailer wheel lug nuts
thoroughly after you have traveled 50 miles (80 kilometers).
Towing169
2015 F-650/750(f67)
Owners Guide gf(ownloose), 1st Printing, December 2013
Canadian_French(fr_can)
Page 227 of 384
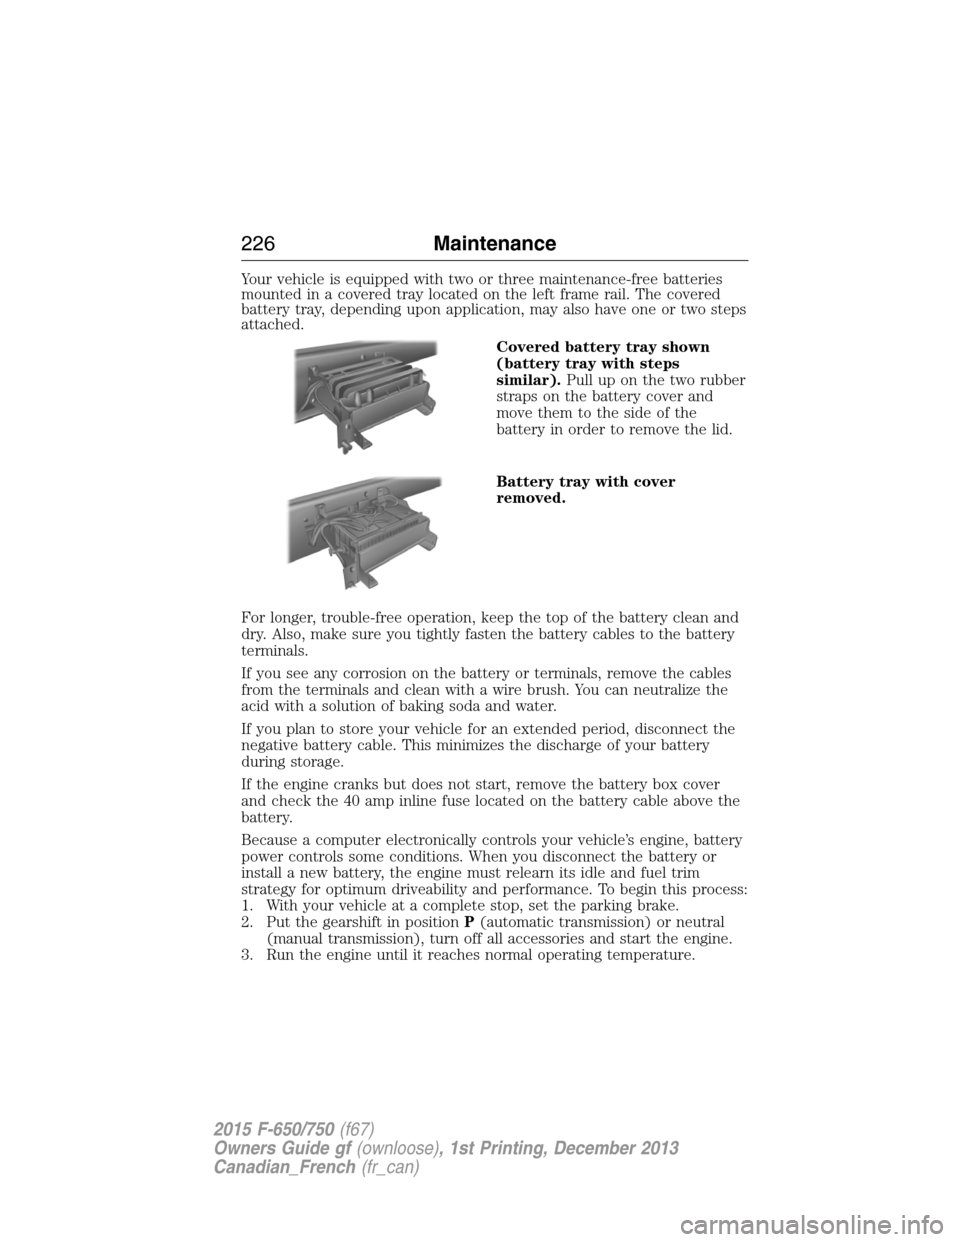
Your vehicle is equipped with two or three maintenance-free batteries
mounted in a covered tray located on the left frame rail. The covered
battery tray, depending upon application, may also have one or two steps
attached.
Covered battery tray shown
(battery tray with steps
similar).Pull up on the two rubber
straps on the battery cover and
move them to the side of the
battery in order to remove the lid.
Battery tray with cover
removed.
For longer, trouble-free operation, keep the top of the battery clean and
dry. Also, make sure you tightly fasten the battery cables to the battery
terminals.
If you see any corrosion on the battery or terminals, remove the cables
from the terminals and clean with a wire brush. You can neutralize the
acid with a solution of baking soda and water.
If you plan to store your vehicle for an extended period, disconnect the
negative battery cable. This minimizes the discharge of your battery
during storage.
If the engine cranks but does not start, remove the battery box cover
and check the 40 amp inline fuse located on the battery cable above the
battery.
Because a computer electronically controls your vehicle’s engine, battery
power controls some conditions. When you disconnect the battery or
install a new battery, the engine must relearn its idle and fuel trim
strategy for optimum driveability and performance. To begin this process:
1. With your vehicle at a complete stop, set the parking brake.
2. Put the gearshift in positionP(automatic transmission) or neutral
(manual transmission), turn off all accessories and start the engine.
3. Run the engine until it reaches normal operating temperature.
226Maintenance
2015 F-650/750(f67)
Owners Guide gf(ownloose), 1st Printing, December 2013
Canadian_French(fr_can)