ECO mode FORD F650 2015 13.G Owners Manual
[x] Cancel search | Manufacturer: FORD, Model Year: 2015, Model line: F650, Model: FORD F650 2015 13.GPages: 384, PDF Size: 4.95 MB
Page 8 of 384
ABOUT THIS MANUAL
Thank you for choosing Ford. We recommend that you take some time to
get to know your vehicle by reading this manual. The more that you
know about it, the greater the safety and pleasure you will get from
driving it.
WARNING:Always drive with due care and attention when
using and operating the controls and features on your vehicle.
Note:This manual describes product features and options available
throughout the range of available models, sometimes even before they
are generally available. It may describe options not fitted to your vehicle.
Note:Some of the illustrations in this manual may be used for different
models, so may appear different to you on your vehicle. However, the
essential information in the illustrations is always correct.
Note:Always use and operate your vehicle in line with all applicable
laws and regulations.
Note:Pass on this manual when selling your vehicle. It is an integral
part of the vehicle.
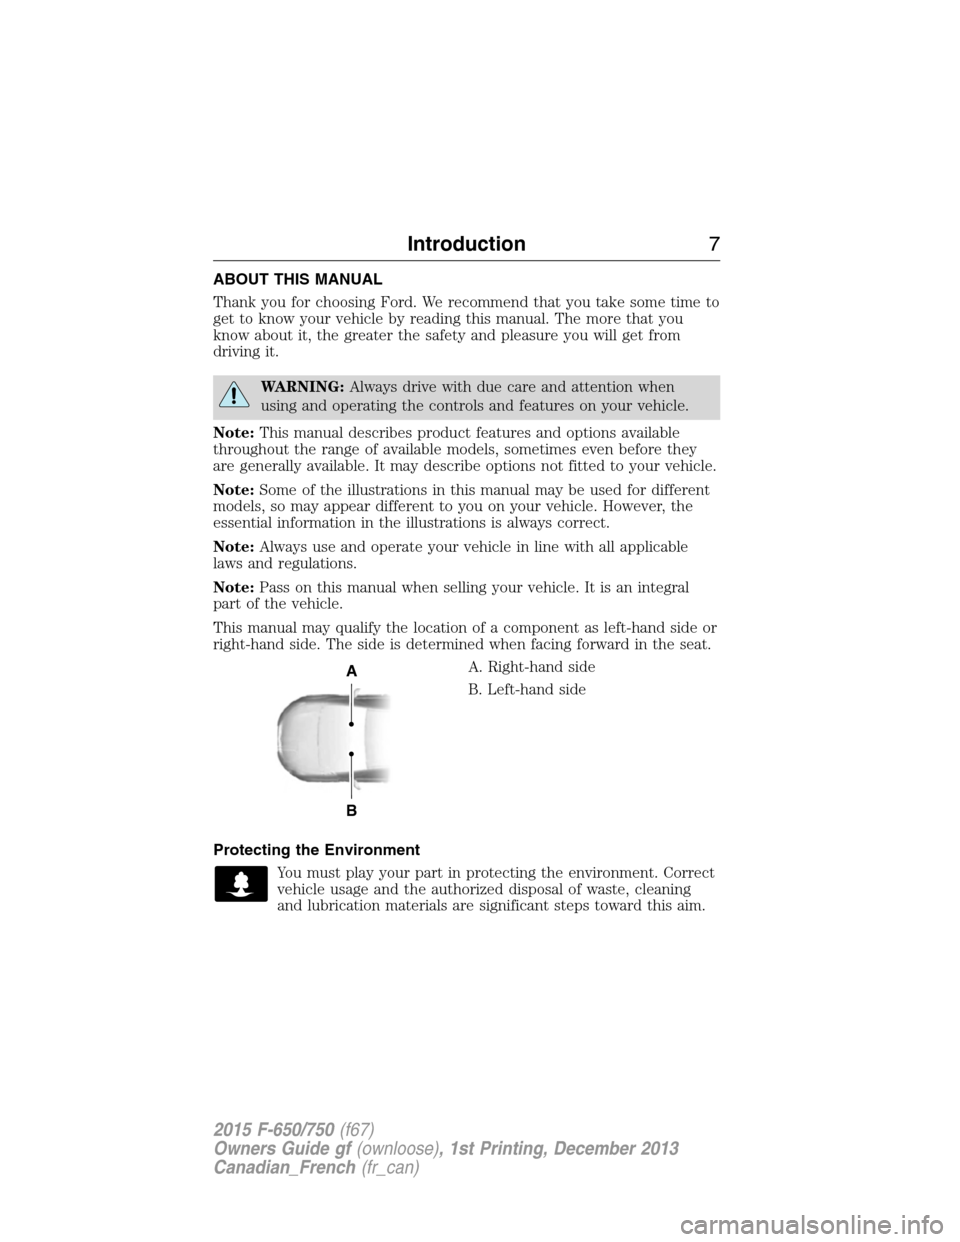
This manual may qualify the location of a component as left-hand side or
right-hand side. The side is determined when facing forward in the seat.
A. Right-hand side
B. Left-hand side
Protecting the Environment
You must play your part in protecting the environment. Correct
vehicle usage and the authorized disposal of waste, cleaning
and lubrication materials are significant steps toward this aim.
A
B
Introduction7
2015 F-650/750(f67)
Owners Guide gf(ownloose), 1st Printing, December 2013
Canadian_French(fr_can)
Page 50 of 384
Deactivating and Activating the Belt-Minder® Feature
WARNING:While the design allows you to deactivate your
Belt-Minder®, this system is designed to improve your chances of
being safely belted and surviving an accident. We recommend you leave
the Belt-Minder® system activated for yourself and others who may use
the vehicle. To reduce the risk of injury, do not deactivate or activate
the Belt-Minder® feature while driving the vehicle.
Read Steps 1-4 thoroughly before proceeding with the deactivation or
activation programming procedure.
The system can be deactivated and activated by performing the following
procedure:
Before following the procedure, make sure that:
•the parking brake is set
•the gearshift is in positionP(if equipped) orNfor an automatic
transmission or neutral for a manual transmission
•the ignition is off
•all vehicle doors are closed
•the driver’s safety belt is unbuckled
•the parklamps and headlamps are off.
1. Turn the ignition on. (DO NOT START THE ENGINE.)
2. Wait until the safety belt warning light turns off (approximately one
or two minutes).
•Steps 3–5 must be completed within 60 seconds after the safety
belt warning light turns off, or the procedure has to be repeated.
3. Buckle then unbuckle the safety belt three times at a moderate
speed, ending with the safety belt in the unbuckled state.
4. Turn on the parklamps and headlamps, then turn them off.
5. Buckle then unbuckle the safety belt three times at a moderate
speed, ending with the safety belt in the unbuckled state.
•After Step 5, the safety belt warning light turns on for three
seconds.
6. Within seven seconds of the light turning on, buckle then unbuckle
the safety belt.
•This disables the Belt-Minder® feature if it is currently enabled.
•This enables the Belt-Minder® feature if it is currently disabled.
Confirmation of disabling Belt-Minder® is provided by the safety belt
warning light flashing four times per second for three seconds.
Safety Belts49
2015 F-650/750(f67)
Owners Guide gf(ownloose), 1st Printing, December 2013
Canadian_French(fr_can)
Page 54 of 384
ADJUSTING THE STEERING WHEEL
WARNING:Do not adjust the steering wheel when your vehicle
is moving.
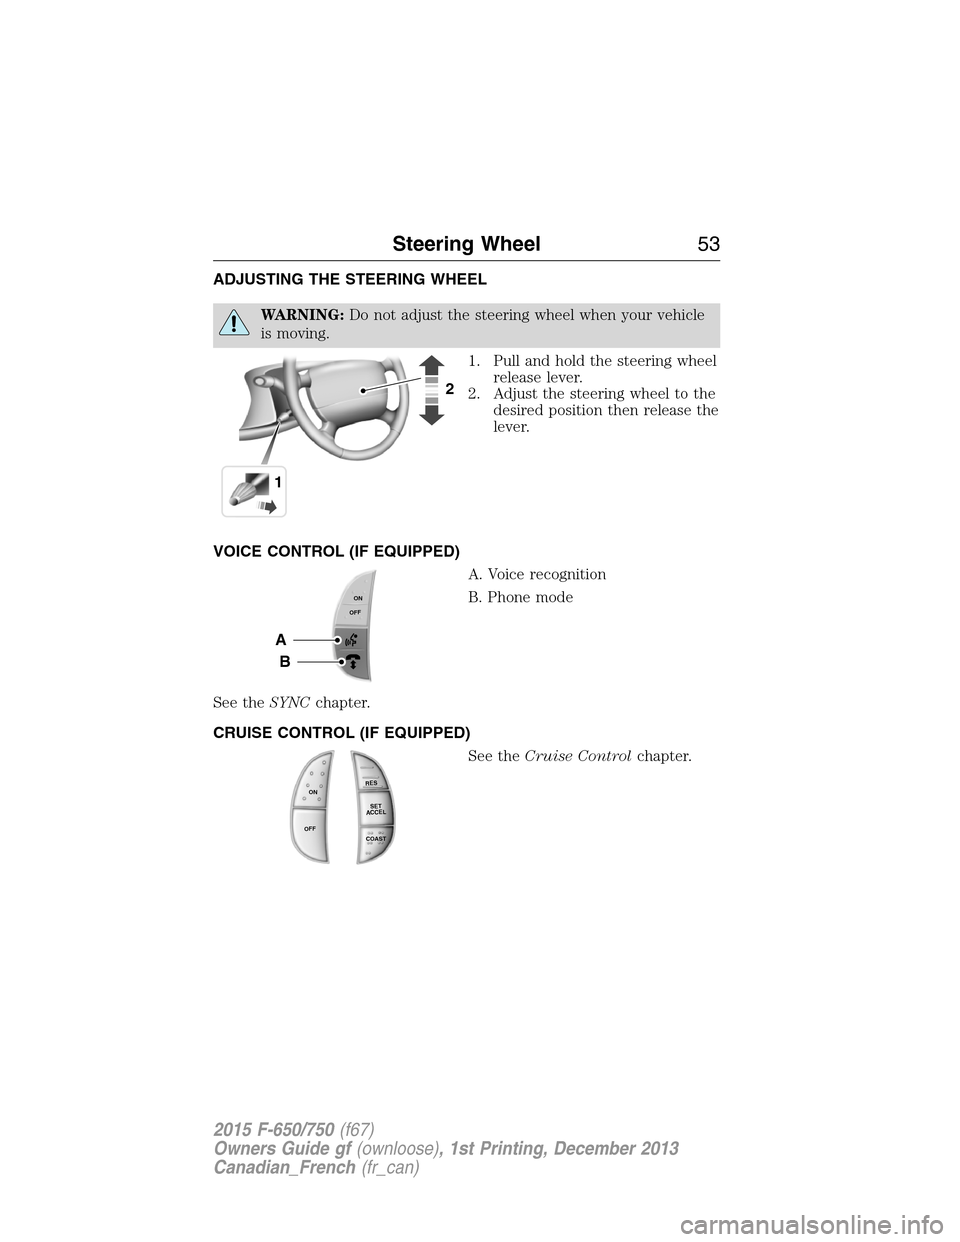
1. Pull and hold the steering wheel
release lever.
2. Adjust the steering wheel to the
desired position then release the
lever.
VOICE CONTROL (IF EQUIPPED)
A. Voice recognition
B. Phone mode
See theSYNCchapter.
CRUISE CONTROL (IF EQUIPPED)
See theCruise Controlchapter.
12
A
B
ONOFF
R
E
S
S
E
T
A
C
C
E
L
C
OA
S
T
ON
OFF
Steering Wheel53
2015 F-650/750(f67)
Owners Guide gf(ownloose), 1st Printing, December 2013
Canadian_French(fr_can)
Page 72 of 384
Stop Engine (diesel engine only)
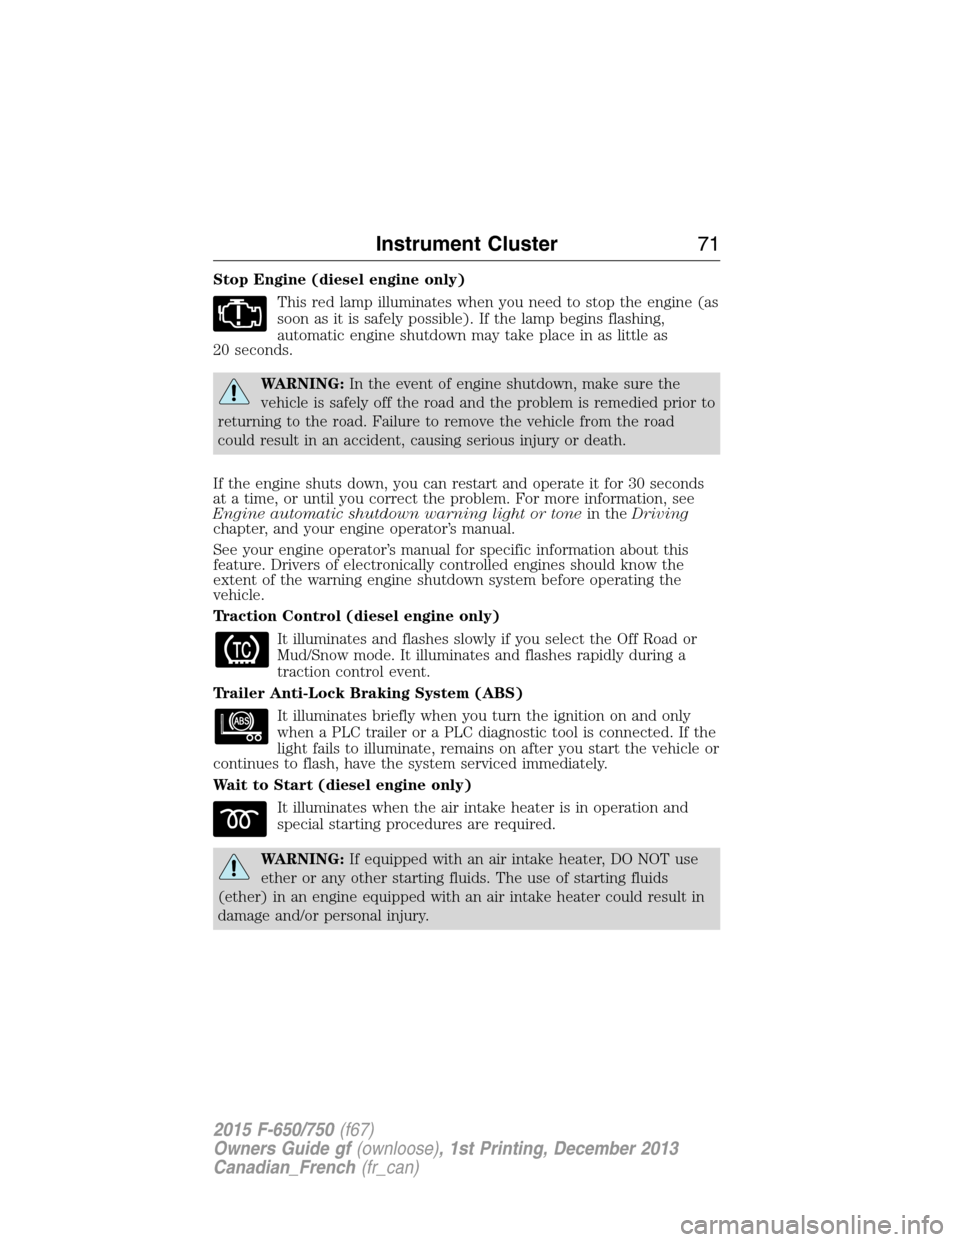
This red lamp illuminates when you need to stop the engine (as
soon as it is safely possible). If the lamp begins flashing,
automatic engine shutdown may take place in as little as
20 seconds.
WARNING:In the event of engine shutdown, make sure the
vehicle is safely off the road and the problem is remedied prior to
returning to the road. Failure to remove the vehicle from the road
could result in an accident, causing serious injury or death.
If the engine shuts down, you can restart and operate it for 30 seconds
at a time, or until you correct the problem. For more information, see
Engine automatic shutdown warning light or tonein theDriving
chapter, and your engine operator’s manual.
See your engine operator’s manual for specific information about this
feature. Drivers of electronically controlled engines should know the
extent of the warning engine shutdown system before operating the
vehicle.
Traction Control (diesel engine only)
It illuminates and flashes slowly if you select the Off Road or
Mud/Snow mode. It illuminates and flashes rapidly during a
traction control event.
Trailer Anti-Lock Braking System (ABS)
It illuminates briefly when you turn the ignition on and only
when a PLC trailer or a PLC diagnostic tool is connected. If the
light fails to illuminate, remains on after you start the vehicle or
continues to flash, have the system serviced immediately.
Wait to Start (diesel engine only)
It illuminates when the air intake heater is in operation and
special starting procedures are required.
WARNING:If equipped with an air intake heater, DO NOT use
ether or any other starting fluids. The use of starting fluids
(ether) in an engine equipped with an air intake heater could result in
damage and/or personal injury.
Instrument Cluster71
2015 F-650/750(f67)
Owners Guide gf(ownloose), 1st Printing, December 2013
Canadian_French(fr_can)
Page 75 of 384
•TRIP A/B: Registers the distance of individual journeys. Press and
release the INFO button until the A or B trip appears in the display
(this represents the trip mode). Press the RESET button to reset.
SeeSystem check and vehicle feature customizationlater in this
section to switch the display from metric to English.
•MILES (KILOMETERS) TO E: This displays an estimate of
approximately how far you can drive with the fuel remaining in your
tank under normal driving conditions. Remember to turn the ignition
off when refueling to allow this feature to detect the added fuel
correctly. The distance to empty calculation uses a running average
fuel economy based on your recent driving history of 500 miles
(800 kilometers). This value is not the same as the average fuel
economy display. The running average fuel economy resets to a
factory default value if the battery is disconnected.
•AVG MPG (L/100 km): Average fuel economy displays your average
fuel economy in miles/gallon or liters/100 km.
•TIMER: Displays the trip elapsed drive time. Press and release
RESET to pause the timer. Press and hold RESET to reset the timer.
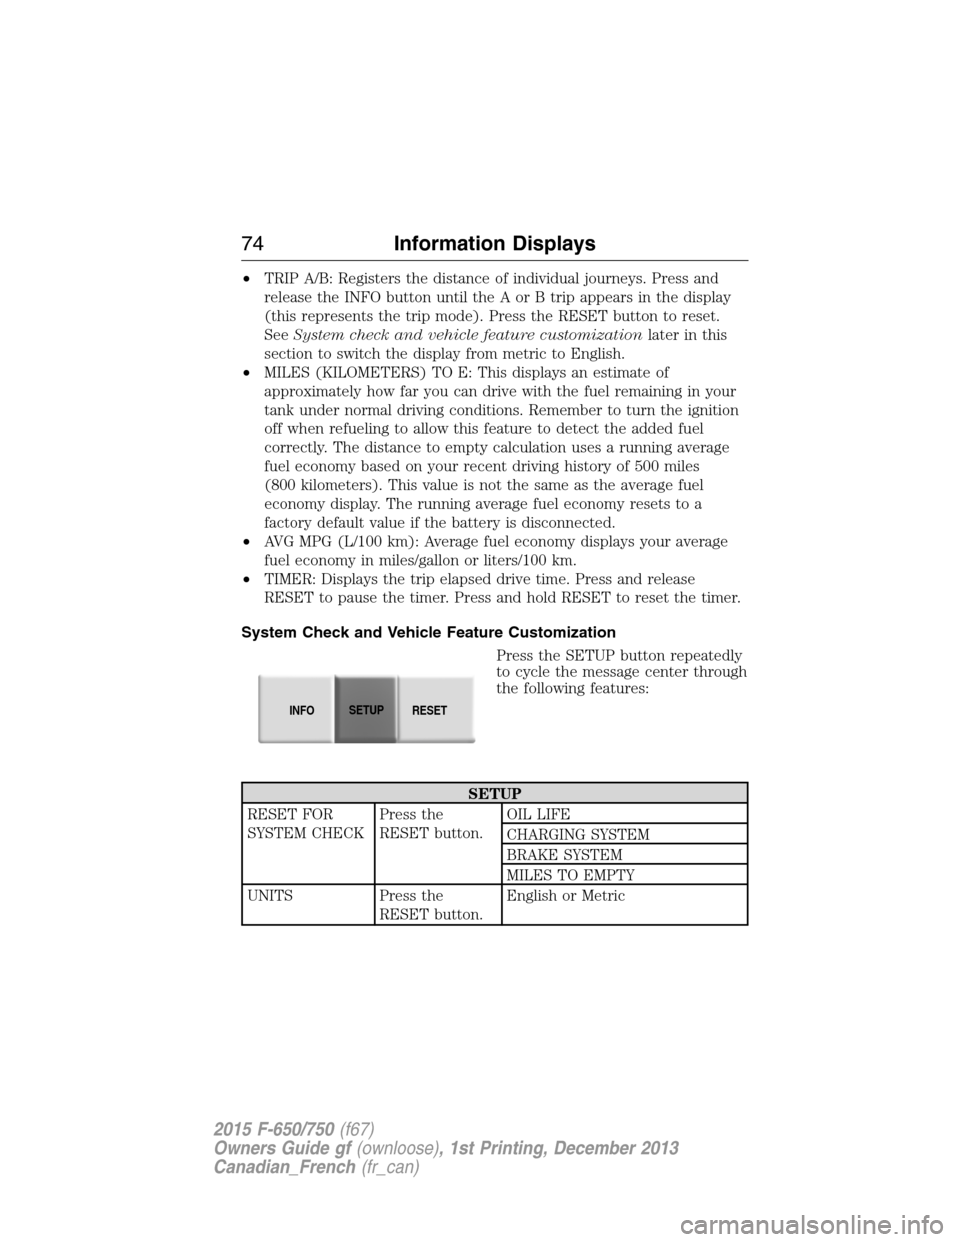
System Check and Vehicle Feature Customization
Press the SETUP button repeatedly
to cycle the message center through
the following features:
SETUP
RESET FOR
SYSTEM CHECKPress the
RESET button.OIL LIFE
CHARGING SYSTEM
BRAKE SYSTEM
MILES TO EMPTY
UNITS Press the
RESET button.English or Metric
INFOSETUP
RESET
74Information Displays
2015 F-650/750(f67)
Owners Guide gf(ownloose), 1st Printing, December 2013
Canadian_French(fr_can)
Page 78 of 384
D.A/C:Press to turn air conditioning on or off. Air conditioning cools
the vehicle using outside air. To improve air conditioning when starting
your vehicle, drive with the windows slightly open for two to three
minutes.
E.Recirculated air:Press to switch between outside air and
recirculated air. When the LED on the button is lit, the air currently in
the passenger compartment is being recirculated. Using recirculated air
can reduce the time needed to cool the interior and reduce unwanted
odors from entering your vehicle.
Note:For better cooling in hot conditions, recirculated air automatically
engages when the air distribution control is in Panel or Panel/Floor
modes and the air conditioning is on. You can switch to fresh air by
pressing the recirculated air button again.
F.MAX A/C:Distributes recirculated air through the instrument panel
vents to cool the vehicle. This position is more economical and efficient
than normal A/C.
G.Temperature control:Controls the temperature of the air circulated
in your vehicle. Turn to select the desired temperature.
H.Fan speed control:Controls the volume of air circulated in your
vehicle. Turn to select the desired fan speed or switch off. If you switch
the fan off, the windshield may fog up.
I.Power:Press to turn the system on and off. When the system is off,
outside air is prevented from entering the vehicle.
GENERAL OPERATING TIPS
•To reduce fog build-up on the windshield during humid weather,
select Defrost. Temperature and fan speed can also be increased to
improve clearing.
•To reduce humidity build-up inside the vehicle, do not drive with the
system off or with recirculated air engaged.
•Do not put objects under the front seats that interfere with the
airflow to the back seats.
•Remove any snow, ice or leaves from the air intake area at the base
of the windshield.
Cooling the interior quickly:
1. Adjust the fan speed to the highest speed setting initially and then
adjust it to suit the desired comfort level.
2. Adjust the temperature control to the lowest temperature setting.
3. Adjust the air distribution control to the MAX A/C position.
Climate Control77
2015 F-650/750(f67)
Owners Guide gf(ownloose), 1st Printing, December 2013
Canadian_French(fr_can)
Page 79 of 384
Recommended settings for cooling:
•Adjust the air distribution control to the A/C position.
If your vehicle is stationary for extended periods during extreme high
ambient temperatures:
•Select the MAX A/C position.
Gas engines:If your vehicle is stationary for long periods of time in
high ambient temperature conditions, your climate control system may
automatically switch from fresh air mode to recirculation mode. This is
normal system operation as it provides protection of the air conditioning
compressor (and related parts). It is recommended that you allow the
system to remain in this mode if it has switched. The system reverts
back to fresh air mode when conditions allow.
For maximum cooling performance, turn the air distribution control to
MAX A/C.
To aid in side window defogging/demisting in cold weather:
1. Select Panel/Floor.
2. Select A/C.
3. Adjust the temperature control to maintain comfort.
4. Set the fan speed to the highest setting.
5. Direct the outer instrument panel vents toward the side windows.
6. To increase airflow to the outer instrument panel vents, close the
vents located in the middle of the instrument panel.
HEATED MIRRORS (IF EQUIPPED)
Note:Do not remove ice from the mirrors with a scraper or attempt to
readjust the mirror glass if it is frozen in place. These actions could
cause damage to the glass and mirrors.
Note:Do not clean the housing or glass of any mirror with harsh
abrasives, fuel or other petroleum-based cleaning products.
Both mirrors are heated to remove ice, mist and fog when the heated
mirror button is pressed.
78Climate Control
2015 F-650/750(f67)
Owners Guide gf(ownloose), 1st Printing, December 2013
Canadian_French(fr_can)
Page 132 of 384
Allison 2500
WARNING: To avoid sudden, unexpected vehicle movement
and possible personal injury or death:
1. Bring the vehicle to a complete stop.
2. Shift the transmission into positionN.
3. Apply the parking brake and make sure it is holding properly.
4. Turn the engine off when you leave the vehicle.Never leave the
vehicle unattended when the engine is running.
This transmission is available with a column-mounted gearshift lever. The
instrument cluster displays the gear positions.
Allison 3000
Note:For more information about this transmission, see the separate
Allison 3000 Series Operator’s Manual.
The Allison 3000 series offers two shift modes: Performance and
Economy.
Performance mode gives the best all-around transmission operation. The
transmission defaults to this mode when you start the engine. Pressing
MODE on the shifter switches to Economy mode and illuminates the
Mode ON lamp.
Economy mode provides operation at lower engine RPM while
maintaining adequate performance.
If the engine speed is above idle when a gear is selected using the
shifter, the vehicle does not move; the shifter must be moved to re-select
a gear after the engine speed returns to idle.
Torque Lock
If you park your vehicle on an incline without properly engaging position
P(by shifting into positionPbefore applying the parking brake), the
weight of the vehicle may generate an excessive amount of torque on the
parking pawl. This makes it difficult to shift the transmission out of
positionP.Hold the brake pedal down while shifting out of positionP,
then release the parking brake.
Transmission131
2015 F-650/750(f67)
Owners Guide gf(ownloose), 1st Printing, December 2013
Canadian_French(fr_can)
Page 149 of 384
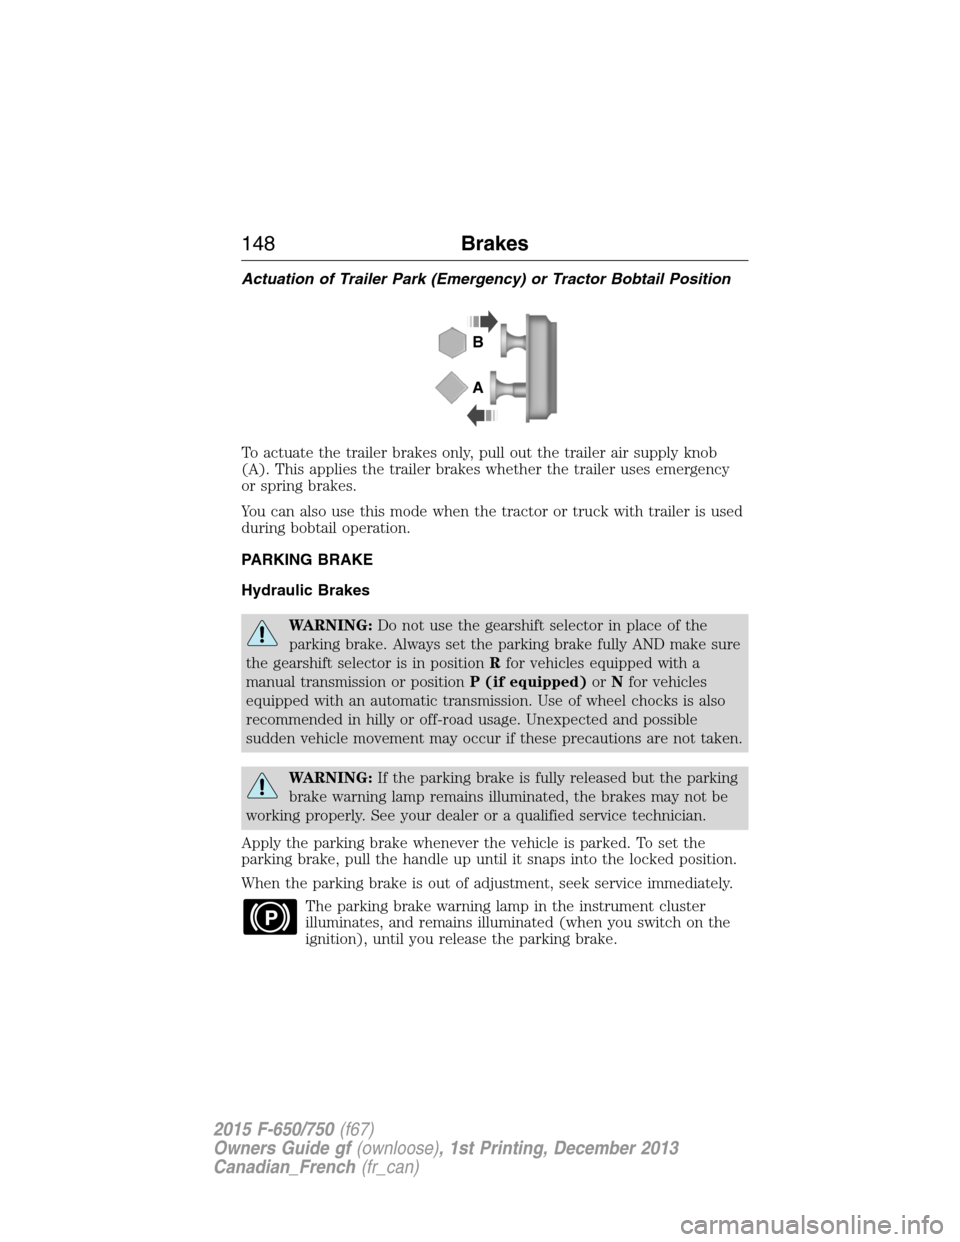
Actuation of Trailer Park (Emergency) or Tractor Bobtail Position
To actuate the trailer brakes only, pull out the trailer air supply knob
(A). This applies the trailer brakes whether the trailer uses emergency
or spring brakes.
You can also use this mode when the tractor or truck with trailer is used
during bobtail operation.
PARKING BRAKE
Hydraulic Brakes
WARNING:Do not use the gearshift selector in place of the
parking brake. Always set the parking brake fully AND make sure
the gearshift selector is in positionRfor vehicles equipped with a
manual transmission or positionP (if equipped)orNfor vehicles
equipped with an automatic transmission. Use of wheel chocks is also
recommended in hilly or off-road usage. Unexpected and possible
sudden vehicle movement may occur if these precautions are not taken.
WARNING:If the parking brake is fully released but the parking
brake warning lamp remains illuminated, the brakes may not be
working properly. See your dealer or a qualified service technician.
Apply the parking brake whenever the vehicle is parked. To set the
parking brake, pull the handle up until it snaps into the locked position.
When the parking brake is out of adjustment, seek service immediately.
The parking brake warning lamp in the instrument cluster
illuminates, and remains illuminated (when you switch on the
ignition), until you release the parking brake.
B
A
P
148Brakes
2015 F-650/750(f67)
Owners Guide gf(ownloose), 1st Printing, December 2013
Canadian_French(fr_can)
Page 164 of 384
Connecting and Disconnecting a Trailer with Air Suspension and
Air Suspension Dump Switch
When connecting to a trailer:
•Press the lower portion of the switch to exhaust air from the air
suspension system.
•Press the upper portion of the switch, and then raise the landing gear
after making the connection to the trailer.
When disconnecting the trailer:
•Lower the landing gear, and then press the lower portion of the
switch.
•Disconnect the brake hoses, trailer-side and rear light connectors,
then pull the release lever on the fifth wheel.
You must press the upper portion of the switch before operating with a
trailer or operating in the bobtail mode.
Suspension Conversions
WARNING:When operating a loaded vehicle, the driver must
keep all adjustable axles on the ground at all times, supporting
their share of the vehicle’s load. Failure to do so can overload other
axles, tires, wheels, springs, steering components, brakes and frames,
resulting in early component failure, loss of vehicle control, possible
property damage and personal injury.
We do not recommend performing, or approve of, suspension
conversions. However, we understand that, on occasion, others install
aftermarket add-on suspensions on the truck chassis that allow operator
control for weight transfer from other axles (such as air lift axles).
Driving Aids163
2015 F-650/750(f67)
Owners Guide gf(ownloose), 1st Printing, December 2013
Canadian_French(fr_can)