FORD F650/750 2023 Owners Manual
Manufacturer: FORD, Model Year: 2023, Model line: F650/750, Model: FORD F650/750 2023Pages: 378, PDF Size: 5.65 MB
Page 311 of 378
VEHICLE IDENTIFICATION
NUMBER
LOCATING THE VEHICLE
IDENTIFICATION NUMBER
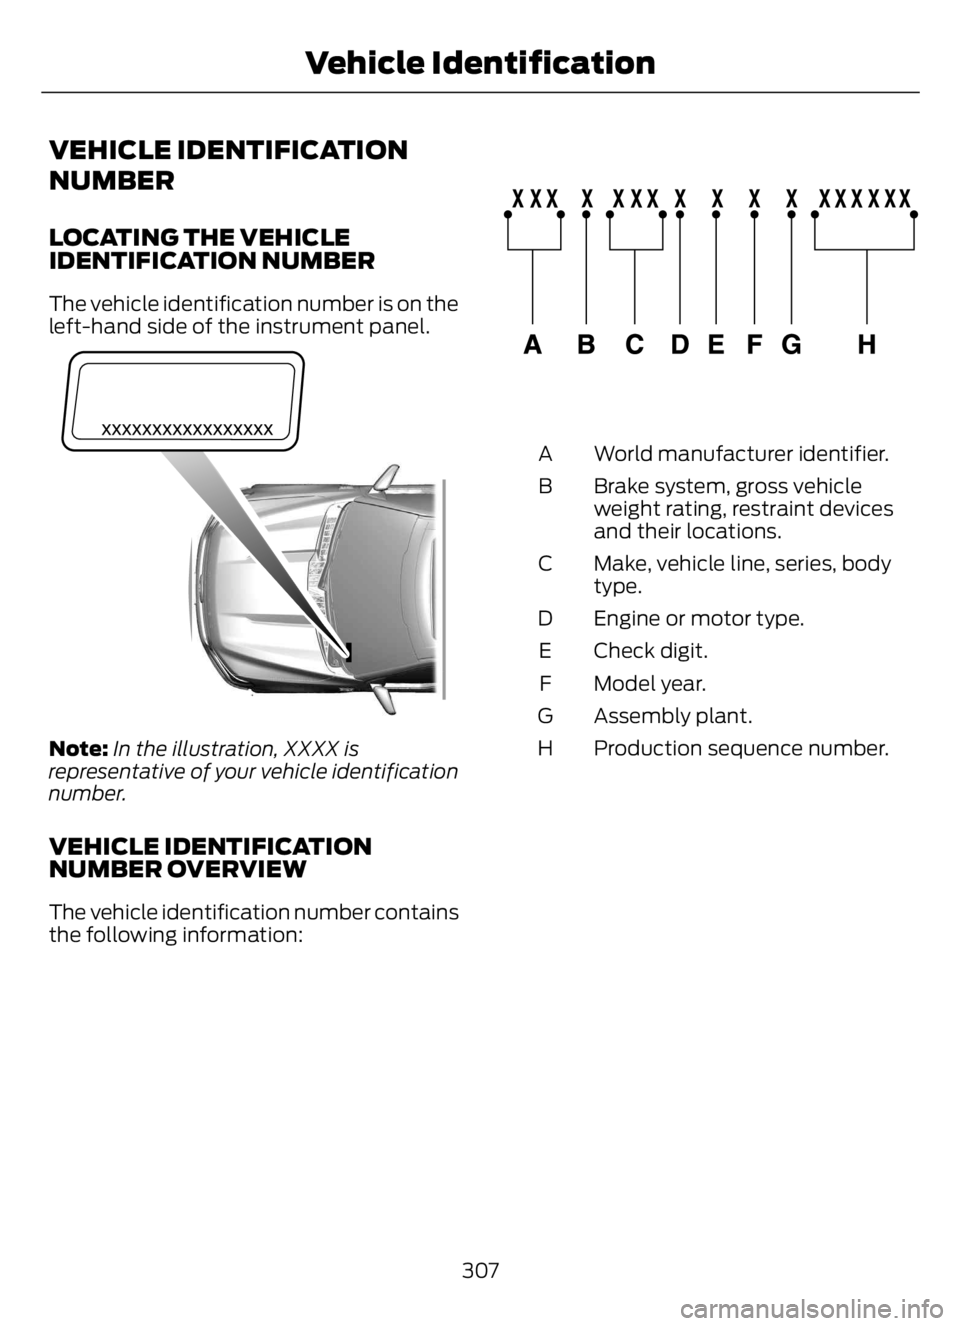
The vehicle identification number is on the
left-hand side of the instrument panel.
E311767
Note:In the illustration, XXXX is
representative of your vehicle identification
number.
VEHICLE IDENTIFICATION
NUMBER OVERVIEW
The vehicle identification number contains
the following information:
E142477
World manufacturer identifier. A
Brake system, gross vehicle
weight rating, restraint devices
and their locations. B
Make, vehicle line, series, body
type. C
Engine or motor type. D
Check digit. E
Model year. F
Assembly plant. G
Production sequence number. H
307
Vehicle Identification
Page 312 of 378
CONNECTED VEHICLE
REQUIREMENTS
Connected service and related feature
functionality requires a compatible vehicle
network.
Some remote features require additional
service activation. Log in to your Ford
account for details. Some restrictions, third
party terms and message or data rates
may apply.
CONNECTED VEHICLE
LIMITATIONS
Evolving technology, cellular networks, or
regulations could affect functionality and
availability, or continued provision of some
features. These changes could even stop
some features from functioning.
CONNECTING THE VEHICLE TO
A MOBILE NETWORK -
VEHICLES WITH: MODEM
WHAT IS THE MODEM
The modem allows access to a
range of features built into your
vehicle.
ENABLING AND DISABLING THE
MODEM
1. Press Settings.
2. Press FordPass Connect.
3. Press Connectivity Settings.
4. Switch connectivity features on or off.
CONNECTING FORDPASS TO THE
MODEM
1. Make sure that the modem is enabled
using the vehicle settings menu.
2. Open the FordPass app on your device
and log in.
3. Add your vehicle or select your vehicle
if already added.
4. Select the option to activate your
vehicle.
5. Make sure that the name on the screen
matches the name shown in your
FordPass account.
6. Confirm that FordPass account is
connected to the modem.
CONNECTED VEHICLE –
TROUBLESHOOTING
CONNECTED VEHICLE –
FREQUENTLY ASKED QUESTIONS
- VEHICLES WITH: MODEM
Why can I not confirm the
connection of my FordPass
account to the modem?
• The modem is not enabled. Switch
vehicle connectivity on.
• The network signal is weak. Move your
vehicle closer to a place where the
network signal is not obstructed.
308
Connected Vehicle (If Equipped)
Page 313 of 378
GENERAL INFORMATION
WARNING: Driving while distracted
can result in loss of vehicle control, crash
and injury. We strongly recommend that
you use extreme caution when using any
device that may take your focus off the
road. Your primary responsibility is the
safe operation of your vehicle. We
recommend against the use of any
hand-held device while driving and
encourage the use of voice-operated
systems when possible. Make sure you
are aware of all applicable local laws
that may affect the use of electronic
devices while driving.
Radio Frequencies and Reception
Factors
Note:Listening to loud audio for long
periods of time could damage your hearing.
Radio Reception Factors
The further you travel from an AM or FM station, the
weaker the signal and the weaker the reception. Distance and strength
Hills, mountains, tall buildings, bridges, tunnels, freeway
overpasses, parking garages, dense tree foliage and
thunderstorms can interfere with the reception. Terrain
When you pass a ground-based broadcast repeating
tower, a stronger signal may overtake a weaker one and
result in the audio system muting. Station overload
AUDIO UNIT
WARNING: Driving while distracted
can result in loss of vehicle control, crash
and injury. We strongly recommend that
you use extreme caution when using any
device that may take your focus off the
road. Your primary responsibility is the
safe operation of your vehicle. We
recommend against the use of any
hand-held device while driving and
encourage the use of voice-operated
systems when possible. Make sure you
are aware of all applicable local laws
that may affect the use of electronic
devices while driving.
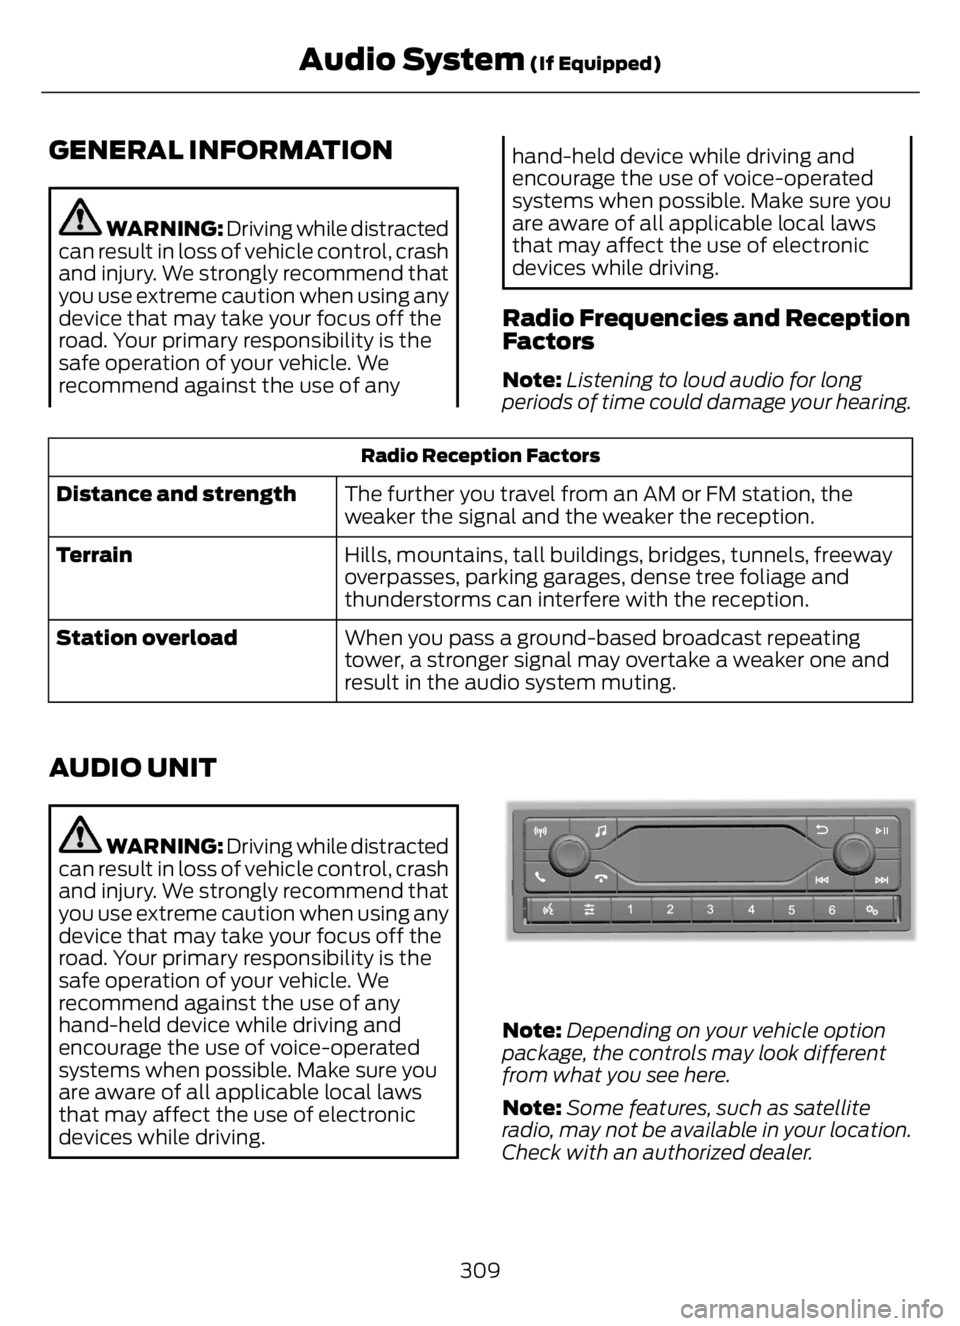
E305609E305609
Note:Depending on your vehicle option
package, the controls may look different
from what you see here.
Note:Some features, such as satellite
radio, may not be available in your location.
Check with an authorized dealer.
309
Audio System (If Equipped)
Page 314 of 378
Accessing the Sound Settings
E280315
Press the button to adjust the
sound settings. You can also
activate and set the sensitivity
of the adaptive or speed compensated
volume.
Accessing the System Settings
Press the button.
Adjusting the Volume
E260697
Turn to adjust the volume.
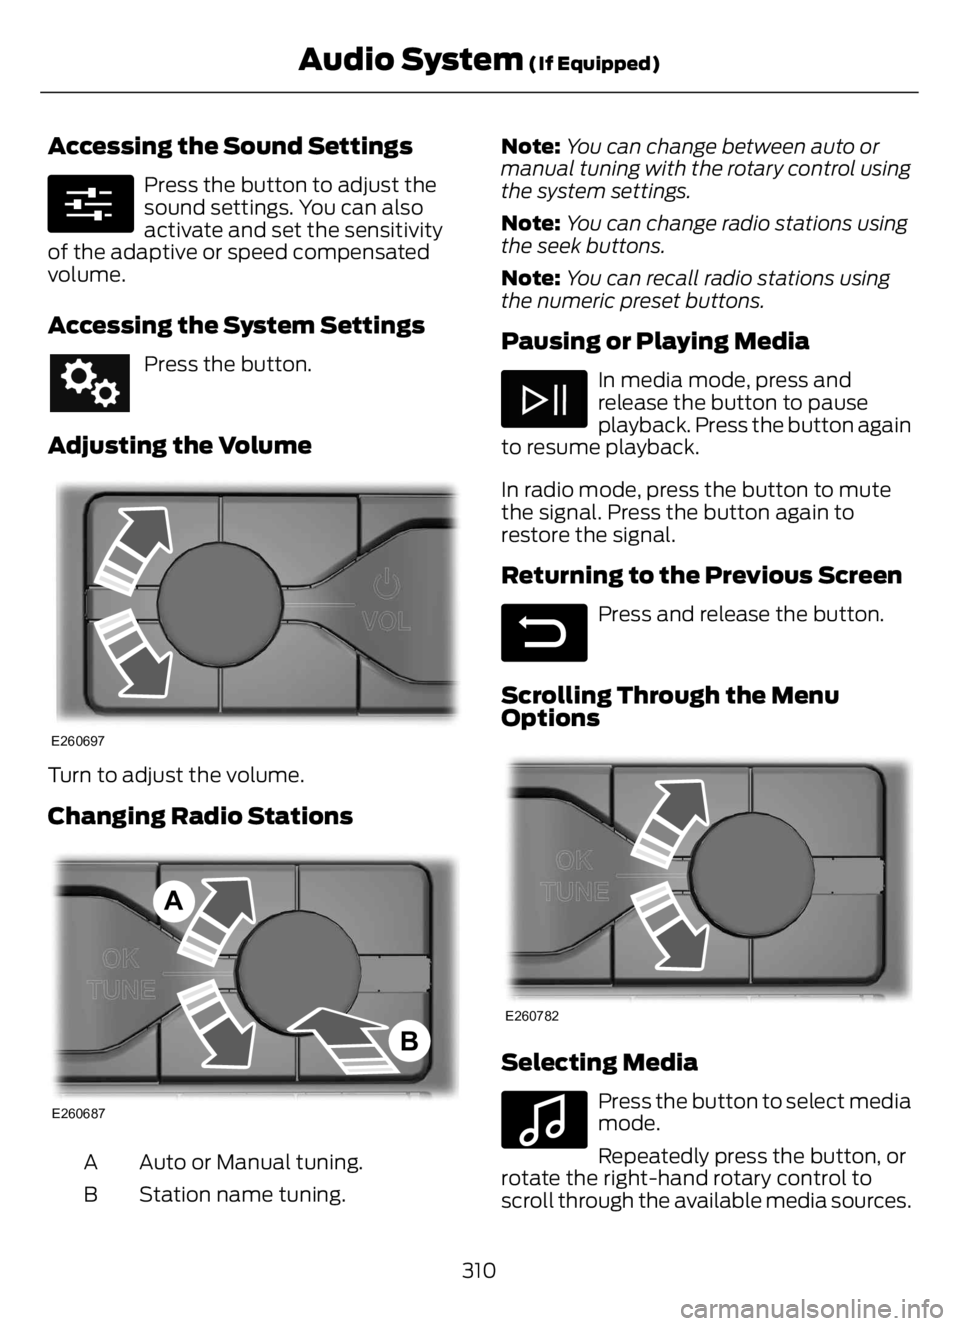
Changing Radio Stations
E260687
A
B
Auto or Manual tuning. A
Station name tuning. BNote:You can change between auto or
manual tuning with the rotary control using
the system settings.
Note:You can change radio stations using
the seek buttons.
Note:You can recall radio stations using
the numeric preset buttons.
Pausing or Playing Media
In media mode, press and
release the button to pause
playback. Press the button again
to resume playback.
In radio mode, press the button to mute
the signal. Press the button again to
restore the signal.
Returning to the Previous Screen
E281480
Press and release the button.
Scrolling Through the Menu
Options
E260782
Selecting Media
E100027
Press the button to select media
mode.
Repeatedly press the button, or
rotate the right-hand rotary control to
scroll through the available media sources.
310
Audio System (If Equipped)
Page 315 of 378
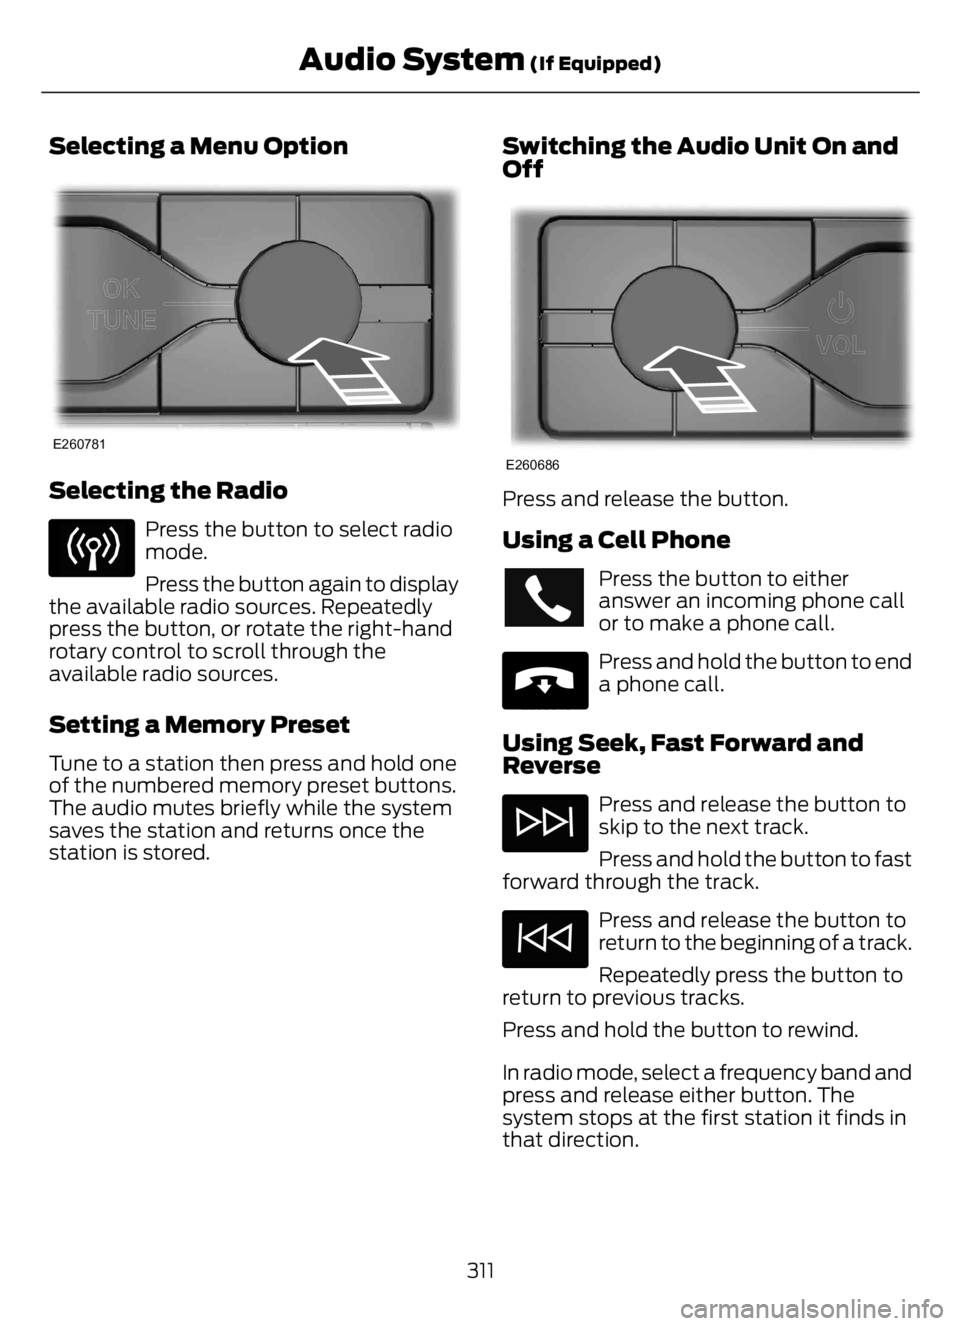
Selecting a Menu Option
E260781
Selecting the Radio
Press the button to select radio
mode.
Press the button again to display
the available radio sources. Repeatedly
press the button, or rotate the right-hand
rotary control to scroll through the
available radio sources.
Setting a Memory Preset
Tune to a station then press and hold one
of the numbered memory preset buttons.
The audio mutes briefly while the system
saves the station and returns once the
station is stored.
Switching the Audio Unit On and
Off
E260686
Press and release the button.
Using a Cell Phone
Press the button to either
answer an incoming phone call
or to make a phone call.
E265040
Press and hold the button to end
a phone call.
Using Seek, Fast Forward and
Reverse
Press and release the button to
skip to the next track.
Press and hold the button to fast
forward through the track.
Press and release the button to
return to the beginning of a track.
Repeatedly press the button to
return to previous tracks.
Press and hold the button to rewind.
In radio mode, select a frequency band and
press and release either button. The
system stops at the first station it finds in
that direction.
311
Audio System (If Equipped)
Page 316 of 378
In satellite radio mode, press and release
to select the next or previous satellite radio
station. If you select a specific category,
such as jazz, rock or news, press to find the
next or previous station in the category you
select.
CONNECTING A BLUETOOTH®
DEVICE
Pairing a Device
E142607
Press the button.
Select Bluetooth® and follow the
instructions on the screen.
Note:When pairing a new device, you can
choose to download contacts, set this as
the primary device and enable Emergency
Assistance.
STREAMING BLUETOOTH
AUDIO
Selecting a Bluetooth® Source
E100027
1. Press the button to display the menu.
2. Repeatedly press the button to scroll
to the Bluetooth® device.
3. Press the OK button.
Press the button to play the
track. Press the button again to
pause the track.
Press the button to skip to the
next track.
Press and hold the button to fast
forward through the track.
Press the button once to return
to the beginning of the track.
Repeatedly press the button to
return to previous tracks.
Press and hold the button to fast rewind.
Note:Not all functions are supported by all
phones.
PLAYING MEDIA FROM A USB
DEVICE
Supported Audio File Formats
You can play audio file formats including
MP3, WMA, WAV, M4A, M4B, AAC, and
FLAC.
Note:The NTFS file system is not
supported.
Selecting the USB Device
E100027
Press the button to display the
menu.
Repeatedly press the button to scroll to
your USB device.
Press the OK button.
Playing from the USB Device
Press the button to play a track.
Press the button again to pause
the track.
Press the button to skip to the
next track.
Press and hold the button to fast
forward through the track.
Press the button once to return
to the beginning of a track.
Repeatedly press the button to
return to previous tracks.
Press and hold the button to fast rewind.
312
Audio System (If Equipped)
Page 317 of 378
Sorting by Categories
You can also sort and play music by
specific categories, for example artist or
album.
Press the OK button to view the available
categories.
AUDIO INPUT JACK (IF EQUIPPED)
WARNING: Driving while distracted
can result in loss of vehicle control, crash
and injury. We strongly recommend that
you use extreme caution when using any
device that may take your focus off the
road. Your primary responsibility is the
safe operation of your vehicle. We
recommend against the use of any
hand-held device while driving and
encourage the use of voice-operated
systems when possible. Make sure you
are aware of all applicable local laws
that may affect the use of electronic
devices while driving.
WARNING: Always place your
device in a secure location in your vehicle
so it does not become a projectile in a
sudden stop or crash. Failure to follow
this instruction could result in personal
injury.
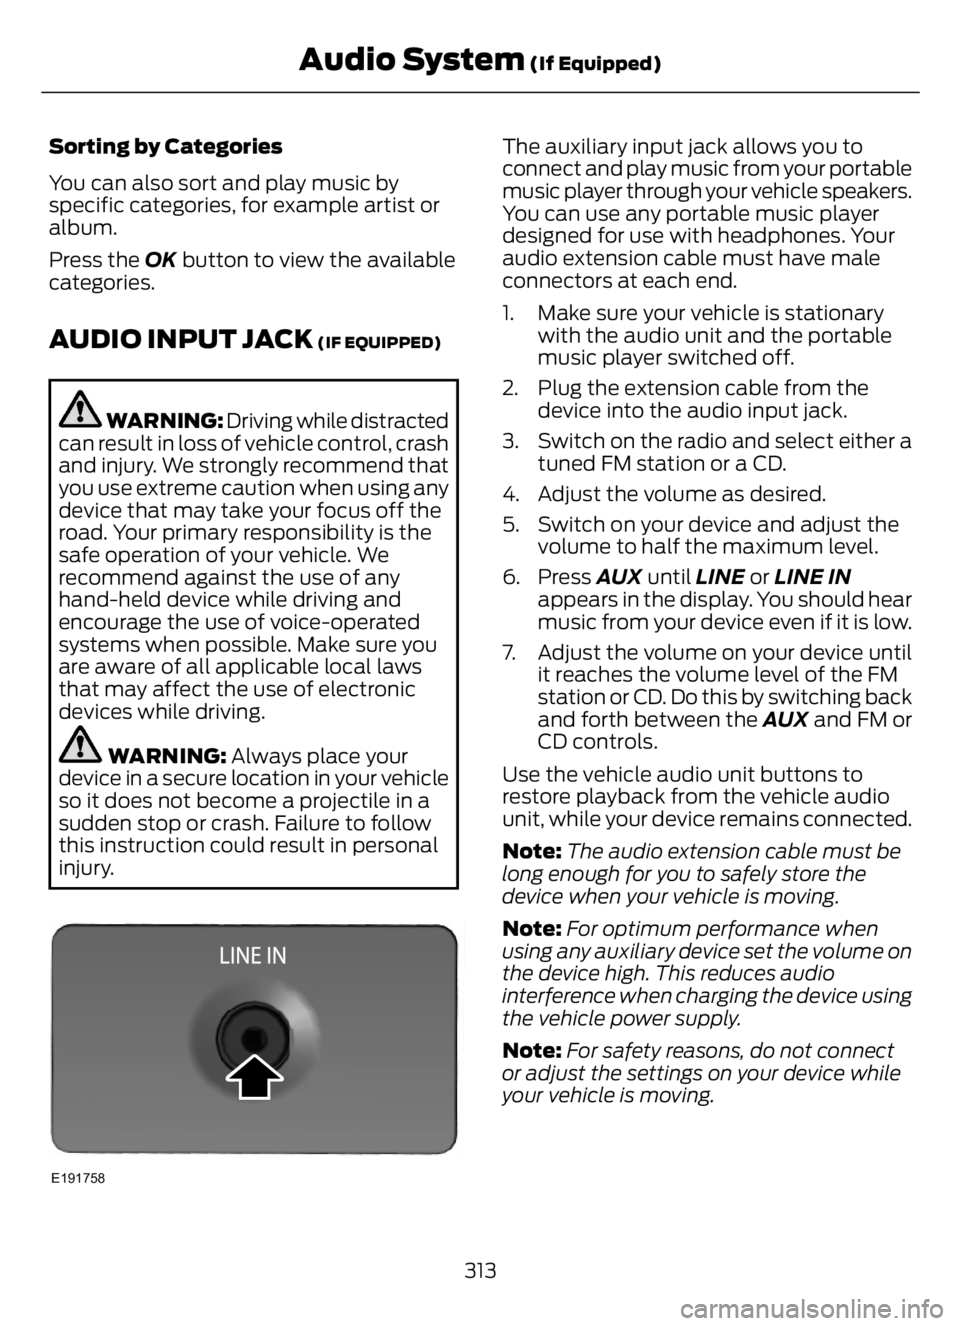
E191758
The auxiliary input jack allows you to
connect and play music from your portable
music player through your vehicle speakers.
You can use any portable music player
designed for use with headphones. Your
audio extension cable must have male
connectors at each end.
1. Make sure your vehicle is stationary
with the audio unit and the portable
music player switched off.
2. Plug the extension cable from the
device into the audio input jack.
3. Switch on the radio and select either a
tuned FM station or a CD.
4. Adjust the volume as desired.
5. Switch on your device and adjust the
volume to half the maximum level.
6. Press AUX until LINE or LINE IN
appears in the display. You should hear
music from your device even if it is low.
7. Adjust the volume on your device until
it reaches the volume level of the FM
station or CD. Do this by switching back
and forth between the AUX and FM or
CD controls.
Use the vehicle audio unit buttons to
restore playback from the vehicle audio
unit, while your device remains connected.
Note:The audio extension cable must be
long enough for you to safely store the
device when your vehicle is moving.
Note:For optimum performance when
using any auxiliary device set the volume on
the device high. This reduces audio
interference when charging the device using
the vehicle power supply.
Note:For safety reasons, do not connect
or adjust the settings on your device while
your vehicle is moving.
313
Audio System (If Equipped)
Page 318 of 378
USB PORT
WARNING: Driving while distracted
can result in loss of vehicle control, crash
and injury. We strongly recommend that
you use extreme caution when using any
device that may take your focus off the
road. Your primary responsibility is the
safe operation of your vehicle. We
recommend against the use of any
hand-held device while driving and
encourage the use of voice-operated
systems when possible. Make sure you
are aware of all applicable local laws
that may affect the use of electronic
devices while driving.
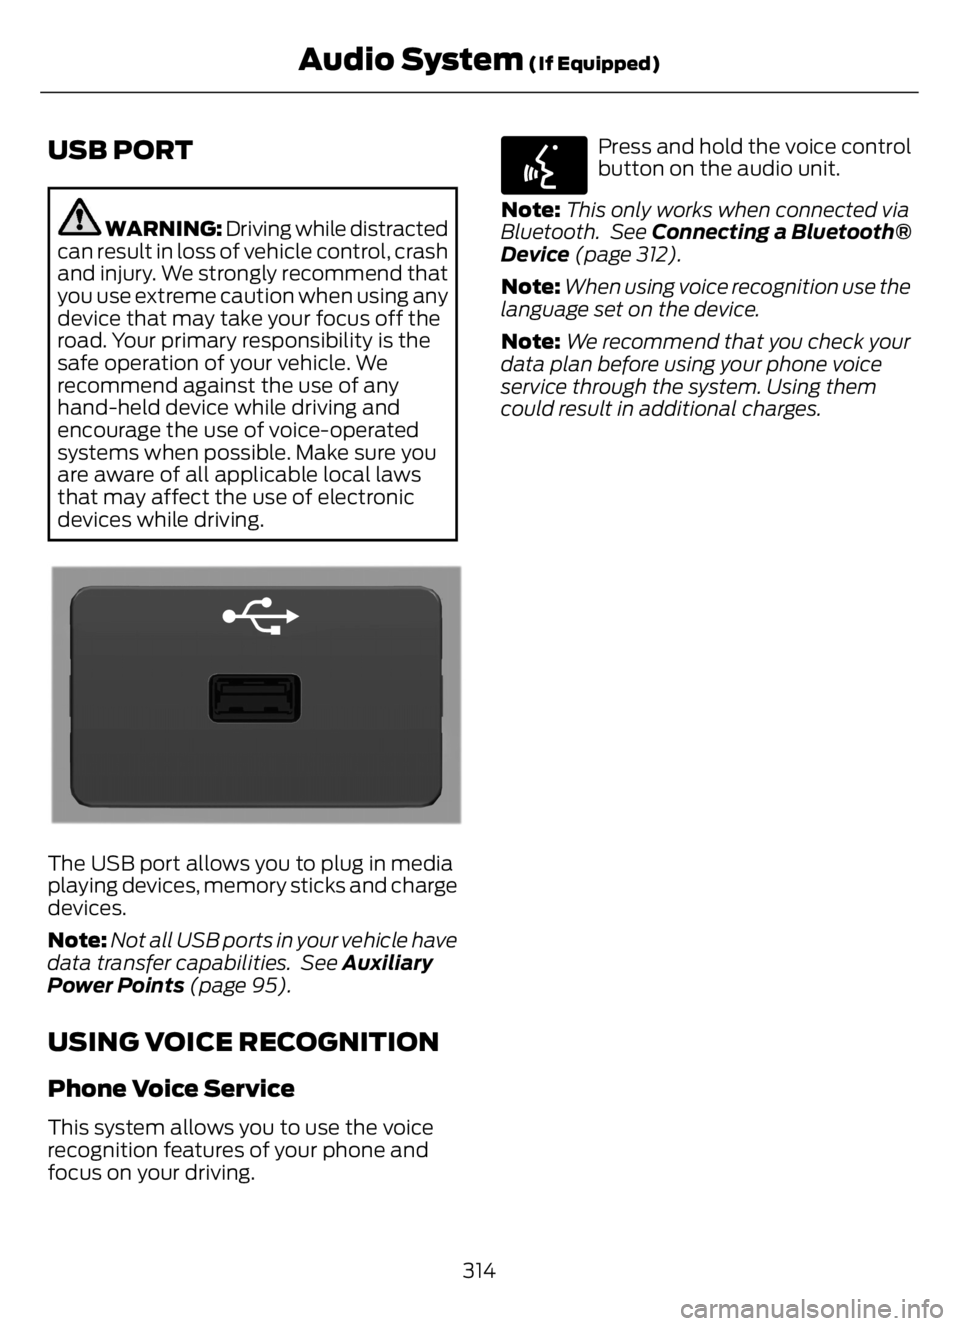
E201595E201595
The USB port allows you to plug in media
playing devices, memory sticks and charge
devices.
Note:Not all USB ports in your vehicle have
data transfer capabilities. See Auxiliary
Power Points (page 95).
USING VOICE RECOGNITION
Phone Voice Service
This system allows you to use the voice
recognition features of your phone and
focus on your driving.
E142599
Press and hold the voice control
button on the audio unit.
Note:This only works when connected via
Bluetooth. See Connecting a Bluetooth®
Device (page 312).
Note:When using voice recognition use the
language set on the device.
Note:We recommend that you check your
data plan before using your phone voice
service through the system. Using them
could result in additional charges.
314
Audio System (If Equipped)
Page 319 of 378

AUXILIARY SWITCHES (IF
EQUIPPED)
For maximum vehicle performance, keep
the following information in mind when
adding accessories or equipment to your
vehicle:
• When adding accessories, equipment,
passengers and luggage to your
vehicle, do not exceed the total weight
capacity of the vehicle or of the front
or rear axle (GVWR or GAWR as
indicated on the Safety Compliance
Certification label). Ask an authorized
dealer for specific weight information.
• The Federal Communications
Commission (FCC) and Canadian
Radio Telecommunications
Commission (CRTC) regulate the use
of mobile communications systems
equipped with radio transmitters, for
example, two-way radios, telephones
and theft alarms. Any such equipment
installed in your vehicle should comply
with Federal Communications
Commission (FCC) and Canadian
Radio Telecommunications
Commission (CRTC) regulations, and
should be installed by an authorized
dealer.
• An authorized dealer needs to install
mobile communications systems.
Improper installation may harm the
operation of your vehicle, particularly
if the manufacturer did not design the
mobile communication system
specifically for automotive use.
• If you or an authorized Ford dealer add
any non-Ford electrical or electronic
accessories or components to your
vehicle, you may adversely affect
battery performance and durability. In
addition, you may also adversely affect
the performance of other electrical
systems in the vehicle.
E163431
The auxiliary switch option package
provides four switches, mounted in the
center of the instrument panel. These
switches operate when the ignition is on
or from battery power, depending on the
switchable power distribution box fuse
locations #82 and #83. We recommend,
however, that the engine remain running
to maintain battery charge when using the
auxiliary switches for extended periods of
time or higher current draws.
Note:When your vehicle has a diesel
engine, use the auxiliary switches only while
the engine is running. The glow plugs also
drain battery power when the ignition key is
in the on position. Using the auxiliary
switches, even for limited amounts of time,
can cause your battery to drain quickly and
prevent your vehicle from restarting.
When switched on, the auxiliary switches
provide 20 amps or 40 amps of electrical
battery power for a variety of personal or
commercial uses.
The relays for the auxiliary switches are in
the power distribution box under the hood
by the right-hand fender. See your
authorized dealer for service.
Each switch includes a power lead, a
blunt-cut and sealed wire below the
instrument panel and to the left of the
steering column in the driver footwell area.
The power leads are coded as shown:
315
Accessories
Page 320 of 378
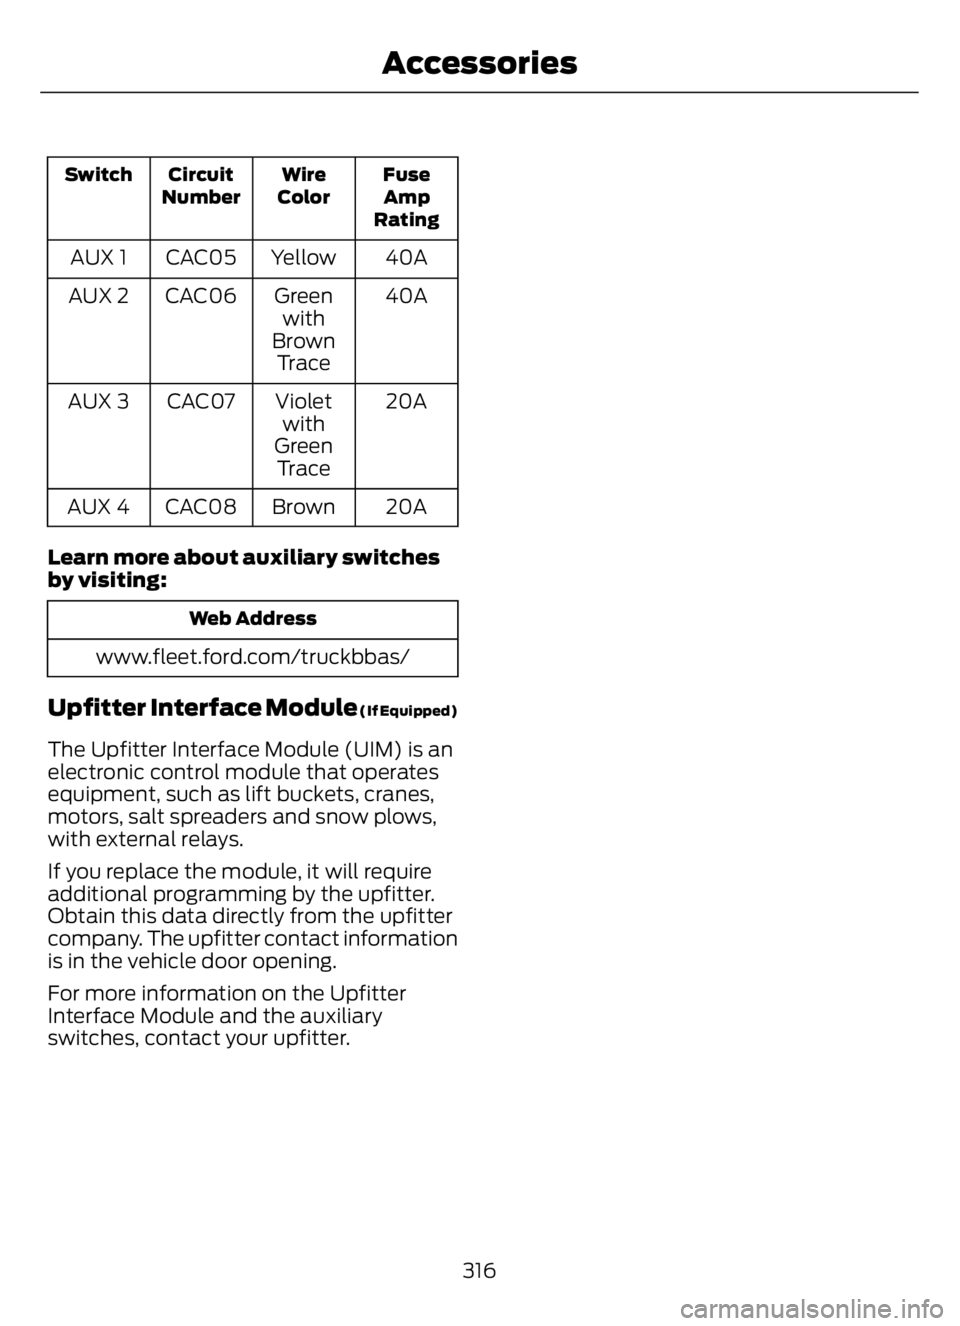
Fuse
Amp
Rating Wire
Color Circuit
Number Switch
40A Yellow CAC05 AUX 1
40A Green
with
Brown
Tr a c e CAC06 AUX 2
20A Violet
with
Green
Tr a c e CAC07 AUX 3
20A Brown CAC08 AUX 4
Learn more about auxiliary switches
by visiting:
Web Address
www.fleet.ford.com/truckbbas/
Upfitter Interface Module (If Equipped)
The Upfitter Interface Module (UIM) is an
electronic control module that operates
equipment, such as lift buckets, cranes,
motors, salt spreaders and snow plows,
with external relays.
If you replace the module, it will require
additional programming by the upfitter.
Obtain this data directly from the upfitter
company. The upfitter contact information
is in the vehicle door opening.
For more information on the Upfitter
Interface Module and the auxiliary
switches, contact your upfitter.
316
Accessories