section 4 FORD FIESTA 2007 Workshop Manual
[x] Cancel search | Manufacturer: FORD, Model Year: 2007, Model line: FIESTA, Model: FORD FIESTA 2007Pages: 1226, PDF Size: 61.26 MB
Page 839 of 1226

303-05-1 Accessory Drive 303-05-1
SECTION 303-05 Accessory Drive
VEHICLE APPLICATION:2006.0 Fiesta
CONTENTS
PAGE
SPECIFICATIONS
Specifications.. . . . . . . . . . . . . . . . . . . . . . . . . . . . . . . . . . . . . . . . . . . . . . . . . . . . . . . . . . . . . . . . . . . . . . . . . . . . . . . . . . . . . . . . . . . . . . . . . . . . . . . . . . . . . . . . . . . . . 303-05-2
DESCRIPTION AND OPERATION
Accessory Drive - 1.4L Duratec-1 6V (Sigma)/l .6L Duratec-1 6V (Sigma) ....................... 303-05-3
Accessory Drive
- 2.OL Duratec-HE (M14) ........................................................................\
303-05-4
2.OL Duratec HE (M14) engine ........................................................................\
................... 303-05-4
DIAGNOSIS AND TESTING
Accessory Drive.. . . . . . . . . . . . . . . . . . . . . . . . . . . . . . . . . . . . . . . . . . . . . . . . . . . . . . . . . . . . . . . . . . . . . . . . . . . . . . . . . . . . . . . . . . . . . . . . . . . . . . . . . . . . . . . . . 303-05-5
Inspection and Verification
........................................................................\
.......................... 303-05-5
Accessory Drive Belt Concerns
........................................................................\
............ 303-05-5
Symptom Chart
.... . . . . . . . . . . . . . . . . . . . . . . . . . . . . . . . . . . . . . . . . . . . . . . . . . . . . . . . . . . . . . . . . . . . . . . . . . . . . . . . . . . . . . . . . . . . . . . . . . . . . . . . . . . . . . . . 303-05-1 0
Component Tests..
.. .. .. .. .... .. ....... . . . . . . . .. .. . . . . . . . . . . . . . . . . . . . . . . . . . . . . . . . . . . . . . . . . . . . . 303-05-1 6
REMOVAL AND INSTALLATION
Accessory Drive Belt - 1.4L Duratec-16V (Sigma)/l.GL Duratec-1 6V (Sigma),
Vehicles With: Air Conditioning
..... . .. . . . . .. . . .. ........ .. . . . . . . . . . . . . . . . . . . . . . . . . . . . . . (21 567 0) 303-05-1 8
Accessory Drive Belt - 1.4L Duratec-16V (Sigma)/l .6L Duratec-1 6V (Sigma),
Vehicles Without: Air Conditioning..
. . . . . . . . . . . . . . . . . . . . . . . . . . . . . . . . . . . . . . . . . . . . . . . . . . . . . . . . . . . . . . (21 567 0) 303-05-2
1
Power Steering Pump Belt
- 1.4L Duratec-1 6V (Sigma)/l .6L Duratec-16V
(Sigma), Vehicles With: Air Conditioning
...... .. .. . . . . . . .. .. .. ...... . . . . . . . . . . . . . . . . . . . (21 567 0) 303-05-24
Accessory Drive Belt
- 2.OL Duratec-HE (M14) ...... . . . . . . . . . . . . .. .... .. ...... . .. . . . . . . (21 567 0) 303-05-26
procarmanuals.com
Page 854 of 1226
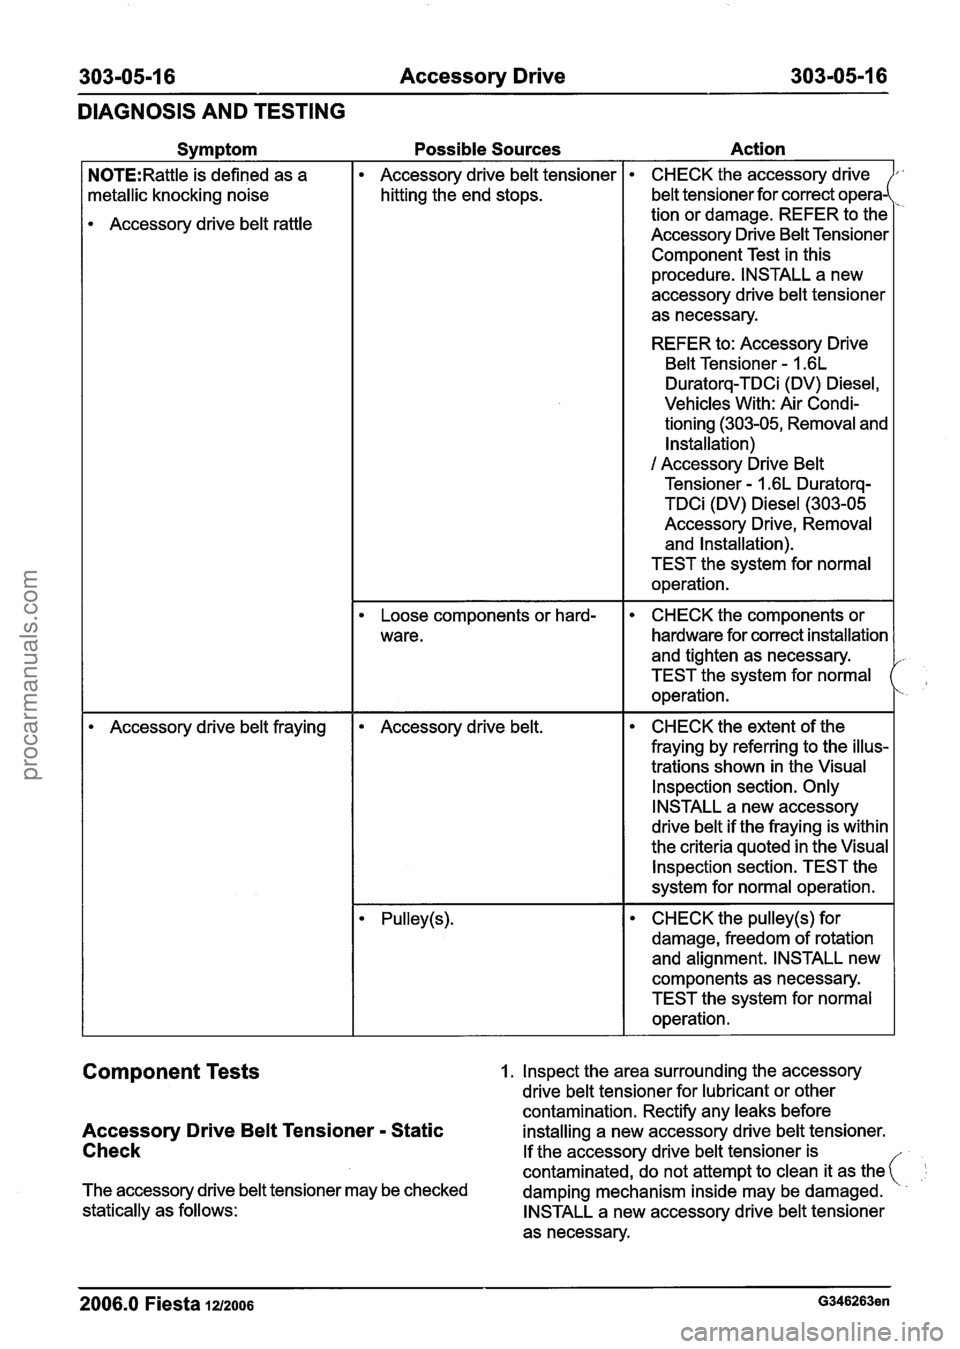
303-05-1 6 Accessory Drive 303-05-1 6
DIAGNOSIS AND TESTING
Symptom
N0TE:Rattle is defined as a
metallic knocking noise
Accessory drive belt rattle
Accessory drive belt fraying
Possible Sources Action
Accessory drive belt tensioner
hitting the end stops.
Loose components or hard-
ware.
Accessory drive belt.
CHECK the accessory drive
belt tensioner for correct
operaJ
tion or damage. REFER to the
Accessory Drive Belt Tensioner
Component Test in this
procedure. INSTALL a new
accessory drive belt tensioner
as necessary.
REFER to: Accessory Drive
Belt Tensioner
- 1.6L
Duratorq-TDCi (DV) Diesel,
Vehicles With: Air Condi-
tioning (303-05, Removal and
Installation)
1 Accessory Drive Belt
Tensioner
- I .6L Duratorq-
TDCi (DV) Diesel (303-05
Accessory Drive, Removal and Installation).
TEST the system for normal
operation.
CHECK the components or
hardware for correct installation
and tighten as necessary.
TEST the system for normal
operation.
CHECK the extent of the
fraying by referring to the illus-
trations shown in the Visual
lnspection section. Only
INSTALL a new accessory
drive belt if the fraying is within
the criteria quoted in the Visual
lnspection section. TEST the
system for normal operation.
CHECK the pulley(s) for
damage, freedom of rotation
and alignment. INSTALL new
components as necessary.
TEST the system for normal
operation.
Component Tests 1. Inspect the area surrounding the accessory
drive belt tensioner for lubricant or other
contamination. Rectify any leaks before
Accessory Drive Belt Tensioner - Static installing a new accessory drive belt tensioner.
Check If the accessory drive belt tensioner is
contaminated, do not attempt to clean it as
the(
The accessory drive belt tensioner may be checked
damping mechanism inside may be damaged.
statically as follows:
INSTALL a new accessory drive belt tensioner
as necessary.
2006.0 Fiesta 1212006 G346263en
procarmanuals.com
Page 856 of 1226
303-05-1 8 Accessory Drive 303-05-1 8
REMOVAL AND INSTALLATION
Accessory Drive Belt - 1.4L Duratec-1 6V (Sigma)/l .6L
Duratec-1
6V (Sigma), Vehicles With: Air
Conditioning(21 567 0)
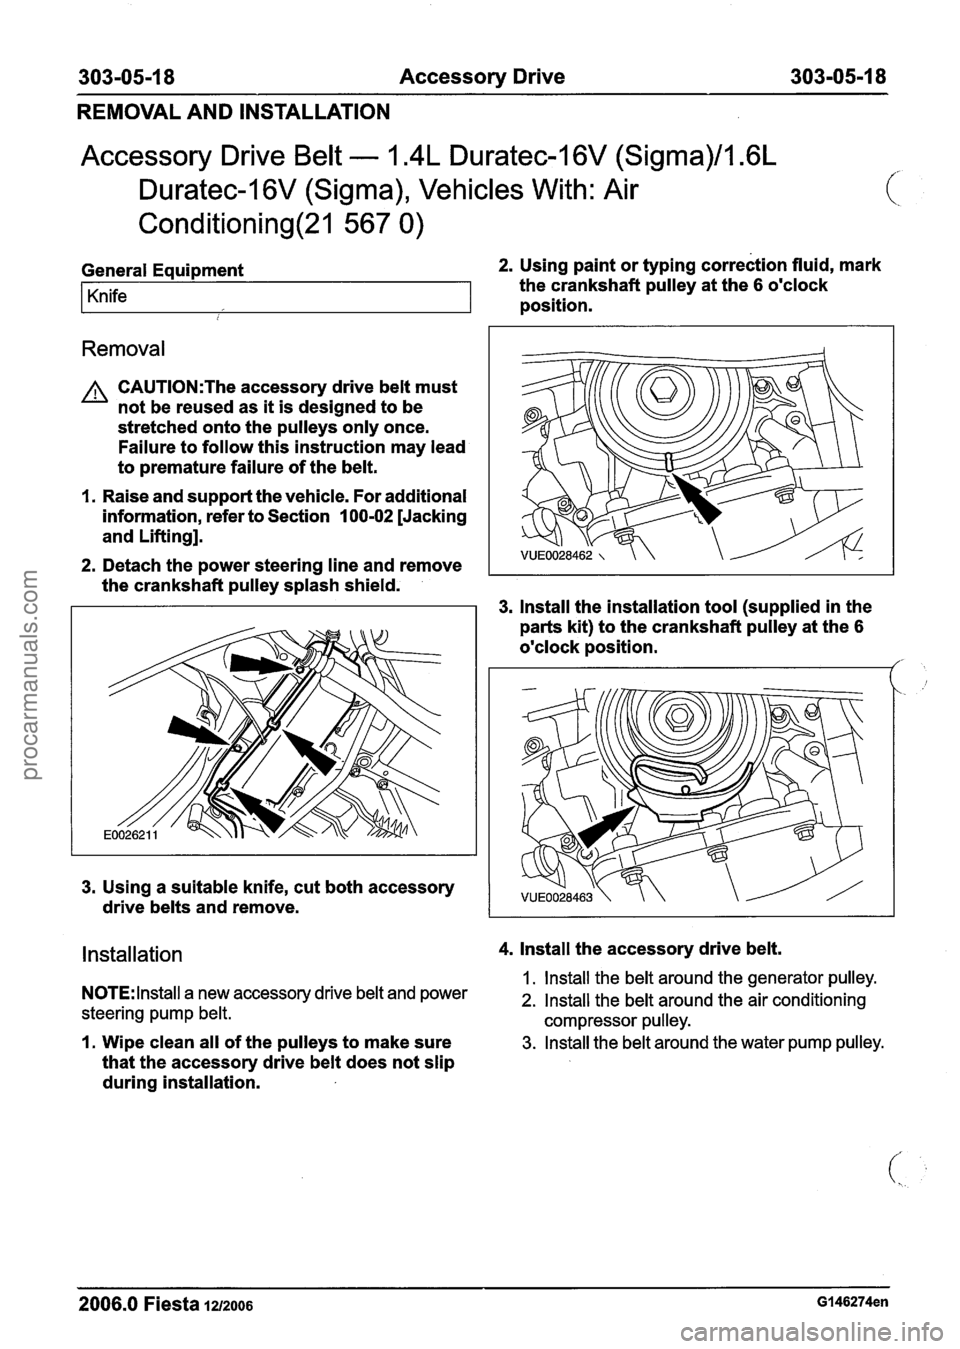
General Equipment 2. Using paint or typing correction fluid, mark
Knife the crankshaft pulley at the 6 o'clock
position.
i
Removal
A CAUTI0N:The accessory drive belt must
not be reused as it is designed to be
stretched onto the pulleys only once.
Failure to follow this instruction may lead
to premature failure of the belt.
I. Raise and support the vehicle. For additional
information, refer to Section
100-02 [Jacking
and Lifting].
2. Detach the power steering line and remove
the crankshaft pulley splash shield.
3. lnstall the installation tool (supplied in the
parts kit) to the crankshaft pulley at the
6
o'clock position. /'
3. Using a suitable knife, cut both accessory
drive belts and remove.
Installation 4. lnstall the accessory drive belt.
1. lnstall the belt around the generator pulley. NOTE: Install a new accessory drive belt and power 2. Install the belt around the air conditioning
steering pump belt. compressor pulley.
I. Wipe clean all of the pulleys to make sure 3. Install the belt around the water pump pulley.
that the accessory drive belt does not slip
during installation.
2006.0 Fiesta 1212006 GI 46274en
procarmanuals.com
Page 859 of 1226
303-05-21 Accessory Drive 303-05-21
REMOVAL AND INSTALLATION
Accessory Drive Belt - 1.4L Duratec-I 6V (Sigma)/l .6L
Duratec-1 6V (Sigma), Vehicles Without: Air
Conditioning(21 567 0)
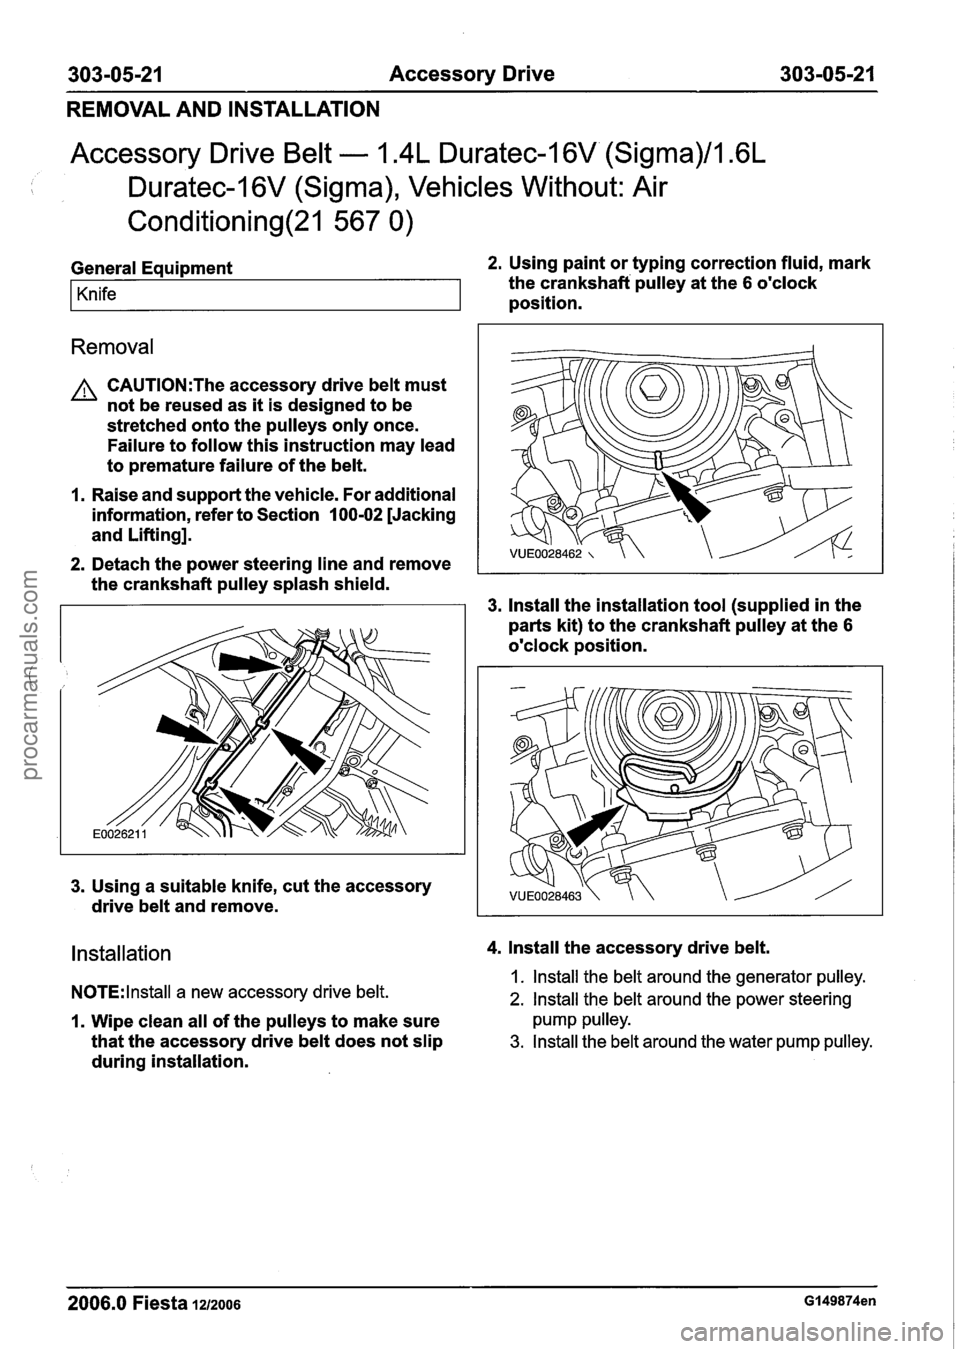
General Equipment 2. Using paint or typing correction fluid, mark
Knife the crankshaft pulley at the 6 o'clock
position.
Removal
A CAUTI0N:The accessory drive belt must
not be reused as it is designed to be
stretched onto the pulleys only once.
Failure to follow this instruction may lead
to premature failure of the belt.
1. Raise and support the vehicle. For additional
information, refer to Section
I 00-02 [Jacking
and Lifting].
2. Detach the power steering line and remove
the crankshaft pulley splash shield.
3. lnstall the installation tool (supplied in the
parts kit) to the crankshaft pulley at the
6
o'clock position.
3. Using a suitable knife, cut the accessory
drive belt and remove.
Installation 4. lnstall the accessory drive belt.
NOTE:
lnstall a new accessory drive belt. 1. lnstall the belt around the generator pulley.
2. lnstall the belt around the power steering
1. Wipe clean all of the pulleys to make sure pump pulley.
that the accessory drive belt does not slip 3. Install the belt around the water pump pulley.
during installation.
2006.0 Fiesta 1212006 Gl49874en
procarmanuals.com
Page 862 of 1226
303-05-24 Accessory Drive 303-05-24
REMOVAL AND INSTALLATION
Power Steering Pump Belt - 1.4L Duratec-1 6V (Sigma)/l .6L
Duratec-1 6V (Sigma), Vehicles With: Air
Conditioning(21 567 0)
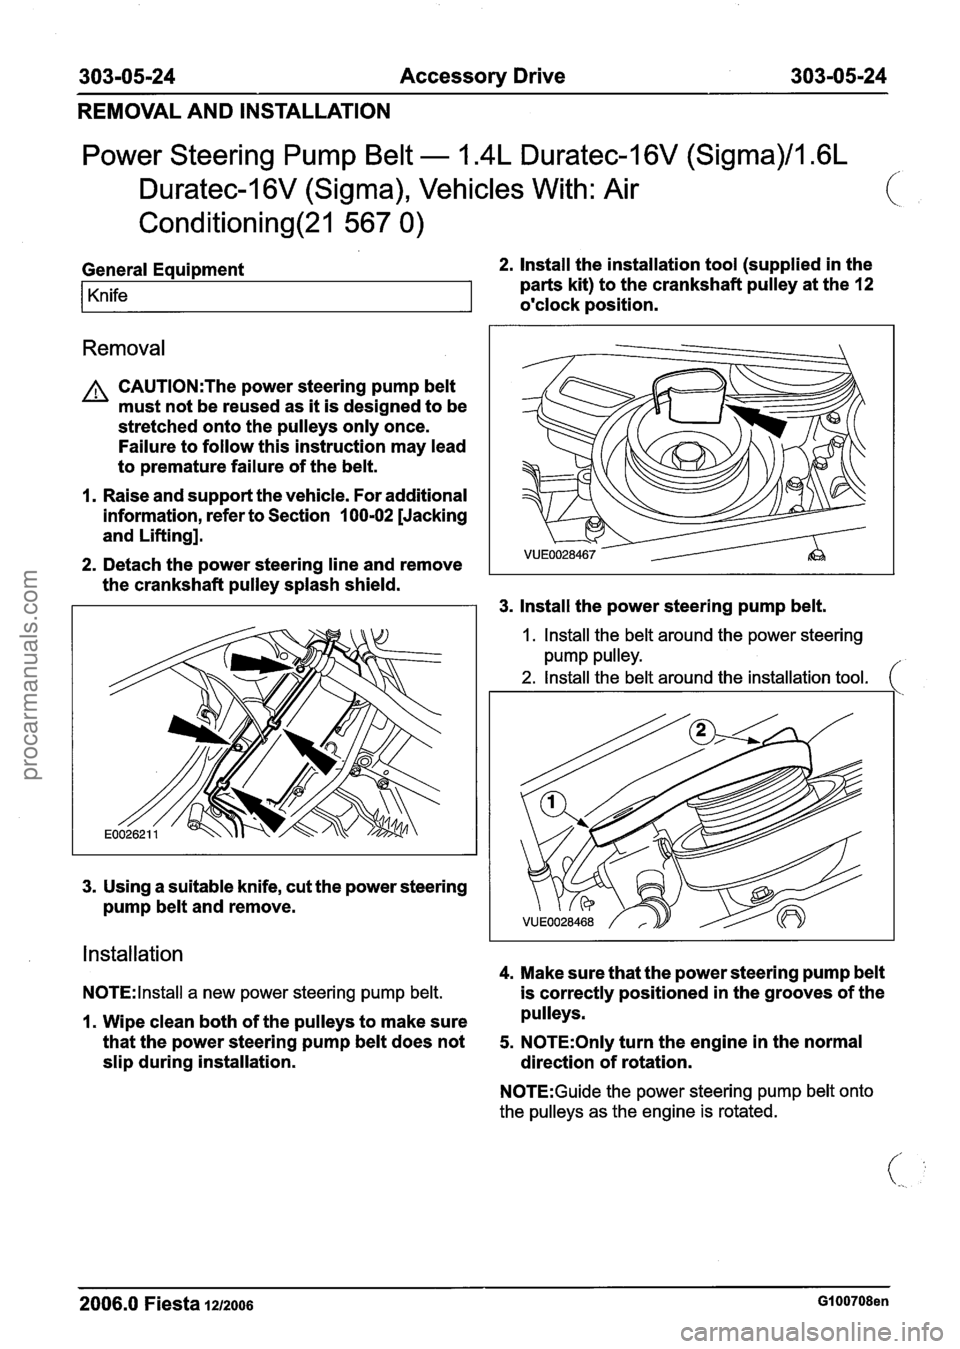
General Equipment 2. Install the installation tool (supplied in the
Knife parts kit) to the crankshaft pulley at the 12
o'clock position.
Removal
A CAUTI0N:The power steering pump belt
must not be reused as it is designed to be
stretched onto the pulleys only once.
Failure to follow this instruction may lead
to premature failure of the belt.
1. Raise and support the vehicle. For additional
information, refer to Section
100-02 [Jacking
and Lifting].
2. Detach the power steering line and remove
the crankshaft pulley splash shield.
3. Install the power steering pump belt.
I. Install the belt around the power steering
pump pulley.
2. Install the belt around the installation tool. (
Installation
4. Make sure that the power steering pump belt
N0TE:lnstall a new power steering pump belt. is correctly positioned in the grooves of the
1. Wipe clean both of the pulleys to make sure pulleys.
that the power steering pump belt does not
5. N0TE:Only turn the engine in the normal
slip during installation.
direction of rotation.
N0TE:Guide the power steering pump belt onto
the pulleys as the engine is rotated.
2006.0 Fiesta 1212006 GI 00708en
procarmanuals.com
Page 865 of 1226
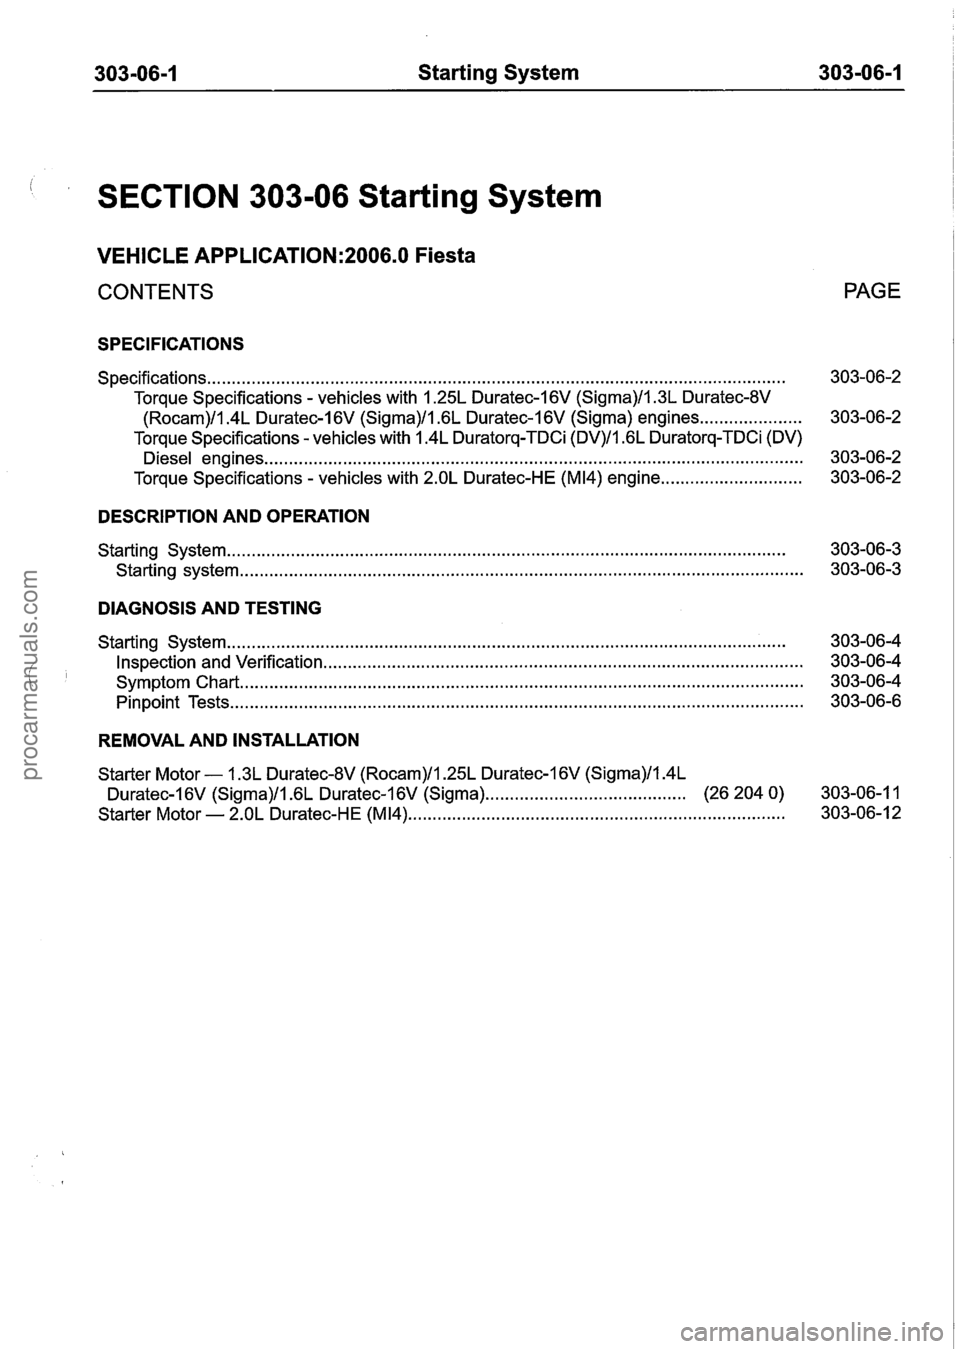
303-06-1 Starting System 303-06-1
SECTION 303-06 Starting System
VEHICLE APPLICATION:2006.0 Fiesta
CONTENTS
SPECIFICATIONS
Specifications.. . . . . . . . . . . . . . . . . . . . . . . . . . . . . . . . . . . . . . . . . . . . . . . . . . . . . . . . . . . . . . . . . . . . . . . . . . . . . . . . . . . . . . . . . . . . . . . . . . . . . . . . . . . . . . . . . . . . .
Torque Specifications - vehicles with 1.25L Duratec-1 6V (Sigma)ll.3L Duratec-8V
(Rocam)/l.4L Duratec-I 6V (Sigma)ll .6L Duratec-1 6V (Sigma) engines ...... . . . . .. . . .. .. .. .
Torque Specifications - vehicles with 1.4L Duratorq-TDCi (DV)/1.6L Duratorq-TDCi (DV)
Diesel engines ........................................................................\
......................................
Torque Specifications - vehicles with 2.OL Duratec-HE (M14) engine .............................
DESCRIPTION AND OPERATION
Starting System ........................................................................\
..........................................
Starting system ........................................................................\
...........................................
DIAGNOSIS AND TESTING
Starting System ........................................................................\
..........................................
Inspection and Verification ........................................................................\
..........................
Symptom Chart ........................................................................\
...........................................
Pinpoint Tests ........................................................................\
.............................................
REMOVAL AND INSTALLATION
PAGE
Starter Motor - 1.3L Duratec-8V (Rocam)/l.25L Duratec-1 6V (Sigma)ll.4L
Duratec-1 6V (Sigma)/l .6L Duratec-1 6V (Sigma). . . . . . . . . . . . . . . . . . . . . . . . . . . . . . . . . . . . . . . . . (26 204 0) 303-06-1 1
Starter
Motor - 2.OL Duratec-HE (M14) ............................. ................................................ 303-06-1 2
procarmanuals.com
Page 868 of 1226
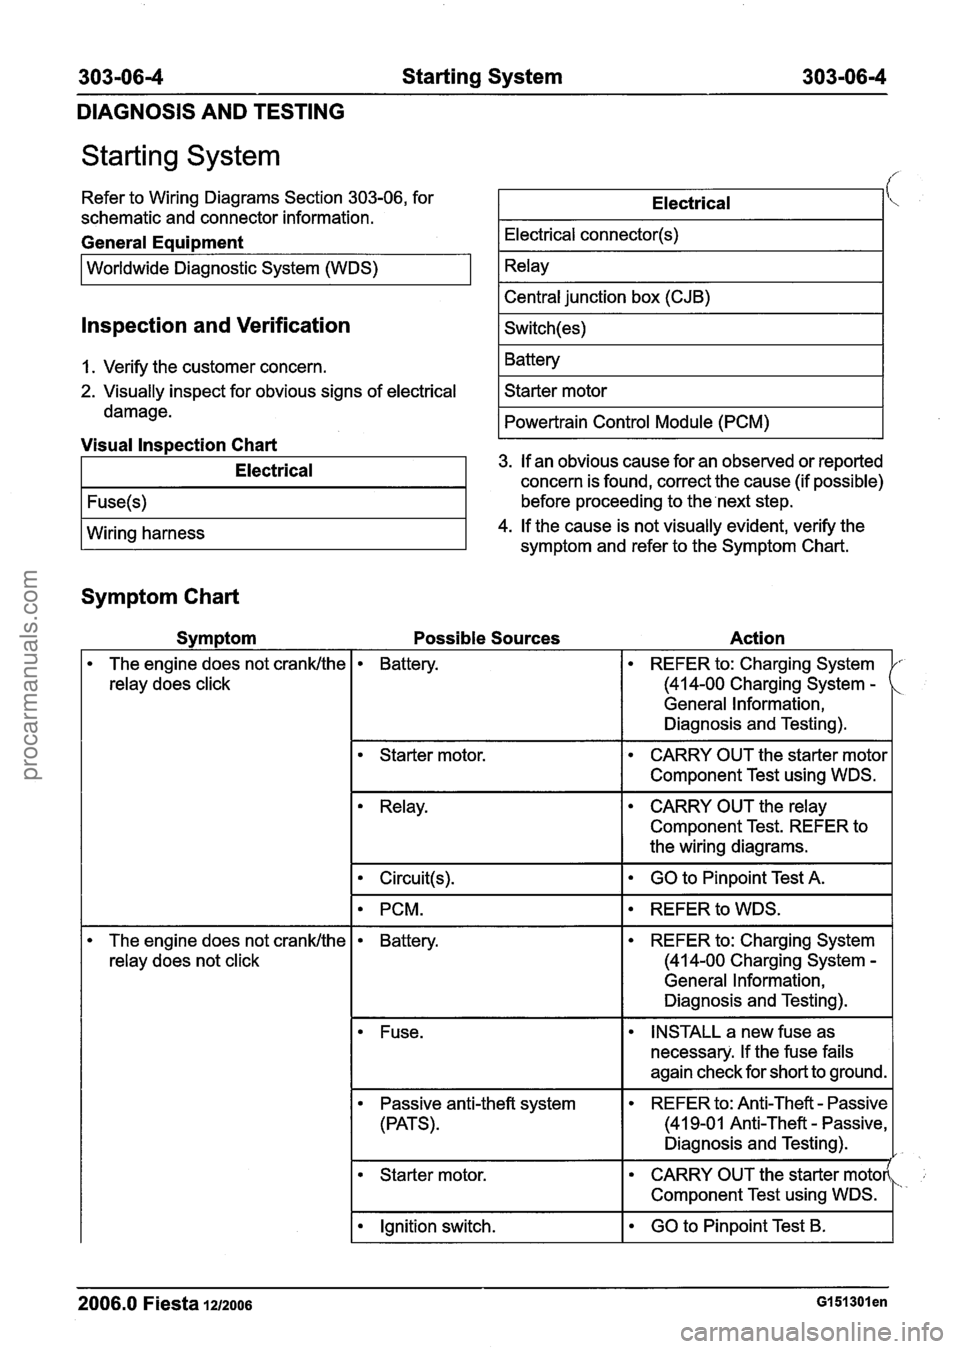
303-06-4 Starting System 303-06-4
DIAGNOSIS AND TESTING
Starting System
Refer to Wiring Diagrams Section 303-06, for
schematic and connector information.
General Eaui~ment
I Worldwide Diagnostic System (WDS) I
Electrical
Electrical connector(s)
Relay
Central junction box (CJB)
Switch(es)
Battery
Starter motor
Powertrain Control Module (PCM)
lnspection and Verification
I. Verify the customer concern.
2. Visually inspect for obvious signs of electrical
damage.
Visual lnspection Chart
Symptom Chart
Electrical
Fuse(s)
Wiring harness
Symptom
The engine does not crank/the
relay does click 3.
If an obvious cause for an observed or reported
concern is found, correct the cause (if possible)
before proceeding to the next step.
4. If the cause is not visually evident, verify the
The engine does not crank/the
relay does not click symptom
and refer to the Symptom Chart.
Possible Sources Action
Battery. REFER to: Charging System
(414-00 Charging System
-
General Information,
Diagnosis and Testing).
1
Starter motor. CARRY OUT the starter motor
I Component Test using WDS.
Relay. CARRY OUT the relay
Component Test. REFER to
the wiring diagrams.
I Circuit(s). I GO to Pinpoint Test A. I
I PCM. I REFER to WDS. I
Battery. REFER to: Charging System
(414-00 Charging System -
General Information,
Diagnosis and Testing).
Fuse. INSTALL a new fuse as
necessary. If the fuse fails
again check for short to ground.
Passive anti-theft system
(PATS). REFER to: Anti-Theft - Passive
(41 9-01 Anti-Theft
- Passive,
Diagnosis and Testing).
I
Starter motor. CARRY OUT the starter motor(
I Component Test using WDS.
I Ignition switch. I GO to Pinpoint Test B. I
2006.0 Fiesta la2006 GI 51 301 en
procarmanuals.com
Page 875 of 1226
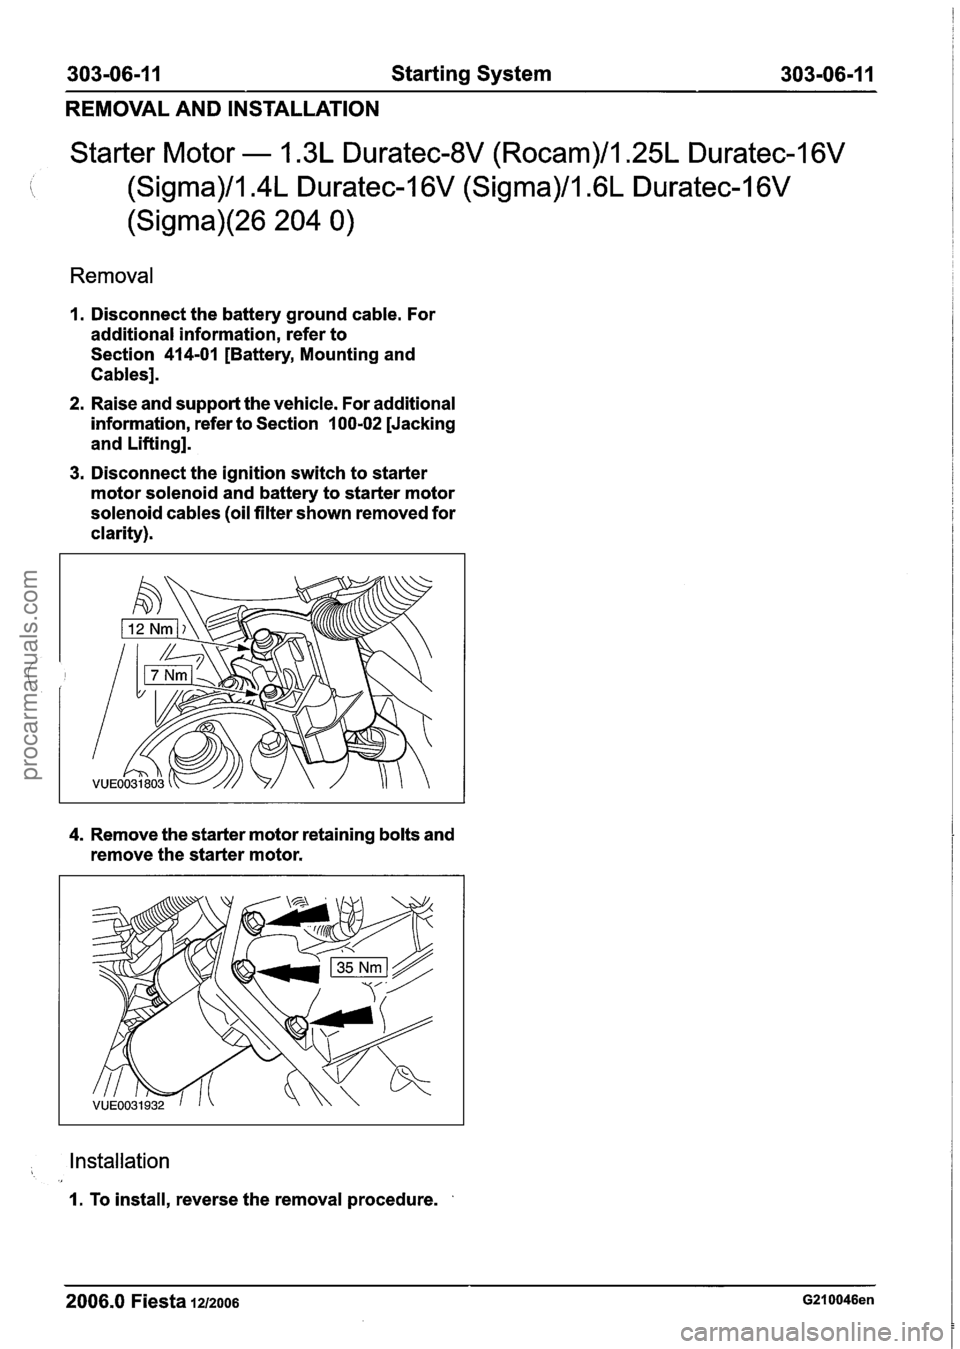
303-06-1 I Starting System 303-06-1 1
REMOVAL AND INSTALLATION
Starter Motor - 1.3L Duratec-8V (Rocam)/l.25L Duratec-I 6V
I \, (Sigma)/l.4L Duratec-1 6V (Sigma)/l .6L Duratec-1 6V
(Sigma)(26 204 0)
Removal
I. Disconnect the battery ground cable. For
additional information, refer to
Section
414-01 [Battery, Mounting and
Cables].
2. Raise and support the vehicle. For additional
information, refer to Section
100-02 [Jacking
and Lifting].
3. Disconnect the ignition switch to starter
motor solenoid and battery to starter motor
solenoid cables (oil filter shown removed for
clarity).
4. Remove the starter motor retaining bolts and
remove the starter motor.
, Installation
I. To install, reverse the removal procedure.
2006.0 Fiesta 1212006 G210046en
procarmanuals.com
Page 879 of 1226
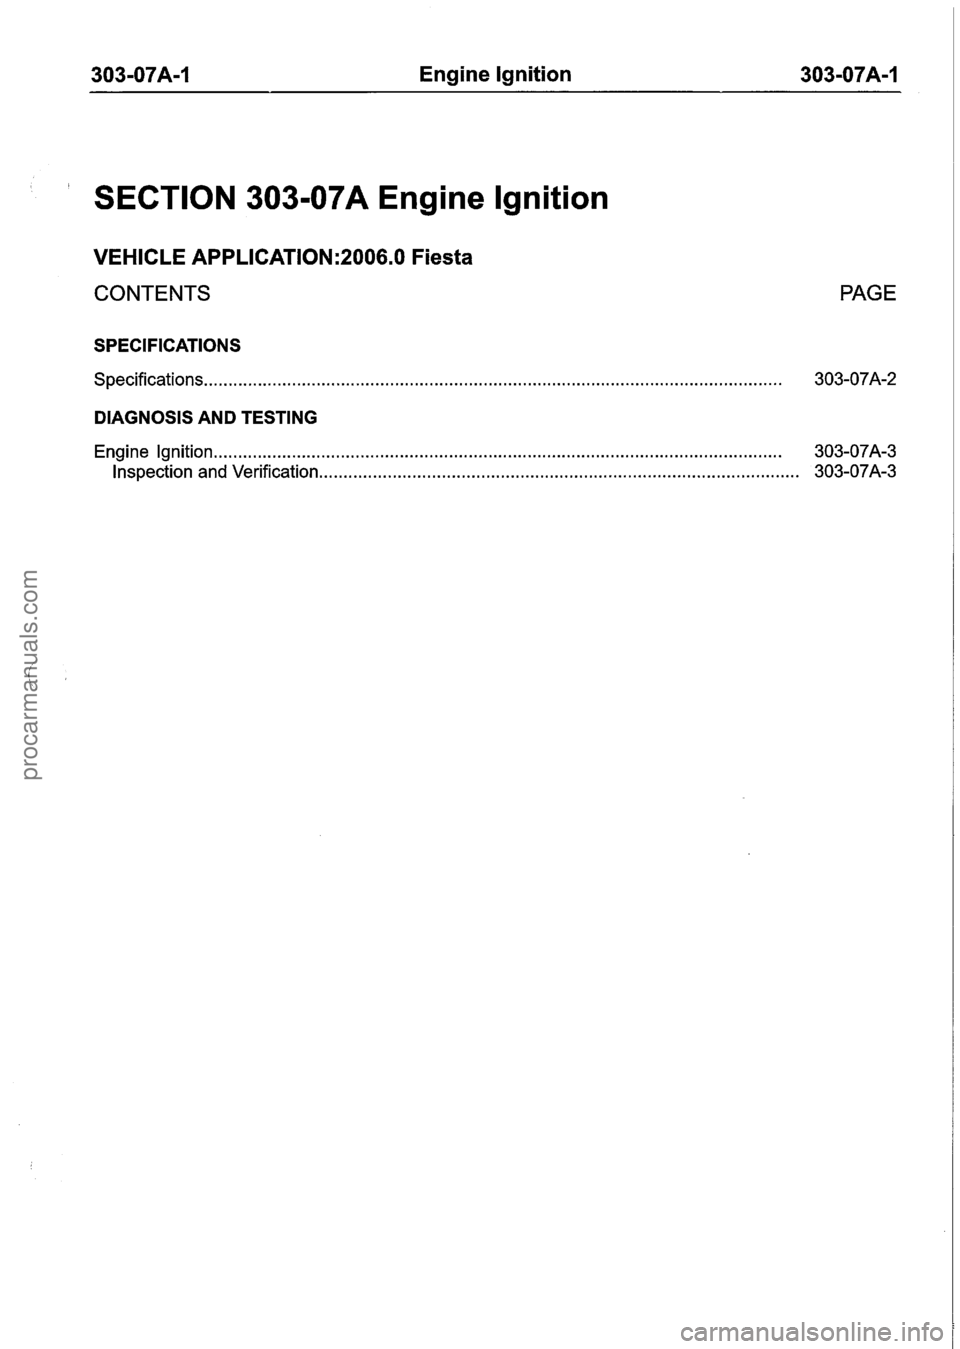
303-07A-1 Engine Ignition 303-07A-1
' SECTION 303-07A Engine Ignition
VEHICLE APPLICATION:2006.0 Fiesta
CONTENTS PAGE
SPECIFICATIONS
Specifications ........................................................................\
........................................... 303-07A-2
DIAGNOSIS AND TESTING
Engine Ignition ........................................................................\
...................................... 303-07A-3
Inspection and Verification ........................................................................\
.......................... 303-07A-3
procarmanuals.com
Page 883 of 1226
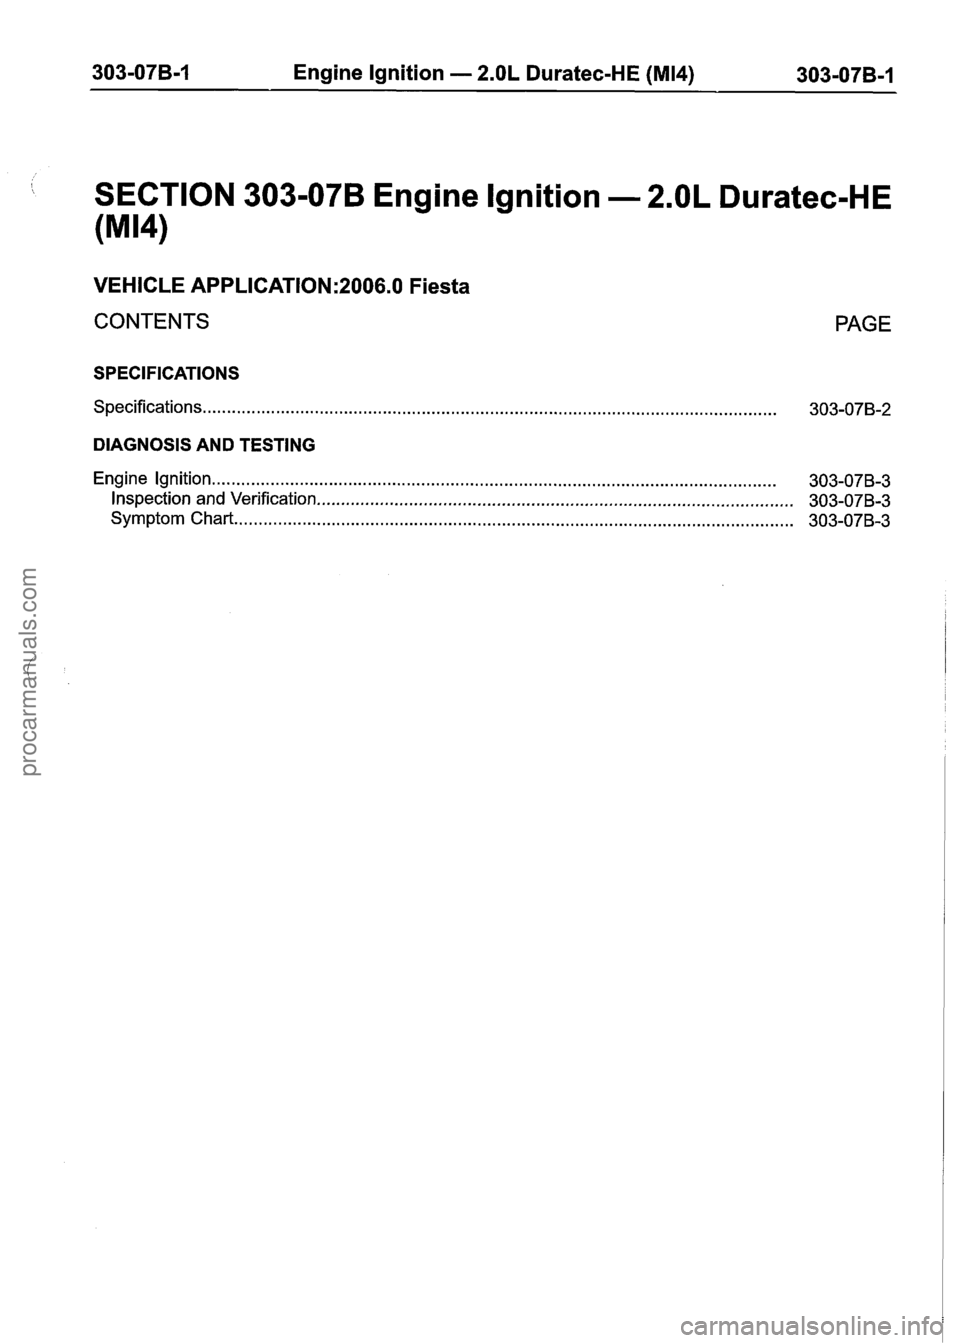
303-07B-1 Engine Ignition - 2.OL Duratec-HE (M14) 303-07B-1
SECTION 303-07B Engine Ignition - 2.OL Duratec-HE
(M14)
VEHICLE APPLICATION:2006.0 Fiesta
CONTENTS
SPECIFICATIONS
Specifications.. ........................................................................\
............................................
PAGE
DIAGNOSIS AND TESTING
........................................................................\
............................................ Engine Ignition 303-07B-3
Inspection and Verification
........................................................................\
.......................... 303-07B-3
Symptom Chart..
........................................................................\
......................................... 303-07B-3
procarmanuals.com