battery capacity FORD FUSION HYBRID 2014 Owners Manual
[x] Cancel search | Manufacturer: FORD, Model Year: 2014, Model line: FUSION HYBRID, Model: FORD FUSION HYBRID 2014Pages: 473, PDF Size: 5.93 MB
Page 83 of 473

Right Information Display Efficiency Leaves
Efficiency leaves indicate short term driving
efficiency. The more leaves and vines that
are displayed, the better your fuel
economy. Leaves and vines will
occasionally appear and disappear to
indicate a change in driving efficiency.
Note: The efficiency leaves display can be
impacted by your use of brakes, accelerator
and accessories, as well as environmental
conditions such as hills and weather.
Common Displays Fuel Economy Displays:
Displays your average and instantaneous
fuel economy on most Display Mode
screens.
Note: You can reset your average fuel
economy by pressing and holding the OK
button on the left hand steering wheel
controls.
• Average Fuel Economy - is
continuously averaged since the last
reset. You can reset your average fuel
economy by pressing and holding the
OK button on the left hand steering
wheel controls. For Energi vehicles both
Hybrid and Plug-in Power mode
operation will be included in the
calculation.
• Instantaneous Fuel Economy - If your
instantaneous fuel economy is greater
than the maximum value displayed, a
+ sign will be shown next to the
maximum scale number. When the
vehicle is operating on battery power
only, EV is displayed and the gauge fill
is shown in blue. Battery Gauge:
Note: Battery gauge information can be
individually selected on or off through
Battery Display in the Options sub-menu.
From any main display a right arrow press
on the steering wheel controls will take you
to the Options sub-menu.
Note: For Energi vehicles there are two
versions of the battery gauge. When the
vehicle is in Hybrid Mode the information is
shown with a simple battery graphic. When
in Plug-in Power Mode an enhanced battery
graphic is provided and available electric
range is added to the display.
The high voltage battery gauge appears
on the right side of the information display
screen. This provides Charge Fill (State of
Charge), Charge Assist and Regen Display.
• Charge Fill (Hybrid Mode) - The fill
level, or State of Charge indicates the
amount of energy stored in the high
voltage battery as a percent of total
energy capacity. The level will increase
or decrease as the battery charges and
discharges during normal operation,
but the hybrid system will attempt to
control the level to approximately the
middle of the gauge under most driving
conditions.
• Charge Fill (Energi Plug-in Power
Mode) - The fill level indicates the
amount of energy stored in the high
voltage battery which is available for
Plug-in Power Mode. A full fill
represents the total amount of energy
you can get from an external charge
(plugging your vehicle in). When the fill
reaches empty your vehicle will
automatically enter Hybrid Mode.
Note: The Charge Fill is always shown for
Plug-in Power Mode, even if Charge Fill is
not selected under Battery Display in the
Options sub-menu.
80Instrument Cluster
Page 136 of 473

12 Volt DC Power Point WARNING
Do not plug optional electrical
accessories into the cigar lighter
socket (if equipped). Improper use
of the lighter can cause damage not
covered by y our warranty, and can result
in fire or serious injury.
Note: If used when the vehicle is not
running, the battery will discharge. There
may be insufficient power to restart your
vehicle.
Note: Do not insert objects other than an
accessory plug into the power point. This
will damage the outlet and blow the fuse.
Note: Do not hang any type of accessory or
accessory bracket from the plug.
Note: Do not use the power point over the
vehicle capacity of 12 volt DC 180 watts or
a fuse may blow.
Note: Do not use the power point for
operating a cigar lighter element.
Note: Improper use of the power point can
cause damage not covered by your
warranty.
Note: Always keep the power point caps
closed when not in use.
Run the vehicle for full capacity use of the
power point. To prevent the battery from
discharging accidentally:
• Do not use the power point longer than
necessary when the vehicle is not
running.
• Do not leave devices plugged in
overnight or when you park your vehicle
for extended periods.
Locations
Power points may be in the following
locations: • in the front of the center console
• inside the center console storage bin
• on the rear of the center console.
110 Volt AC Power Point (If Equipped)
WARNING
Do not keep electrical devices
plugged in the power point whenever
the device is not in use. Do not use
any extension cord with the 110 volt AC
power point, since it will defeat the safety
protection design. Doing so my cause the
power point to overload due to powering
multiple devices that can reach beyond
the 150 watt load limit and could result in
fire or serious injury.
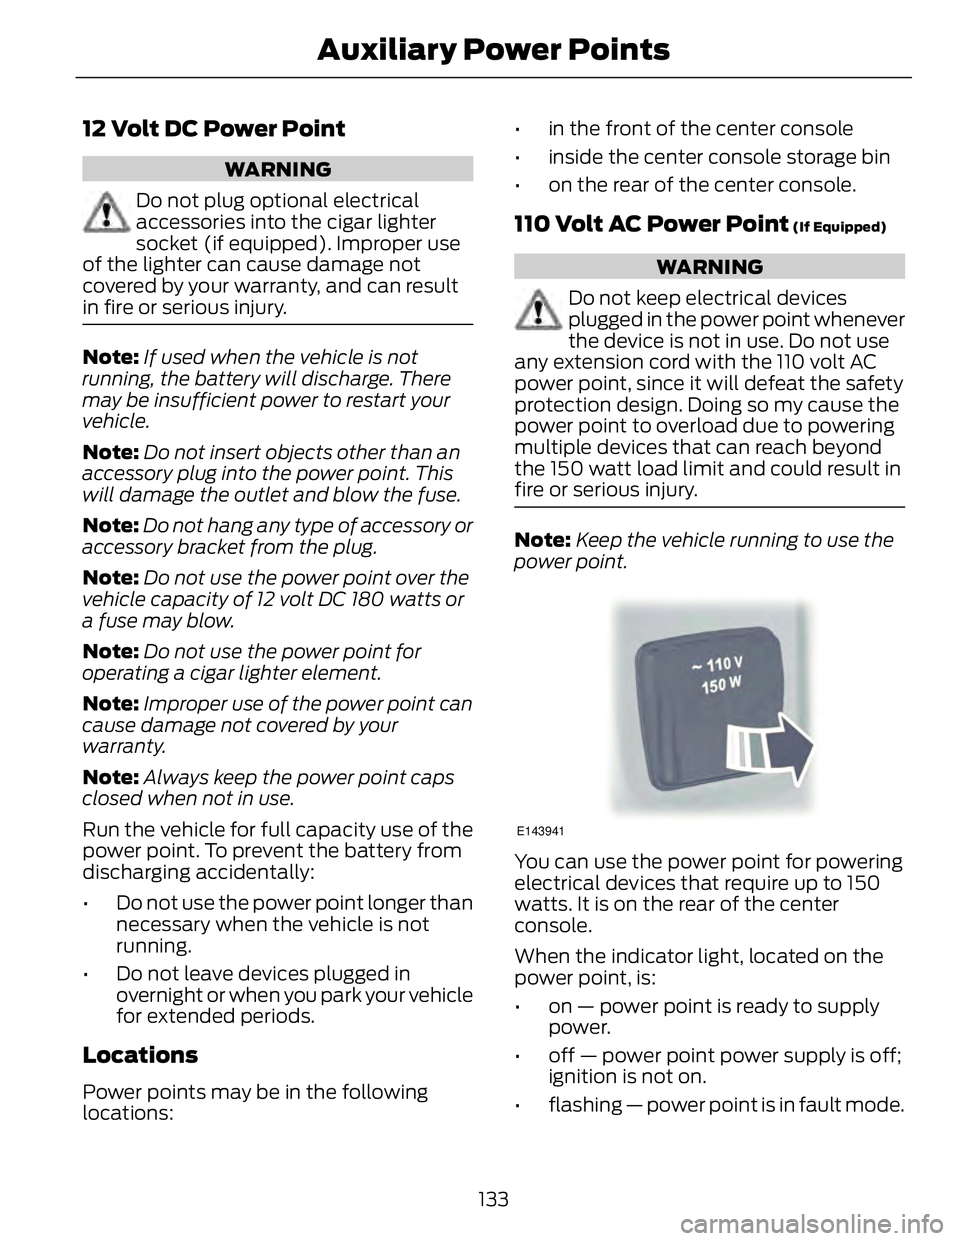
Note: Keep the vehicle running to use the
power point.
E143941
You can use the power point for powering
electrical devices that require up to 150
watts. It is on the rear of the center
console.
When the indicator light, located on the
power point, is:
• on — power point is ready to supply
power.
• off — power point power supply is off;
ignition is not on.
• flashing — power point is in fault mode.
133Auxiliary Power Points
Page 318 of 473

• When adding accessories, equipment,
passengers and luggage to your
vehicle, do not exceed the total weight
capacity of the vehicle or of the front
or rear axle (GVWR or GAWR as
indicated on the Safety Compliance
Certification label). Consult your
authorized dealer for specific weight
information.
• The Federal Communications
Commission (FCC) and Canadian
Radio Telecommunications
Commission (CRTC) regulate the use
of mobile communications systems —
such as two-way radios, telephones
and theft alarms - that are equipped
with radio transmitters. Any such
equipment installed in your vehicle
should comply with Federal
Communications Commission (FCC)
and Canadian Radio
Telecommunications Commission
(CRTC) regulations and should be
installed only by a qualified service
technician.
• Mobile communications systems may
harm the operation of your vehicle,
particularly if they are not properly
designed for automotive use.
• To avoid interference with other vehicle
functions, such as anti-lock braking
systems, amateur radio users who
install radios and antennas onto their
vehicle should not locate the amateur
radio antennas in the area of the
driver's side hood.
• Any non-Ford custom electrical or
electronic accessories or components
that are added to the vehicle by the
authorized dealer or the owner, may
adversely affect battery performance
and durability, and may also adversely
affect the performance of other
electrical systems in the vehicle.
315Accessories
Page 402 of 473

My GO Time summary displays the next GO Time and cabin temperature
setting.A
Estimated charge time limits displays the estimated minimum and maximum
times to fully charge the high-voltage battery and the battery’s present state
of charge as a percentage of total capacity.B
Charge profile and mode displays the charging profile and charging mode for
the vehicle's present location.C
Charging status and actual times displays charging status with the charging
start time, end time, and duration.D
My GO Time Summary
GO Time
This is the time and date of your next set
drive time. Your vehicle automatically
schedules charging and cabin conditioning
to finish by this time.
Temperature
This is the chosen cabin conditioning
setting for this GO Time.
Skip
This cancels the cabin conditioning for the
present GO Time. Once you touch Skip, the
GO Time and Temperature grey out, and
the LED illuminates on the Skip button.
Touch the button again to turn on the
cabin conditioning. This feature allows you
to ignore the present GO Time without
having to delete it or having to turn off the
entire schedule (see GO Time Schedule
later in this section). After the present GO
Time passes, the Skip feature resets.
Edit
This accesses your GO Time Schedule (see
GO Time Schedule later in this section). The system also alerts you to any conflicts
by highlighting areas of the screen in
yellow. If your battery cannot have a full
charge by the scheduled drive time, the
system highlights your next GO Time and
Charge Complete time and a message
Charge at GO Time: under 100%
appears. This is normal; the vehicle is
informing you of the conflicting situation.
This notification only displays when the
gearshift selector lever is in position P .
Note: Charging occurs as soon as you plug
the vehicle in. The system limits cabin
conditioning to 15 minutes before your GO
Time.
To eliminate the conflict notification
immediately or to prevent a conflict in the
future, try the following:
• Change the present GO Time to occur
later.
• Plug the vehicle into a 240V charging
station instead of the 120V
convenience cord. Higher power
charging yields shorter charge times.
• Plug the vehicle in sooner.
Estimated Charge Time Limits
Battery
This shows you the battery's current
charge displayed as a percentage. A
reading of 100% means the battery has a
full charge. A reading of 0% indicates the
battery has no plug-in energy left.
399MyFord Touch™ (If Equipped)