parking brake FORD MUSTANG 2002 4.G Owners Manual
[x] Cancel search | Manufacturer: FORD, Model Year: 2002, Model line: MUSTANG, Model: FORD MUSTANG 2002 4.GPages: 264, PDF Size: 2.56 MB
Page 14 of 264

Traction ControlYactive
Illuminates when the
Traction Controly
system is active. It will
be lit for a minimum of
four seconds or for the duration of the Traction
Controlyevent.
For more information, refer to theDrivingchapter.
Anti-lock brake system (ABS)
To confirm the
anti-lock brake system
(ABS) warning light is
functional it will
momentarily illuminate when the ignition is turned
to the ON position (alternatively for some vehicles
when the ignition is moved from the ON position to
the START position, the light will momentarily
illuminate just prior to reaching the START
position). If the light remains on, continues to flash
or fails to illuminate, have the ABS serviced
immediately. If the ABS light remains on, it means
the anti-lock brake system has malfunctioned and is
disabled, however, the normal brake system will still
function unless the brake warning light also remains
illuminated and parking brake is off. Refer toBrakes
in theDrivingchapter for more information.
ABS
Instrument Cluster
14
Page 15 of 264
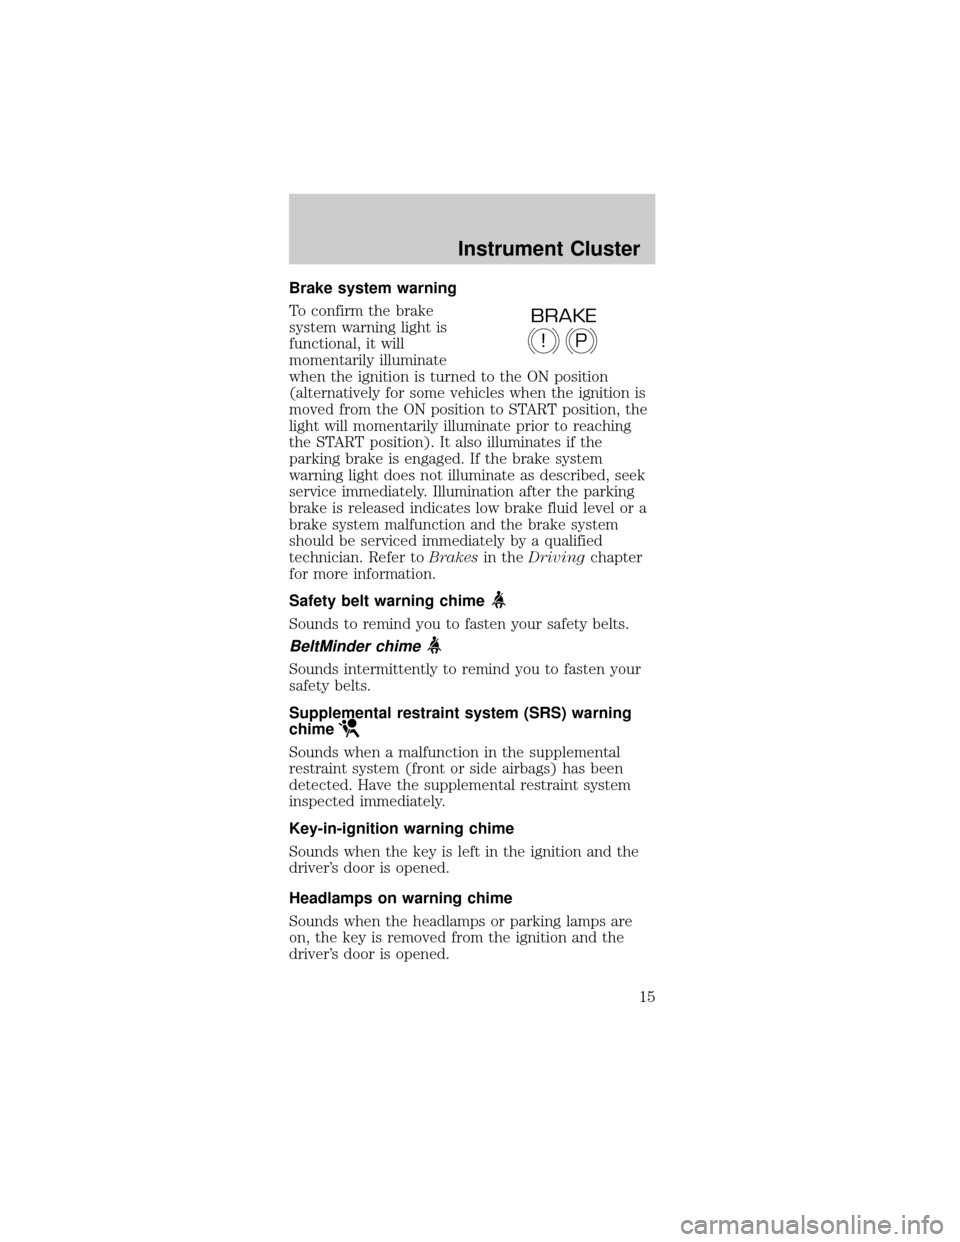
Brake system warning
To confirm the brake
system warning light is
functional, it will
momentarily illuminate
when the ignition is turned to the ON position
(alternatively for some vehicles when the ignition is
moved from the ON position to START position, the
light will momentarily illuminate prior to reaching
the START position). It also illuminates if the
parking brake is engaged. If the brake system
warning light does not illuminate as described, seek
service immediately. Illumination after the parking
brake is released indicates low brake fluid level or a
brake system malfunction and the brake system
should be serviced immediately by a qualified
technician. Refer toBrakesin theDrivingchapter
for more information.
Safety belt warning chime
Sounds to remind you to fasten your safety belts.
BeltMinder chime
Sounds intermittently to remind you to fasten your
safety belts.
Supplemental restraint system (SRS) warning
chime
Sounds when a malfunction in the supplemental
restraint system (front or side airbags) has been
detected. Have the supplemental restraint system
inspected immediately.
Key-in-ignition warning chime
Sounds when the key is left in the ignition and the
driver's door is opened.
Headlamps on warning chime
Sounds when the headlamps or parking lamps are
on, the key is removed from the ignition and the
driver's door is opened.
P!
BRAKE
Instrument Cluster
15
Page 71 of 264
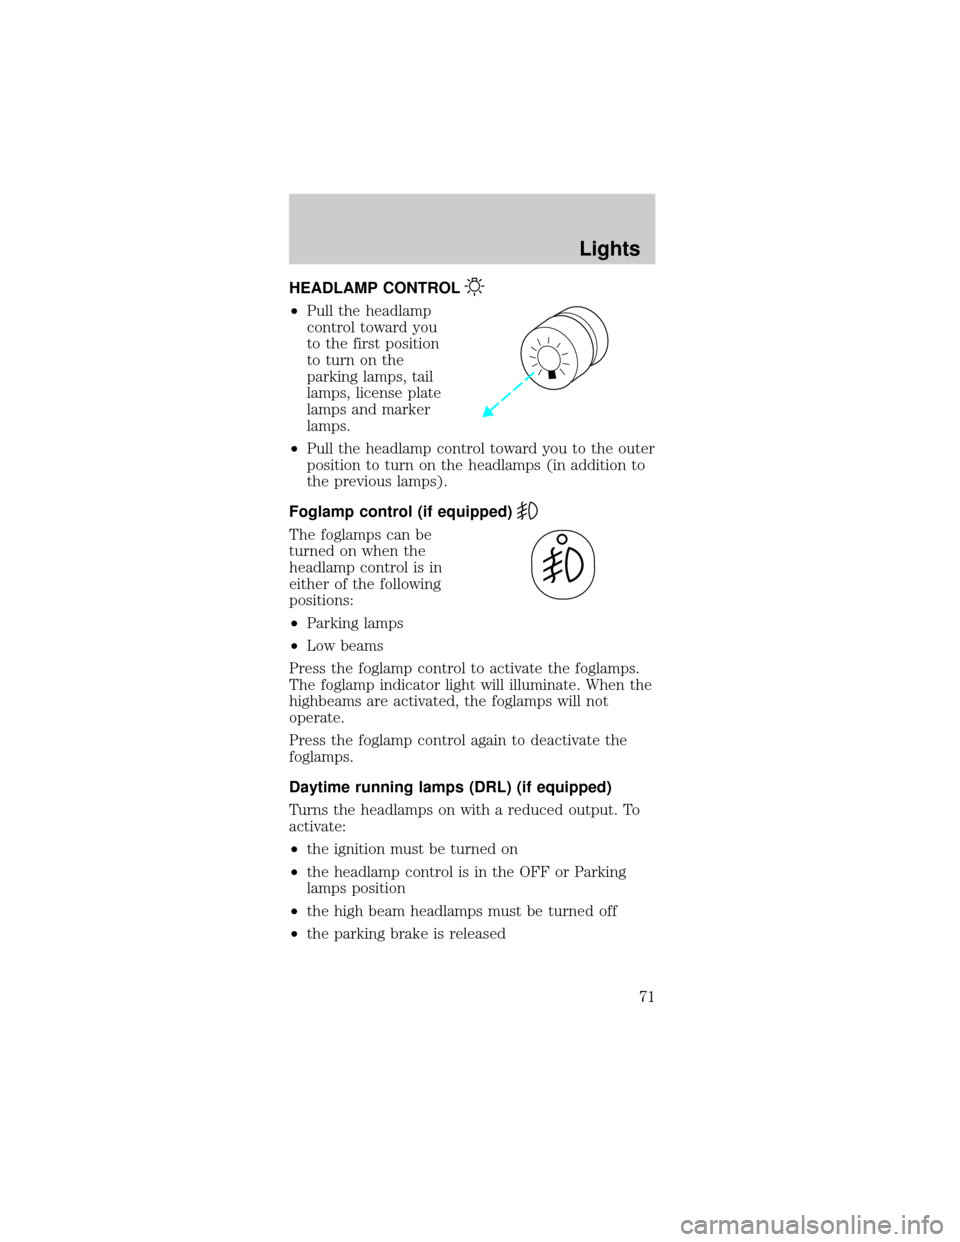
HEADLAMP CONTROL
²Pull the headlamp
control toward you
to the first position
to turn on the
parking lamps, tail
lamps, license plate
lamps and marker
lamps.
²Pull the headlamp control toward you to the outer
position to turn on the headlamps (in addition to
the previous lamps).
Foglamp control (if equipped)
The foglamps can be
turned on when the
headlamp control is in
either of the following
positions:
²Parking lamps
²Low beams
Press the foglamp control to activate the foglamps.
The foglamp indicator light will illuminate. When the
highbeams are activated, the foglamps will not
operate.
Press the foglamp control again to deactivate the
foglamps.
Daytime running lamps (DRL) (if equipped)
Turns the headlamps on with a reduced output. To
activate:
²the ignition must be turned on
²the headlamp control is in the OFF or Parking
lamps position
²the high beam headlamps must be turned off
²the parking brake is released
Lights
71
Page 90 of 264
²Convertible top control (if equipped)
Use only soft cups in the cupholder. Hard
objects can injure you in a collision.
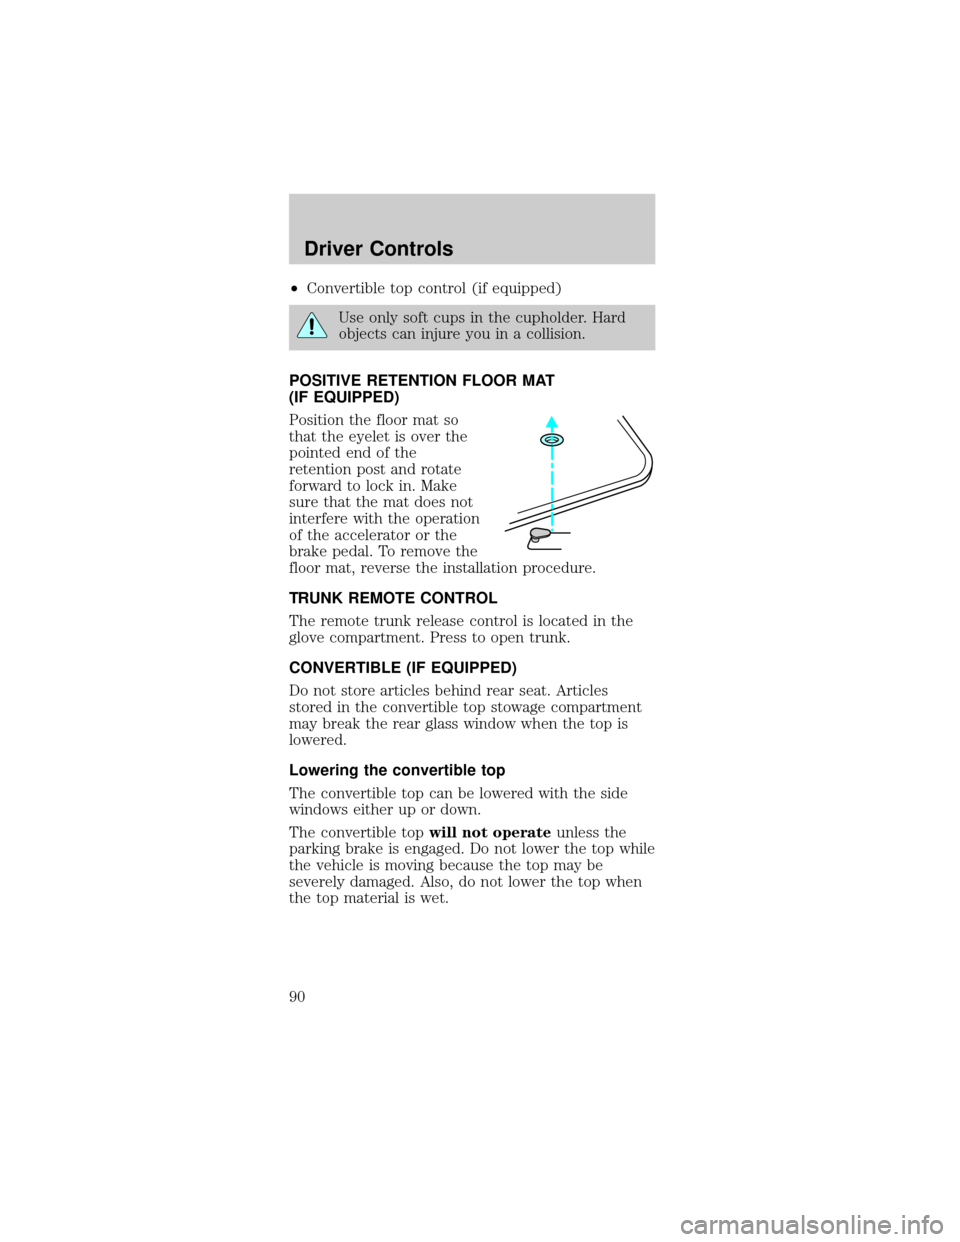
POSITIVE RETENTION FLOOR MAT
(IF EQUIPPED)
Position the floor mat so
that the eyelet is over the
pointed end of the
retention post and rotate
forward to lock in. Make
sure that the mat does not
interfere with the operation
of the accelerator or the
brake pedal. To remove the
floor mat, reverse the installation procedure.
TRUNK REMOTE CONTROL
The remote trunk release control is located in the
glove compartment. Press to open trunk.
CONVERTIBLE (IF EQUIPPED)
Do not store articles behind rear seat. Articles
stored in the convertible top stowage compartment
may break the rear glass window when the top is
lowered.
Lowering the convertible top
The convertible top can be lowered with the side
windows either up or down.
The convertible topwill not operateunless the
parking brake is engaged. Do not lower the top while
the vehicle is moving because the top may be
severely damaged. Also, do not lower the top when
the top material is wet.
Driver Controls
90
Page 91 of 264
To lower the convertible top:
1. Bring vehicle to a complete stop. Engage the
parking brake. Key must be in the ON position.
2. Check the convertible top stowage compartment
behind the rear seat to be sure it is empty and ready
to receive the top.
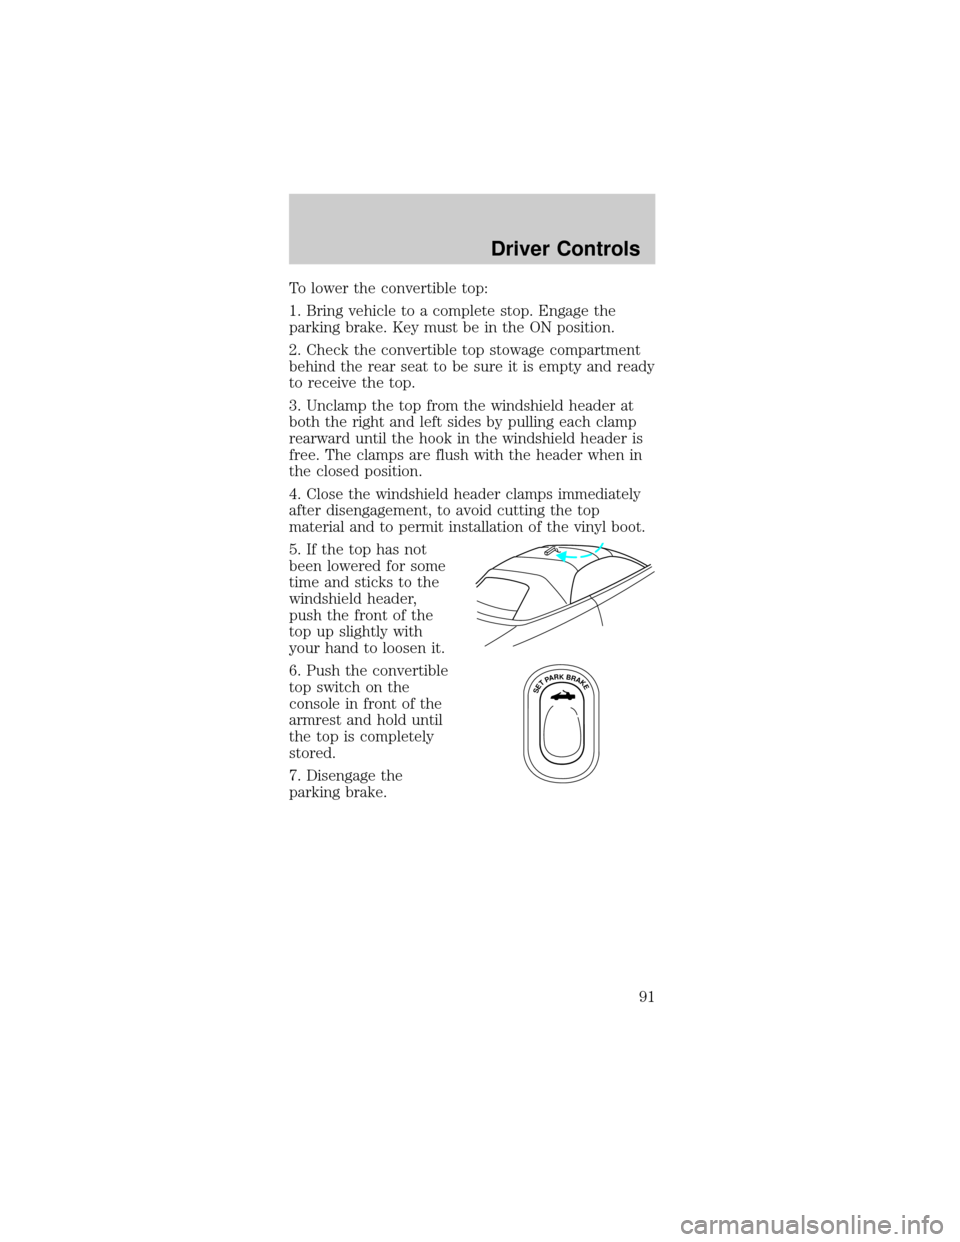
3. Unclamp the top from the windshield header at
both the right and left sides by pulling each clamp
rearward until the hook in the windshield header is
free. The clamps are flush with the header when in
the closed position.
4. Close the windshield header clamps immediately
after disengagement, to avoid cutting the top
material and to permit installation of the vinyl boot.
5. If the top has not
been lowered for some
time and sticks to the
windshield header,
push the front of the
top up slightly with
your hand to loosen it.
6. Push the convertible
top switch on the
console in front of the
armrest and hold until
the top is completely
stored.
7. Disengage the
parking brake.
SETPARKBRAKE
Driver Controls
91
Page 93 of 264
Raising the convertible top
The convertible topwill not operateunless the
parking brake is engaged. Do not raise the top while
the vehicle is moving because the top may be
severely damaged.
To raise the convertible top:
1. Bring the vehicle to a complete stop. Engage the
parking brake. Key must be in the ON position.
2. Remove the boot cover and store it in the luggage
compartment.
3. Lower the front and rear side windows.
4. Push the convertible top button, holding it until
the top unfolds and moves forward toward the
windshield header.
5. Open both top clamps before the top meets the
windshield header
6. Continue to use the top motor to raise the top
until it has reached the fully closed position flush to
the header.
7. The two pins under the forward edge of the top
should seat themselves in the matching holes in the
header.
8. To fasten both clamps securely, push the clamp
handles into the header on the top until they are
flush with the header. Pulling down on the header at
the center grip while closing the latches may assist
in fastening the clamps.
9. Raise the front and rear side windows.
10. Disengage the parking brake.
Driver Controls
93
Page 117 of 264
The BeltMinder feature can be deactivated/activated
by performing the following procedure:
Before following the procedure, make sure that:
²The parking brake is set.
²The gearshift is in P (Park) (automatic
transmission) or the neutral position (manual
transmission).
²The ignition switch is in the OFF position.
²All vehicle doors are closed.
²The driver's safety belt is unbuckled.
²The parklamps/headlamps are in OFF position (If
vehicle is equipped with Autolamps, this will not
affect the procedure).
To reduce the risk of injury, do not
deactivate/activate the Belt Minder feature
while driving the vehicle.
1. Turn the ignition switch to the RUN (or ON)
position. (DO NOT START THE ENGINE.)
2. Wait until the safety belt warning light turns off.
(Approximately 1±2 minutes.)
²Steps 3±5 must be completed within 60 seconds
or the procedure will have to be repeated.
3. Buckle then unbuckle the safety belt three times,
ending with the safety belt unbuckled. This can be
done before or during BeltMinder warning activation.
4. Turn on the parklamps/headlamps, turn off the
parklamps/headlamps.
5. Buckle then unbuckle the safety belt three times,
ending with the safety belt unbuckled.
²After step 5 the safety belt warning light will be
turned on for three seconds.
6. Within seven seconds of the safety belt warning
light turning off, buckle then unbuckle the safety
belt.
Seating and Safety Restraints
117
Page 138 of 264
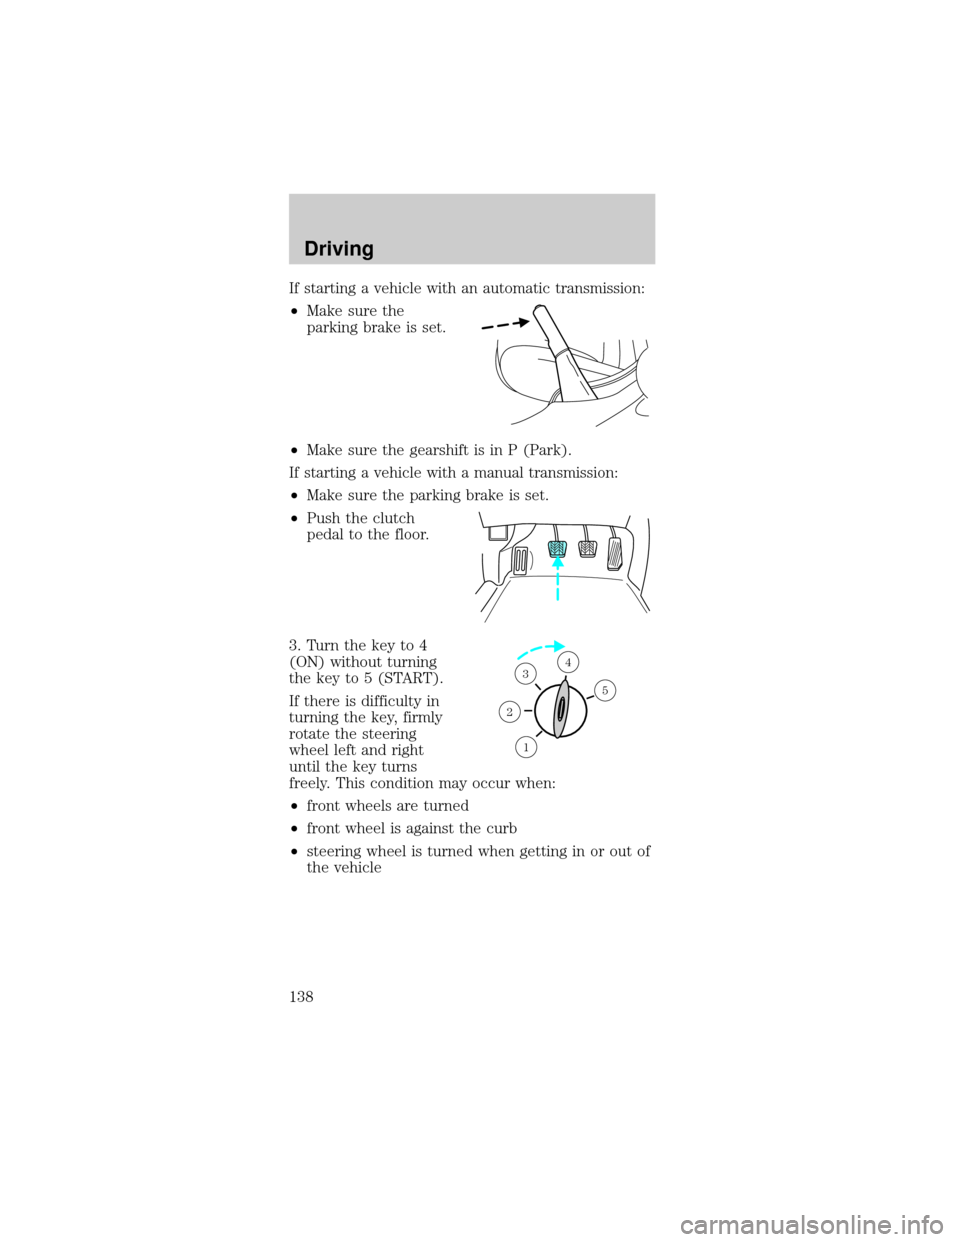
If starting a vehicle with an automatic transmission:
²Make sure the
parking brake is set.
²Make sure the gearshift is in P (Park).
If starting a vehicle with a manual transmission:
²Make sure the parking brake is set.
²Push the clutch
pedal to the floor.
3. Turn the key to 4
(ON) without turning
the key to 5 (START).
If there is difficulty in
turning the key, firmly
rotate the steering
wheel left and right
until the key turns
freely. This condition may occur when:
²front wheels are turned
²front wheel is against the curb
²steering wheel is turned when getting in or out of
the vehicle
1
2
34
5
Driving
138
Page 140 of 264
3. If the temperature is below -12É C (10É F) and
the engine does not start in 15 seconds on the first
try, turn the key OFF and wait 10 seconds and try
again. If the engine does not start in two attempts,
press the accelerator pedal all the way to floor and
hold. Turn the key to START position.
4. When the engine starts, release the key, then
release the accelerator pedal gradually as the engine
speeds up.
5. After idling for a few seconds, apply the brake
and release the parking brake.
Using the engine block heater (if equipped)
An engine block heater warms the engine coolant,
which improves starting, warms up the engine faster
and allows the heater-defroster system to respond
quickly. Use of an engine block heater is strongly
recommended if you live in a region where
temperatures reach -23É C (-10É F) or below.
For best results, plug the heater in at least three
hours before starting the vehicle. Using the heater
for longer than three hours will not harm the engine,
so the heater can be plugged in the night before
starting the vehicle.
To prevent electrical shock, do not use your
heater with ungrounded electrical systems
or two-pronged (cheater) adapters.
Guarding against exhaust fumes
Although odorless and colorless, carbon monoxide is
present in exhaust fumes. Take precautions to avoid
its dangerous effects.
Driving
140
Page 142 of 264
BRAKES
Your service brakes are self-adjusting. Refer to the
scheduled maintenance guide for scheduled
maintenance.
Occasional brake noise is normal and often does not
indicate a performance concern with the vehicle's
brake system. In normal operation, automotive brake
systems may emit occasional or intermittent squeal
or groan noises when the brakes are applied. Such
noises are usually heard during the first few brake
applications in the morning; however, they may be
heard at any time while braking and can be
aggravated by environmental conditions such as
cold, heat, moisture, road dust, salt or mud. If a
ªmetal-to-metal,º ªcontinuous grindingº or
ªcontinuous squealº sound is present while braking,
the brake linings may be worn-out and should be
inspected by a qualified service technician.
If you are driving down a long or steep hill,
shift to a lower gear. Do not apply your
brakes continuously, as they may overheat and
become less effective.
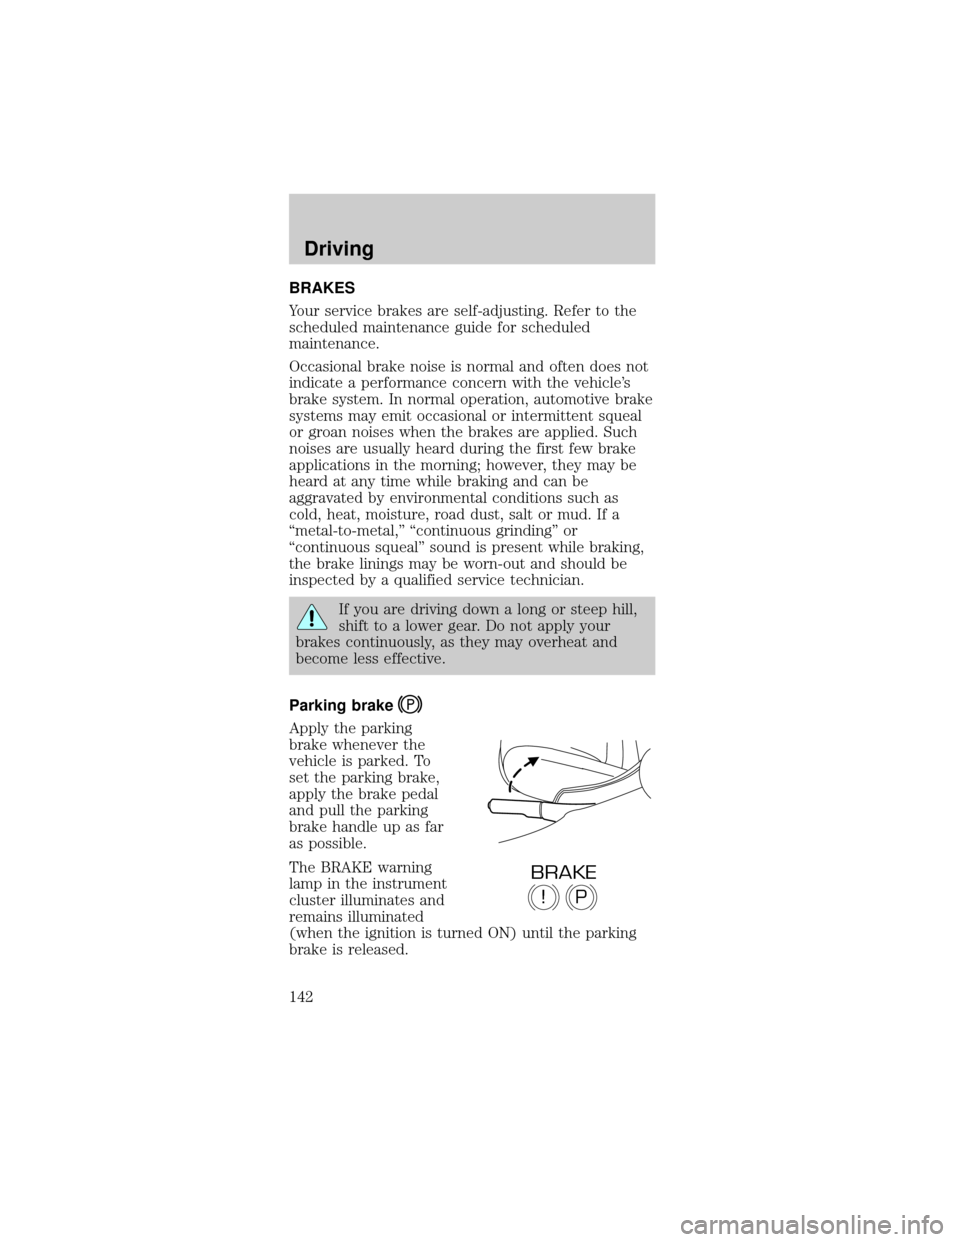
Parking brake
Apply the parking
brake whenever the
vehicle is parked. To
set the parking brake,
apply the brake pedal
and pull the parking
brake handle up as far
as possible.
The BRAKE warning
lamp in the instrument
cluster illuminates and
remains illuminated
(when the ignition is turned ON) until the parking
brake is released.
P!
BRAKE
Driving
142