tire pressure FORD MUSTANG 2002 4.G Owners Manual
[x] Cancel search | Manufacturer: FORD, Model Year: 2002, Model line: MUSTANG, Model: FORD MUSTANG 2002 4.GPages: 264, PDF Size: 2.56 MB
Page 170 of 264
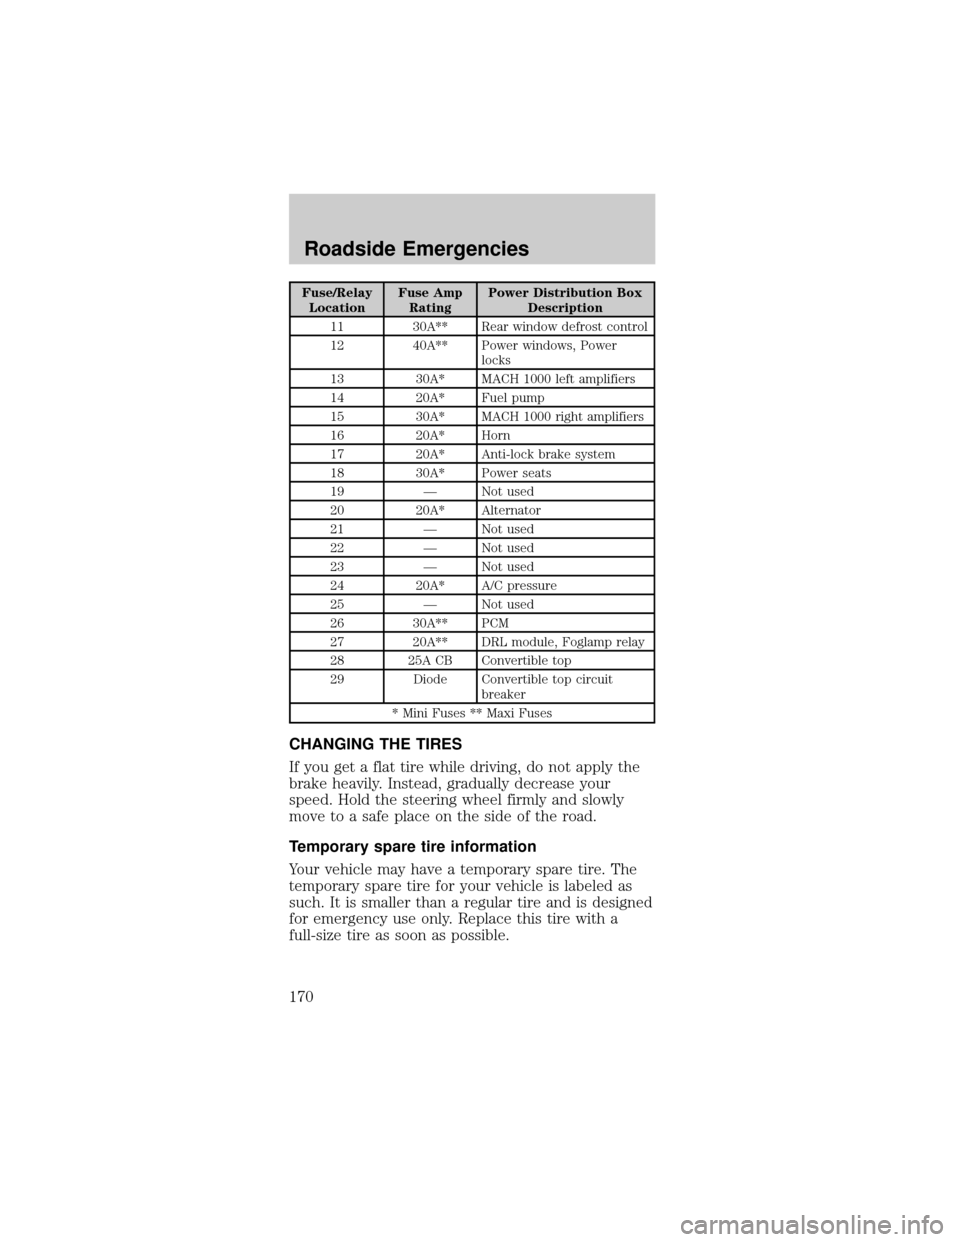
Fuse/Relay
LocationFuse Amp
RatingPower Distribution Box
Description
11 30A** Rear window defrost control
12 40A** Power windows, Power
locks
13 30A* MACH 1000 left amplifiers
14 20A* Fuel pump
15 30A* MACH 1000 right amplifiers
16 20A* Horn
17 20A* Anti-lock brake system
18 30A* Power seats
19 Ð Not used
20 20A* Alternator
21 Ð Not used
22 Ð Not used
23 Ð Not used
24 20A* A/C pressure
25 Ð Not used
26 30A** PCM
27 20A** DRL module, Foglamp relay
28 25A CB Convertible top
29 Diode Convertible top circuit
breaker
* Mini Fuses ** Maxi Fuses
CHANGING THE TIRES
If you get a flat tire while driving, do not apply the
brake heavily. Instead, gradually decrease your
speed. Hold the steering wheel firmly and slowly
move to a safe place on the side of the road.
Temporary spare tire information
Your vehicle may have a temporary spare tire. The
temporary spare tire for your vehicle is labeled as
such. It is smaller than a regular tire and is designed
for emergency use only. Replace this tire with a
full-size tire as soon as possible.
Roadside Emergencies
170
Page 171 of 264
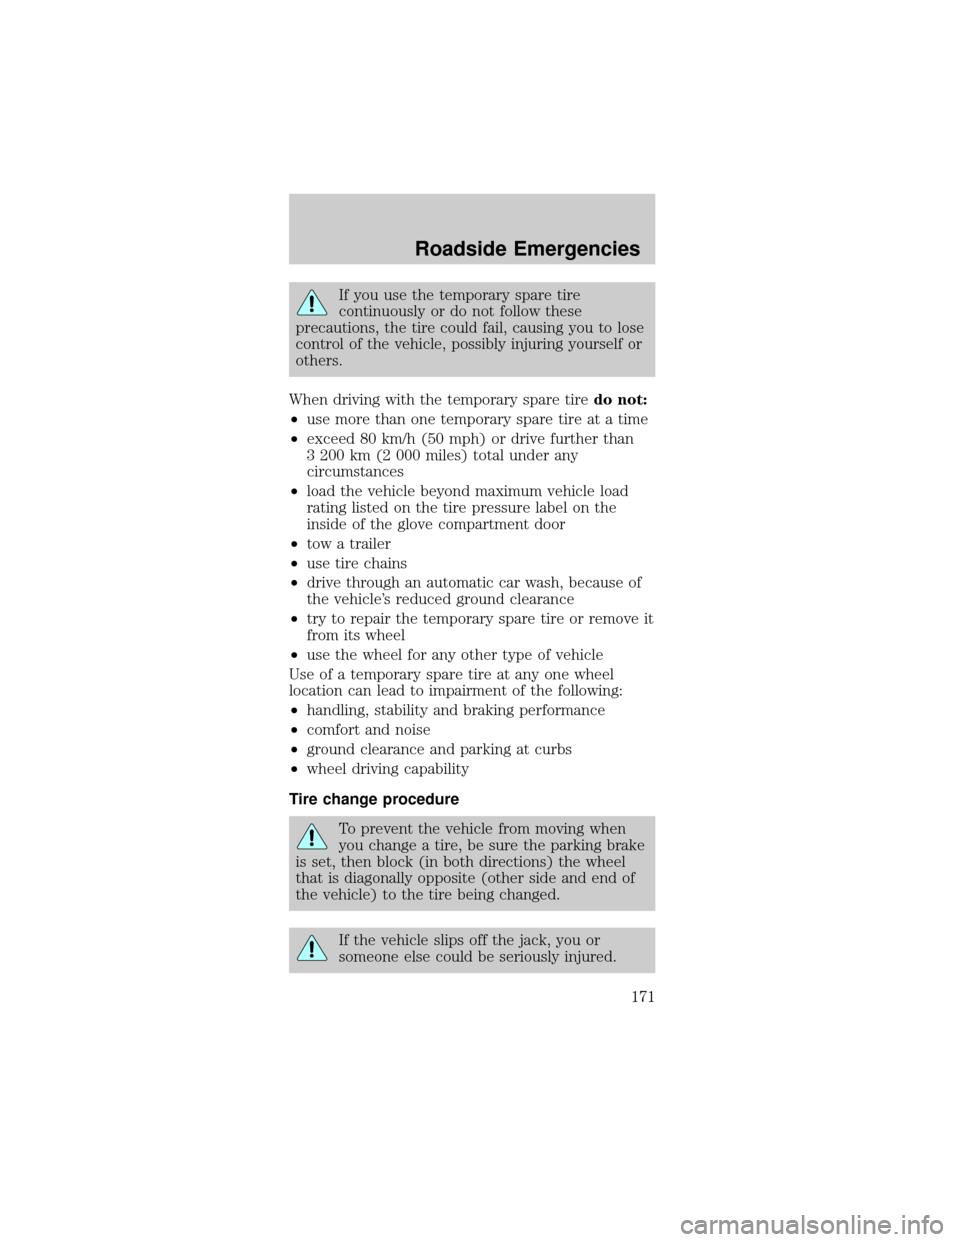
If you use the temporary spare tire
continuously or do not follow these
precautions, the tire could fail, causing you to lose
control of the vehicle, possibly injuring yourself or
others.
When driving with the temporary spare tiredo not:
²use more than one temporary spare tire at a time
²exceed 80 km/h (50 mph) or drive further than
3 200 km (2 000 miles) total under any
circumstances
²load the vehicle beyond maximum vehicle load
rating listed on the tire pressure label on the
inside of the glove compartment door
²tow a trailer
²use tire chains
²drive through an automatic car wash, because of
the vehicle's reduced ground clearance
²try to repair the temporary spare tire or remove it
from its wheel
²use the wheel for any other type of vehicle
Use of a temporary spare tire at any one wheel
location can lead to impairment of the following:
²handling, stability and braking performance
²comfort and noise
²ground clearance and parking at curbs
²wheel driving capability
Tire change procedure
To prevent the vehicle from moving when
you change a tire, be sure the parking brake
is set, then block (in both directions) the wheel
that is diagonally opposite (other side and end of
the vehicle) to the tire being changed.
If the vehicle slips off the jack, you or
someone else could be seriously injured.
Roadside Emergencies
171
Page 174 of 264
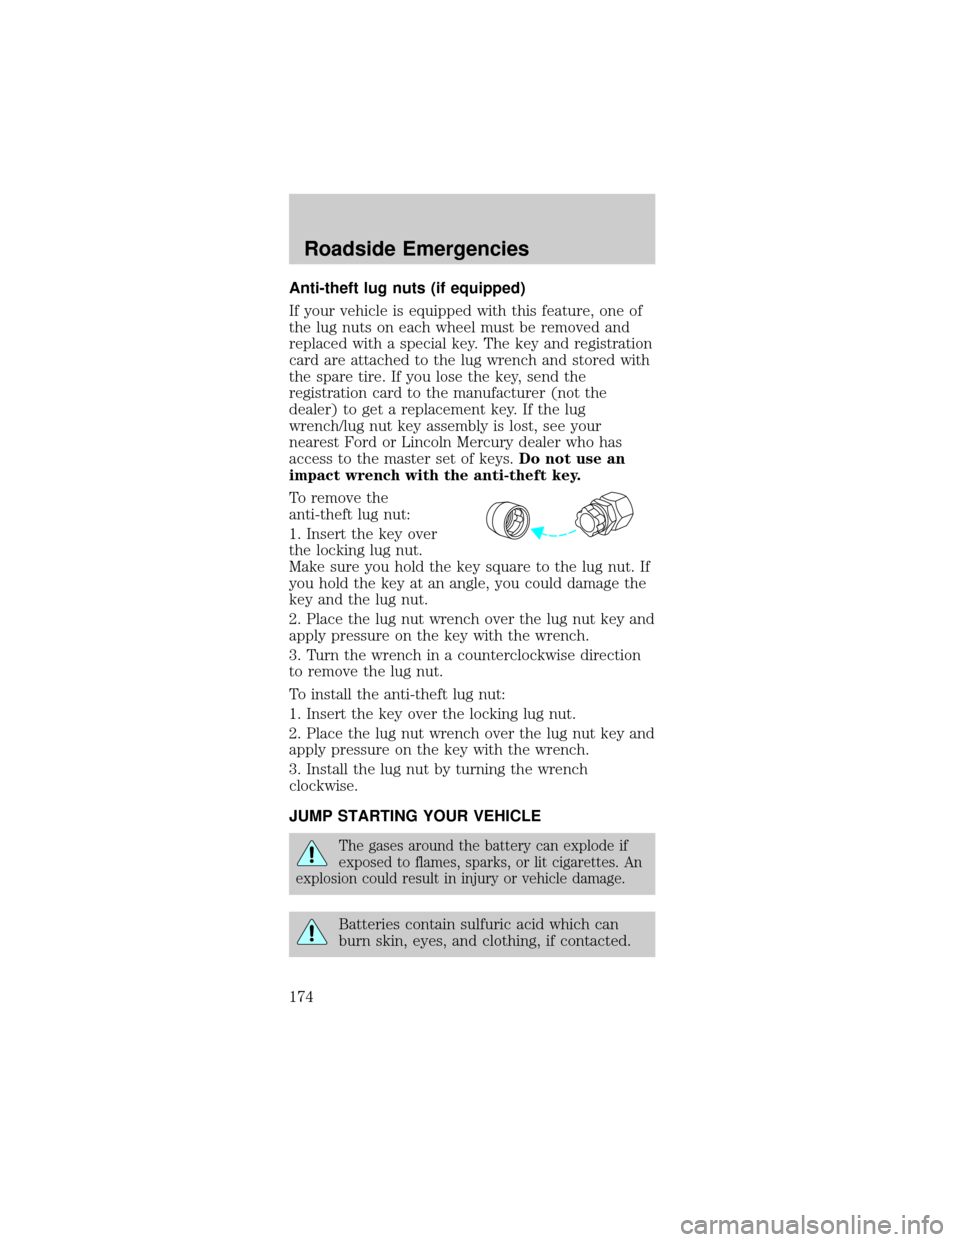
Anti-theft lug nuts (if equipped)
If your vehicle is equipped with this feature, one of
the lug nuts on each wheel must be removed and
replaced with a special key. The key and registration
card are attached to the lug wrench and stored with
the spare tire. If you lose the key, send the
registration card to the manufacturer (not the
dealer) to get a replacement key. If the lug
wrench/lug nut key assembly is lost, see your
nearest Ford or Lincoln Mercury dealer who has
access to the master set of keys.Do not use an
impact wrench with the anti-theft key.
To remove the
anti-theft lug nut:
1. Insert the key over
the locking lug nut.
Make sure you hold the key square to the lug nut. If
you hold the key at an angle, you could damage the
key and the lug nut.
2. Place the lug nut wrench over the lug nut key and
apply pressure on the key with the wrench.
3. Turn the wrench in a counterclockwise direction
to remove the lug nut.
To install the anti-theft lug nut:
1. Insert the key over the locking lug nut.
2. Place the lug nut wrench over the lug nut key and
apply pressure on the key with the wrench.
3. Install the lug nut by turning the wrench
clockwise.
JUMP STARTING YOUR VEHICLE
The gases around the battery can explode if
exposed to flames, sparks, or lit cigarettes. An
explosion could result in injury or vehicle damage.
Batteries contain sulfuric acid which can
burn skin, eyes, and clothing, if contacted.
Roadside Emergencies
174
Page 218 of 264

8. Reinstall the radiator cap.
9. Start and idle the engine until the upper radiator
hose is warm (this indicates the thermostat is open
and coolant is flowing through the entire system).
10. Immediately shut the engine off.
11. Wrap a thick cloth around the radiator cap and
cautiously remove the radiator cap.
12. Add a50/50 mixtureof engine coolant and
distilled water to the radiator until full.
13. Reinstall the radiator cap.
14. Check the coolant level in the reservoir before
you drive your vehicle the next few times (with the
engine cool).
15. If necessary, add a50/50 mixtureof engine
coolant and distilled water to the engine coolant
reservoir until the coolant level is at the ªcold fill
levelº as listed on the reservoir.
If you are unsure of how to operate the cooling
system vent plug when adding engine coolant to the
3.8L V6 engine, contact your dealer.
Engine coolant refill procedure-4.6L V8 engine
The following procedure should be used when
refilling the cooling system of a 4.6L V8 engine after
it has been drained or become extremely low.
1. Remove the pressure relief cap from the engine
coolant reservoir as previously outlined.
2. Slowly add a50/50 mixtureof engine coolant
and distilled water to the engine coolant reservoir
until the coolant level is at the ªcold fill levelº as
listed on the reservoir.
3. Reinstall the pressure relief cap.
4. Start and idle the engine until the upper radiator
hose is warm (this indicates the thermostat is open
and coolant is flowing through the entire system).
5. Shut the engine off and let it cool.
Maintenance and Specifications
218
Page 243 of 264
The temperature grade for this tire is
established for a tire that is properly inflated
and not overloaded. Excessive speed,
underinflation, or excessive loading, either
separately or in combination, can cause heat
buildup and possible tire failure.
SERVICING YOUR TIRES
Checking the tire pressure
²Use an accurate tire pressure gauge.
²Check the tire pressure when tires are cold, after
the vehicle has been parked for at least one hour
or has been driven less than 5 km (3 miles).
²Adjust tire pressure to recommended
specifications found on the tire pressure label
inside the glove compartment door.
Improperly inflated tires can affect vehicle
handling and can fail suddenly, possibly
resulting in loss of vehicle control.
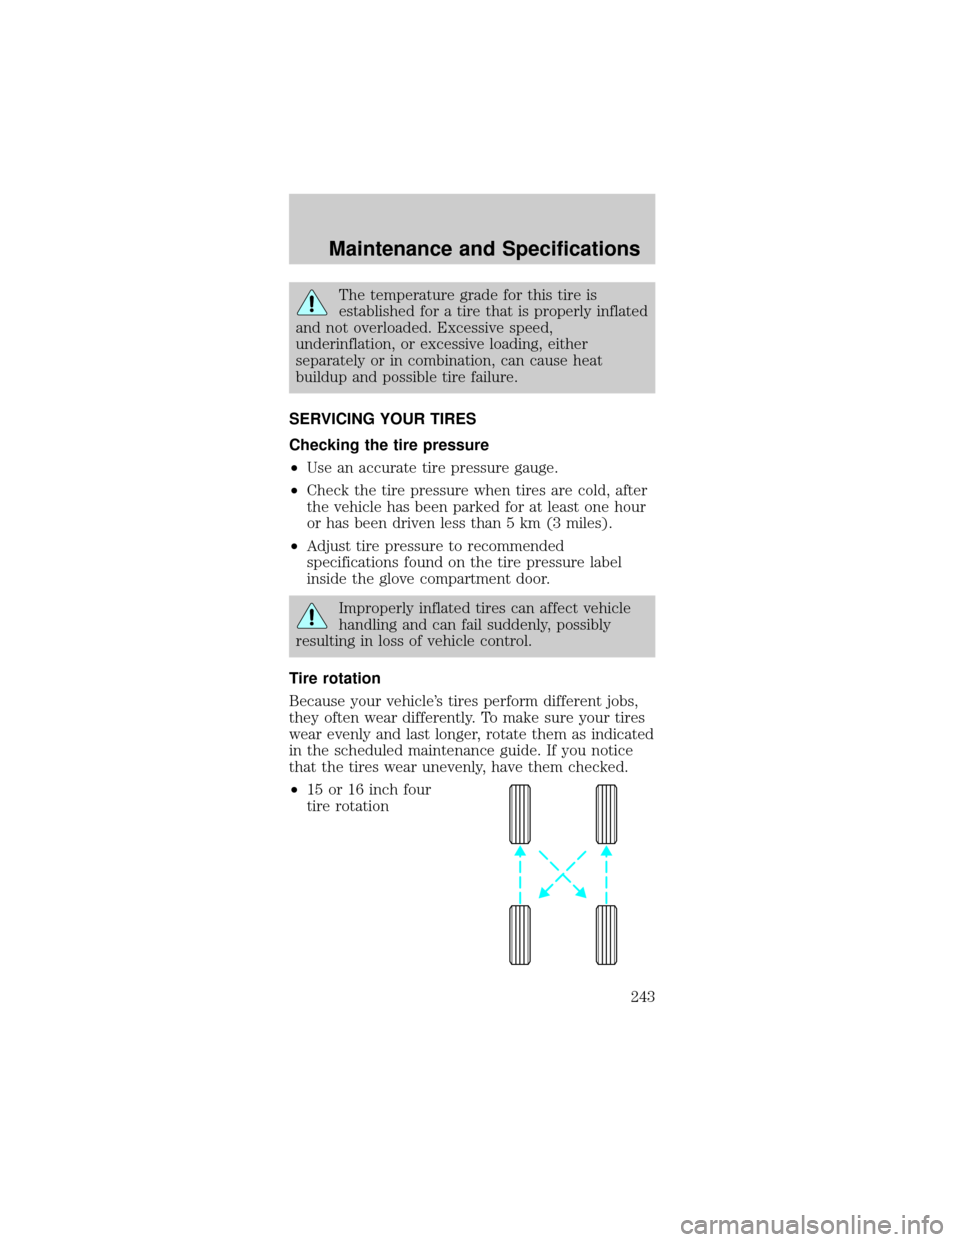
Tire rotation
Because your vehicle's tires perform different jobs,
they often wear differently. To make sure your tires
wear evenly and last longer, rotate them as indicated
in the scheduled maintenance guide. If you notice
that the tires wear unevenly, have them checked.
²15 or 16 inch four
tire rotation
Maintenance and Specifications
243
Page 244 of 264
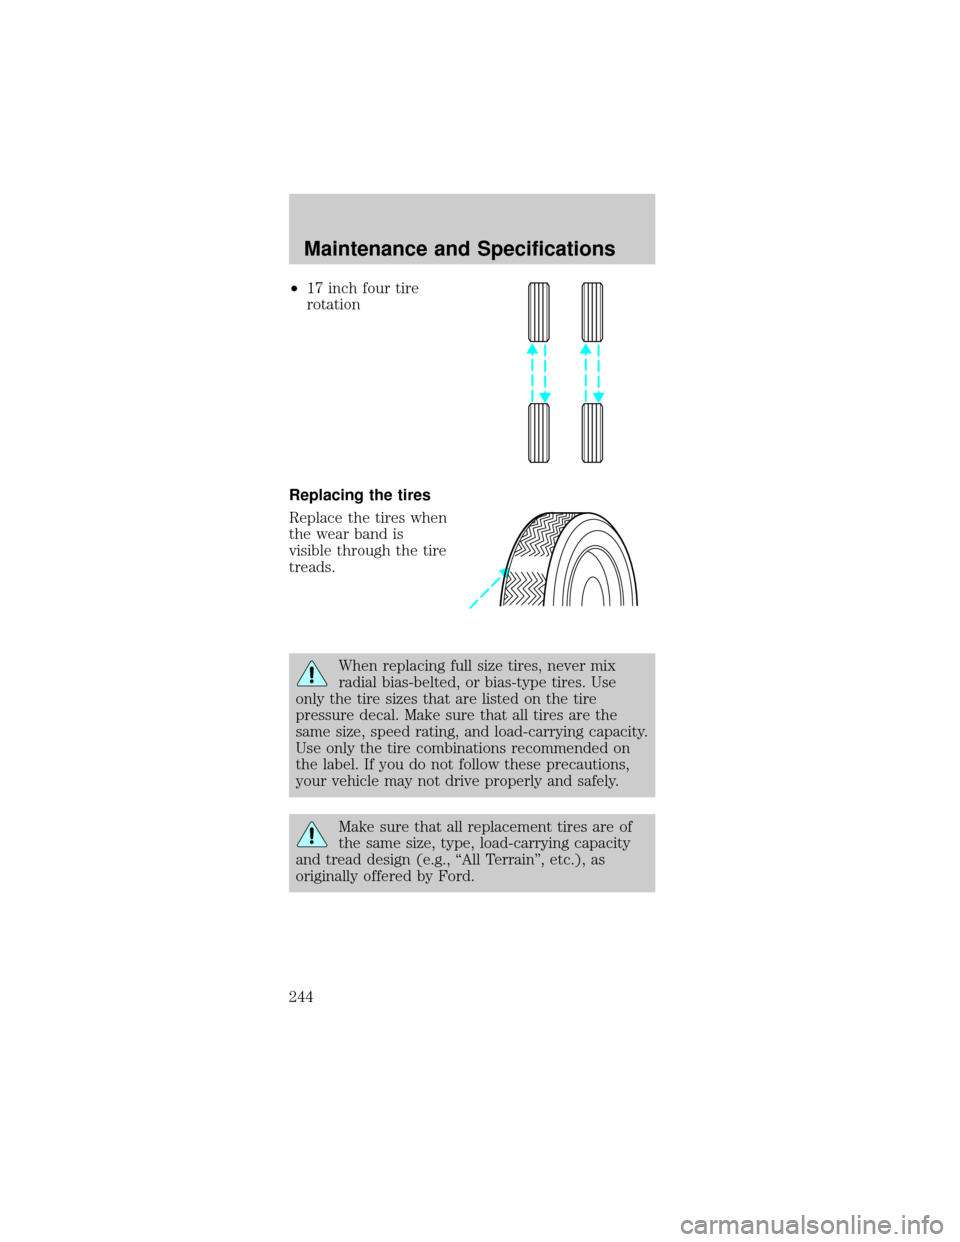
²17 inch four tire
rotation
Replacing the tires
Replace the tires when
the wear band is
visible through the tire
treads.
When replacing full size tires, never mix
radial bias-belted, or bias-type tires. Use
only the tire sizes that are listed on the tire
pressure decal. Make sure that all tires are the
same size, speed rating, and load-carrying capacity.
Use only the tire combinations recommended on
the label. If you do not follow these precautions,
your vehicle may not drive properly and safely.
Make sure that all replacement tires are of
the same size, type, load-carrying capacity
and tread design (e.g., ªAll Terrainº, etc.), as
originally offered by Ford.
Maintenance and Specifications
244
Page 264 of 264

Starting your
vehicle ...... 136±137, 139
jump starting ........ 174
Steering wheel
controls .............. 82, 85
tilting ....................... 82
T
Tachometer ............... 19
Tires ......... 170, 241±243
changing ........ 170±171
checking the
pressure ................. 243
replacing ................ 244
rotating .................. 243
snow tires and
chains .................... 245
tire grades ............. 242
treadwear .............. 242
Towing ..................... 161
recreational
towing .................... 161
trailer towing ........ 161
wrecker .................. 179
Traction control ...... 145
active light .............. 14
Traction-lok rear
axle .......................... 147
Transmission
automatic
operation ............... 148
fluid, checking
and adding
(automatic) ........... 238
fluid, checking and
adding (manual) ... 240
fluid, refill
capacities ............... 247lubricant
specifications. 249, 251
manual operation .. 154
Trip odometer ........... 19
Trunk ......................... 94
remote release .. 90, 98
Turn signal .......... 10, 74
V
Vehicle dimensions . 251
Vehicle Identification
Number (VIN) ......... 253
Vehicle loading ........ 158
Ventilating your
vehicle ...................... 141
W
Warning chimes ......... 15
Warning lights
(see Lights) ............... 10
Washer fluid ............ 206
Water, Driving
through .................... 158
Windows
power ....................... 83
Windshield washer
fluid and wipers
checking and
adding fluid ........... 206
checking and
leaning ..................... 81
operation ................. 81
replacing wiper
blades ...................... 82
Wrecker towing ....... 179
Index
264