warning lights FORD POLICE INTERCEPTOR UTILITY 2015 1.G Owners Manual
[x] Cancel search | Manufacturer: FORD, Model Year: 2015, Model line: POLICE INTERCEPTOR UTILITY, Model: FORD POLICE INTERCEPTOR UTILITY 2015 1.GPages: 398, PDF Size: 6.24 MB
Page 45 of 398
PERSONAL SAFETY SYSTEM™
The Personal Safety System provides an improved overall level of frontal
crash protection to front seat occupants and is designed to help further
reduce the risk of airbag-related injuries. The system is able to analyze
different occupant conditions and crash severity before activating the
appropriate safety devices to help better protect a range of occupants in
a variety of frontal crash situations.
Your vehicle’s Personal Safety System consists of:
•Driver and passenger dual-stage airbag supplemental restraints.
•Front outboard safety belts with pretensioners, energy management
retractors (first row only), and safety belt usage sensors.
•Driver seat position sensor.
•Front passenger sensing system.
•Passenger airbag off and on indicator lamp.
•Front crash severity sensors.
•Restraints control module with impact and safing sensors.
•Restraint system warning light and backup tone.
•The electrical wiring for the airbags, crash sensor(s), safety belt
pretensioners, front safety belt usage sensors, driver seat position
sensor, front passenger sensing system, and indicator lights.
How Does the Personal Safety System Work?
The Personal Safety System can adapt the deployment strategy of your
vehicle’s safety devices according to crash severity and occupant
conditions. A collection of crash and occupant sensors provides
information to the restraints control module. During a crash, the
restraints control module may activate the safety belt pretensioners
and/or either one or both stages of the dual-stage airbag supplemental
restraints based on crash severity and occupant conditions.
44Personal Safety System
2015 Police(pol)
Owners Guide gf, 1st Printing, April 2014
USA(fus)
Page 84 of 398
INSTRUMENT LIGHTING DIMMER
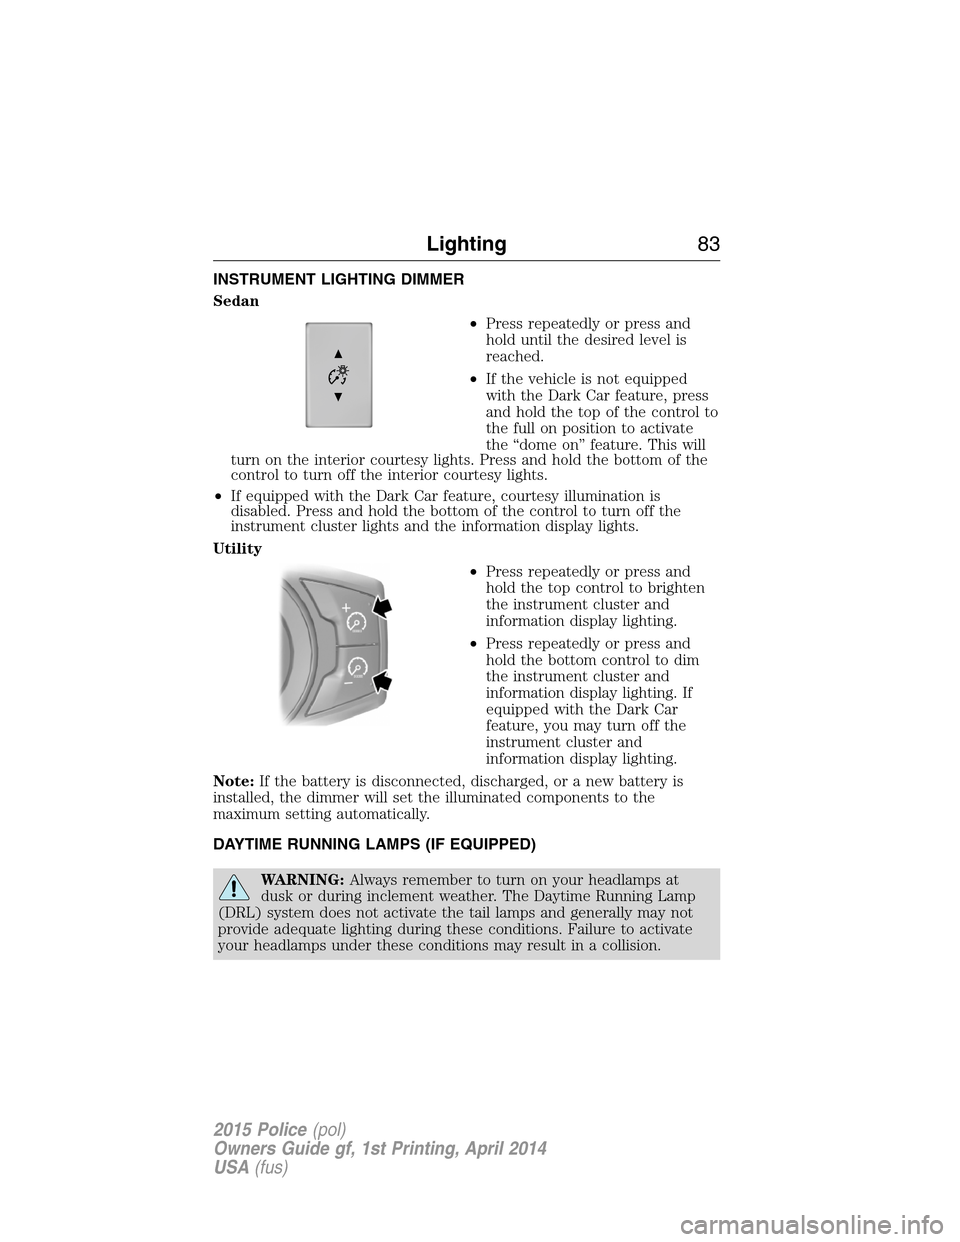
Sedan
•Press repeatedly or press and
hold until the desired level is
reached.
•If the vehicle is not equipped
with the Dark Car feature, press
and hold the top of the control to
the full on position to activate
the “dome on” feature. This will
turn on the interior courtesy lights. Press and hold the bottom of the
control to turn off the interior courtesy lights.
•If equipped with the Dark Car feature, courtesy illumination is
disabled. Press and hold the bottom of the control to turn off the
instrument cluster lights and the information display lights.
Utility
•Press repeatedly or press and
hold the top control to brighten
the instrument cluster and
information display lighting.
•Press repeatedly or press and
hold the bottom control to dim
the instrument cluster and
information display lighting. If
equipped with the Dark Car
feature, you may turn off the
instrument cluster and
information display lighting.
Note:If the battery is disconnected, discharged, or a new battery is
installed, the dimmer will set the illuminated components to the
maximum setting automatically.
DAYTIME RUNNING LAMPS (IF EQUIPPED)
WARNING:Always remember to turn on your headlamps at
dusk or during inclement weather. The Daytime Running Lamp
(DRL) system does not activate the tail lamps and generally may not
provide adequate lighting during these conditions. Failure to activate
your headlamps under these conditions may result in a collision.
Lighting83
2015 Police(pol)
Owners Guide gf, 1st Printing, April 2014
USA(fus)
Page 92 of 398
INTERIOR MIRROR
WARNING:Do not adjust the mirror when your vehicle is
moving.
Note:Do not clean the housing or glass of any mirror with harsh
abrasives, fuel or other petroleum or ammonia based cleaning products.
You can adjust the interior mirror to your preference. Some mirrors also
have a second pivot point. This lets you move the mirror head up or
down and from side to side.
Pull the tab below the mirror toward you to reduce glare at night.
Auto-Dimming Mirror (If Equipped)
Note:Do not block the sensors on the front and back of the mirror.
Mirror performance may be affected. A rear center passenger or raised
rear center head restraint may also block light from reaching the sensor.
The mirror will dim automatically to reduce glare when bright lights are
detected from behind your vehicle. It will automatically return to normal
reflection when you select reverse gear to make sure you have a clear
view when backing up.
SUN VISORS
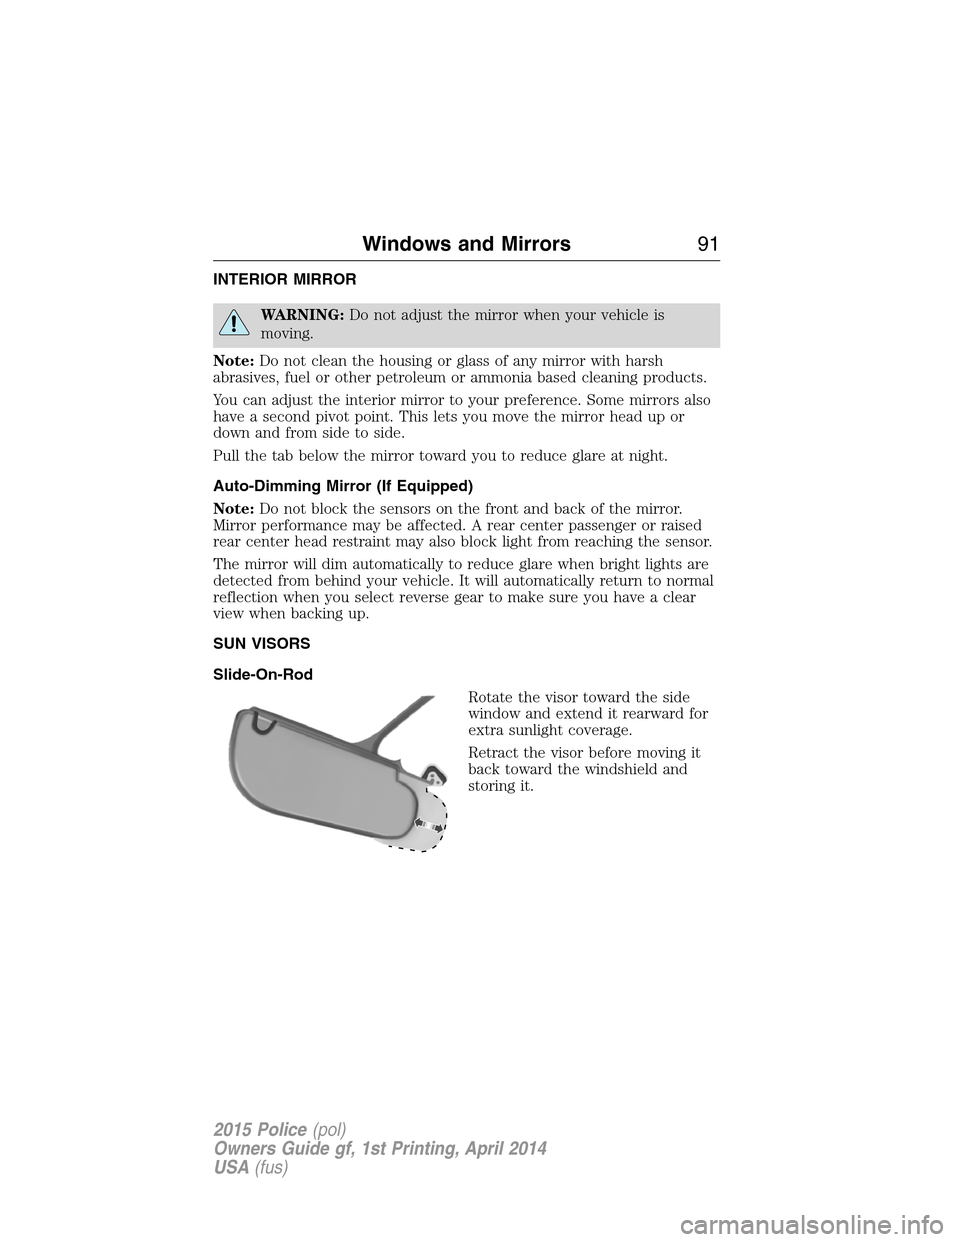
Slide-On-Rod
Rotate the visor toward the side
window and extend it rearward for
extra sunlight coverage.
Retract the visor before moving it
back toward the windshield and
storing it.
Windows and Mirrors91
2015 Police(pol)
Owners Guide gf, 1st Printing, April 2014
USA(fus)
Page 94 of 398
After refueling some variability in needle position is normal:
•It may take a short time for the needle to reach F after leaving the gas
station. This is normal and depends upon the slope of pavement at the
gas station.
•The fuel amount dispensed into the tank is a little less or more than
the gauge indicated. This is normal and depends upon the slope of
pavement at the gas station.
•If the gas station nozzle shuts off before the tank is full, try a different
gas pump nozzle.
Low Fuel Reminder
A low fuel reminder triggers when the fuel gauge needle is at 1/16th.
Driving type (fuel
economy conditions)Fuel gauge position Distance-to-empty
Highway driving 1/16th 35 miles to 80 miles
(56 km to 129 km)
Severe duty driving
(trailer towing,
extended idle)1/16th 35 miles (56km)
WARNING LAMPS AND INDICATORS
These indicators can alert you to a vehicle condition that may become
serious enough to cause expensive repairs. Many lights will illuminate
when you start your vehicle to make sure they work. If any light remains
on after starting the vehicle, refer to the respective system warning light
for additional information.
Note:Some warning indicators are reconfigurable telltales (RTT). These
indicators appear in the information display and function the same as a
warning light, but do not display on startup.
Airbag readiness
If this light fails to illuminate when the ignition is turned on,
continues to flash or remains on, contact your authorized dealer
as soon as possible. A chime will sound when there is a
malfunction in the indicator light.
Instrument Cluster93
2015 Police(pol)
Owners Guide gf, 1st Printing, April 2014
USA(fus)
Page 122 of 398
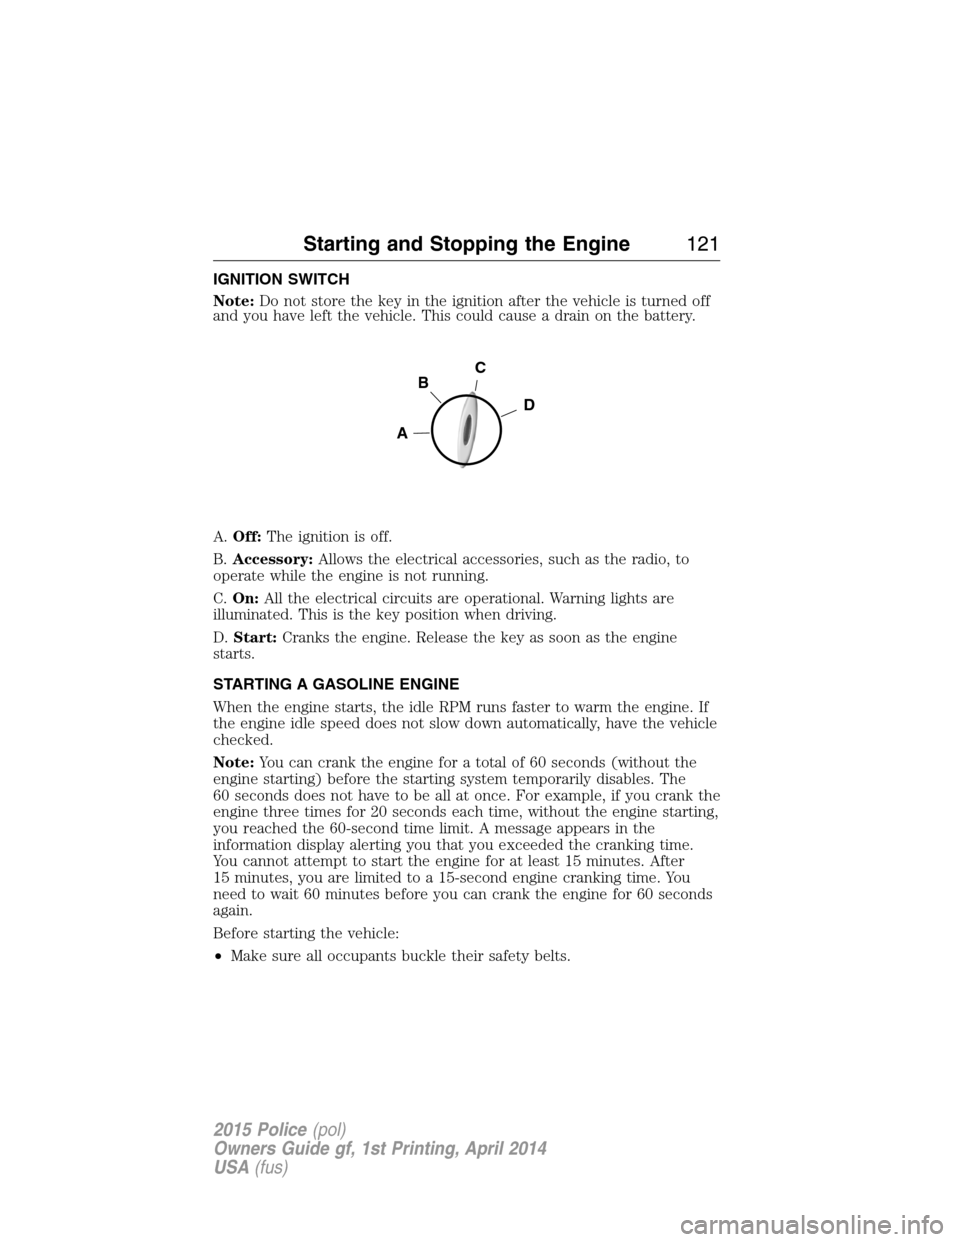
IGNITION SWITCH
Note:Do not store the key in the ignition after the vehicle is turned off
and you have left the vehicle. This could cause a drain on the battery.
A.Off:The ignition is off.
B.Accessory:Allows the electrical accessories, such as the radio, to
operate while the engine is not running.
C.On:All the electrical circuits are operational. Warning lights are
illuminated. This is the key position when driving.
D.Start:Cranks the engine. Release the key as soon as the engine
starts.
STARTING A GASOLINE ENGINE
When the engine starts, the idle RPM runs faster to warm the engine. If
the engine idle speed does not slow down automatically, have the vehicle
checked.
Note:You can crank the engine for a total of 60 seconds (without the
engine starting) before the starting system temporarily disables. The
60 seconds does not have to be all at once. For example, if you crank the
engine three times for 20 seconds each time, without the engine starting,
you reached the 60-second time limit. A message appears in the
information display alerting you that you exceeded the cranking time.
You cannot attempt to start the engine for at least 15 minutes. After
15 minutes, you are limited to a 15-second engine cranking time. You
need to wait 60 minutes before you can crank the engine for 60 seconds
again.
Before starting the vehicle:
•Make sure all occupants buckle their safety belts.
C
D
B
A
Starting and Stopping the Engine121
2015 Police(pol)
Owners Guide gf, 1st Printing, April 2014
USA(fus)
Page 123 of 398
•Make sure the headlamps and electrical accessories are off.
•Make sure the parking brake is set.
•Make sure the gearshift is in positionP.
•Turn the key to on without turning the key to start.
Some warning lights will briefly illuminate.
Note:Do not touch the accelerator pedal.
1. Fully press the brake pedal.
2. Select positionPorN.
3. Turn the key to start the engine. The engine may continue cranking
for up to 15 seconds or until the vehicle starts.
Note:If the engine does not start on the first try, wait for a short period
of time and try again.
If you have difficulty starting the engine when the temperature is below
-13°F (-25°C), press the accelerator pedal slightly and try again.
If the engine does not start after three attempts, wait 10 seconds and
follow this flooded engine procedure.
1. Fully press the brake pedal.
2. Fully press the accelerator pedal and hold it there.
3. Select positionPorN.
4. Start the engine.
Failure to Start
If you cannot start the engine after three attempts, wait 10 seconds and
follow this procedure:
1. Fully press the brake pedal.
2. Fully press the accelerator pedal and hold it there.
3. Start the engine.
Stopping the Engine When Your Vehicle is Stationary
1. Move the transmission selector lever to positionP.
2. Turn the key to the off position.
3. Apply the parking brake.
Stopping the Engine When Your Vehicle is Moving
WARNING:When you switch off the engine when your vehicle is
still moving, this results in a loss of brake and steering assistance.
The steering does not lock, but higher effort is required. When you
switch off the ignition, some electrical circuits, warning lamps and
indicators may also be off.
122Starting and Stopping the Engine
2015 Police(pol)
Owners Guide gf, 1st Printing, April 2014
USA(fus)
Page 151 of 398
PRINCIPLES OF OPERATION
The traction control system helps avoid drive wheel spin and loss of
traction.
If your vehicle begins to slide, the system applies the brakes to individual
wheels and, when needed, reduces engine power at the same time. If the
wheels spin when accelerating on slippery or loose surfaces, the system
reduces engine power in order to increase traction.
USING TRACTION CONTROL
In certain situations (for example, stuck in snow or mud), turning the
traction control off may be beneficial as this allows the wheels to spin
with full engine power.
Turn the traction control system off through the information display. See
theInformation Displayschapter.
System indicator lights and messages
WARNING:If a failure has been detected within the
AdvanceTrac® system, the stability control light will illuminate
steadily. Verify that the AdvanceTrac® system was not manually
disabled using the information display control. If the stability control
light still illuminates steadily, have the system serviced by an authorized
dealer immediately. Operating your vehicle with AdvanceTrac® disabled
could lead to an increased risk of loss of vehicle control, vehicle
rollover, personal injury and death.
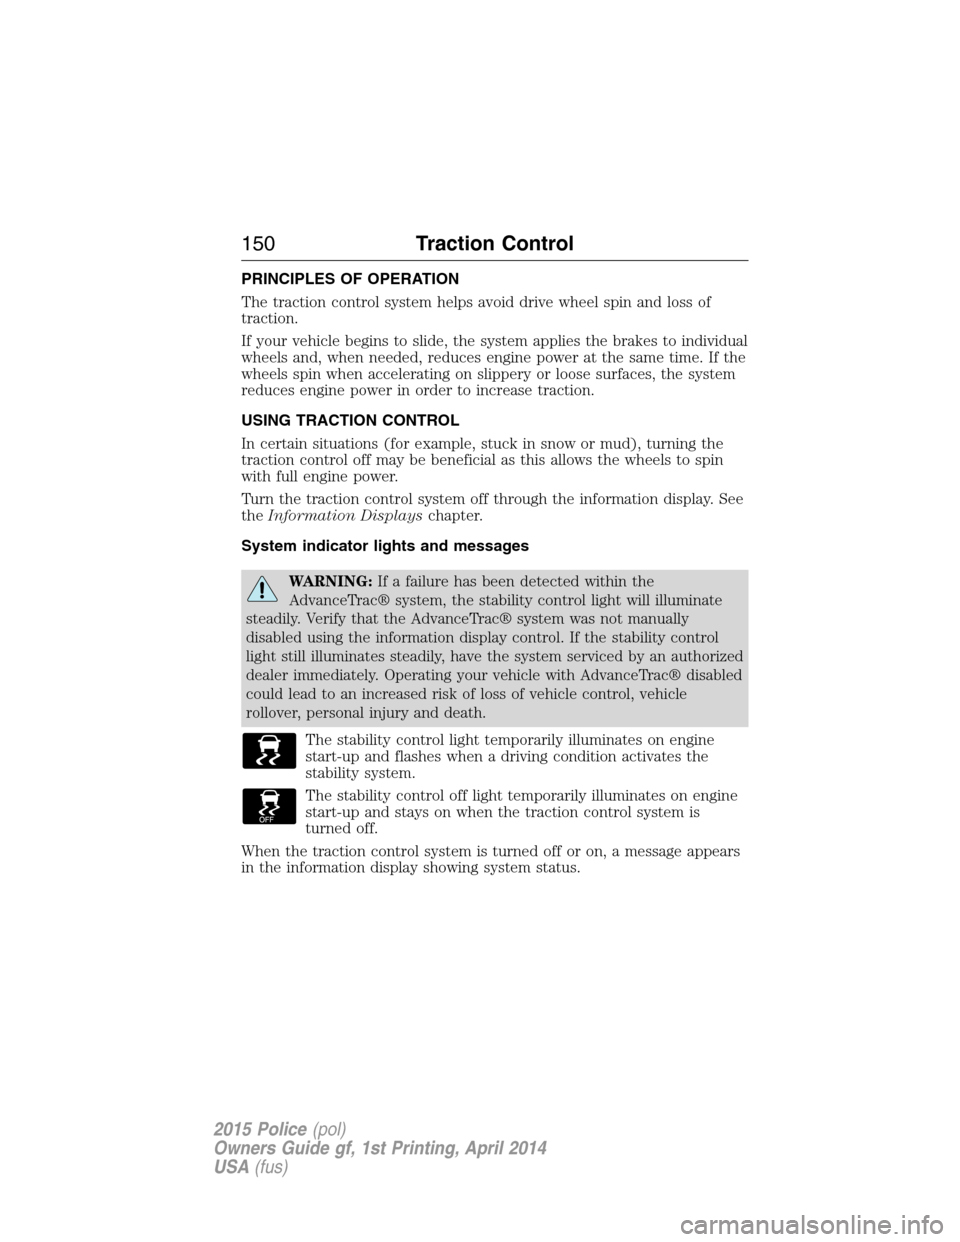
The stability control light temporarily illuminates on engine
start-up and flashes when a driving condition activates the
stability system.
The stability control off light temporarily illuminates on engine
start-up and stays on when the traction control system is
turned off.
When the traction control system is turned off or on, a message appears
in the information display showing system status.
150Traction Control
2015 Police(pol)
Owners Guide gf, 1st Printing, April 2014
USA(fus)
Page 180 of 398
The rating for the tow vehicle’s braking system operation is at
the gross vehicle weight rating, not the gross combined weight
rating.
Separate functioning brake systems are required for safe control
of towed vehicles and trailers weighing more than 1500 pounds
(680 kilograms) when loaded.
Trailer Lamps
WARNING:Never connect any trailer lamp wiring to the
vehicle’s tail lamp wiring; this may damage the electrical system
resulting in a fire. Contact an authorized dealer as soon as possible for
assistance in proper trailer tow wiring installation. Additional electrical
equipment may be required.
Trailer lamps are required on most towed vehicles. Make sure all running
lights, brake lights, turn signals and hazard lights are working.
Before Towing a Trailer
Practice turning, stopping and backing up to get the feel of your
vehicle-trailer combination before starting on a trip. When turning, make
wider turns so the trailer wheels clear curbs and other obstacles.
When Towing a Trailer
•Do not drive faster than 70 mph (113 km/h) during the first 500 miles
(800 kilometers).
•Do not make full-throttle starts.
•Check your hitch, electrical connections and trailer wheel lug nuts
thoroughly after you have traveled 50 miles (80 kilometers).
•When stopped in congested or heavy traffic during hot weather, place
the gearshift in positionPto aid engine and transmission cooling and
to help air conditioning performance.
•Turn off the speed control with heavy loads or in hilly terrain. The
speed control may turn off automatically when you are towing on
long, steep grades.
•Shift to a lower gear when driving down a long or steep hill. Do not
apply the brakes continuously, as they may overheat and become less
effective.
Towing179
2015 Police(pol)
Owners Guide gf, 1st Printing, April 2014
USA(fus)
Page 375 of 398
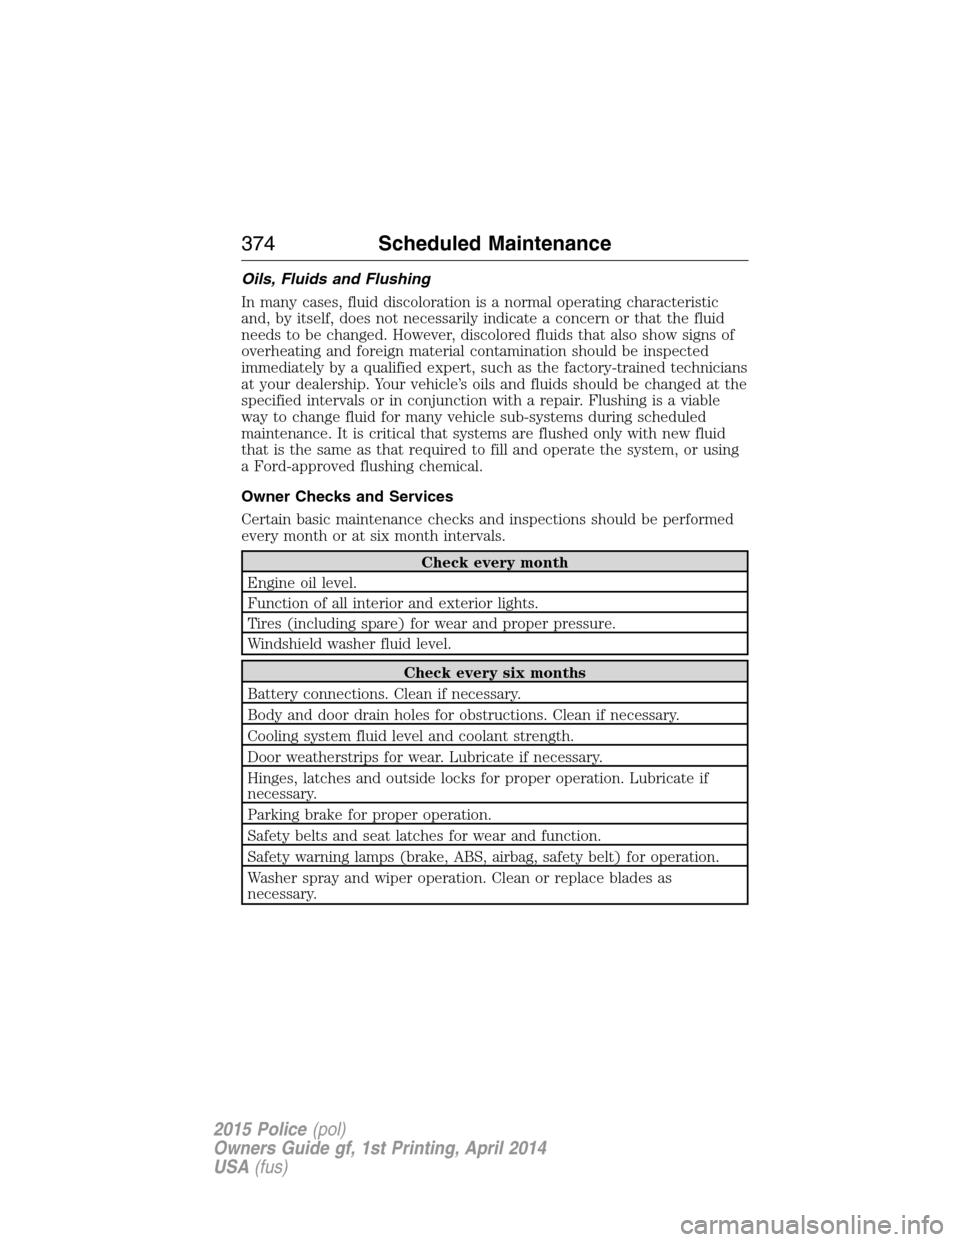
Oils, Fluids and Flushing
In many cases, fluid discoloration is a normal operating characteristic
and, by itself, does not necessarily indicate a concern or that the fluid
needs to be changed. However, discolored fluids that also show signs of
overheating and foreign material contamination should be inspected
immediately by a qualified expert, such as the factory-trained technicians
at your dealership. Your vehicle’s oils and fluids should be changed at the
specified intervals or in conjunction with a repair. Flushing is a viable
way to change fluid for many vehicle sub-systems during scheduled
maintenance. It is critical that systems are flushed only with new fluid
that is the same as that required to fill and operate the system, or using
a Ford-approved flushing chemical.
Owner Checks and Services
Certain basic maintenance checks and inspections should be performed
every month or at six month intervals.
Check every month
Engine oil level.
Function of all interior and exterior lights.
Tires (including spare) for wear and proper pressure.
Windshield washer fluid level.
Check every six months
Battery connections. Clean if necessary.
Body and door drain holes for obstructions. Clean if necessary.
Cooling system fluid level and coolant strength.
Door weatherstrips for wear. Lubricate if necessary.
Hinges, latches and outside locks for proper operation. Lubricate if
necessary.
Parking brake for proper operation.
Safety belts and seat latches for wear and function.
Safety warning lamps (brake, ABS, airbag, safety belt) for operation.
Washer spray and wiper operation. Clean or replace blades as
necessary.
374Scheduled Maintenance
2015 Police(pol)
Owners Guide gf, 1st Printing, April 2014
USA(fus)
Page 395 of 398
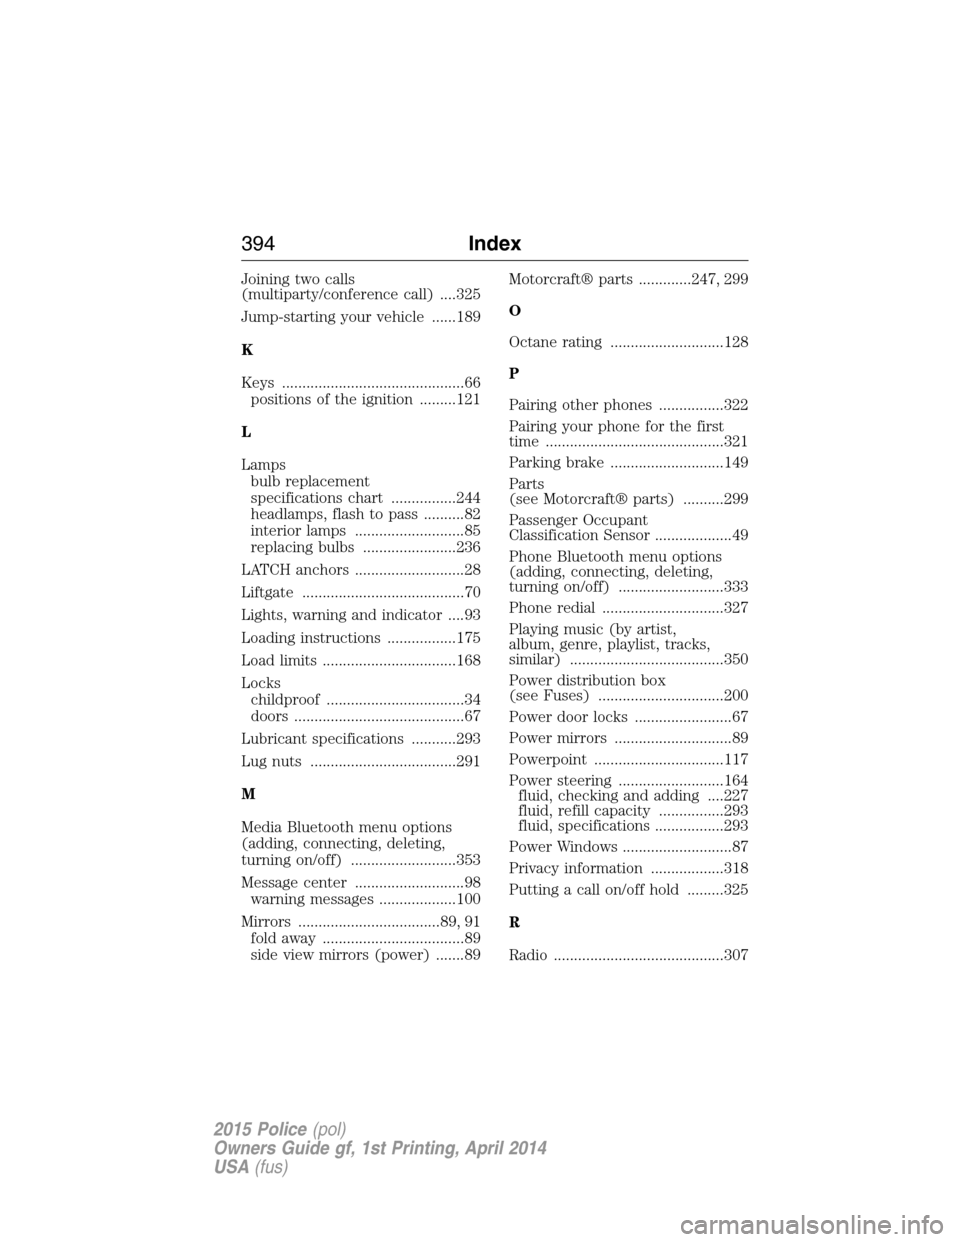
Joining two calls
(multiparty/conference call) ....325
Jump-starting your vehicle ......189
K
Keys .............................................66
positions of the ignition .........121
L
Lamps
bulb replacement
specifications chart ................244
headlamps, flash to pass ..........82
interior lamps ...........................85
replacing bulbs .......................236
LATCH anchors ...........................28
Liftgate ........................................70
Lights, warning and indicator ....93
Loading instructions .................175
Load limits .................................168
Locks
childproof ..................................34
doors ..........................................67
Lubricant specifications ...........293
Lug nuts ....................................291
M
Media Bluetooth menu options
(adding, connecting, deleting,
turning on/off) ..........................353
Message center ...........................98
warning messages ...................100
Mirrors ...................................89, 91
fold away ...................................89
side view mirrors (power) .......89Motorcraft® parts .............247, 299
O
Octane rating ............................128
P
Pairing other phones ................322
Pairing your phone for the first
time ............................................321
Parking brake ............................149
Parts
(see Motorcraft® parts) ..........299
Passenger Occupant
Classification Sensor ...................49
Phone Bluetooth menu options
(adding, connecting, deleting,
turning on/off) ..........................333
Phone redial ..............................327
Playing music (by artist,
album, genre, playlist, tracks,
similar) ......................................350
Power distribution box
(see Fuses) ...............................200
Power door locks ........................67
Power mirrors .............................89
Powerpoint ................................117
Power steering ..........................164
fluid, checking and adding ....227
fluid, refill capacity ................293
fluid, specifications .................293
Power Windows ...........................87
Privacy information ..................318
Putting a call on/off hold .........325
R
Radio ..........................................307
394Index
2015 Police(pol)
Owners Guide gf, 1st Printing, April 2014
USA(fus)