FORD TRANSIT 2015 5.G Owners Manual
Manufacturer: FORD, Model Year: 2015, Model line: TRANSIT, Model: FORD TRANSIT 2015 5.GPages: 461, PDF Size: 5.82 MB
Page 241 of 461
15: Indicates the wheel or
rim diameter in inches. If
you change the wheel
size, you will have to
purchase new tires to
match the new wheel
diameter.
E
95:
Indicates the tire's
load index. It is an index
that relates to how much
weight a tire can carry.
You may find this
information in the Owner ’s
Guide. If not, contact a
local tire dealer.
F
H: Indicates the tire's
speed rating. The speed
rating denotes the speed
at which a tire is designed
to be driven for extended
periods of time under a
G
standard condition of load
and inflation pressure.
The tires on your vehicle
may operate at different
conditions for load and
inflation pressure. These
speed ratings may need
to be adjusted for the
difference in conditions.
The ratings range from 81
mph (130 kph) to 186 mph
(299 kph). These ratings
are listed in the following
chart. United States of
America DOT Tire
Identification Number
(TIN):
This begins with
the letters DOT and
indicates that the tire
H
meets all federal
standards. The next two
numbers or letters are the
plant code designating
where it was
manufactured, the next
two are the tire size code
and the last four numbers
represent the week and
year the tire was built. For
example, the numbers 317
mean the 31st week of
1997. After 2000 the
numbers go to four digits.
For example, 2501 means
the 25th week of 2001.
The numbers in between
are identification codes
used for traceability. This
information is used to
contact customers if a tire
defect requires a recall.
M+S or M/S: Mud and
Snow, AT: All Terrain, AS:
All Season.
I
Tire Ply Composition
and Material Used:
Indicates the number of
plies or the number of
layers of rubber-coated
fabric in the tire tread and
J
sidewall. Tire
238 Transit (TTH) Canada/United States of America, enUSA, Edition date: 03/2014 Wheels and Tires
Page 242 of 461
manufacturers also must
indicate the ply materials
in the tire and the
sidewall, which include
steel, nylon, polyester,
and others.
Maximum Load:
Indicates the maximum
load in kilograms and
pounds that can be
carried by the tire. Refer to
the Safety Compliance
K
Certification Label
(affixed to either the door
hinge pillar, door-latch
post, or the door edge
that meets the door-latch
post, next to the driver
seating position), for the
correct tire pressure for
your vehicle.
Treadwear, Traction
and Temperature
Grades:Treadwear The
treadwear grade is a
comparative rating based
on the wear rate of the tire
L
when tested under
controlled conditions on
a specified government
test course. For example,
a tire graded 150 would
wear one and one-half
times as well on the
government course as a
tire graded 100. Traction:
The traction grades, from
highest to lowest are AA,
A, B, and C. The grades
represent the tire's ability
to stop on wet pavement as measured under
controlled conditions on
specified government test
surfaces of asphalt and
concrete. A tire marked C
may have poor traction
performance.
Temperature:
The
temperature grades are A
(the highest), B and C,
representing the tire's
resistance to the
generation of heat and its
ability to dissipate heat
when tested under
controlled conditions on
a specified indoor
laboratory test wheel.
Maximum Inflation
Pressure:
Indicates the
tire manufacturer's
maximum permissible
pressure or the pressure
at which the maximum
M
load can be carried by the
tire. This pressure is
normally higher than the
manufacturer's
recommended cold
inflation pressure, which
can be found on the
Safety Compliance
Certification Label
(affixed to either the door
hinge pillar, door-latch
post, or the door edge
that meets the door-latch
post, next to the driver
seating position), or Tire
Label which is located on
the B-Pillar or the edge of
239 Transit (TTH) Canada/United States of America, enUSA, Edition date: 03/2014 Wheels and Tires
Page 243 of 461
the driver door. The cold
inflation pressure should
never be set lower than
the recommended
pressure on the vehicle
label.
Tire speed ratings
mph ( km/h)
Letter
rating
81 mph (130 km/h)
M
87 mph (140 km/h)
N
99 mph (159 km/h)
Q
106 mph (171 km/h)
R
112 mph (180 km/h)
S
118 mph (190 km/h)
T
124 mph (200 km/h)
U
130 mph (210 km/h)
H
149 mph (240 km/h)
V
168 mph (270 km/h)
W
186 mph (299 km/h)
Y
Note: For tires with a maximum
speed capability over 149 mph
(240 km/h), tire manufacturers
sometimes use the letters ZR. For
those with a maximum speed
capability over 186 mph (299
km/h), tire manufacturers always
use the letters ZR. Note:
If the tire size does not begin
with a letter, this may mean it is
designated by either ETRTO
(European Tire and Rim Technical
Organization) or JATMA (Japan Tire
Manufacturing Association). You
may not find this information on all
tires because it is not required by
federal law.
Note: The tire suppliers may have
additional markings, notes or
warnings, for example standard
load, radial tubeless, etc.
T Type Tires
T145/80D16 is an example of a
tire size. T type tires have some
additional information beyond
those of P type tires. The
definitions of these items are
listed below.
Note: The temporary tire size for
your vehicle may be different from
this example. Tire Quality Grades
do not apply to this type of tire.
240 Transit (TTH) Canada/United States of America, enUSA, Edition date: 03/2014 Wheels and Tires
Page 244 of 461
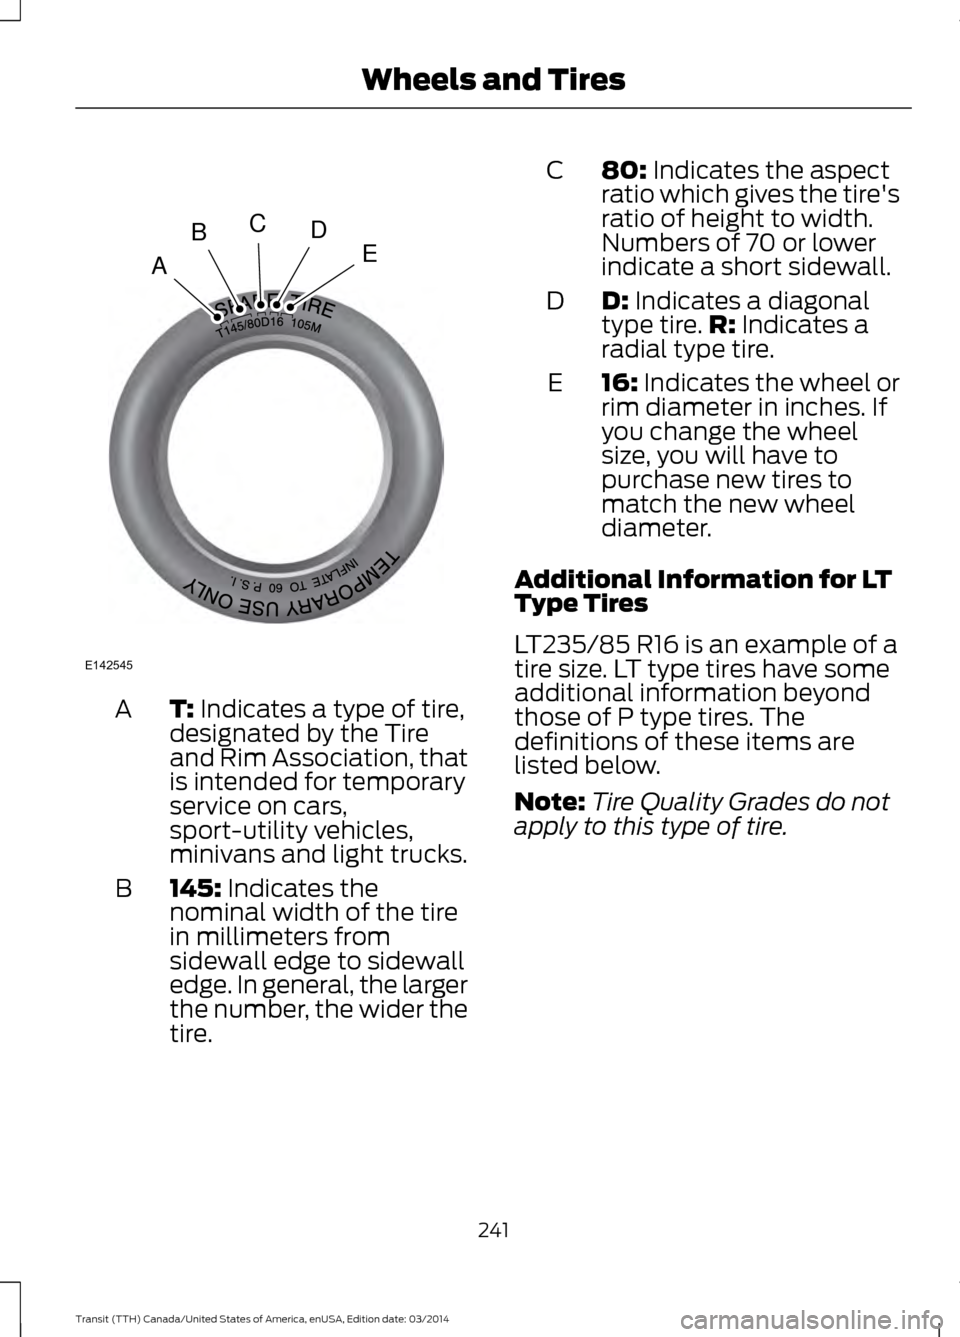
T: Indicates a type of tire,
designated by the Tire
and Rim Association, that
is intended for temporary
service on cars,
sport-utility vehicles,
minivans and light trucks.
A
145: Indicates the
nominal width of the tire
in millimeters from
sidewall edge to sidewall
edge. In general, the larger
the number, the wider the
tire.
B 80: Indicates the aspect
ratio which gives the tire's
ratio of height to width.
Numbers of 70 or lower
indicate a short sidewall.
C
D:
Indicates a diagonal
type tire. R: Indicates a
radial type tire.
D
16:
Indicates the wheel or
rim diameter in inches. If
you change the wheel
size, you will have to
purchase new tires to
match the new wheel
diameter.
E
Additional Information for LT
Type Tires
LT235/85 R16 is an example of a
tire size. LT type tires have some
additional information beyond
those of P type tires. The
definitions of these items are
listed below.
Note: Tire Quality Grades do not
apply to this type of tire.
241 Transit (TTH) Canada/United States of America, enUSA, Edition date: 03/2014 Wheels and TiresA
BCDE
E142545
Page 245 of 461
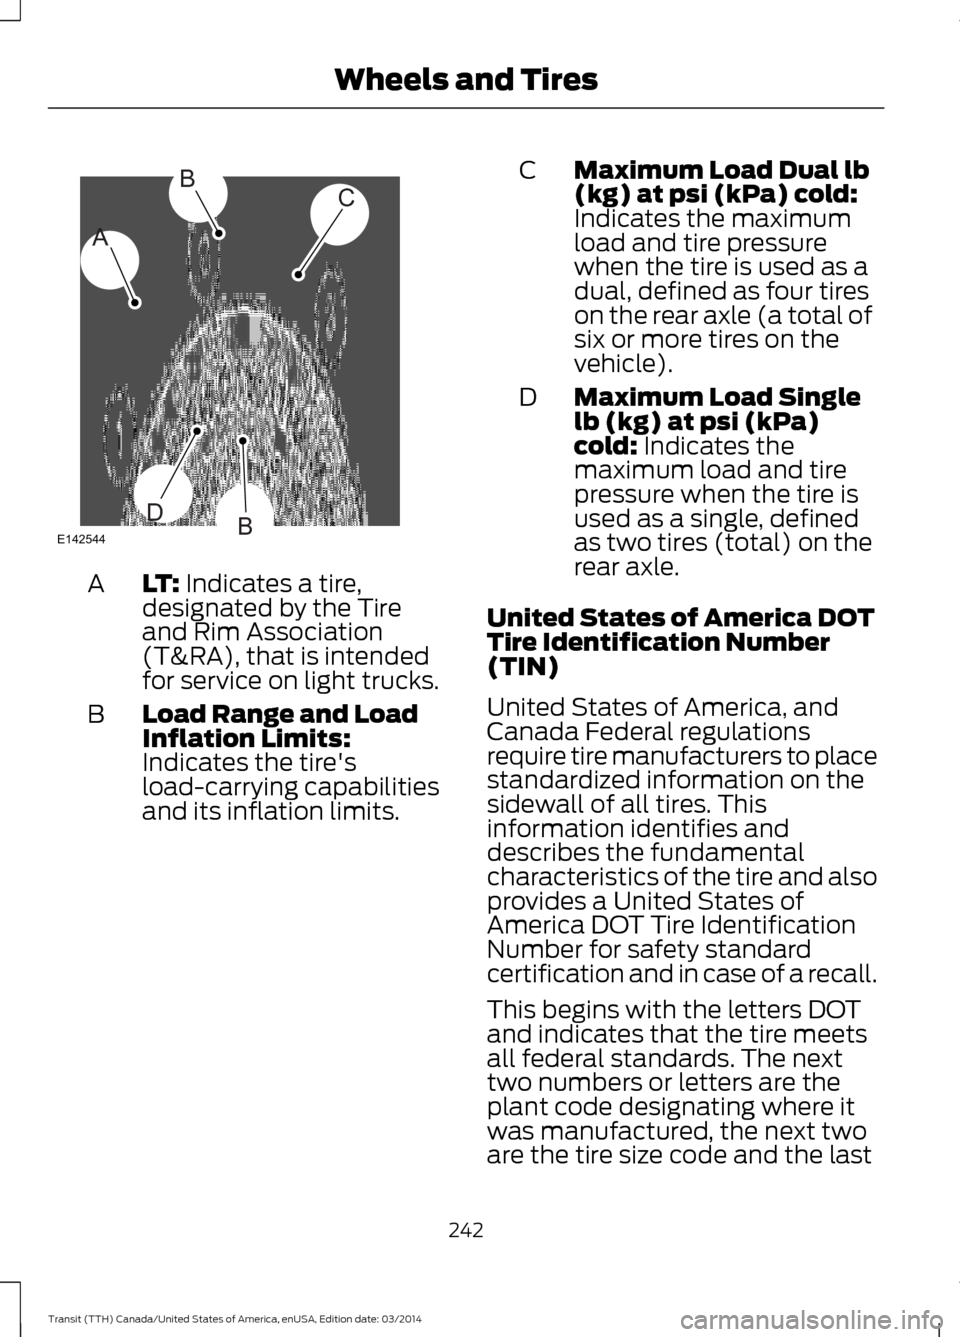
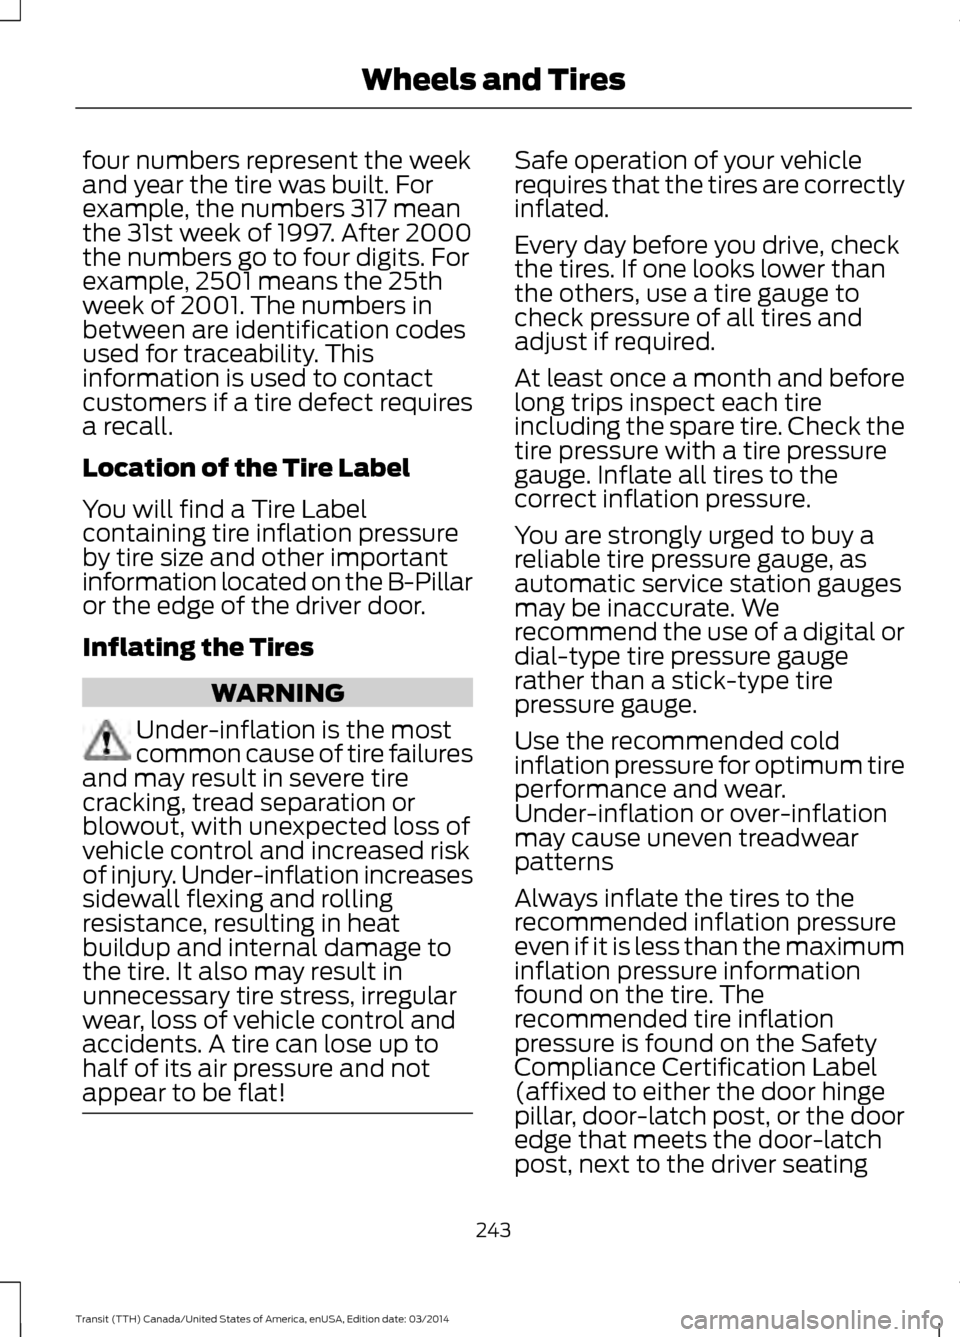
LT: Indicates a tire,
designated by the Tire
and Rim Association
(T&RA), that is intended
for service on light trucks.
A
Load Range and Load
Inflation Limits:
Indicates the tire's
load-carrying capabilities
and its inflation limits.
B Maximum Load Dual lb
(kg) at psi (kPa) cold:
Indicates the maximum
load and tire pressure
when the tire is used as a
dual, defined as four tires
on the rear axle (a total of
six or more tires on the
vehicle).
C
Maximum Load Single
lb (kg) at psi (kPa)
cold: Indicates the
maximum load and tire
pressure when the tire is
used as a single, defined
as two tires (total) on the
rear axle.
D
United States of America DOT
Tire Identification Number
(TIN)
United States of America, and
Canada Federal regulations
require tire manufacturers to place
standardized information on the
sidewall of all tires. This
information identifies and
describes the fundamental
characteristics of the tire and also
provides a United States of
America DOT Tire Identification
Number for safety standard
certification and in case of a recall.
This begins with the letters DOT
and indicates that the tire meets
all federal standards. The next
two numbers or letters are the
plant code designating where it
was manufactured, the next two
are the tire size code and the last
242 Transit (TTH) Canada/United States of America, enUSA, Edition date: 03/2014 Wheels and TiresA
BC
BDE142544
Page 246 of 461
four numbers represent the week
and year the tire was built. For
example, the numbers 317 mean
the 31st week of 1997. After 2000
the numbers go to four digits. For
example, 2501 means the 25th
week of 2001. The numbers in
between are identification codes
used for traceability. This
information is used to contact
customers if a tire defect requires
a recall.
Location of the Tire Label
You will find a Tire Label
containing tire inflation pressure
by tire size and other important
information located on the B-Pillar
or the edge of the driver door.
Inflating the Tires
WARNING
Under-inflation is the most
common cause of tire failures
and may result in severe tire
cracking, tread separation or
blowout, with unexpected loss of
vehicle control and increased risk
of injury. Under-inflation increases
sidewall flexing and rolling
resistance, resulting in heat
buildup and internal damage to
the tire. It also may result in
unnecessary tire stress, irregular
wear, loss of vehicle control and
accidents. A tire can lose up to
half of its air pressure and not
appear to be flat! Safe operation of your vehicle
requires that the tires are correctly
inflated.
Every day before you drive, check
the tires. If one looks lower than
the others, use a tire gauge to
check pressure of all tires and
adjust if required.
At least once a month and before
long trips inspect each tire
including the spare tire. Check the
tire pressure with a tire pressure
gauge. Inflate all tires to the
correct inflation pressure.
You are strongly urged to buy a
reliable tire pressure gauge, as
automatic service station gauges
may be inaccurate. We
recommend the use of a digital or
dial-type tire pressure gauge
rather than a stick-type tire
pressure gauge.
Use the recommended cold
inflation pressure for optimum tire
performance and wear.
Under-inflation or over-inflation
may cause uneven treadwear
patterns
Always inflate the tires to the
recommended inflation pressure
even if it is less than the maximum
inflation pressure information
found on the tire. The
recommended tire inflation
pressure is found on the Safety
Compliance Certification Label
(affixed to either the door hinge
pillar, door-latch post, or the door
edge that meets the door-latch
post, next to the driver seating
243 Transit (TTH) Canada/United States of America, enUSA, Edition date: 03/2014 Wheels and Tires
Page 247 of 461
position), or Tire Label which is
located on the B-Pillar or the edge
of the driver door. Failure to follow
the tire pressure
recommendations can cause
uneven treadwear patterns and
adversely affect the way your
vehicle handles
Note:
Do not reduce tire pressure
to change the ride characteristics
of your vehicle. If you do not
maintain the tire pressures as
specified by Ford, your vehicle may
experience a condition known as
shimmy. This will cause severe
vibration and oscillations in the
steering wheel when your vehicle
travels over a bump or dip in the
road and is unable to dampen out
by itself. Significantly
under-inflated tires, incorrect tire
usage or any vehicle modifications
such as lift-kits can cause your
vehicle to shimmy. If your vehicle
begins to shimmy, slowly reduce
the speed of your vehicle by
pressing the brake pedal or
releasing the accelerator pedal. As
your vehicle speed reduces the
shimmy will cease.
The maximum inflation pressure
is the tire manufacturer's
maximum permissible pressure or
the pressure at which the
maximum load can be carried by
the tire. This pressure is normally
higher than the manufacturer ’s
recommended cold inflation
pressure, which can be found on
the Safety Compliance
Certification Label (affixed to either the door hinge pillar,
door-latch post, or the door edge
that meets the door-latch post,
next to the driver seating
position), or Tire Label which is
located on the B-Pillar or the edge
of the driver door. The cold
inflation pressure should never be
set lower than the recommended
pressure on the Safety
Compliance Certification Label or
Tire Label.
When weather temperature
changes occur, tire inflation
pressures also change. A 10°F
(6°C) temperature drop can
cause a corresponding drop of
10 psi (0.7 bar) in inflation
pressure. Check the tire pressures
frequently and adjust them to the
correct pressure which can be
found on the Safety Compliance
Certification Label or Tire Label.
To check the tire pressures:
1. Make sure the tires are cool, meaning they are not hot from
driving even a mile.
2. Remove the cap from the valve
on one tire, then firmly press
the tire gauge onto the valve
and measure the tire pressure.
3. Add enough air to reach the
recommended tire pressure.
4. Replace the valve cap.
5. Repeat this procedure for each
tire, including the spare.
244 Transit (TTH) Canada/United States of America, enUSA, Edition date: 03/2014 Wheels and Tires
Page 248 of 461
6.
Visually inspect the tires to
make sure there are no nails or
other objects embedded that
could poke a hole in the tire
and cause an air leak.
7. Check the sidewalls to make sure there are no gouges, cuts
or bulges.
Note: If you are checking tire
pressure when the tire is hot, for
example you have driven more than
1.0 mi (1.6 km), never bleed or
reduce tire pressure. The tires are
hot from driving and it is normal for
pressures to increase above
recommended cold pressures. A
hot tire at or below recommended
cold inflation pressure could be
significantly under-inflated.
Note: If you have to drive a
distance to get air for the tires,
check and record the tire pressure
first and add the appropriate air
pressure when you get to the
pump. It is normal for tires to heat
up and the tire pressure to increase
as you drive.
Note: If you over inflate the tire,
release air by pressing on the metal
stem in the center of the valve.
Then recheck the pressure with
your tire gauge. Note:
Some spare tires operate at
a higher inflation pressure than the
other tires. For T-type mini-spare
tires, refer to the Dissimilar spare
wheel and tire assembly
information for a description. Store
and maintain at 60 psi (4.15 bar).
For full-size and dissimilar spare
tires, refer to the Dissimilar spare
wheel and tire assembly
information for a description. Store
and maintain at the higher of the
front and rear inflation pressure as
shown on the Tire Label.
Inspecting the Tires and Wheel
Valve Stems
Periodically inspect the tire treads
for uneven or excessive wear and
remove objects, for example
stones, nails or glass that may be
wedged in the tread grooves.
Check the tire and valve stems for
holes, cracks, or cuts that may
permit air leakage and repair or
replace the tire and replace the
valve stem. Inspect the tire
sidewalls for cracking, cuts,
bruises and other signs of damage
or excessive wear. If internal
damage to the tire is suspected,
have the tire removed and
inspected in case it needs to be
repaired or replaced. For your
safety, tires that are damaged or
show signs of excessive wear
should not be used because they
are more likely to blow out or fail.
245 Transit (TTH) Canada/United States of America, enUSA, Edition date: 03/2014 Wheels and Tires
Page 249 of 461
Incorrect or inadequate vehicle
maintenance can cause tires to
wear abnormally. Inspect all the
tires, including the spare,
frequently, and replace them if
one or more of the following
conditions exist:
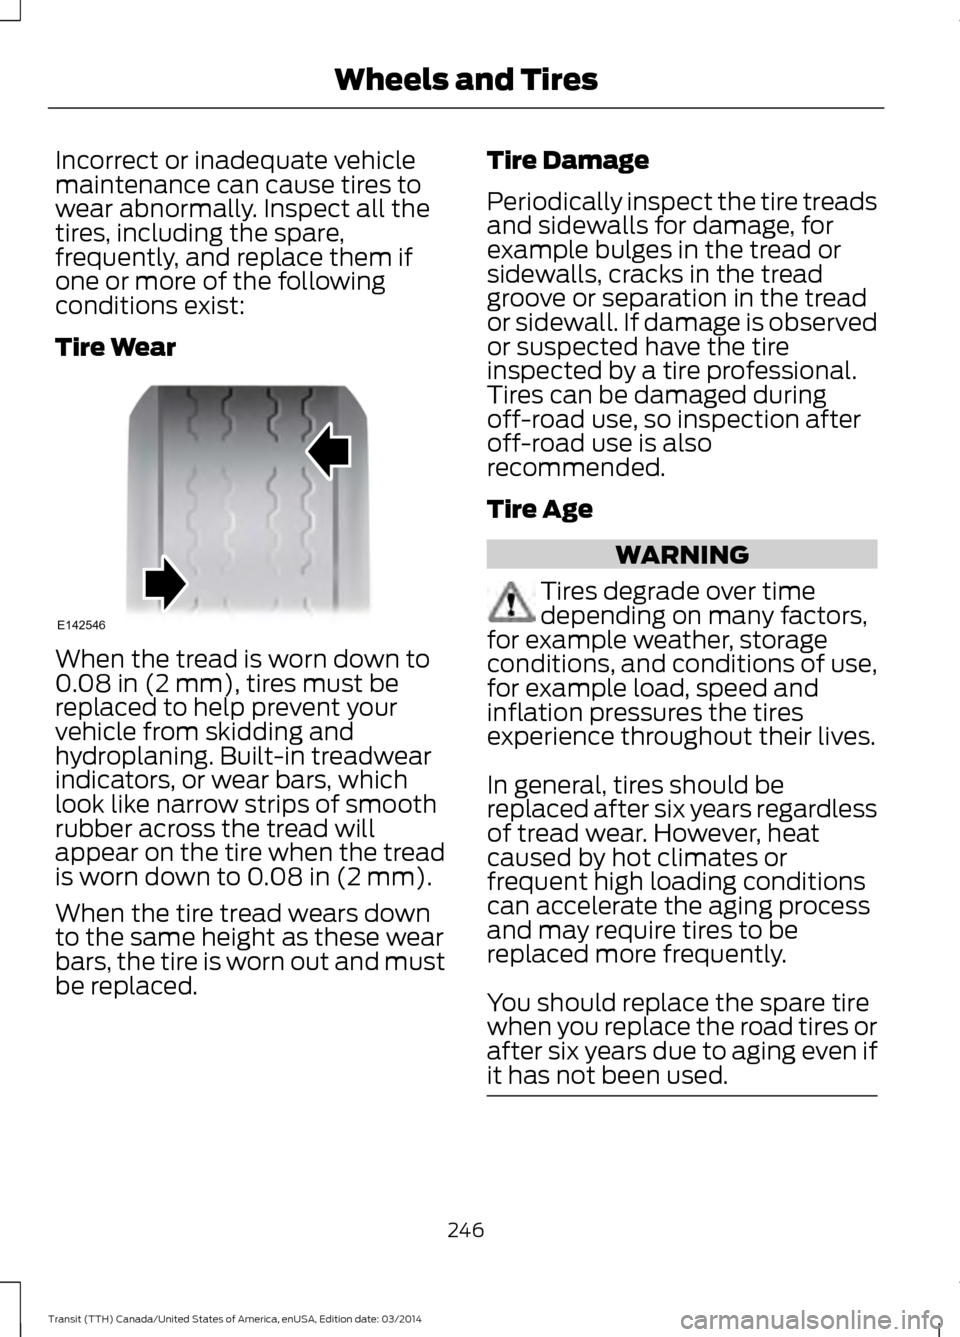
Tire Wear
When the tread is worn down to
0.08 in (2 mm), tires must be
replaced to help prevent your
vehicle from skidding and
hydroplaning. Built-in treadwear
indicators, or wear bars, which
look like narrow strips of smooth
rubber across the tread will
appear on the tire when the tread
is worn down to
0.08 in (2 mm).
When the tire tread wears down
to the same height as these wear
bars, the tire is worn out and must
be replaced. Tire Damage
Periodically inspect the tire treads
and sidewalls for damage, for
example bulges in the tread or
sidewalls, cracks in the tread
groove or separation in the tread
or sidewall. If damage is observed
or suspected have the tire
inspected by a tire professional.
Tires can be damaged during
off-road use, so inspection after
off-road use is also
recommended.
Tire Age
WARNING
Tires degrade over time
depending on many factors,
for example weather, storage
conditions, and conditions of use,
for example load, speed and
inflation pressures the tires
experience throughout their lives.
In general, tires should be
replaced after six years regardless
of tread wear. However, heat
caused by hot climates or
frequent high loading conditions
can accelerate the aging process
and may require tires to be
replaced more frequently.
You should replace the spare tire
when you replace the road tires or
after six years due to aging even if
it has not been used. 246
Transit (TTH) Canada/United States of America, enUSA, Edition date: 03/2014 Wheels and TiresE142546
Page 250 of 461
Tire Replacement
Requirements
WARNINGS
Only use replacement tires
and wheels that are the same
size, load index, speed rating and
type, (for example P-metric versus
LT-metric or all-season versus
all-terrain) as those originally
provided by Ford. The
recommended tire and wheel size
may be found on either the Safety
Compliance Certification Label
(affixed to either the door hinge
pillar, door-latch post, or the door
edge that meets the door-latch
post, next to the driver seating
position), or the Tire Label which
is located on the B-Pillar or edge
of the driver door. If this
information is not found on these
labels, then you should contact an
authorized dealer as soon as
possible. Use of any tire or wheel
not recommended by Ford can
affect the safety and performance
of your vehicle, which could result
in an increased risk of loss of
vehicle control, vehicle rollover,
personal injury and death.
Additionally the use of
non-recommended tires and
wheels could cause steering,
suspension, axle, transfer case or
power transfer unit failure. If you
have questions regarding tire
replacement, contact an
authorized dealer as soon as
possible. WARNINGS
Always inflate steel carcass
tires with a remote air fill with
the person inflating standing at a
minimum of 12.1 ft (3.7 m) away
from the wheel and tire assembly. Your vehicle is fitted with tires
designed to provide a safe ride
and handling capability.
We recommend that the two front
tires or two rear tires generally be
replaced as a pair.
Note:
The wheel valve stems must
also be replaced when the road
tires are replaced on your vehicle.
Fitting Replacement Tires WARNINGS
When mounting replacement
tires and wheels, you should
not exceed the maximum pressure
indicated on the sidewall of the
tire to set the beads without
additional precautions listed
below. If the beads do not seat at
the maximum pressure indicated,
re-lubricate and try again. For mounting pressures
above
20 psi (1.38 bar)
greater than the maximum
pressure on the tire sidewall, the
tire should be replaced by a tire
professional. 247
Transit (TTH) Canada/United States of America, enUSA, Edition date: 03/2014 Wheels and Tires