steering wheel GEELY CK 2008 User Guide
[x] Cancel search | Manufacturer: GEELY, Model Year: 2008, Model line: CK, Model: GEELY CK 2008Pages: 392, PDF Size: 38.86 MB
Page 119 of 392

1123. Remove lower swing arm front support frame
Remove the 4 bolts connecting the lower swing arm front support frame and vehicle body.
4. Disassemble lower swing arm assembly
Disassembly of lower swing arm assembly is in the reverse order of the assembly.
Notice: Do not tighten type 1 hexagon nut
5. Install lower swing arm front support frame
Attach the lower swing arm front support frame to the vehicle body with bolts .
Torque: 80~90N.m
6. Install lower swing arm assembly
(1) Install the bolts and nuts connecting the lower swing arm assembly and lower swing arm front support
frame.
Notice: Do not tighten the bolts
(2) Attach the left lower swing arm assembly ball stud pin to the steering knuckle with bolts and nuts.
Torque: 80~90N.m
(3) Install the attaching bolt between the lower swing arm rear spring joint cover and the body.
Torque: 80~90N.m
7. Set nut
(1) Lower the vehicle and center the front wheel.
Be careful of the security
(2) Tighten the bolts connecting lower swing arm assembly and lower swing arm front support frame
Torque: 90~100N.m
(3) Tighten the set nuts on the lower swing arm assembly rear spring joint
Torque: 90~100N.m
Page 135 of 392

128Chapter 8 Power Steering SystemSection 1 Power Steering SystemPower Steering System DescriptionPower Steering System consists of the steering wheel, steering transmit device, power steering fixed device
and steering pipelines. The steering gear is rack and pinion type.
Major parameters for steering system:
Cautions:
1. Cautions for steering system
Make sure of the correct replacement of parts, incorrect replacement might affect the performance of
the steering system and lead to driving accidents.
2. Cautions for SRS System
This vehicle is equipped with SRS (Supplemental Restraint System), driver side air bag and front passenger
side air bag.
Failure to carry out service operations in the correct sequence could cause the unexpected deployment of
the air bag during servicing, possibly leading to a serious accident.Parameter
3.26
Inner 37.6°
Outer 33.3°
≤
10.5m Item
Steering Wheel total revolutions
Ma ximum Front
Wheel Turn Angle
Minimum Turning Dia me ter
Page 136 of 392

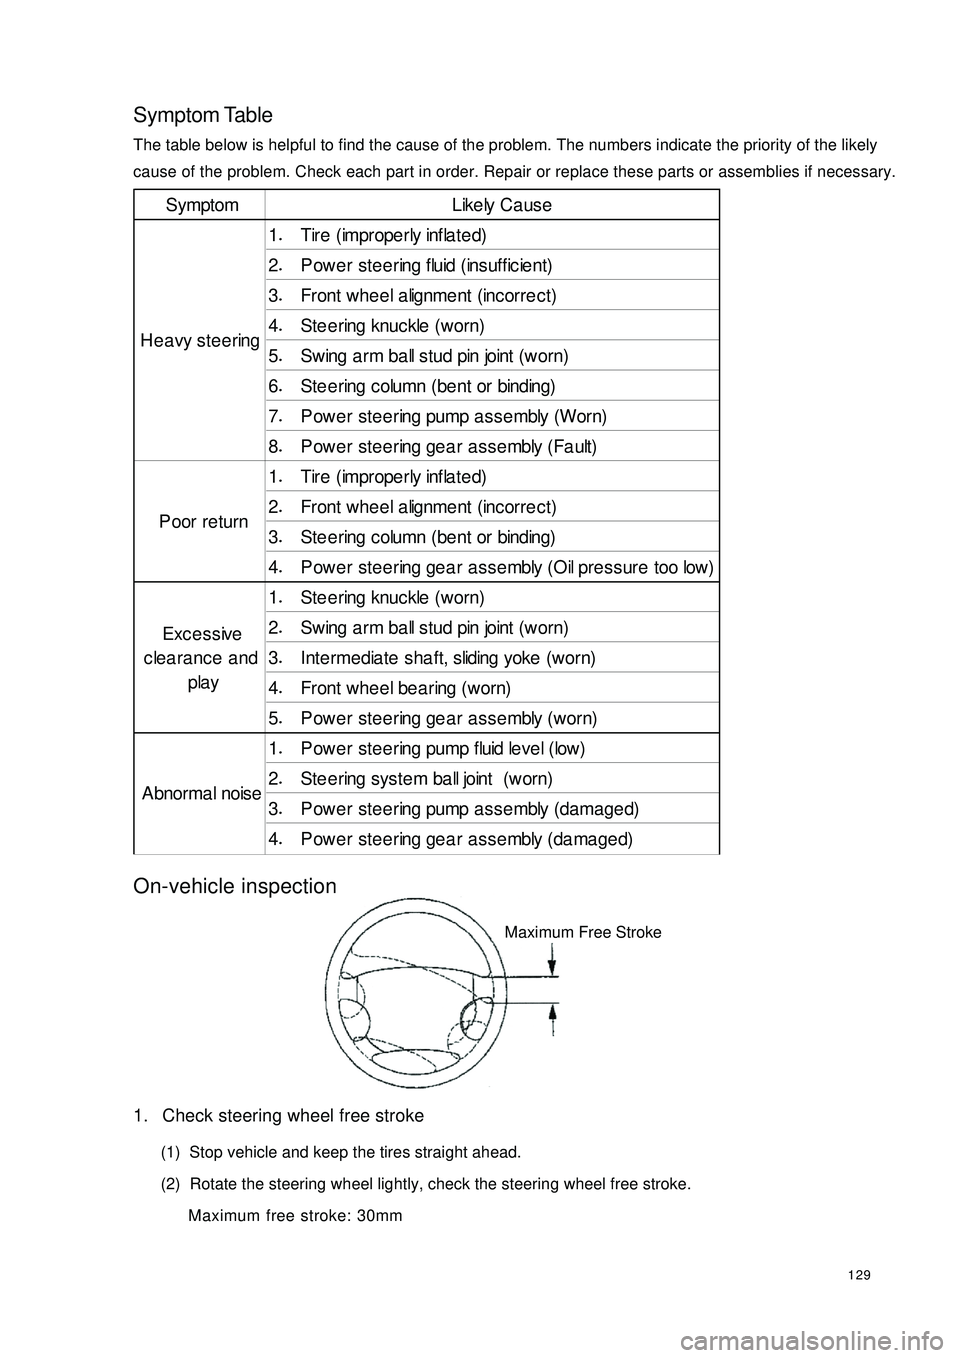
129Symptom TableThe table below is helpful to find the cause of the problem. The numbers indicate the priority of the likely
cause of the problem. Check each part in order. Repair or replace these parts or assemblies if necessary.On-vehicle inspection1. Check steering wheel free stroke
(1) Stop vehicle and keep the tires straight ahead.
(2) Rotate the steering wheel lightly, check the steering wheel free stroke.
Maximum free stroke: 30mmSymptom Like ly Ca us e
1.
Tire (imprope rly infla te d)
2.
P owe r ste ering fluid (insuffic ie nt)
3.
Front whe e l a lignme nt (inc orre c t)
4.
Ste e ring knuckle (worn)
5.
Swing a rm ba ll stud pin joint (worn)
6.
St e e r ing c olumn ( be nt or binding)
7.
P owe r ste ering pump a ssembly (Worn)
8.
Power steering gear assembly (Fault)
1.
Tire (imprope rly infla te d)
2.
Front whe e l a lignme nt (inc orre c t)
3.
St e e r ing c olumn ( be nt or binding)
4.
Power steering gear assembly (Oil pressure too low)
1.
Ste e ring knuckle (worn)
2.
Swing a rm ba ll stud pin joint (worn)
3.
Inte rmediate sha ft, sliding yoke (worn)
4.
Front whe e l be a ring (w orn)
5.
P owe r ste ering ge a r asse mbly (worn)
1.
P owe r ste ering pump fluid leve l (low)
2.
St e e r ing s ys t e m ba ll joint ( w or n)
3.
Power steering pump assembly (damaged)
4.
Power steering gear assembly (damaged) He avy ste eringPoor returnExcessive
clearance and
play
A bnor ma l nois eMaximum Free Stroke
Page 137 of 392

130Section 2 Steering Drive and Control MechanismComponentsSteering Wheel AssemblyAir Bag Assembly
Lower Cover Upper CoverHead Light
Dimmer SwitchCombined Switch Bracket
Nut
Dust CoverSteering Column AssemblyWiper Switch Assembly
Press Plate of Dustcover
Universal JointIntermediate Shaft
Page 138 of 392

131Replacement1. Cautions (refer to Steering System Cautions)
2. Make sure the wheels are placed straight ahead
3. disconnect the battery negative terminals
4. Remove the air bag assembly
Remove two screws on both sides and pull out the wiring harness connector
Notice: Do not pull air bag wire harness when removing the air bag assembly!
Warning:
�‹ �‹�‹ �‹
�‹Make sure the upper surface of the air bag assembly is kept upward when placing it!
�‹ �‹�‹ �‹
�‹Do not disassemble the air bag assembly!
5. Remove steering wheel assembly
(1) Remove the nut.
(2) Remove the steering wheel cover set bolt.
(3) place the matchmarks on the steering wheel and main shaft assembly.
(4) Use special tool to remove the steering wheel assembly.
6. Remove the steering column upper and lower cover
(1) Remove 3 screws.
(2) Remove the steering column upper and lower cover.Use Inner
Hex Socket
Wrench
Page 140 of 392

13311. Complete the service or replace the steering column assembly, the installation procedure is in the reverseorder of the removal
Notice:
(1) after the installation of the ignition lock core, check the steering lock operation: the
steering mechanism lock when the ignition key is pulled out; the steering mechanism
unlock when the key is inserted and turned to ACC position
(2)The torque of the 2 bolts and 2 nuts securing the steer column assembly:
16~26N.m
(3) connect the wire harness into place and make sure the wiring is good
(4) After properly adjust the positions of the combination switch and the steering column
upper and lower cover, tighten the 3 screws attaching the combination switch and the
steering column
(5) Torque of the universal joint yoke and steering gear assembly locking bolt: 22~34N.m
(6) Torque of the 4 set bolts of the dust cover and press plate: 16~26N.m
(7) When installing the steering wheel assembly, align the matchmarks of the steering wheel
and steering main shaft assembly,
Torque of the steering wheel specific inner torx bolt: 40~60N.m
(7) Check the air bag, it is not allowed to use the air bag parts from another vehicle
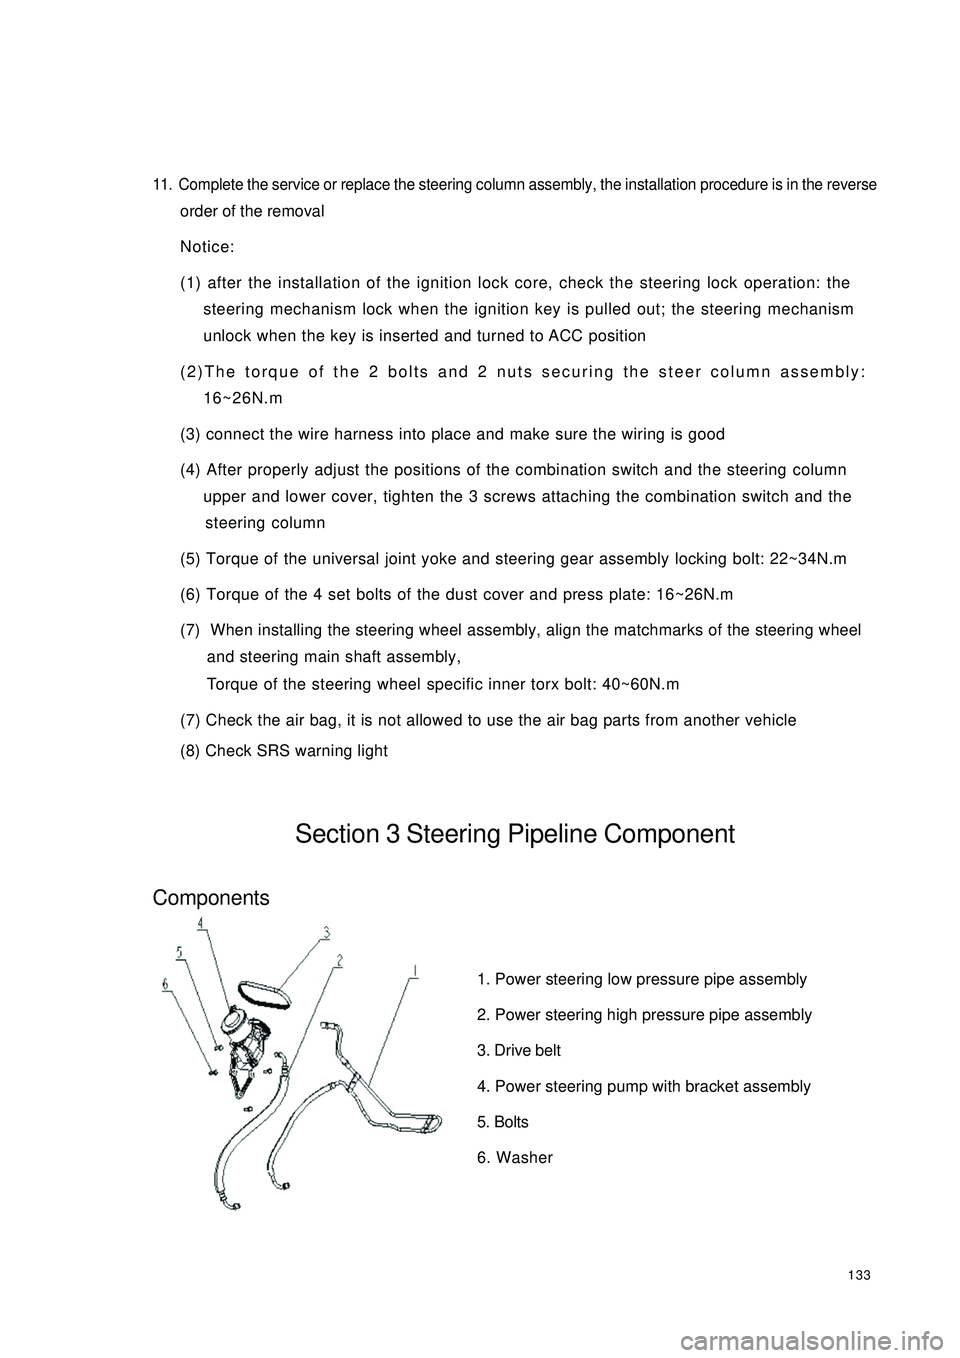
(8) Check SRS warning lightSection 3 Steering Pipeline ComponentComponents1. Power steering low pressure pipe assembly
2. Power steering high pressure pipe assembly
3. Drive belt
4. Power steering pump with bracket assembly
5. Bolts
6. Washer
Page 141 of 392

134On-vehicle inspection1. check the drive belt
Observe the drive belt for excessive wear and cordline wear. Replace the drive belt if necessary.
Hint: Cracks on the rib side of a belt are considered acceptable. If missing chunks from the
ribs are found on the drive belt, it should be replaced.
2. Bleed the power steering system
(1) Check the fluid level
(2) Jack up the front of the vehicle and make sure it is safe
(3) Rotate the steering wheel
a. With the engine off, turn the steering wheel from LH limit position to RH limit position several
times
(4) Release the jack and lower the vehicle
(5) Start the engine, run the engine at idle for a few minutes
(6) Turn the steering wheel to left or right limit position and keep it there for 2 - 3 seconds, then turn the
steering wheel to the opposite limit position and keep it there for 2 - 3 seconds. Repeat it several
times.
(7) Shut off the engine, check for foaming or emulsification in the reservoir. If there is foaming or
emulsification, bleed power steering system repeatedly
(8) Check the fluid level and for leakage
2. Check the fluid level
(1) Park the vehicle on a level surface
(2) With the engine stopped, check the fluid level in the reservoir. Add power steering fluid AT F
DEXRON if necessary.
Hint: the fluid level should be within the range of lowest level and highest level
(3) Check for foaming or emulsification, if there is, drain the power steering systemNormalAbnormal
Page 145 of 392

1383. Loosen the union thread of the high and low pressure pipes on the steering gear assembly
4. Remove the boot band and No. 1, No. 2 boots
5. Disconnect the power steering gear assembly from the steering column
Remove the steering gear pinion shaft spline lock bolt on the universal joint yoke
6. Remove power steering gear assembly
Remove 4 steering gear assembly set bolts, remove the power steering gear assembly
7. Installation is in the reverse order of the removal
Notice:
(1) Insert the steering gear pinion shaft spline into the spline hole of the universal joint
yoke, make sure that the positions of the notch of the steering gear pinion shaft and the
lock bolt of the universal joint yoke are correct
(2) Secure the power steering gear with 4 bolts, torque: 63~93N.m
(3) Tighten the steering gear pinion shaft spline lock bolt on the universal joint yoke, torque:
22~34N.m
(4) Tighten the 4 set bolts of the boot band and boot torque: 16~26N.m
(5) Install the union thread of the power steering high and low pressure pipe to the power
steering gear, torque: 19~33N.m
(6) Connect the tie rod ball stud pin with the steering knuckle, make sure that the mating
surface of the tie rod ball stud pin and the steering knuckle is clean, tighten the slot nut,
torque: 27~39N.m. Install the cotter pin, make sure of the correct installation
(7) Add appropriate amount of specified power steering fluid, bleed the power steering sys-
tem
(8) Check the power steering pipeline system for leakage
(9) Check the front wheel alignment and front wheel left and right limit turn angle, adjust the
toe in if necessary and tighten the tie rod lock nut
(10)Check the position of the steering wheel. It is required that the steering wheel spokes
are basically symmetrical when the vehicle is driven straight ahead, reassemble the steering
wheel if necessary
Page 204 of 392

197III. WIPER SWITCH ASSEMBLY REPLACEMENT1. DETACH STEERING WHEEL ASSEMBLY
(a) Disconnect the main power source of the vehicle.
(b) Remove the passenger SRS module assembly, and cautiously put it in a safe place.
(c) Loosen steering wheel lock-bolts and remove the assembly.
2. REMOVE WIPER SWITCH
(a) Disconnect the connector.
(b) Remove the 2 tapping screws that are for mounting the wiper switch, take out the wiper switch from the
bracket of the combination switch.IV. WASHER NOZZLEADJUSTMENT
1. INSPECT WASHER NOZZLE
(a) Start the engine, check if the position where the washer fluid from the nozzle sprays the windshield is in
the central or upper of the area wiped by the blades.
(b) Change the direction (horizontal) of the nozzle hole to adjust the point where washer fluid sprays the
windshield.
Page 266 of 392

259III. DIAGNOSIS OF CRASHED VEHICLEsWhether the SRS is deployed or not, the checking and maintenance of the crashed vehicle shall be carried
out according to the following procedures.
1. Check the diagnostic signal of ECU
(1) Connect the check connector of the Hi-DS T Scan Meter.
(2) Read out the diagnostic results from Hi-DS T Scan Meter.
2. Repair procedures
(1) When the SRS is deployed, the following parts shall be renewed.
1Passenger airbag assembly.
2ECU.
3Driver airbag assembly.
Check the following parts, if abnormal, replace with new ones.
1Clock spring.
2Steering wheel, steering column and steering lower shaft
component.
The installation status of driver airbag assembly in relation to steering wheel.
1Check and see if there is abnormal noise in the steering wheel, the action of the same is good,
or the clearance is normal.
2Check the union joint of the wire harness for damage and the terminal for distortion.
3. ECU
(1) Check the brackets of the ECU Case for recess, crack, distortion, etc.
(2) Check the union joint for damage and terminal for distortion.
(3) Check the installation status of he ECU brackets
1Check the hood for recess, crack, distortion, etc.
2Check the union joint for damage, terminal for distortion
and wire harness for seizure.
3Check the case of the gas generator for recess,
crack and distortion.NOTICE
Due to shock, when the battery power
supply is insufficient, the scan Meter
cannot communicate with ECU, the
instrument panel wire harness shall be
checked and maintained or external
power source shall be used.