battery GENESIS G80 2021 Owner's Guide
[x] Cancel search | Manufacturer: GENESIS, Model Year: 2021, Model line: G80, Model: GENESIS G80 2021Pages: 604, PDF Size: 11.47 MB
Page 199 of 604

05
5-61
6. Within 3 seconds, push and hold
the control lever forward until the
sunshade and sunroof operates as
follows:
Sunshade Open → Glass Tilt Open →
Glass Slide Open → Glass Slide Close →
Sunshade Close
Do not release the lever until the
operation is completed.
If you release the control lever during
operation, start the procedure again from
step 2.
7. Release the sunroof control lever after
all steps have completed. The sunroof
system has been reset.
Information
• If the sunroof is not reset when the
vehicle battery is disconnected or
discharged, or the sunroof fuse is
blown, the sunroof may not operate
normally.
• For more detailed information, contact
an authorized retailer of Genesis
Branded products.
Sunroof Open Warning
ORG3040007
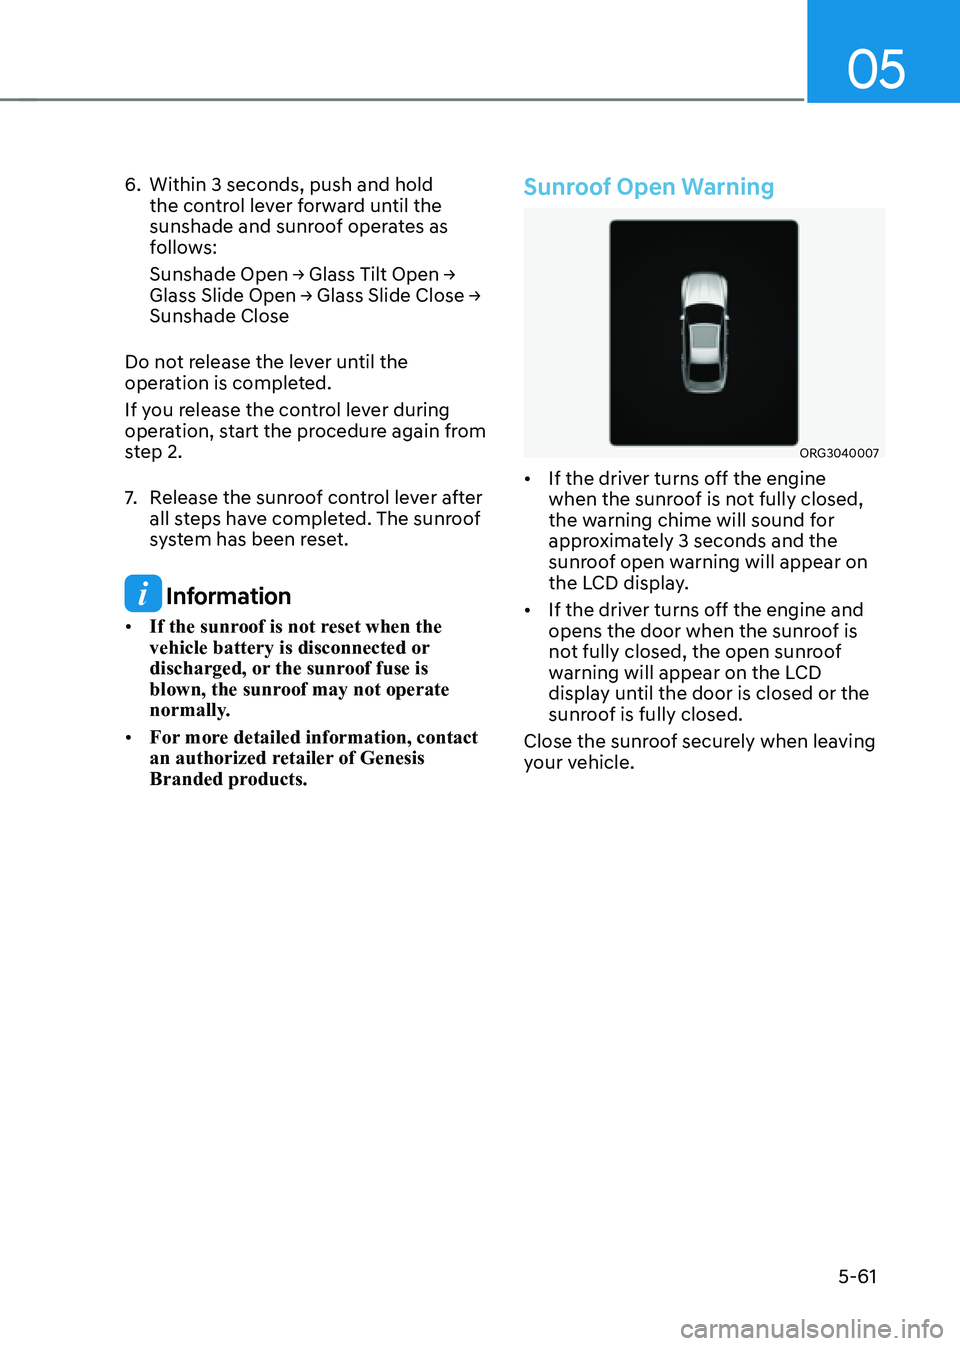
• If the driver turns off the engine
when the sunroof is not fully closed,
the warning chime will sound for
approximately 3 seconds and the
sunroof open warning will appear on
the LCD display.
• If the driver turns off the engine and
opens the door when the sunroof is
not fully closed, the open sunroof
warning will appear on the LCD
display until the door is closed or the
sunroof is fully closed.
Close the sunroof securely when leaving
your vehicle.
Page 202 of 604

Convenient Features
5-64
Emergency trunk safety release
ORG3050045
Your vehicle is equipped with an
Emergency Trunk Safety Release lever
located inside the trunk. When someone
is inadvertently locked in the trunk, the
trunk can be opened by moving the lever
in the direction of the arrow and pushing
the trunk open.
WARNING
• You and your passengers must
be aware of the location of the
Emergency Trunk Safety Release
lever in this vehicle and how to open
the trunk in case you are accidentally
locked in the trunk.
• • NEVER allow anyone to occupy the
trunk of the vehicle at any time. If the
trunk is partially or totally latched
and the person is unable to get out,
serious injury or death could occur
due to lack of ventilation, exhaust
fumes and rapid heat build-up, or
because of exposure to cold weather
conditions. The trunk is also a highly
dangerous location in the event of a
crash because it is not a protected
occupant space but is a part of the
vehicle’s crush zone.
• Your vehicle should be kept locked
and the Smart Key should be kept
out of the reach of children. Parents
should teach their children about the
dangers of playing in trunks.
• Use the release lever for emergencies
only.
Trunk release lever
ORG3050046
When the vehicle battery is discharged or
the trunk needs to be opened manually:
1. Open the cover (1) at the center of the
rear seat. Pull the lever on the back of
the cover all the way.
OHI048543
2. With the lever pulled to the end, fix
the lever (3) on the projecting part (2).
3. Lift and open the trunk manually.
4. Remove the inserted lever to close the
trunk.
WARNING
Make sure to at least have minimum
space at the back and in the upper area
of the trunk when opening or closing
the trunk. If not, the trunk may hit the
surrounding objects (wall, ceiling,
vehicle, etc.) and result in damaging the
vehicle or injuring the person near.
Page 205 of 604

05
5-67
NOTICE
• Do not close or open the Power Trunk
manually. This may cause damage
to the Power Trunk. If it is necessary
to close or open the Power Trunk
manually when the battery is drained
or disconnected, do not apply
excessive force.
• Do not leave the Power Trunk open
for a long period of time. This may
drain the battery.
• To prevent damage to the trunk lift
cylinders and the attached hardware,
always close the trunk before
driving.
Information
In cold and wet climates, trunk lock and
trunk mechanisms may not work properly
due to freezing conditions.
Power trunk non-opening or closing
conditions:
• The Power Trunk will not open or close
automatically, when the vehicle is
moving more than 1.8 mph (3 km/h).
• The Power Trunk can be operated
when the engine is not running.
However, the Power Trunk operation
consumes large amounts of vehicle
electric power. To prevent the
battery from draining, do not operate
it excessively (e.g., more than
approximately 10 times repeatedly.)
• Do not modify or repair any part of the
Power Trunk by yourself. This must
be done by an authorized retailer of
Genesis Branded products.
• Before jacking up the vehicle to
change a tire or repair the vehicle,
open the Power Trunk. Do not operate
the Power Trunk when the vehicle is
raised or this could cause the Power
Trunk to operate improperly.
• If there are obstacles such as snow
on the Power Trunk, it may not open
automatically. After removing the
obstacle, try to open it again.
Automatic stop and reverse
ORG3050043
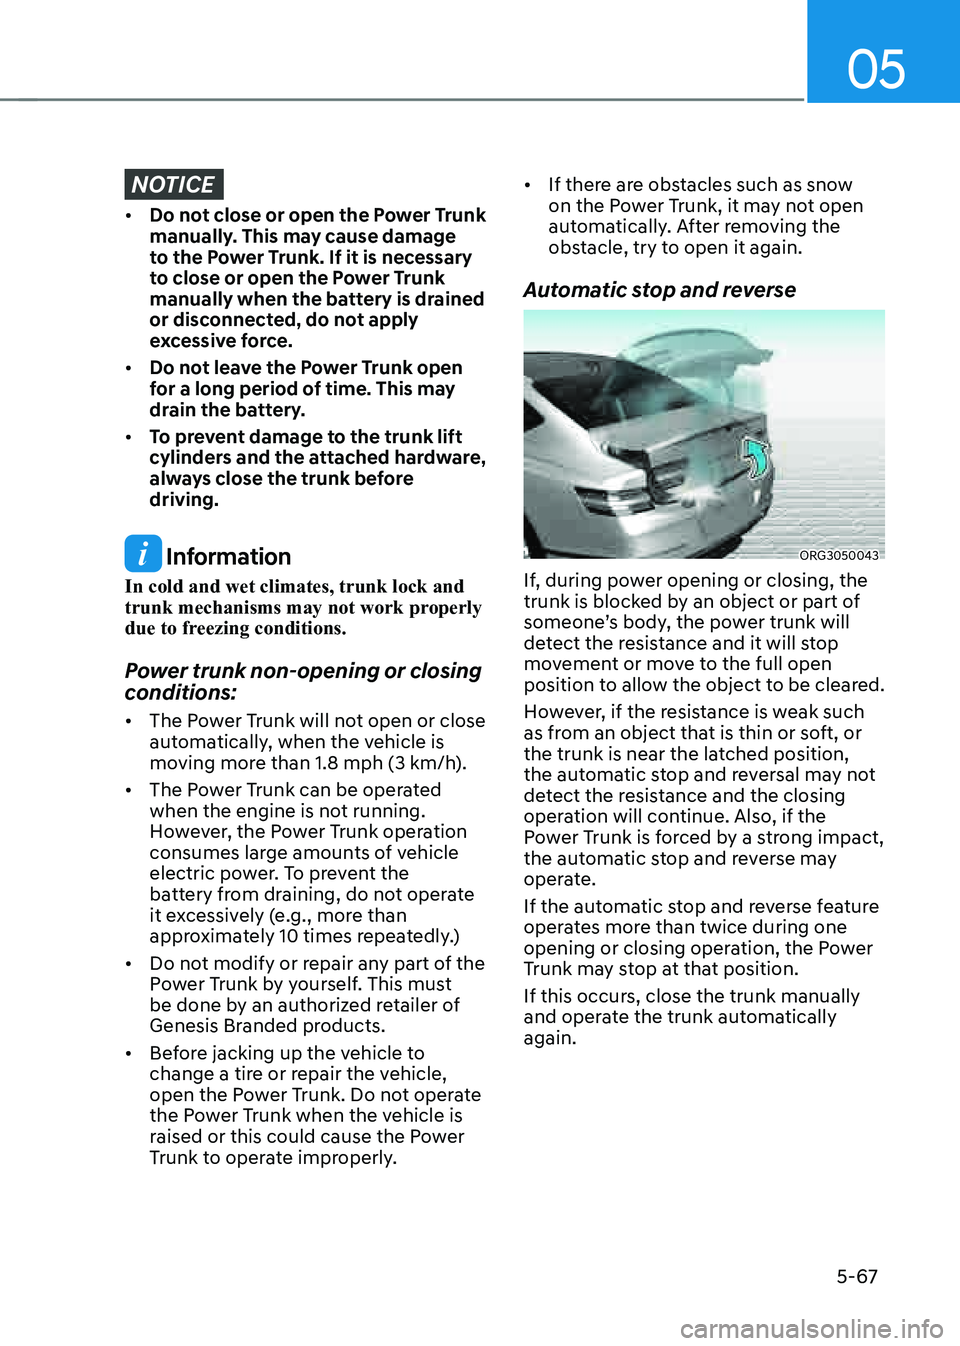
If, during power opening or closing, the
trunk is blocked by an object or part of
someone’s body, the power trunk will
detect the resistance and it will stop
movement or move to the full open
position to allow the object to be cleared.
However, if the resistance is weak such
as from an object that is thin or soft, or
the trunk is near the latched position,
the automatic stop and reversal may not
detect the resistance and the closing
operation will continue. Also, if the
Power Trunk is forced by a strong impact,
the automatic stop and reverse may
operate.
If the automatic stop and reverse feature
operates more than twice during one
opening or closing operation, the Power
Trunk may stop at that position.
If this occurs, close the trunk manually
and operate the trunk automatically
again.
Page 206 of 604

Convenient Features
5-68
WARNING
To prevent serious injury and damage
take the following precautions when
operating the power trunk:
• Keep all faces, hands, arms, body
parts and other objects away from
the path of the power trunk.
• Do not intentionally place any
body parts or objects in the path
of the power trunk to make sure
the automatic stop and reversal
operates.
• Do not allow children to play with the
power trunk.
How to reset the power trunk
If the battery has been discharged or
disconnected, or if the power trunk fuse
has been replaced or removed, reset the
power trunk by performing the following
procedure:
1. Shift the vehicle to P (Park).
2. While Pressing the power trunk close
button, press the power trunk open
switch for more than 3 seconds. A
chime will sound.
3. Close the trunk manually.
If the Power Trunk doesn’t work properly
after performing the above procedure,
we recommend that you have the system
checked by an authorized retailer of
Genesis Branded products.
Trunk lid control button
OHI048009
When the trunk lid control button is
in the UNLOCK (button not pressed)
position, the power trunk can be
controlled with the power trunk main
control button, power trunk open switch,
power trunk close button, and the smart
key.
When this trunk lid control button is in
the LOCK (button pressed) position, the
power trunk can be opened using the
trunk release lever.
The smart trunk does not operate, when
the trunk lid control button is pressed to
the LOCK position.
Even though the trunk lid control button
is in the LOCK (button pressed) position,
the trunk will still be propelled upward by
mechanical force if the trunk is manually
opened more than 10 degrees beyond
the fully closed position. In addition,
if the trunk is manually closed to the
secondary latch position, the trunk will
be electrically moved to the fully latched
position.
Page 208 of 604

Convenient Features
5-70
Trunk release lever
ORG3050046
When the vehicle battery is discharged or
the trunk needs to be opened manually:
1. Open the pass through cover (1) at the
center of the rear seat. Manual trunk
release lever is located behind on left
side of pass through cover. Pull the
trunk release lever all the way back.
OHI048543
2. With the lever pulled to the end, fix
the lever (3) on the projecting part (2).
3. Lift and open the trunk manually.
4. Place manual trunk release lever back
to original position or trunk will not
close.
WARNING
Make sure to at least have minimum
space at the back and in the upper area
of the trunk when opening or closing
the trunk. If not, the trunk may hit the
surrounding objects (wall, ceiling,
vehicle, etc.) and result in damaging the
vehicle or injuring the person near.
Smart Trunk (if equipped)
ORG3050048
On a vehicle equipped with a smart key,
the trunk can be opened with hands-free
activation using the smart trunk system.
How to use the smart trunk
The hands-free smart trunk system
can be opened automatically when the
following conditions are met:
• The smart trunk option is enabled the
Settings menu in the infotainment
system screen.
• The smart trunk is activated and ready
15 seconds after all the doors are
closed and locked
• The smart trunk will open when the
smart key is detected in the area
behind the vehicle for 3 seconds
Page 219 of 604

05
5-81
Battery saver function
The purpose of this feature is to prevent
the battery from being discharged.
The system automatically turns off the
parking lamp when the driver turns the
vehicle off and opens the driver-side
door.
With this feature, the parking lamps will
turn off automatically if the driver parks
on the side of road at night.
If necessary, to keep the lamps on when
the vehicle is turned off, perform the
following:
(1) Open the driver-side door.
(2) Turn the parking lamps OFF and ON
again using the headlamp switch on
the steering column.
Headlamp delay function
If the Engine Start/Stop button is in the
ACC parking or the OFF position with
the headlamps ON, the headlamps (and/
or parking lamps) remain on for about
5 minutes. However, if the driver’s door
is opened and closed, the headlamps
are turned off after 15 seconds. Also,
with the vehicle off if the driver’s door is
opened and closed, the headlamps (and/
or parking lamps) are turned off after 15
seconds.
The headlamps (and/or parking lamps)
can be turned off by pressing the lock
button on the smart key twice or turning
the headlamp switch to the OFF or AUTO
position.
You can enable the headlamp delay
function by selecting ‘Setup → Vehicle
Settings → Lights → Headlight Delay (or
Headlight time-out)’ in the infotainment
system screen.
For detailed information, refer to the
separately supplied manual.
NOTICE
If the driver exits the vehicle through
another door besides the driver
door, the battery saver function
does not operate and the headlamp
delay function does not turn OFF
automatically.
This may cause the battery to
discharge. To avoid battery discharge,
turn OFF the headlamps manually from
the headlamp switch before exiting the
vehicle.
Page 220 of 604

Convenient Features
5-82
WARNING
If the function does not work properly,
we recommend that the system be
inspected by an authorized retailer
of Genesis Branded products. Do not
attempt to inspect or replace the wiring
yourself.
Headlamp moisture removal
function
When moisture fogs up inside of the
headlamp with the headlamp on for a
certain period of time, the fan circulates
air inside the headlamp to remove
moisture. If moisture is not removed,
have the vehicle inspected by an
authorized retailer of Genesis Branded
products.
Interior Lights
WARNING
Do not use the interior lights when
driving in the dark. The interior lights
may obscure your view and cause an
accident.
NOTICE
Do not use the interior lights for
extended periods when the vehicle is
turned off or the battery will discharge.
Interior lamp AUTO cut
The interior lamps will automatically go
off approximately 20 minutes after the
vehicle is turned off and the doors are
closed. If a door is opened, the lamp
will go off 25 minutes after the vehicle
is turned off. If the doors are locked by
the smart key and the vehicle enters the
armed stage of the theft alarm system,
the lamps will go off five seconds later.
Page 235 of 604

05
5-97
Information
ORG3050065
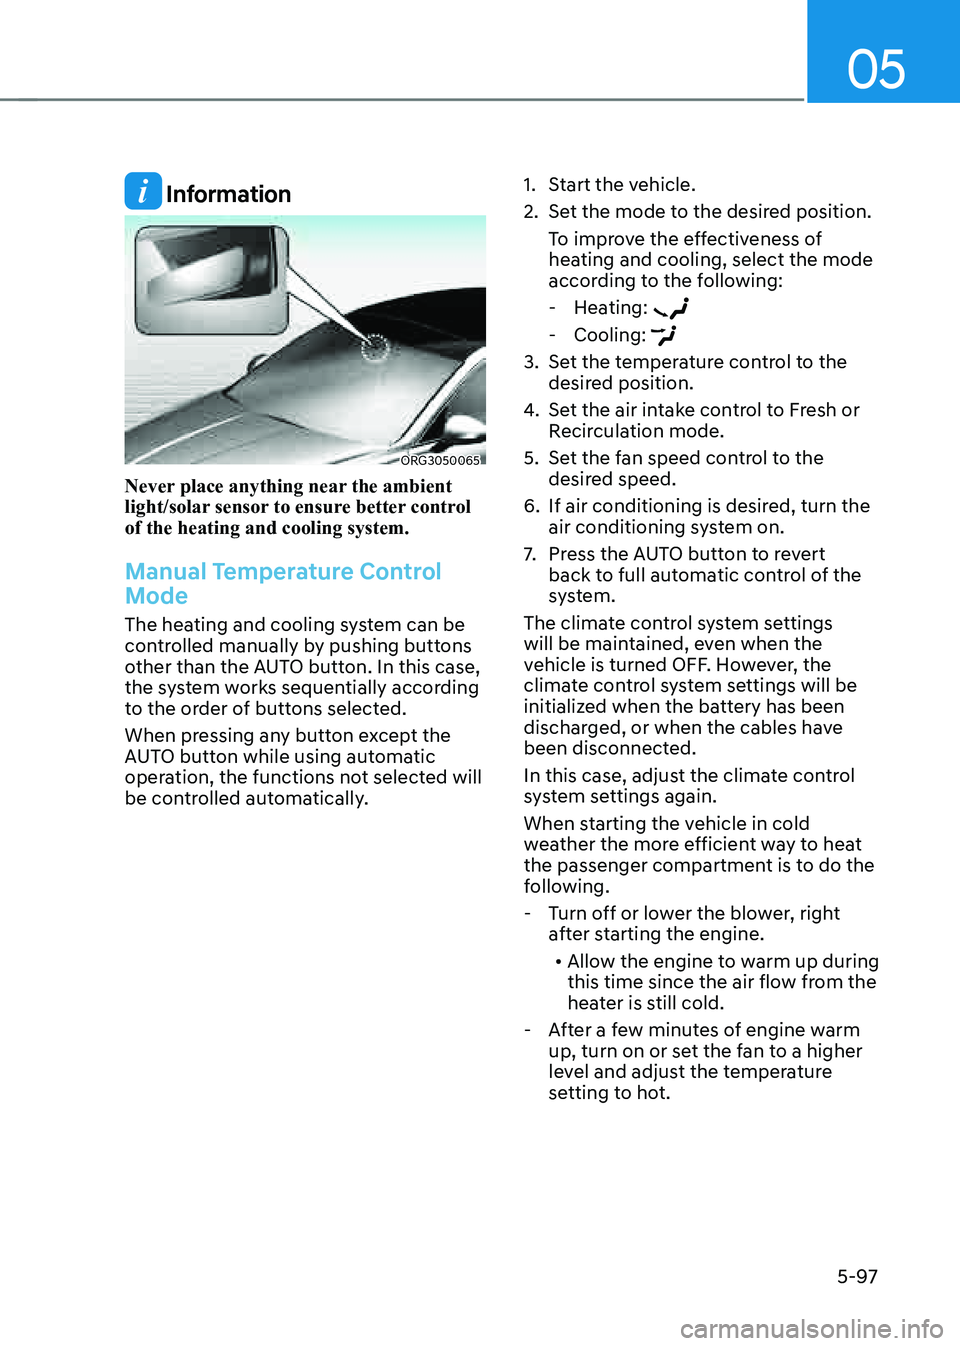
Never place anything near the ambient
light/solar sensor to ensure better control
of the heating and cooling system.
Manual Temperature Control
Mode
The heating and cooling system can be
controlled manually by pushing buttons
other than the AUTO button. In this case,
the system works sequentially according
to the order of buttons selected.
When pressing any button except the
AUTO button while using automatic
operation, the functions not selected will
be controlled automatically.
1. Start the vehicle.
2. Set the mode to the desired position.
To improve the effectiveness of
heating and cooling, select the mode
according to the following:
-Heating:
-Cooling:
3. Set the temperature control to the
desired position.
4. Set the air intake control to Fresh or
Recirculation mode.
5. Set the fan speed control to the
desired speed.
6. If air conditioning is desired, turn the
air conditioning system on.
7. Press the AUTO button to revert
back to full automatic control of the
system.
The climate control system settings
will be maintained, even when the
vehicle is turned OFF. However, the
climate control system settings will be
initialized when the battery has been
discharged, or when the cables have
been disconnected.
In this case, adjust the climate control
system settings again.
When starting the vehicle in cold
weather the more efficient way to heat
the passenger compartment is to do the
following.
- Turn off or lower the blower, right
after starting the engine.
• Allow the engine to warm up during
this time since the air flow from the
heater is still cold.
-After a few minutes of engine warm
up, turn on or set the fan to a higher
level and adjust the temperature
setting to hot.
Page 242 of 604

Convenient Features
5-104
Information
To help improve microphone voice
input sound quality, fan speed may
automatically slow down for a couple
of minutes when you activate voice
recognition or hands free.
NOTICE
Operating the fan when the Engine
Start/Stop button is in the ON position
could cause the battery to discharge.
Operate the fan when the engine is
running.
Air conditioning
OJX1059172L
Touch the A/C icon to manually turn the
air conditioning on (indicator light will
illuminate) and off.
OFF mode
„„Front seat„ǴFront seat control„ǴRear seat control
ORG3050114ORG3050115
„„Rear seat
ORG3050116
Touch the OFF icon or press the OFF
button to turn the climate control system
off. You can still operate the mode and
air intake buttons as long as the Engine
Start/Stop button is in the ON position.
Page 247 of 604

05
5-109
To Defrost Inside Windshield
ORG3050118
1. Set the fan speed to the highest
(extreme right) position.
2. Set the temperature to the extreme
hot (HI) position.
3. Press the defroster button ().
4. Fresh mode will be selected
automatically.
Check to make sure the air intake control
is in Fresh mode. If the air intake control
indicator light is illuminated, press the
button once to enable Fresh mode
(indicator light OFF).
If the
position is selected, lower fan speed is adjusted to a higher fan speed.
Defogging Logic
To reduce the probability of fogging
up the inside of the windshield, the air
intake or air conditioning are controlled
automatically according to certain
conditions such as
positions. To cancel or reset the defogging logic, do
the following.
1. Press the Engine Start/Stop button to
the ON position.
2. Press the defroster button () or
().
3. While pressing the air conditioning
button (A/C), press the air intake
control button at least 5 times within
3 seconds.
The air intake control button indicator
will blink 3 times to indicate that the
defogging logic has been disabled.
Repeat the steps again to re-enable the
defogging logic.
If the battery has been discharged or
disconnected, it resets to the defog logic
status.