display GENESIS G80 2021 Owner's Guide
[x] Cancel search | Manufacturer: GENESIS, Model Year: 2021, Model line: G80, Model: GENESIS G80 2021Pages: 604, PDF Size: 11.47 MB
Page 170 of 604
Convenient Features
5-32
NOTICE
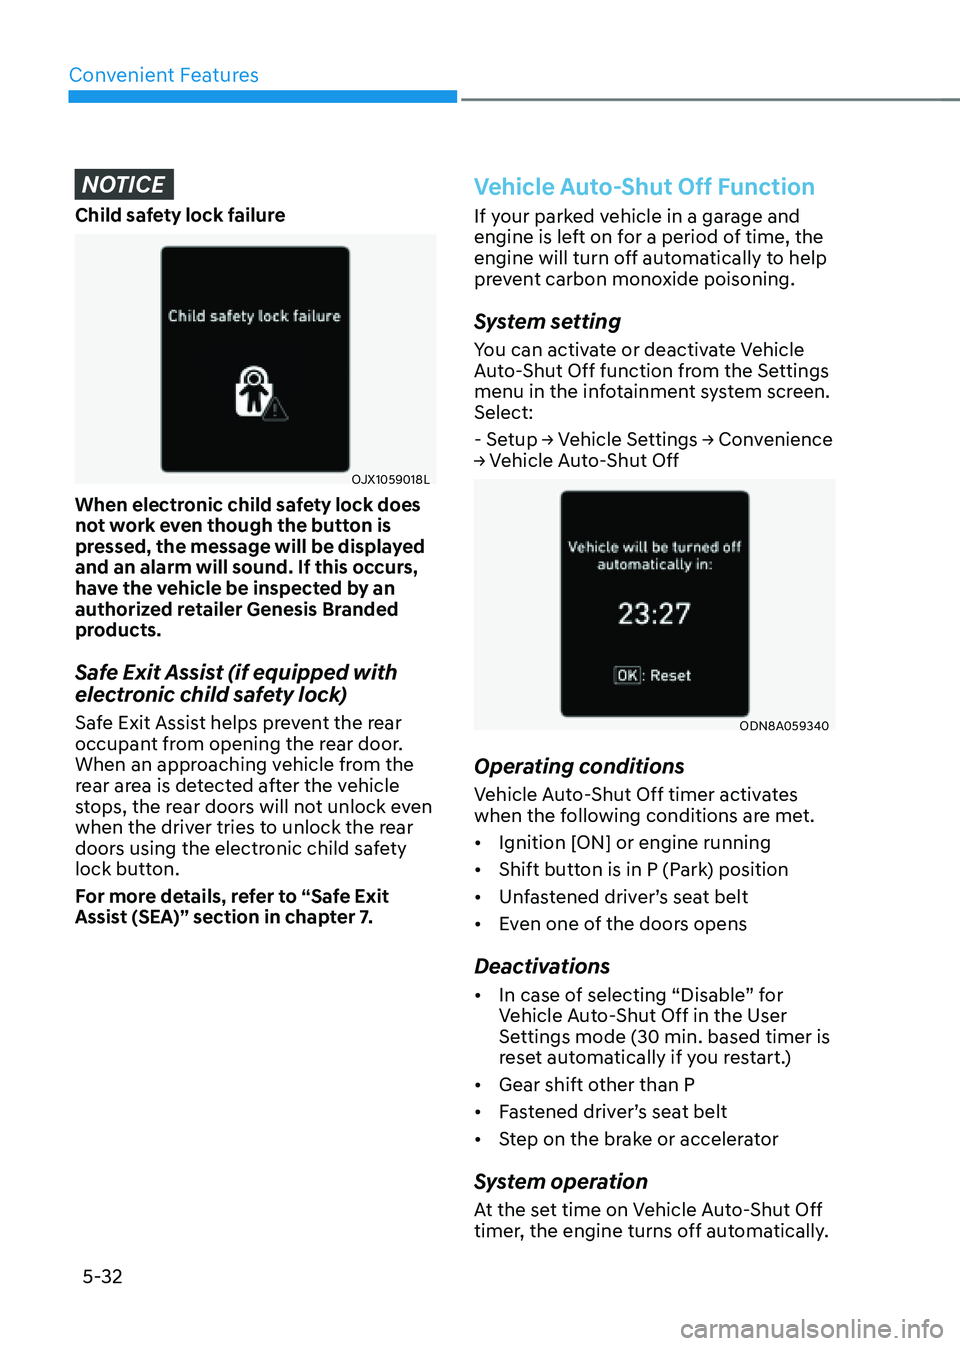
Child safety lock failure
OJX1059018L
When electronic child safety lock does
not work even though the button is
pressed, the message will be displayed
and an alarm will sound. If this occurs,
have the vehicle be inspected by an
authorized retailer Genesis Branded
products.
Safe Exit Assist (if equipped with
electronic child safety lock)
Safe Exit Assist helps prevent the rear
occupant from opening the rear door.
When an approaching vehicle from the
rear area is detected after the vehicle
stops, the rear doors will not unlock even
when the driver tries to unlock the rear
doors using the electronic child safety
lock button.
For more details, refer to “Safe Exit
Assist (SEA)” section in chapter 7.
Vehicle Auto-Shut Off Function
If your parked vehicle in a garage and
engine is left on for a period of time, the
engine will turn off automatically to help
prevent carbon monoxide poisoning.
System setting
You can activate or deactivate Vehicle
Auto-Shut Off function from the Settings
menu in the infotainment system screen.
Select:
- Setup → Vehicle Settings → Convenience
→ Vehicle Auto-Shut Off
ODN8A059340
Operating conditions
Vehicle Auto-Shut Off timer activates
when the following conditions are met.
• Ignition [ON] or engine running
• Shift button is in P (Park) position
• Unfastened driver’s seat belt
• Even one of the doors opens
Deactivations
• In case of selecting “Disable” for
Vehicle Auto-Shut Off in the User
Settings mode (30 min. based timer is
reset automatically if you restart.)
• Gear shift other than P
• Fastened driver’s seat belt
• Step on the brake or accelerator
System operation
At the set time on Vehicle Auto-Shut Off
timer, the engine turns off automatically.
Page 172 of 604
Convenient Features
5-34
ORG3050022
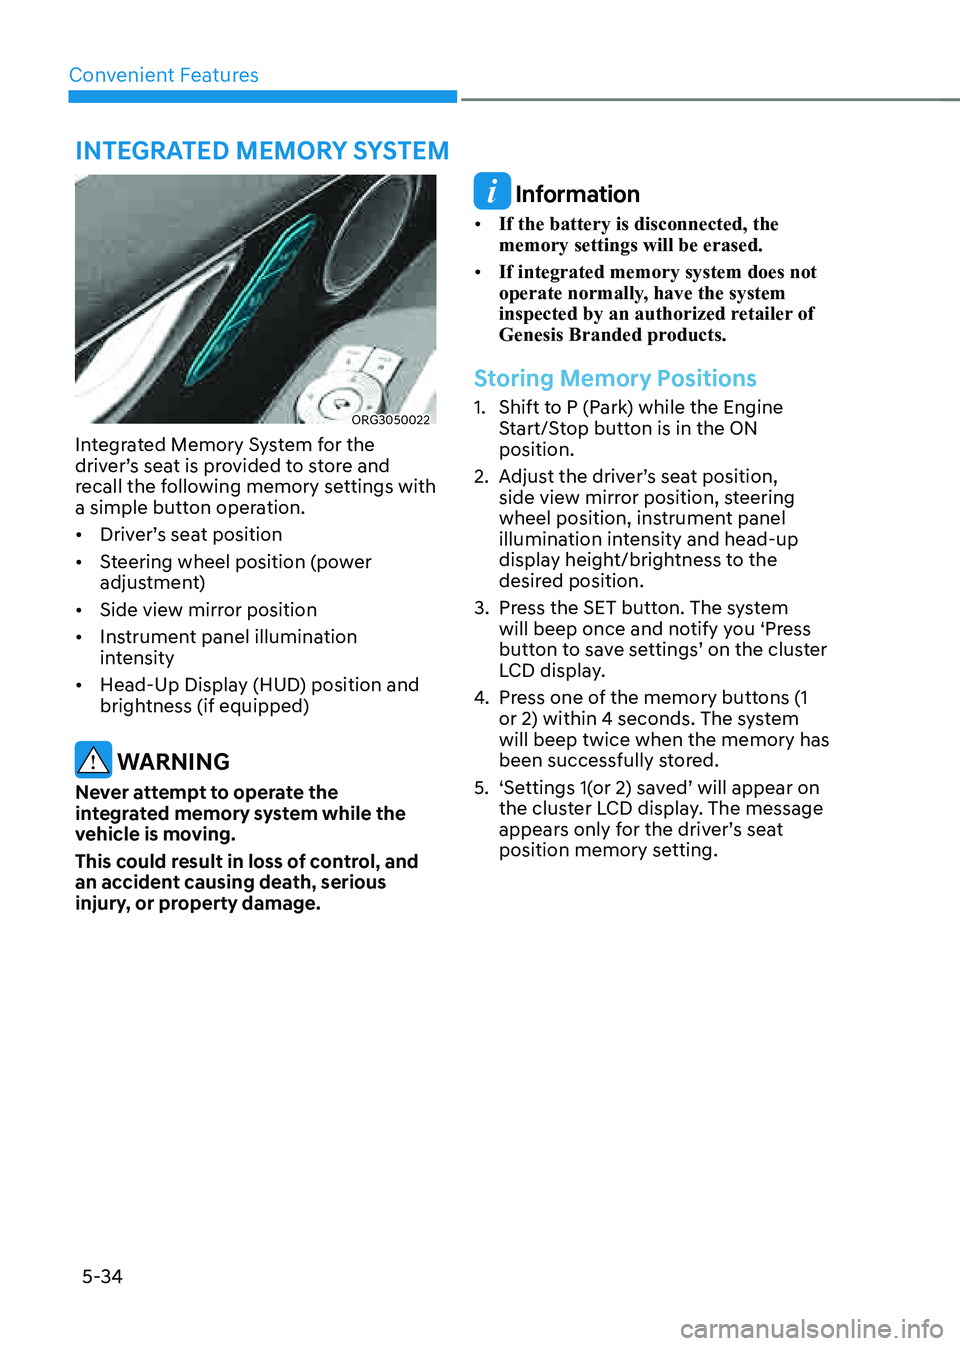
Integrated Memory System for the
driver’s seat is provided to store and
recall the following memory settings with
a simple button operation.
• Driver’s seat position
• Steering wheel position (power
adjustment)
• Side view mirror position
• Instrument panel illumination
intensity
• Head-Up Display (HUD) position and
brightness (if equipped)
WARNING
Never attempt to operate the
integrated memory system while the
vehicle is moving.
This could result in loss of control, and
an accident causing death, serious
injury, or property damage.
Information
• If the battery is disconnected, the
memory settings will be erased.
• If integrated memory system does not
operate normally, have the system
inspected by an authorized retailer of
Genesis Branded products.
Storing Memory Positions
1. Shift to P (Park) while the Engine
Start/Stop button is in the ON
position.
2. Adjust the driver’s seat position,
side view mirror position, steering
wheel position, instrument panel
illumination intensity and head-up
display height/brightness to the
desired position.
3. Press the SET button. The system
will beep once and notify you ‘Press
button to save settings’ on the cluster
LCD display.
4. Press one of the memory buttons (1
or 2) within 4 seconds. The system
will beep twice when the memory has
been successfully stored.
5. ‘Settings 1(or 2) saved’ will appear on
the cluster LCD display. The message
appears only for the driver’s seat
position memory setting.
INTEGRATED MEMORY SYSTEM
Page 173 of 604
05
5-35
Recalling Memory Positions
1. Shift to P (Park) while the Engine
Start/Stop button is in the ON
position.
2. Press the desired memory button (1
or 2). The system will beep once, and
then the driver’s seat position, side
view mirror position, steering wheel
position, instrument panel illumination
intensity and head-up display height/
brightness will automatically adjust to
the stored positions.
3. ‘Settings 1(or 2) applied’ will appear on
the cluster LCD display.
Information
• If you press the SET button or the
corresponding button which the
setting is being recalled, the setting will
temporarily deactivate. If you press the
other buttons, the setting of the pressed
button will activate.
For example, if you press the SET
button or number 1 button with the
number 1 setting in operation, the
setting will temporarily deactivate. If
you press the number 2 button, the
number 2 setting will activate.
• If you adjust the seat, side view mirror,
steering wheel, instrument panel
illumination or head-up display while
recalling the stored positions, the pre-
set settings will become ineffective.
Resetting the System
Take the following procedures to reset
integrated memory system, when it does
not operate properly.
Resetting integrated memory
system
1. Stop the vehicle and open the driver’s
door with the vehicle shifted to P
(Park).
2. Adjust the driver’s seat and seatback
to the foremost position.
3. Press the SET button and push
forward the driver’s seat movement
switch over 2 seconds simultaneously.
While resetting integrated memory
system
1. Resetting starts with a notification
sound.
2. The driver’s seat and seatback is
adjusted to the rearward position with
the notification sound.
3. The driver’s seat and seatback is
re-adjusted to the default position
(central position) with the notification
sound.
However, in the following cases, the
resetting procedure and the notification
sound may stop.
• The memory button is pressed.
• The seat control switch is operated.
• The driving speed exceeds
2 mph (3 km/h).
• The driver’s door is closed.
Page 175 of 604
05
5-37
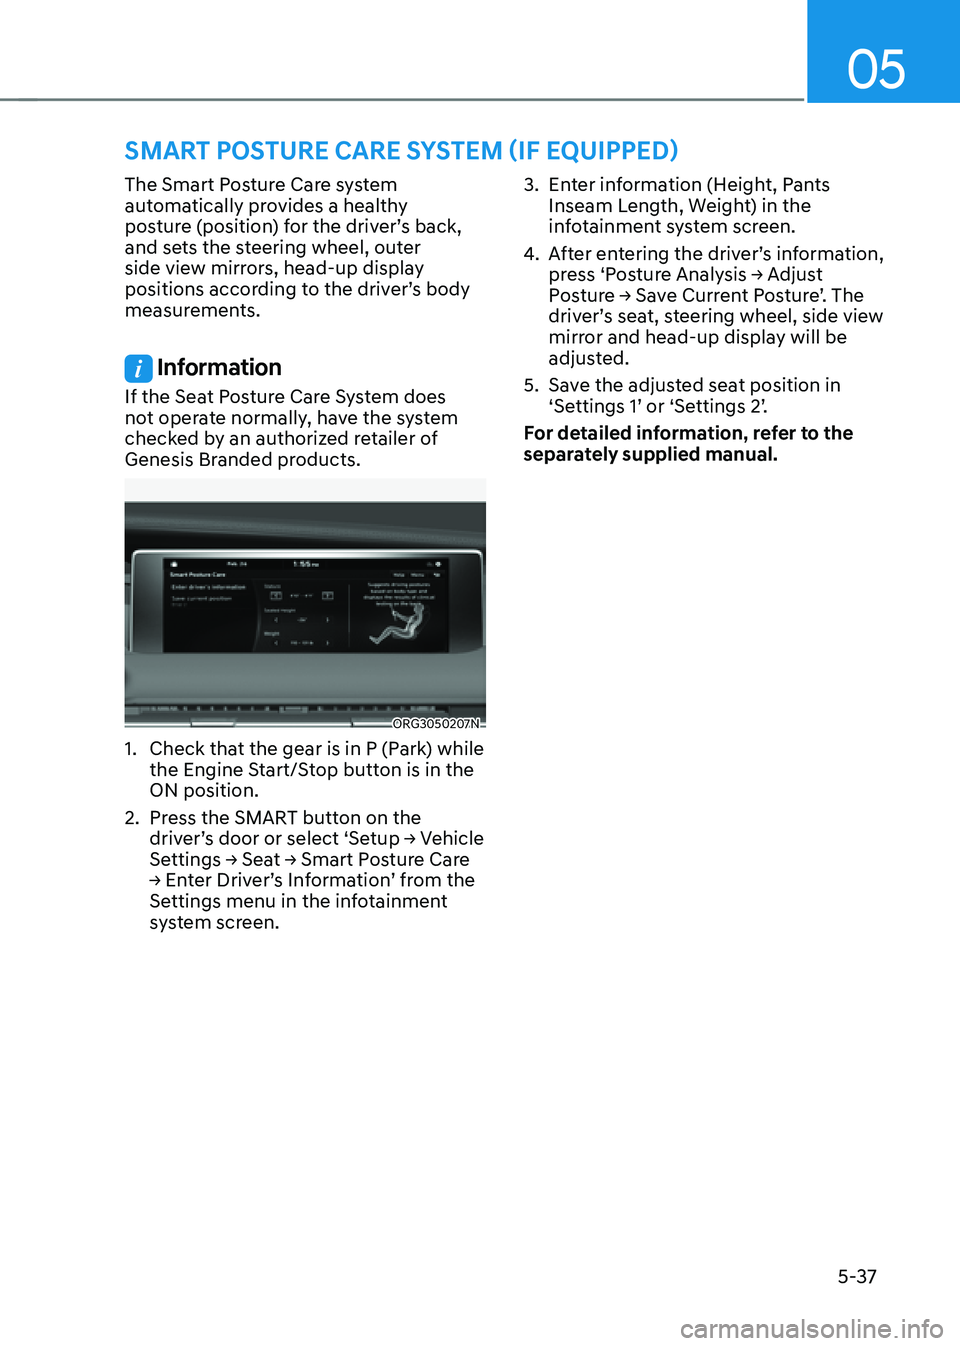
The Smart Posture Care system
automatically provides a healthy
posture (position) for the driver’s back,
and sets the steering wheel, outer
side view mirrors, head-up display
positions according to the driver’s body
measurements.
Information
If the Seat Posture Care System does
not operate normally, have the system
checked by an authorized retailer of
Genesis Branded products.
ORG3050207N
1. Check that the gear is in P (Park) while
the Engine Start/Stop button is in the
ON position.
2. Press the SMART button on the
driver’s door or select ‘Setup → Vehicle
Settings → Seat → Smart Posture Care
→ Enter Driver’s Information’ from the
Settings menu in the infotainment
system screen.
3. Enter information (Height, Pants
Inseam Length, Weight) in the
infotainment system screen.
4. After entering the driver’s information,
press ‘Posture Analysis → Adjust
Posture → Save Current Posture’. The
driver’s seat, steering wheel, side view
mirror and head-up display will be
adjusted.
5. Save the adjusted seat position in
‘Settings 1’ or ‘Settings 2’.
For detailed information, refer to the
separately supplied manual.
SMART POSTURE CARE SYSTEM (IF EQUIPPED)
Page 199 of 604
05
5-61
6. Within 3 seconds, push and hold
the control lever forward until the
sunshade and sunroof operates as
follows:
Sunshade Open → Glass Tilt Open →
Glass Slide Open → Glass Slide Close →
Sunshade Close
Do not release the lever until the
operation is completed.
If you release the control lever during
operation, start the procedure again from
step 2.
7. Release the sunroof control lever after
all steps have completed. The sunroof
system has been reset.
Information
• If the sunroof is not reset when the
vehicle battery is disconnected or
discharged, or the sunroof fuse is
blown, the sunroof may not operate
normally.
• For more detailed information, contact
an authorized retailer of Genesis
Branded products.
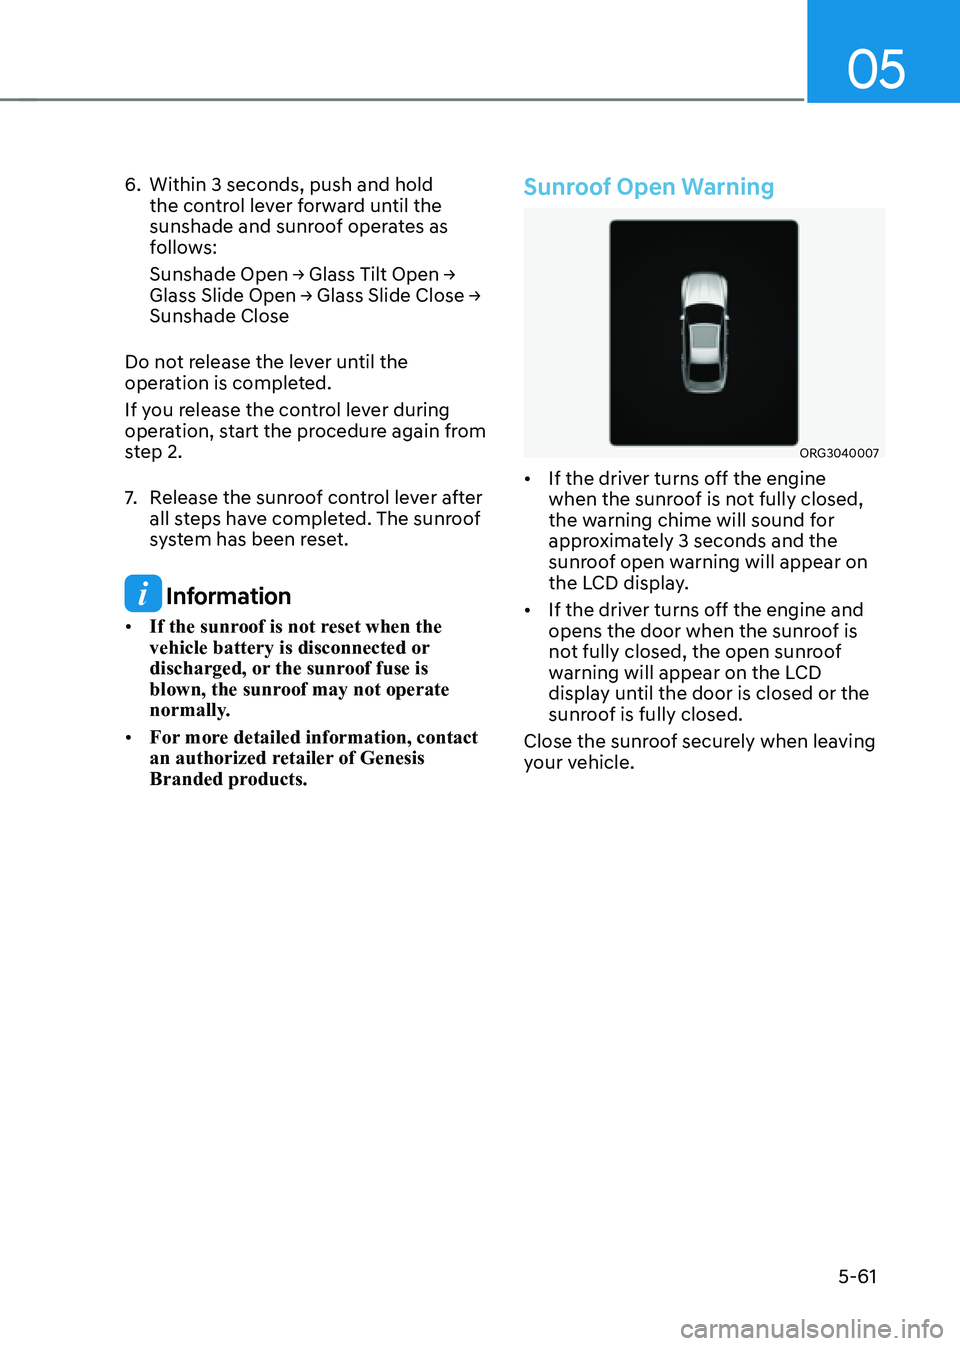
Sunroof Open Warning
ORG3040007
• If the driver turns off the engine
when the sunroof is not fully closed,
the warning chime will sound for
approximately 3 seconds and the
sunroof open warning will appear on
the LCD display.
• If the driver turns off the engine and
opens the door when the sunroof is
not fully closed, the open sunroof
warning will appear on the LCD
display until the door is closed or the
sunroof is fully closed.
Close the sunroof securely when leaving
your vehicle.
Page 200 of 604
Convenient Features
5-62
Hood
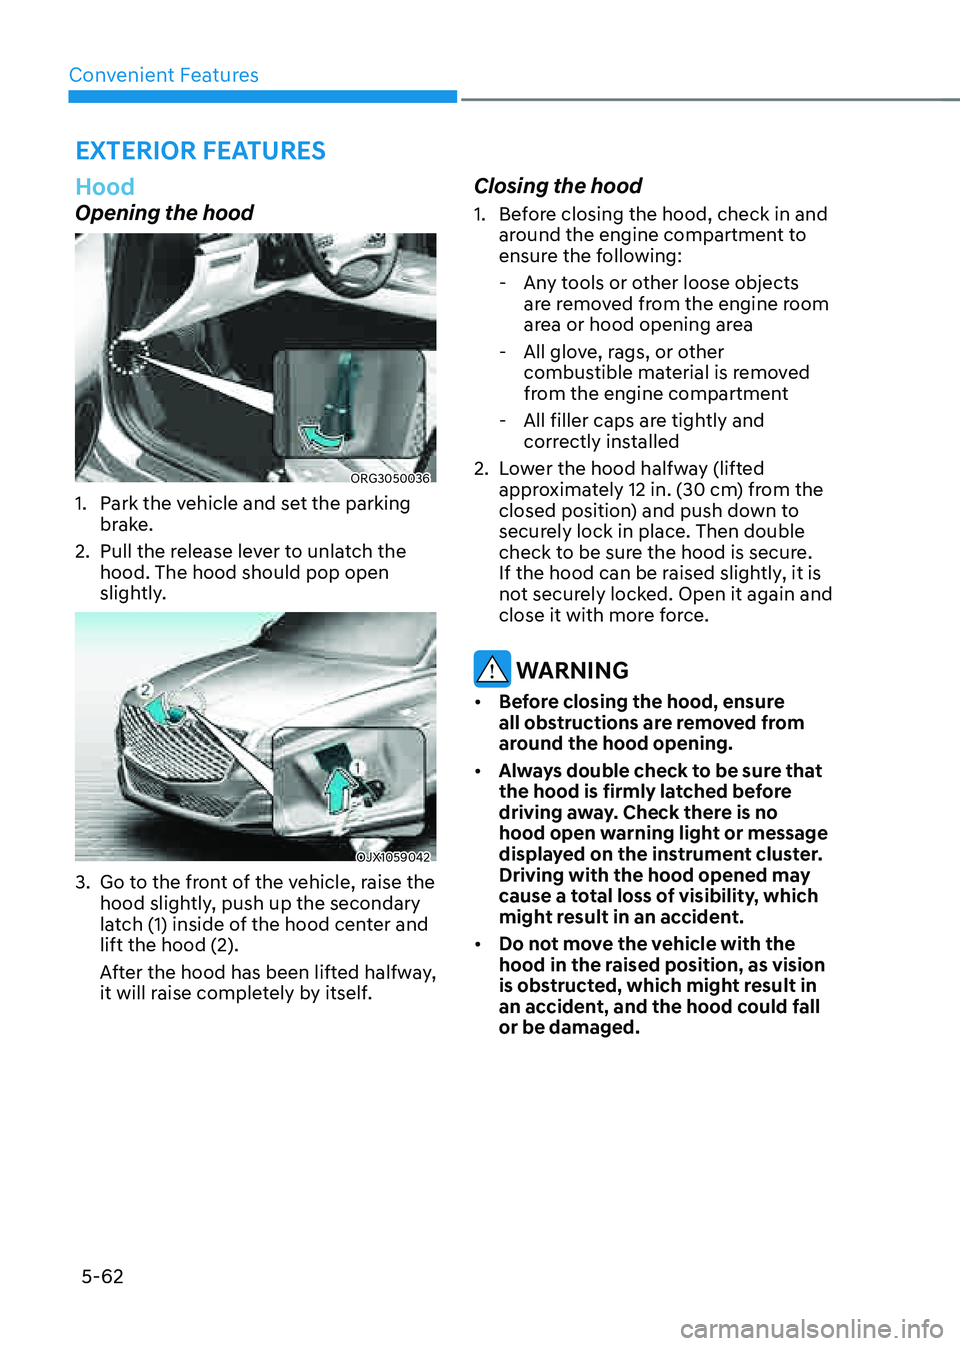
Opening the hood
ORG3050036
1. Park the vehicle and set the parking
brake.
2. Pull the release lever to unlatch the
hood. The hood should pop open
slightly.
OJX1059042
3. Go to the front of the vehicle, raise the
hood slightly, push up the secondary
latch (1) inside of the hood center and
lift the hood (2).
After the hood has been lifted halfway,
it will raise completely by itself.
Closing the hood
1. Before closing the hood, check in and
around the engine compartment to
ensure the following:
-Any tools or other loose objects
are removed from the engine room
area or hood opening area
-All glove, rags, or other
combustible material is removed
from the engine compartment
-All filler caps are tightly and
correctly installed
2. Lower the hood halfway (lifted
approximately 12 in. (30 cm) from the
closed position) and push down to
securely lock in place. Then double
check to be sure the hood is secure.
If the hood can be raised slightly, it is
not securely locked. Open it again and
close it with more force.
WARNING
• Before closing the hood, ensure
all obstructions are removed from
around the hood opening.
• Always double check to be sure that
the hood is firmly latched before
driving away. Check there is no
hood open warning light or message
displayed on the instrument cluster.
Driving with the hood opened may
cause a total loss of visibility, which
might result in an accident.
• Do not move the vehicle with the
hood in the raised position, as vision
is obstructed, which might result in
an accident, and the hood could fall
or be damaged.
EXTERIOR FEATURES
Page 214 of 604
Convenient Features
5 -76
ORG3050056N
The Head-Up Display is a feature that
allows the driver to view information
projected onto a transparent screen
while still keeping their eyes on the road
ahead while driving.
Head-Up Display Settings
OJX1079242L
• Head-up display can be enabled from
the Settings menu in the infotainment
system screen. Select:
- Setup → Vehicle Settings → Head-
Up Display → Enable Head-Up
Display
• After turning on the head-up
display, you can change the settings
of ‘Display Control’ and ‘Content
Selection’ of the head-up display.
For detailed information, refer to the
separately supplied manual.
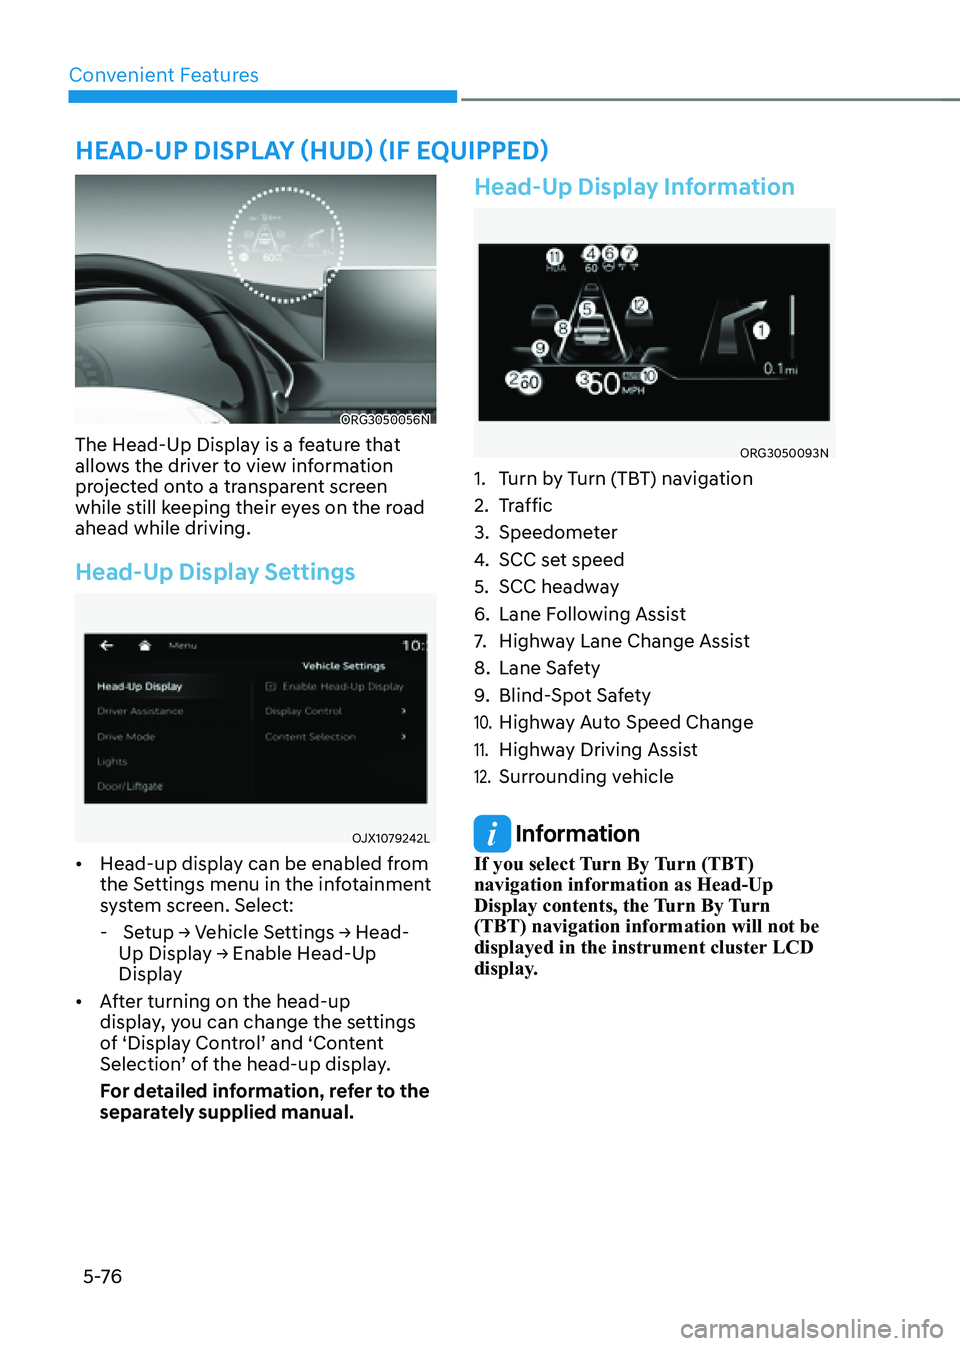
Head-Up Display Information
ORG3050093N
1. Turn by Turn (TBT) navigation
2. Traffic
3. Speedometer
4. SCC set speed
5. SCC headway
6. Lane Following Assist
7. Highway Lane Change Assist
8. Lane Safety
9. Blind-Spot Safety
10. Highway Auto Speed Change
11. Highway Driving Assist
12. Surrounding vehicle
Information
If you select Turn By Turn (TBT)
navigation information as Head-Up
Display contents, the Turn By Turn
(TBT) navigation information will not be
displayed in the instrument cluster LCD
display.
HEAD-UP DISPLAY (HUD) (IF EQUIPPED)
Page 215 of 604
05
5-77
Precautions While Using the
Head-Up Display
• It may sometimes be difficult to read
information on the head-up display in
the following situations.
-The driver is improperly positioned
in the driver’s seat.
-The driver wears polarizing-filter
sunglasses.
-An object is located above the
head-up display cover
-The vehicle is driven on a wet road.
-Any improper lighting accessory is
installed inside the vehicle, or there
is incoming light from outside of the
vehicle.
-The driver wears glasses.
-The driver wears contact lenses.
When it is difficult to read the head up
display information, adjust the image
height or brightness level from the
Settings menu in the infotainment
system screen.
For detailed information, refer to the
separately supplied manual.
• For your safety, make sure to stop the
vehicle before adjusting the settings.
• Do not tint the front windshield glass
or add other types of metallic coating.
Otherwise, the head-up display image
may be invisible.
• Do not place any accessories on the
crash pad or attach any objects on the
windshield glass.
• When replacing the front windshield
glass, replace it with a windshield
glass designed for head-up display
operation. Otherwise, duplicated
images may be displayed on the
windshield glass.
WARNING
The Blind-Spot Collision Warning
system warnings on the head-up display
are supplemental. Do not solely depend
on them to change lanes. Always take a
look around before changing lanes.
Page 226 of 604
Convenient Features
5-88
System Operation
Display and control
• After selecting ‘High Beam Assist’
in the Settings menu, High Beam
Assist will operate by following the
procedure below.
-Place the headlamp switch in
the AUTO position and push
the headlamp lever towards the
instrument cluster. The High Beam
Assist (
) indicator light will
illuminate on the cluster and the
system will be enabled.
- When the system is enabled, high
beam will turn on when vehicle
speed is above 25 mph (40 km/h).
When vehicle speed is below 15
mph (25 km/h), high beam will not
turn on.
-The High Beam () indicator light
will illuminate on the cluster when
high beam is on.
• When High Beam Assist is operating, if
the headlamp lever or switch is used,
the system operates as follow:
- If the headlamp lever is pulled
towards you when the high beam
is off, the high beam will turn on
without High Beam Assist canceled.
When you let go of the headlamp
lever, the lever will move to the
middle and the high beam will turn
off.
-If the headlamp lever is pulled
towards you when the high beam is
on by High Beam Assist, low beam
will be on and the system will turn
off.
-If the headlamp switch is placed
from AUTO to another position
(headlamp/position/off), High
Beam Assist will turn off and the
corresponding lamp will turn on.
• When High Beam Assist is operating,
high beam switches to low beam if
any of the following conditions occur:
-When the headlamp of an
oncoming vehicle is detected.
-When the tail lamp of a vehicle in
front is detected.
-When the headlamp or tail lamp of a
motorcycle or a bicycle is detected.
-When the surrounding ambient light
is bright enough that high beams
are not required.
-When streetlights or other lights are
detected.
System Malfunction and
Limitations
System malfunction
OJX1059235L
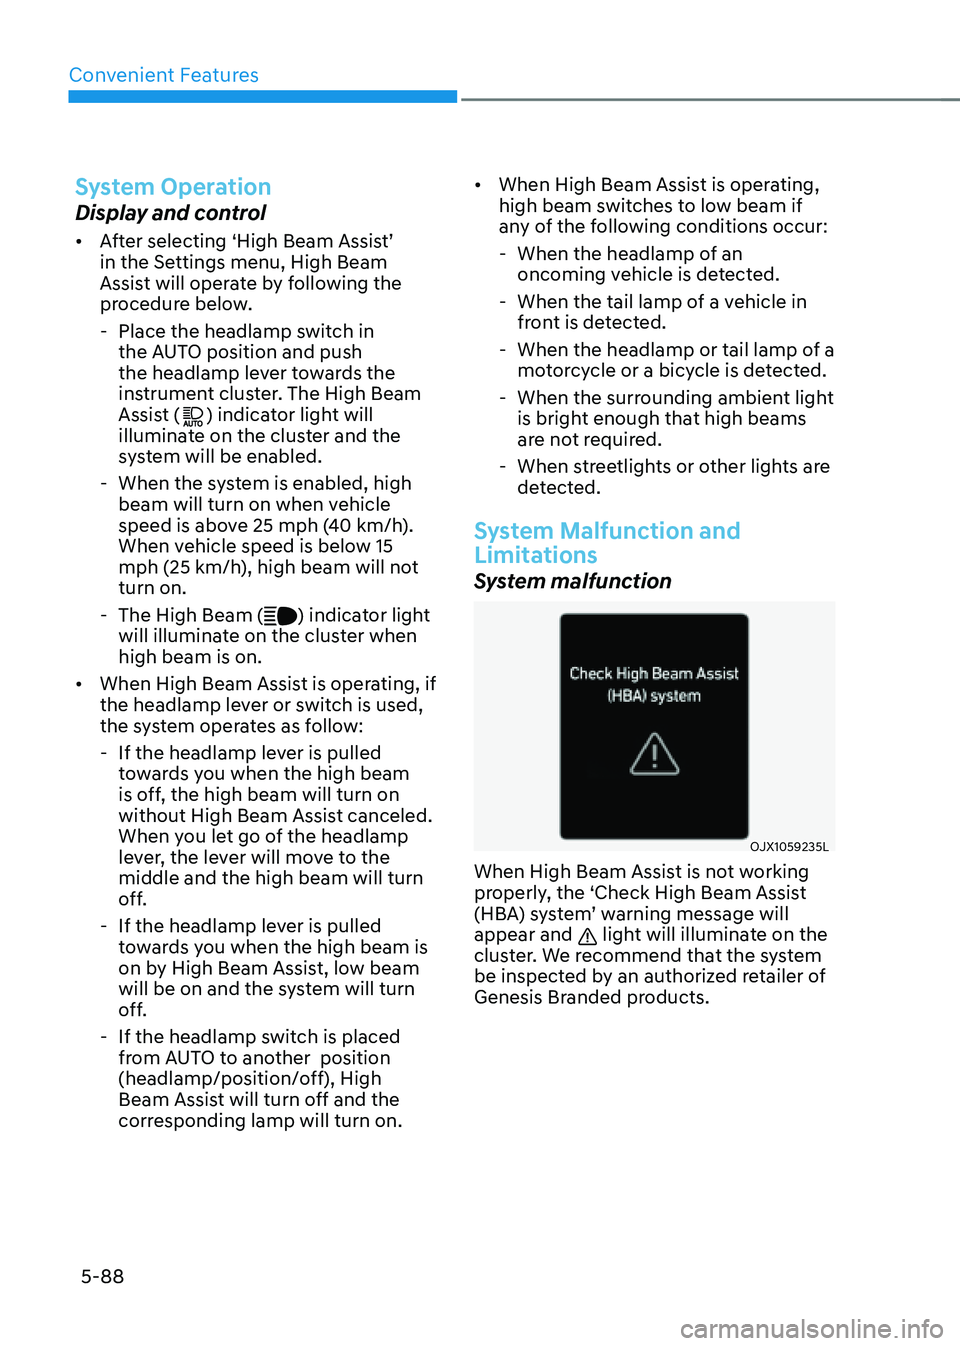
When High Beam Assist is not working
properly, the ‘Check High Beam Assist
(HBA) system’ warning message will
appear and
light will illuminate on the
cluster. We recommend that the system
be inspected by an authorized retailer of
Genesis Branded products.
Page 250 of 604
Convenient Features
5-112
Turning the Auto Defogging System
ON or OFF
Climate control system
Press the front windshield defroster
button for 3 seconds when the Engine
Start/Stop button is in the ON position.
When the Auto Defogging System is
turned off, the ADS OFF symbol will blink
3 times and ADS OFF will be displayed on
the climate control information screen.
When the Auto Defogging System is
turned on, the ADS OFF symbol will blink
6 times without a signal.
Infotainment system
Auto Defogging System can be turned
on and off by selecting ‘Setup →
Vehicle Settings → Climate → Defog/
Defrost Options → Auto Defog’ from the
infotainment system screen.
For detailed information, refer to the
separately supplied manual.
Information
• When the air conditioning is turned
on by Auto Defogging System, if you
try to turn off the air conditioning, the
indicator will blink 3 times and the air
conditioning will not be turned off.
• To maintain the effectiveness and
efficiency of the Auto Defogging
System, do not select Recirculation
mode while the system is operating.
• When Auto Defogging System is
operating, fan speed adjustment,
temperature adjustment, and air intake
control selection are all disabled.
NOTICE
Do not remove the sensor cover located
on the upper end of the windshield
glass.
Damage to system parts could occur
and may not be covered by your vehicle
warranty.
Auto Dehumidify (if equipped)
To increase cabin air quality and reduce
windshield misting, recirculation mode
switches off automatically after about 5
to 30 minutes, depending on the outside
temperature, and the air intake will
change to fresh mode.
Turning Auto Dehumidify ON or OFF
Climate control system
To turn the Auto Dehumidify feature
on or off, select Face level (
) mode
and press the air intake control ()
button at least five times within three
seconds. When Auto Dehumidify is
turned on, the air intake control button
indicator will blink 6 times. When turned
off, the indicator will blink 3 times.
Infotainment system
Auto Dehumidify can be turned on and
off by selecting ‘Setup → Vehicle Settings
→ Climate → Automatic Ventilation →
Auto Dehumidify’ from the infotainment
system screen.
For detailed information, refer to the
separately supplied manual.