check engine GENESIS G90 2021 User Guide
[x] Cancel search | Manufacturer: GENESIS, Model Year: 2021, Model line: G90, Model: GENESIS G90 2021Pages: 538, PDF Size: 13.02 MB
Page 136 of 538

3-35
03
To reset the power windows
If the power windows do not operate
normally, the automatic power win-
dow system must be reset as follows:
1. Place the Engine Start/Stop button
is in the ON position.
2. Close the window and continue
pulling up on the power window
switch for at least one second.
If the power windows do not operate
properly after resetting, have the
system checked by an authorized
retailer of Genesis Branded prod-
ucts.
Automatic reverse (if equipped)
If a window senses any obstacle
while it is closing automatically, it will
stop and lower approximately 12
inches (30 cm) to allow the object to
be cleared.
If the window detects the resistance
while the power window switch is
pulled up continuously, the window
will stop upward movement then
lower approximately 1 inch (2.5 cm).
If the power window switch is pulled
up continuously again within 5 sec-
onds after the window is lowered by
the automatic window reverse fea-
ture, the automatic window reverse
will not operate.
Information
The automatic reverse feature is only
active when the "Auto Up" feature is
used by fully pulling up the switch to
the second detent.
i
Make sure body parts or other
objects are safely out of the way
before closing the windows to
avoid injuries or vehicle damage.
Objects less than 0.16 inch (4
mm) in diameter caught between
the window glass and the upper
window channel may not be
detected by the automatic
reverse window and the window
will not stop and reverse direc-
tion.
WARNING
OHI048030
Page 142 of 538

3-41
03
Hood
Opening the hood
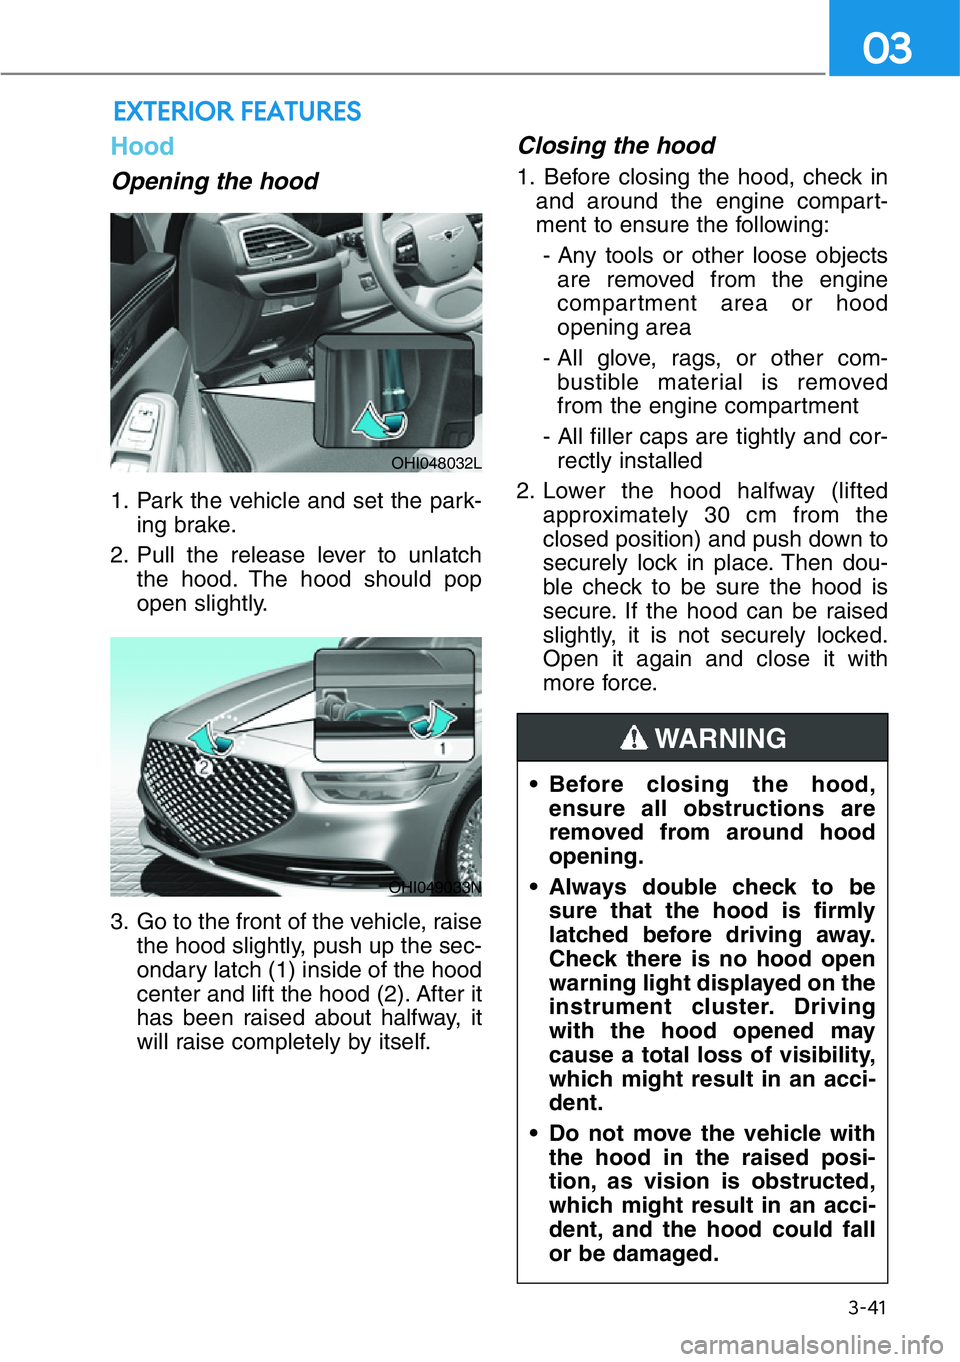
1. Park the vehicle and set the park-
ing brake.
2. Pull the release lever to unlatch
the hood. The hood should pop
open slightly.
3. Go to the front of the vehicle, raise
the hood slightly, push up the sec-
ondary latch (1) inside of the hood
center and lift the hood (2). After it
has been raised about halfway, it
will raise completely by itself.
Closing the hood
1. Before closing the hood, check in
and around the engine compart-
ment to ensure the following:
- Any tools or other loose objects
are removed from the engine
compartment area or hood
opening area
- All glove, rags, or other com-
bustible material is removed
from the engine compartment
- All filler caps are tightly and cor-
rectly installed
2. Lower the hood halfway (lifted
approximately 30 cm from the
closed position) and push down to
securely lock in place. Then dou-
ble check to be sure the hood is
secure. If the hood can be raised
slightly, it is not securely locked.
Open it again and close it with
more force.
EXTERIOR FEATURES
• Before closing the hood,
ensure all obstructions are
removed from around hood
opening.
• Always double check to be
sure that the hood is firmly
latched before driving away.
Check there is no hood open
warning light displayed on the
instrument cluster. Driving
with the hood opened may
cause a total loss of visibility,
which might result in an acci-
dent.
• Do not move the vehicle with
the hood in the raised posi-
tion, as vision is obstructed,
which might result in an acci-
dent, and the hood could fall
or be damaged.
WARNING
OHI048032L
OHI049033N
Page 153 of 538

3-52
Convenient features of your vehicle
Information
Make sure to refuel your vehicle
according to the "Fuel Requirements"
suggested in the Introduction chapter.
i
• Do not get back into a vehicle
once you have begun refuel-
ing. You can generate a build-
up of static electricity by
touching, rubbing or sliding
against any item or fabric
capable of producing static
electricity. Static electricity
discharge can ignite fuel
vapors causing a fire. If you
must re-enter the vehicle, you
should once again eliminate
potentially dangerous static
electricity discharge by touch-
ing a metal part of the vehicle,
away from the fuel filler neck,
nozzle or other gasoline
source, with your bare hand.
• When using an approved
portable fuel container, be
sure to place the container on
the ground prior to refueling.
Static electricity discharge
from the container can ignite
fuel vapors causing a fire.
Once refueling has begun,
contact between your bare
hand and the vehicle should
be maintained until the filling
is complete.
• Use only approved portable
plastic fuel containers designed
to carry and store gasoline.
• When refueling, always move
the shift lever to the P (Park)
position, set the parking
brake, and place the Engine
Start/Stop button to the OFF
position. Sparks produced by
electrical components related
to the engine can ignite fuel
vapors causing a fire.• Do not use matches or a
lighter and do not smoke or
leave a lit cigarette in your
vehicle while at a gas station,
especially during refueling.
• Do not over-fill or top-off your
vehicle tank, which can cause
gasoline spillage.
• If a fire breaks out during refu-
eling, leave the vicinity of the
vehicle, and immediately con-
tact the manager of the gas
station and then contact the
local fire department. Follow
any safety instructions they
provide.
• If pressurized fuel sprays out,
it can cover your clothes or
skin and thus subject you to
the risk of fire and burns.
Always remove the fuel cap
carefully and slowly. If the cap
is venting fuel or if you hear a
hissing sound, wait until the
condition stops before com-
pletely removing the cap.
• Always check that the fuel cap
is installed securely to pre-
vent fuel spillage in the event
of an accident.
Page 161 of 538

3-60
Convenient features of your vehicle
Warning and Indicator Lights
Supplemental Restraint
System Warning Light
This warning light illuminates:
• When you place the Engine Start/
Stop button to the ON position.
- The air bag warning light illumi-
nates for approximately 6 sec-
onds and then turns off when all
checks have been performed.
• The air bag warning light will
remain illuminated if there is a mal-
function with the Safety Restraint
System air bag operation.
If this occurs, have your vehicle
inspected by an authorized retailer
of Genesis Branded products.
Seat Belt Warning Light
This warning light informs the driver
that the seat belt is not fastened.
For more details, refer to the "Seat
Belts" in chapter 2.
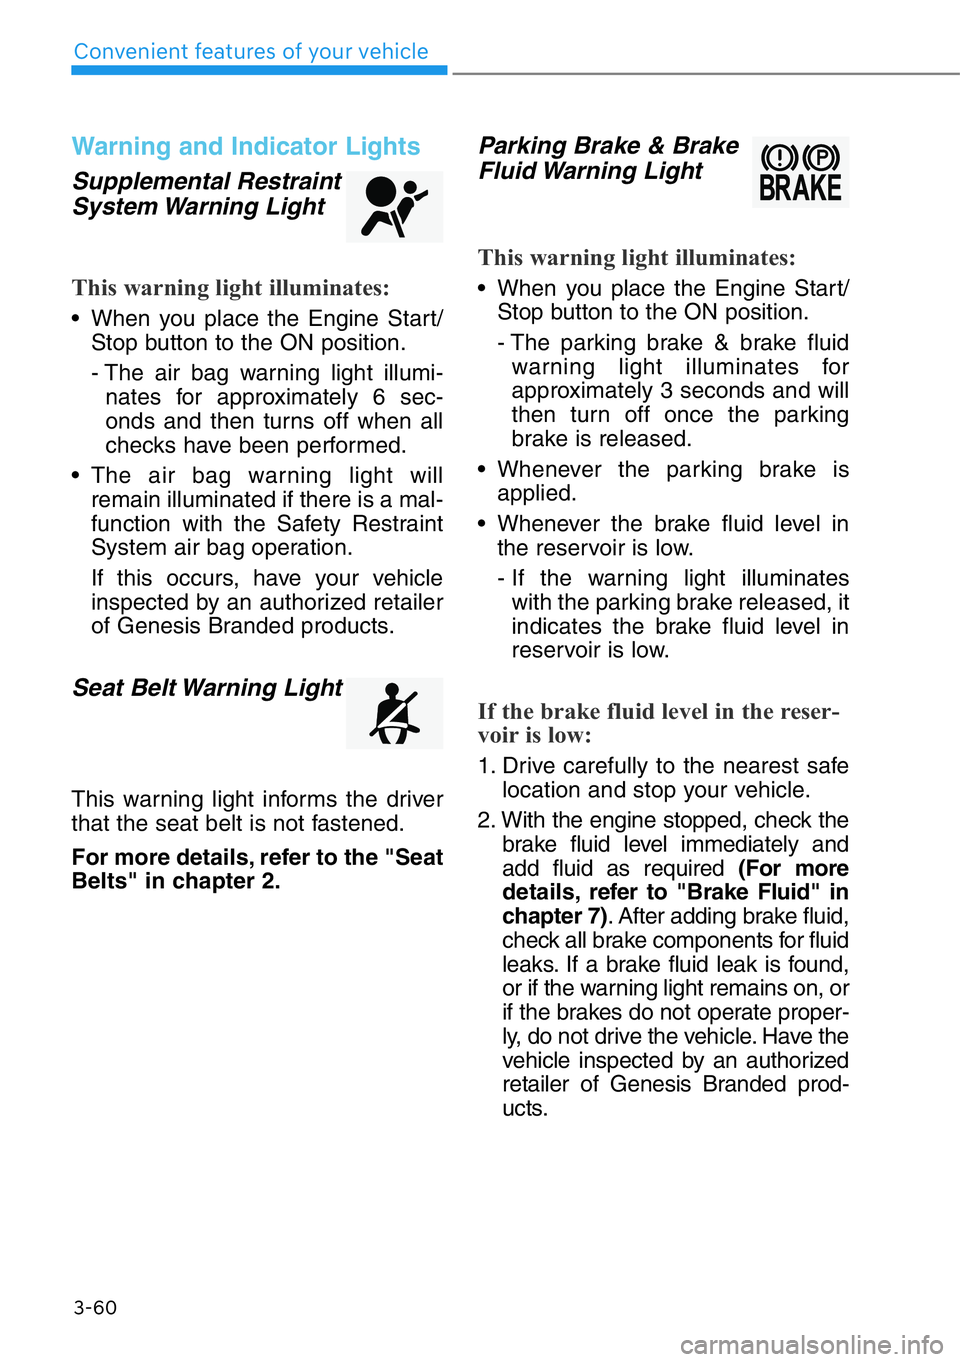
Parking Brake & Brake
Fluid Warning Light
This warning light illuminates:
•Whenyou place the Engine Start/
Stop button to the ON position.
- The parking brake & brake fluid
warning light illuminates for
approximately 3 seconds and will
then turn off once the parking
brake is released.
• Whenever the parking brake is
applied.
• Whenever the brake fluid level in
the reservoir is low.
- If the warning light illuminates
with the parking brake released, it
indicates the brake fluid level in
reservoir is low.
If the brake fluid level in the reser-
voir is low:
1. Drive carefully to the nearest safe
location and stop your vehicle.
2. With the engine stopped, check the
brake fluid level immediately and
add fluid as required (For more
details, refer to "Brake Fluid" in
chapter 7). After adding brake fluid,
check all brake components for fluid
leaks. If a brake fluid leak is found,
or if the warning light remains on, or
if the brakes do not operate proper-
ly, do not drive the vehicle. Have the
vehicle inspected by an authorized
retailer of Genesis Branded prod-
ucts.
Page 164 of 538

3-63
03
Charging System
Warning Light
This warning light illuminates:
When there is a malfunction with
either the alternator or electrical
charging system.
If there is a malfunction with either
the alternator or electrical charging
system:
1. Drive carefully to the nearest safe
location and stop your vehicle.
2. Turn the engine off and check the
alternator drive belt for looseness
or breakage.
If the belt is adjusted properly,
there may be a problem in the
electrical charging system.
If this occurs, we recommend that
you have the vehicle inspected by
an authorized retailer of Genesis
Branded products as soon as pos-
sible
Engine Oil Pressure
Warning Light
This warning light illuminates:
When the engine oil pressure is low.
If the engine oil pressure is low:
1. Drive carefully to the nearest safe
location and stop your vehicle.
2. Turn the engine off and check the
engine oil level (For more details,
refer to "Engine Oil" in chapter 7).
If the level is low, add oil as required.If the warning light remains on
after adding oil or if oil is not avail-
able, have the vehicle inspected
by an authorized retailer of
Genesis Branded products as
soon as possible.
• If the engine does not stop
immediately after the Engine Oil
Pressure Warning Light is illumi-
nated, severe damage could
result.
• If the warning light stays on
while the engine is running, it
indicates that there may be seri-
ous engine damage or malfunc-
tion. In this case:
1. Stop the vehicle as soon as it
is safe to do so.
2. Turn off the engine and check
the oil level. If the oil level is
low, fill the engine oil to the
proper level.
3. Start the engine again. If the
warning light stays on after
the engine is started, turn the
engine off immediately. If this
occurs, have the vehicle
inspected by an authorized
retailer of Genesis Branded
products.
NOTICE
Page 173 of 538

3-72
Convenient features of your vehicle
Key not detected
This message is displayed if the smart
key is not detected when you press the
Engine Start/Stop button.
Press START button again
This message is displayed if you
were unable to start the vehicle when
the Engine Start/Stop button was
pressed.
If this occurs, attempt to start the
engine by pressing the Engine
Start/Stop button again.
If the message appears each time
you press the Engine Start/Stop but-
ton, have the vehicle inspected by an
authorized retailer of Genesis
Branded products.
Press START button with key
This message is displayed if you
press the Engine Start/Stop button
while the message “Key not detect-
ed” is displayed.
At this time, the immobilizer indicator
light blinks.
Check BRAKE SWITCH fuse
This message is displayed if the
brake switch fuse is disconnected.
You need to replace the fuse with a
new one. If that is not possible, you
can start the engine by pressing the
Engine Start/Stop button for 10 sec-
onds in the ACC position.
OHI048116L
OHI048122L
OHI048117L
OHI048124L
Page 174 of 538

3-73
03
Shift to P or N to start engine
This message is displayed if you try
to start the engine in any other posi-
tion except the P (Park) or N
(Neutral) position.
Information
You can start the engine with the shift
lever in the N (Neutral) position. But,
for your safety, we recommend that
you start the engine with the vehicle
shifted to P (Park).
Door, hood, trunk open
This warning is displayed if any door
or the hood or the trunk is left open.
The warning will indicate which door
is open in the display.
i
OHI048123LOHI048125
Before driving the vehicle, you
should confirm that the door/
hood/trunk is fully closed.
Also, check there is no door/
hood/trunk open warning light
or message displayed on the
instrument cluster.
WARNING
Page 177 of 538

3-76
Convenient features of your vehicle
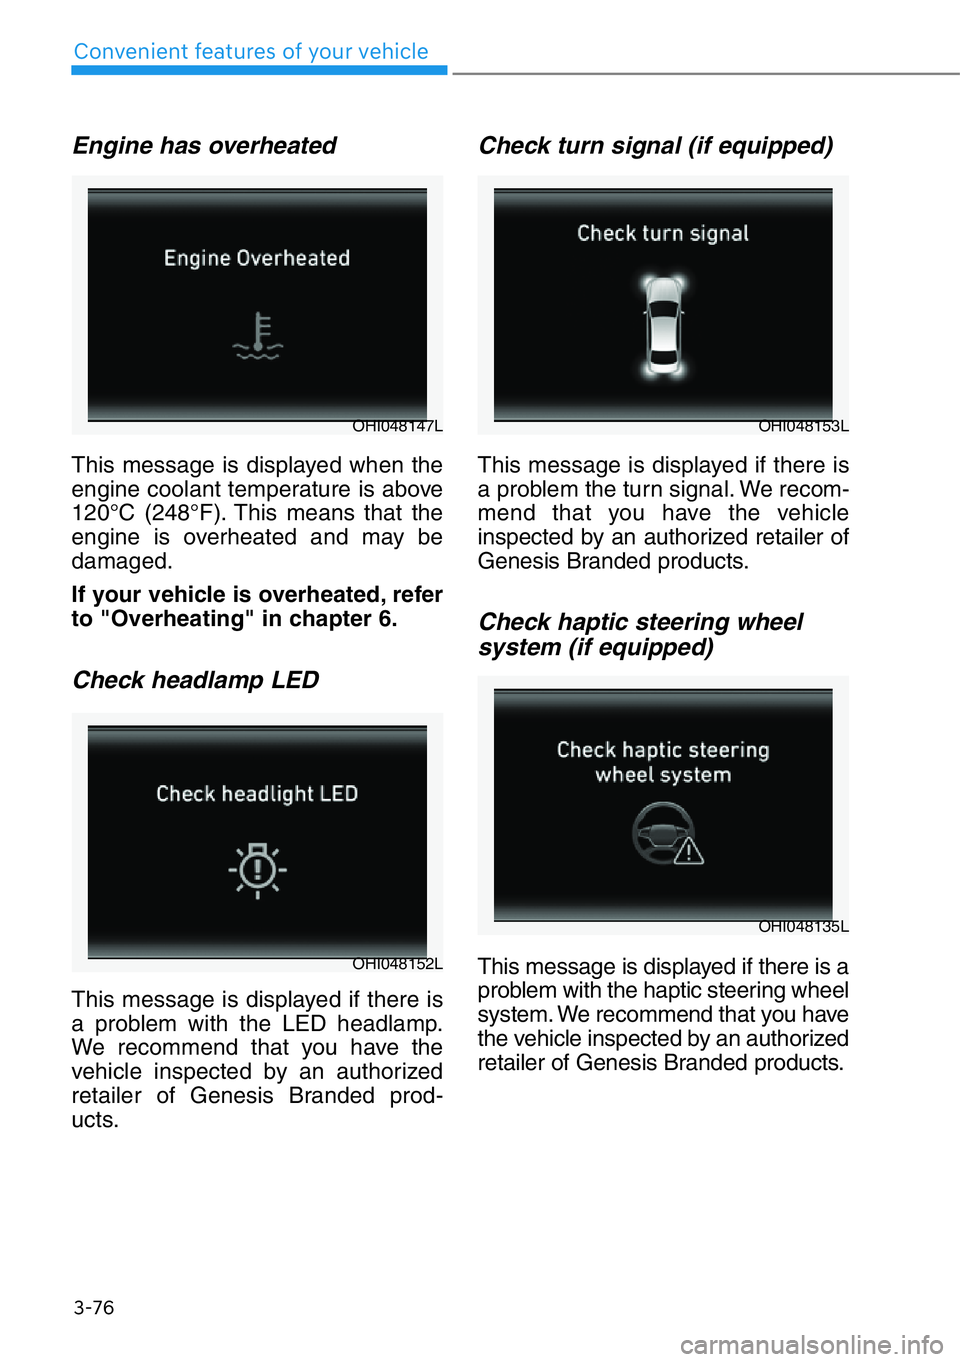
Engine has overheated
This message is displayed when the
engine coolant temperature is above
120°C (248°F). This means that the
engine is overheated and may be
damaged.
If your vehicle is overheated, refer
to "Overheating" in chapter 6.
Check headlamp LED
This message is displayed if there is
a problem with the LED headlamp.
We recommend that you have the
vehicle inspected by an authorized
retailer of Genesis Branded prod-
ucts.
Check turn signal (if equipped)
This message is displayed if there is
a problem the turn signal. We recom-
mend that you have the vehicle
inspected by an authorized retailer of
Genesis Branded products.
Check haptic steering wheel
system (if equipped)
This message is displayed if there is a
problem with the haptic steering wheel
system. We recommend that you have
the vehicle inspected by an authorized
retailer of Genesis Branded products.OHI048152L
OHI048147LOHI048153L
OHI048135L
Page 196 of 538

3-95
03
If the AFS malfunction indicator
comes on, the AFS is not working
properly.
Drive to the nearest safe location
and restart the engine. If the indica-
tor continuously remains on, we rec-
ommend that the system be checked
by an authorized retailer of Genesis
Branded products.
Daytime running light (DRL)
The Daytime Running Lights can
help others to see the front of your
vehicle during the day, especially
after dawn and before sunset.
The DRL system will turn OFF when:
• The light switch is in the parking or
headlamp lamp position, including
the operation that the parking lamp
or headlamp is turned on automat-
ically in the AUTO light position.
• The engine is turned off.
• The hazard warning flasher is on.
• The turn signal light is on.
If you turn on the turn signal light,
only the corresponding daytime
running lights will turn off.
• The parking brake is applied.
Headlamp leveling device
It automatically adjusts the headlamp
beam level according to the number
of passengers and loading weight in
the luggage area.
And it offers proper headlamp beam
under various conditions.
Headlamp moisture removal
function (if equipped)
When moisture fogs up inside of the
headlamp, if the headlamp is on for
certain period of time, the fan circu-
lates the air inside to remove mois-
ture. If the moisture is not removed,
have the vehicle checked by an
authorized retailer of Genesis
Branded products.
Reverse guide lamp
When the shift lever is in R
(Reverse), the back-up lamp turns on
and the reverse guide lamp at the
back of the vehicle lights the floor.
The lamp informs nearby drivers
that your vehicle is backing up.If the function does not work
properly, we recommend that
the system be inspected by an
authorized retailer of Genesis
Branded products. Do not
attempt to inspect or replace
the wiring yourself.
WARNING
Page 202 of 538

3-101
03
A : Wiper speed control
· MIST – Single wipe
· OFF – Off
· INT – Intermittent wipe
· LO – Low wiper speed
· HI – High wiper speed
B : Auto control wipe time adjust-
ment
C : Wash with brief wipes
Windshield Wipers
Operates as follows when the ignition
switch is in the ON position.
MIST : For a single wiping cycle, push
the lever upward and release.
The wipers will operate continu-
ously if the lever is held in this
position.
OFF : Wiper is not in operation.
INT : Wiper operates intermittently at
the same wiping intervals. To vary
the speed setting, move the
speed control lever. The top most
setting will run the wipers most
frequently (for more rain). The bot-
tom setting will run the wipers the
least frequently (for less rain).
LO : The wiper runs at a lower speed.
HI : The wiper runs at a higher speed.
Information
If there is heavy accumulation of snow
or ice on the windshield, defrost the
windshield for about 10 minutes, or
until the snow and/or ice is removed
before using the windshield wipers to
ensure proper operation.
If you do not remove the snow and/or
ice before using the wiper and washer,
it may damage the wiper and washer
system.
Information
If the wiper switch is set in AUTO
mode when Engine Start/Stop button
is in the ON position, the wiper will
operate once to perform a self-check
of the system. Set the wiper to the
OFF position when the wiper is not in
use.
i
i
WIPERS AND WASHERS
OHI048575L