GMC SAVANA 1998 Owners Manual
Manufacturer: GMC, Model Year: 1998,
Model line: SAVANA,
Model: GMC SAVANA 1998
Pages: 388, PDF Size: 20.04 MB
GMC SAVANA 1998 Owners Manual
SAVANA 1998
GMC
GMC
https://www.carmanualsonline.info/img/44/57845/w960_57845-0.png
GMC SAVANA 1998 Owners Manual
Trending: towing capacity, radio, night vision, oil type, width, sensor, fuel
Page 271 of 388
Brake Adjustment
Every time you make a brake stop, your disc brakes
adjust for wear.
Battery
If your brake pedal goes down farther than normal, your
rear drum brakes may need adjustment. Adjust them by
backing up and firmly applying the brakes a few times.
Replacing Brake System Parts
The braking system on a modern vehicle is complex.
Its many parts have to be
of top quality and work well
together
if the vehicle is to have really good braking.
Your vehicle was designed and tested with top-quality
GM brake parts. When you replace parts of your braking
system
-- for example, when your brake linings wear
down and you have
to have new ones put in -- be sure
you get new approved
GM replacement parts. If you
don’t, your brakes may no longer work properly. For
example, if someone puts in brake linings that are wrong
for your vehicle, the balance between your front and
rear brakes can change
-- for the worse. The braking
performance you’ve come to expect can change in many
other ways if someone puts in the wrong replacement
brake parts. Every
new vehicle has
an ACDelco Freedom@ battery.
You never have to add water to one
of these. When it’s
time for a new battery, we recommend an ACDelco
Freedom battery. Get one that has the replacement
number shown on the original battery’s label.
If you have a diesel engine, you have two batteries. The
primary battery is located
on the passenger’s side of the
engine compartment. The second battery
is located on
the driver’s side framerail.
Vehicle Storage
If you’re not going to drive your vehicle for 25 days
or more, remove the black, negative
(-) cable from
the battery. This will help keep your battery from
running down.
6-31
ProCarManuals.com
Page 272 of 388
I A CAUTION:
Batteries have acid that can burn you and gas
that can explode. You can be badly hurt if you
aren’t careful. See “Jump Starting’’ in the Index
for tips on working around a battery without
getting hurt.
Contact your dealer to learn how to prepare
your vehicle
for longer storage periods.
Also, for your audio system, see “Theft-Deterrent
Feature”
in the Index.
Bulb Replacement
Before you replace any bulbs, be sure that all the lamps
are off and the engine isn’t running. See “Replacement
Bulbs” in the index for the proper types of bulbs to use.
Halogen Bulbs
I A CAUTION:
Halogen bulbs have pressurized gas inside and
can burst if you drop or scratch the bulb. You or
others could be injured. Be sure to read and
follow the instructions on the bulb package.
6-32
ProCarManuals.com
Page 273 of 388
Headlamps
You have either a sealed beam headlamp system or a
composite system.
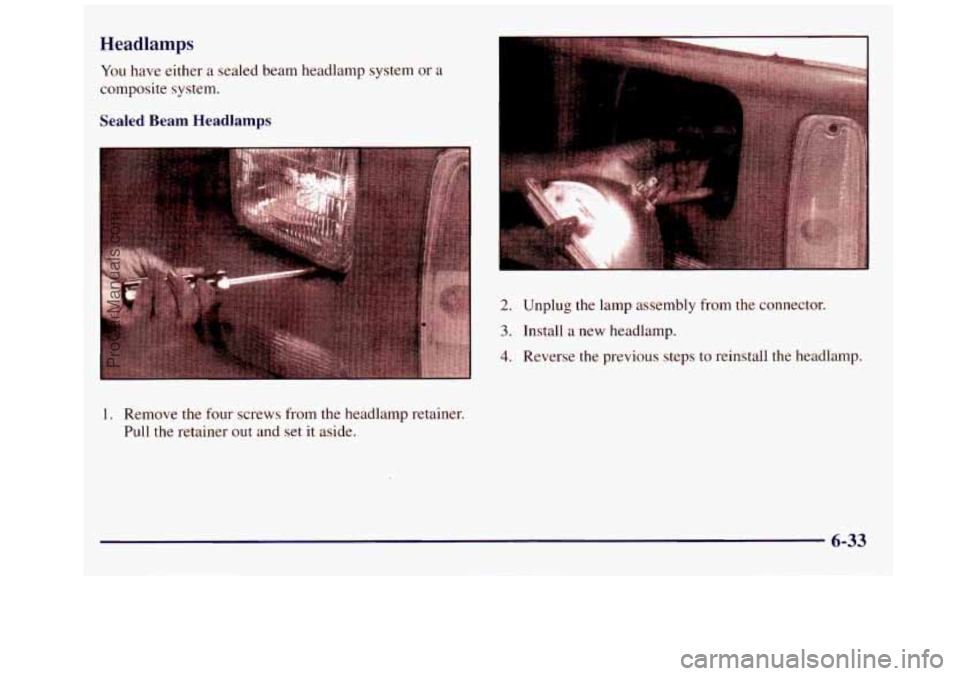
Sealed Beam Headlamps
2. Unplug the lamp assembly from the connector.
3. Install a new headlamp.
4. Reverse the previous steps to reinstall the headlamp.
1. Remove the four screws from the headlamp retainer.
Pull the retainer out
and set it aside.
6-33
ProCarManuals.com
Page 274 of 388
Composite Headlamps
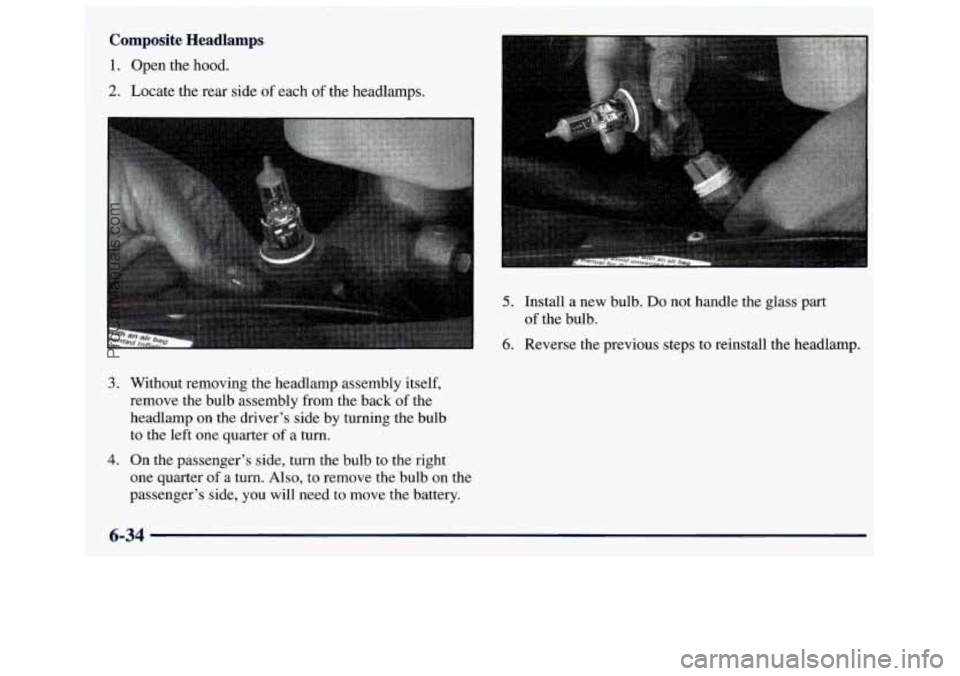
1. Open the hood.
2. Locate the rear side of each of the headlamps.
3. Without removing the headlamp assembly itself,
remove the bulb assembly from the back
of the
headlamp on the driver’s side by turning the bulb
to the left one quarter
of a turn.
4. On the passenger’s side, turn the bulb to the right
one quarter
of a turn. Also, to remove the bulb on the
passenger’s side,
you will need to move the battery.
5. Install a new bulb. Do not handle the glass part
of the bulb.
6. Reverse the previous steps to reinstall the headlamp.
ProCarManuals.com
Page 275 of 388
Front Parking/”urn Signal Lamps
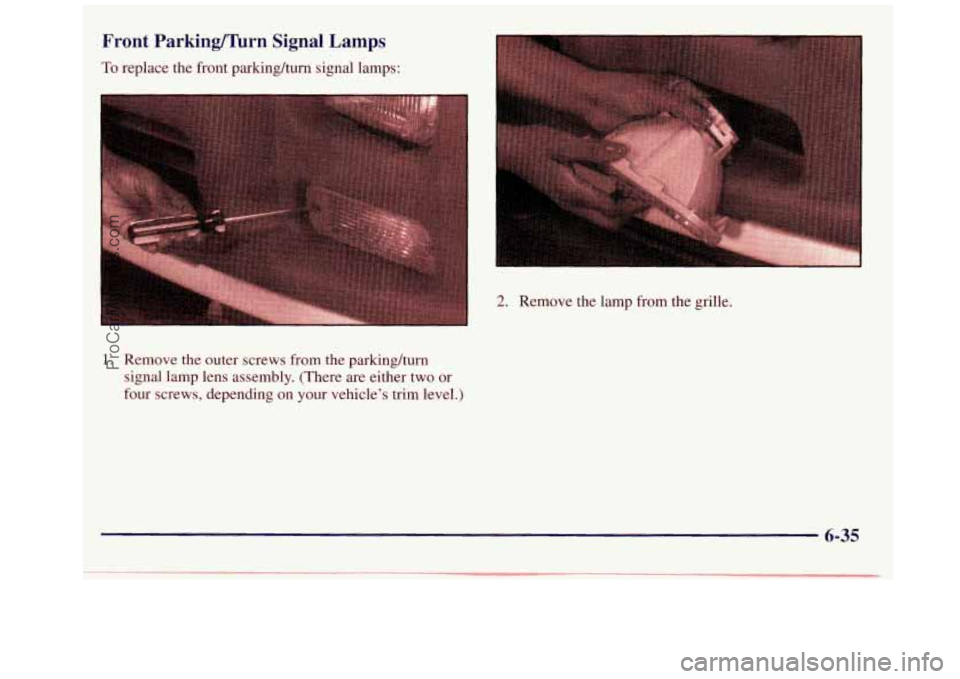
To replace the front parkinghurn signal lamps:
2. Remove the lamp from the grille.
1. Remove the outer screws from the parkinghrn
signal lamp lens assembly. (There
are either two or
four screws, depending
on your vehicle’s trim level.)
6-35
ProCarManuals.com
Page 276 of 388
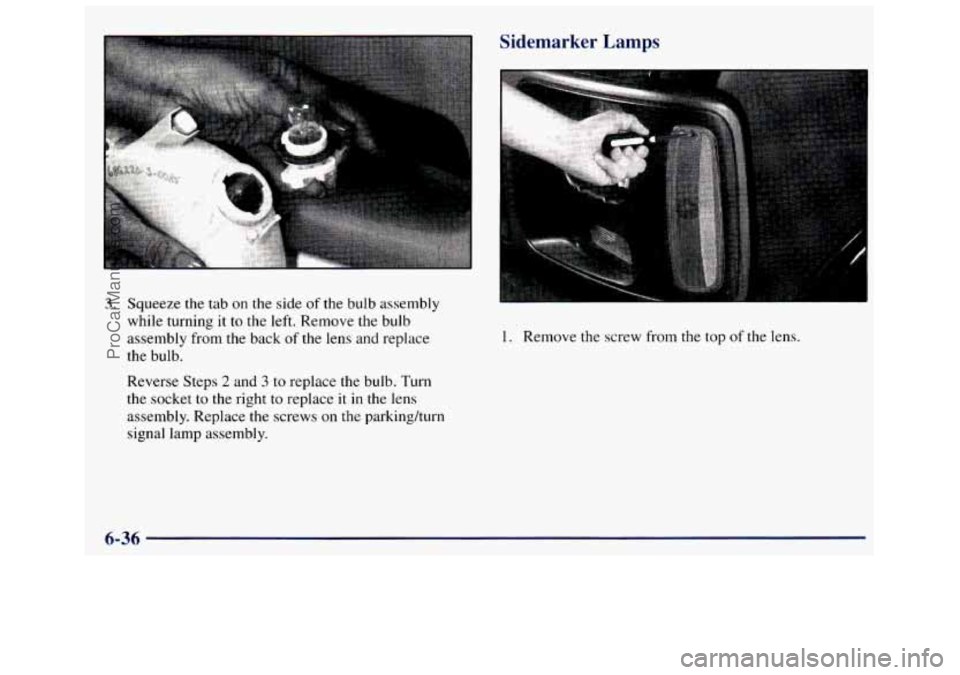
3. Squeeze the tab on the side of the bulb assembly
while turning it to the left. Remove the bulb
assembly from the back
of the lens and replace
the bulb.
Reverse Steps
2 and 3 to replace the bulb. Turn
the socket to the right to replace
it in the lens
assembly. Replace the screws
on the parkingkurn
signal lamp assembly.
Sidemarker Lamps
1. Remove the screw from the top of the lens.
6-36
ProCarManuals.com
Page 277 of 388
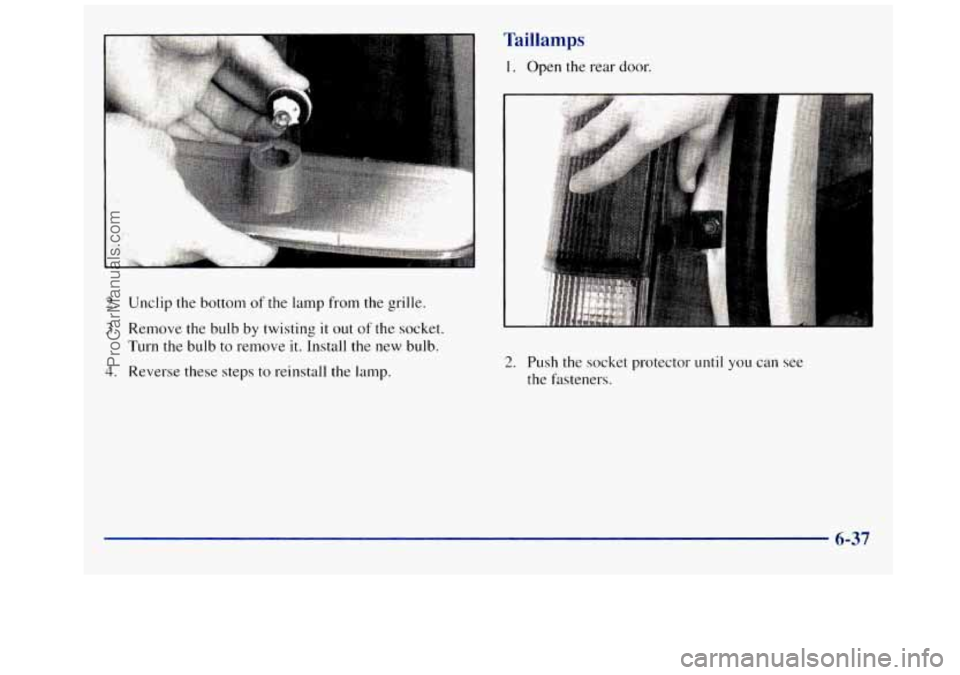
2. Unclip the bottom of the lamp from the grille.
3. Remove the bulb by twisting it out of the socket.
Turn
the bulb to remove it. Install the new bulb.
4. Reverse these steps to reinstall the lamp.
Taillamps
1. Open the rear door.
2. Push the socket protector until you can see
the fasteners.
6-37
ProCarManuals.com
Page 278 of 388
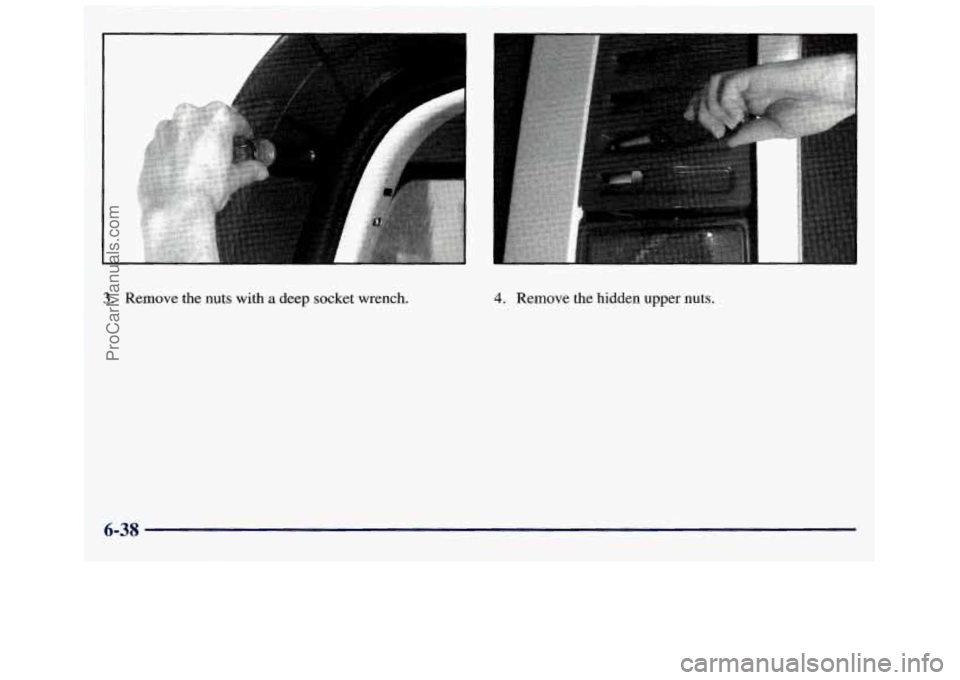
3. Remove the nuts with a deep socket wrench. 4. Remove the hidden upper nuts.
ProCarManuals.com
Page 279 of 388
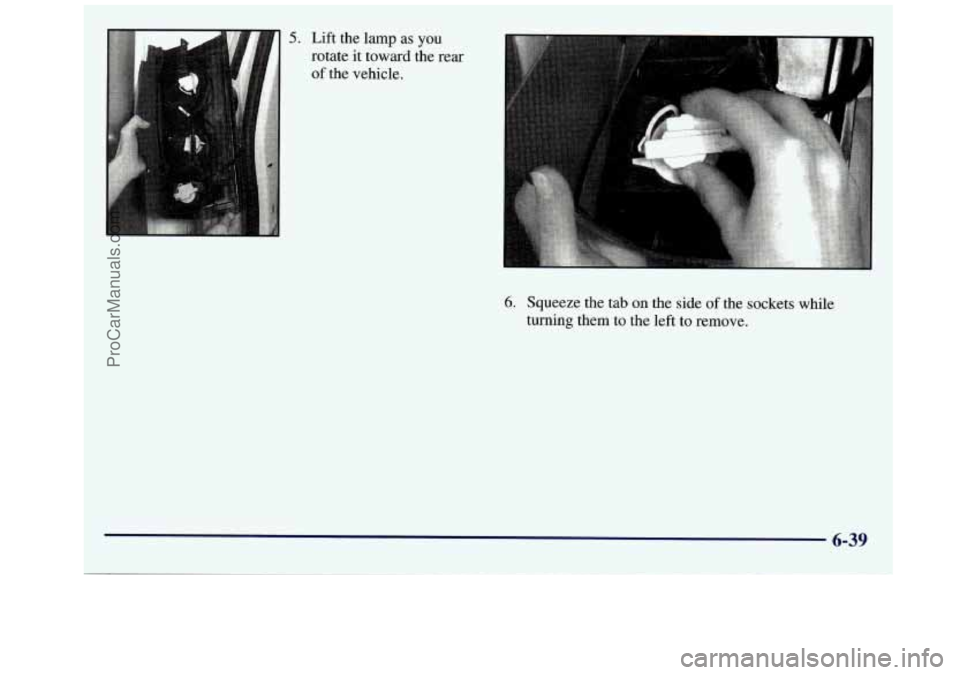
5. Lift the lamp as you
rotate it toward the rear
of the vehicle.
6. Squeeze the tab on the side of the sockets while
turning them to the left to remove.
6-39
ProCarManuals.com
Page 280 of 388
Windshield Wiper
Blade Replacement
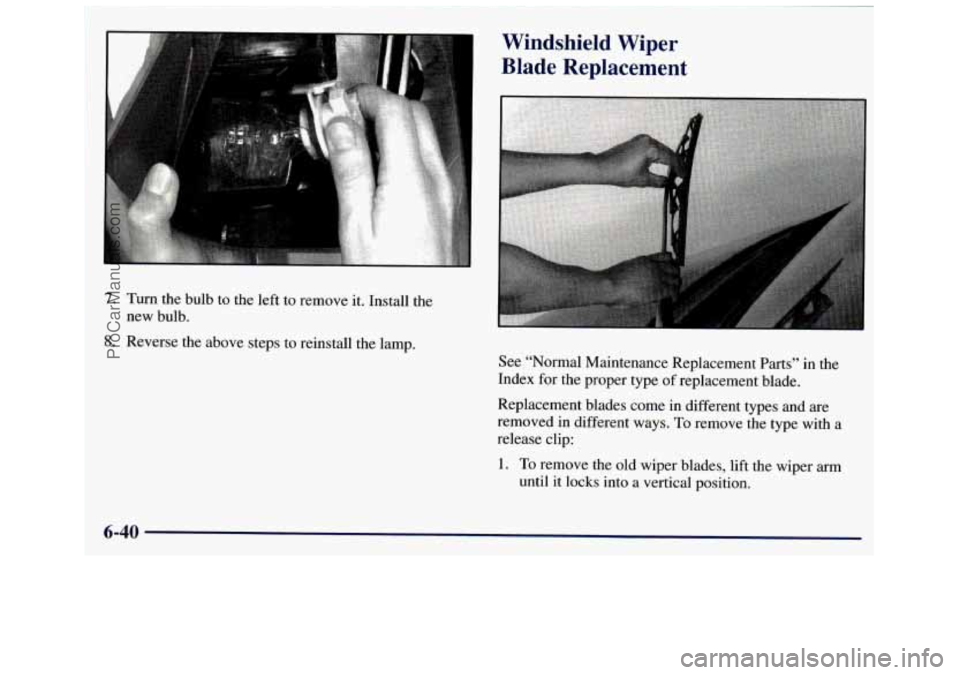
7. Turn the bulb to the left to remove it. Install the
8. Reverse the above steps to reinstall the lamp.
new bulb.
See “Normal Maintenance Replacement Parts” in the
Index for the proper type of replacement blade.
Replacement blades come in different types and are
removed in different ways.
To remove the type with a
release clip:
1. To remove the old wiper blades, lift the wiper arm
until
it locks into a vertical position.
ProCarManuals.com
Trending: cruise control, air filter, sensor, headlamp, check transmission fluid, clock setting, length

