change wheel GMC SIERRA 2021 Get To Know Guide
[x] Cancel search | Manufacturer: GMC, Model Year: 2021, Model line: SIERRA, Model: GMC SIERRA 2021Pages: 20, PDF Size: 2.48 MB
Page 7 of 20

7F Optional equipment
DRIVER INFORMATION CENTER
MULTICOLOR HEAD-UP DISPLAYF
The Driver Information Center (DIC) on the instrument cluster displays a variety of vehicle messages and system information.
BASE DIC CONTROL
Use the trip odometer reset stem on the instrument cluster to access the DIC menu.
Turn the stem to scroll through the menu.
Press and hold the stem to reset an item.
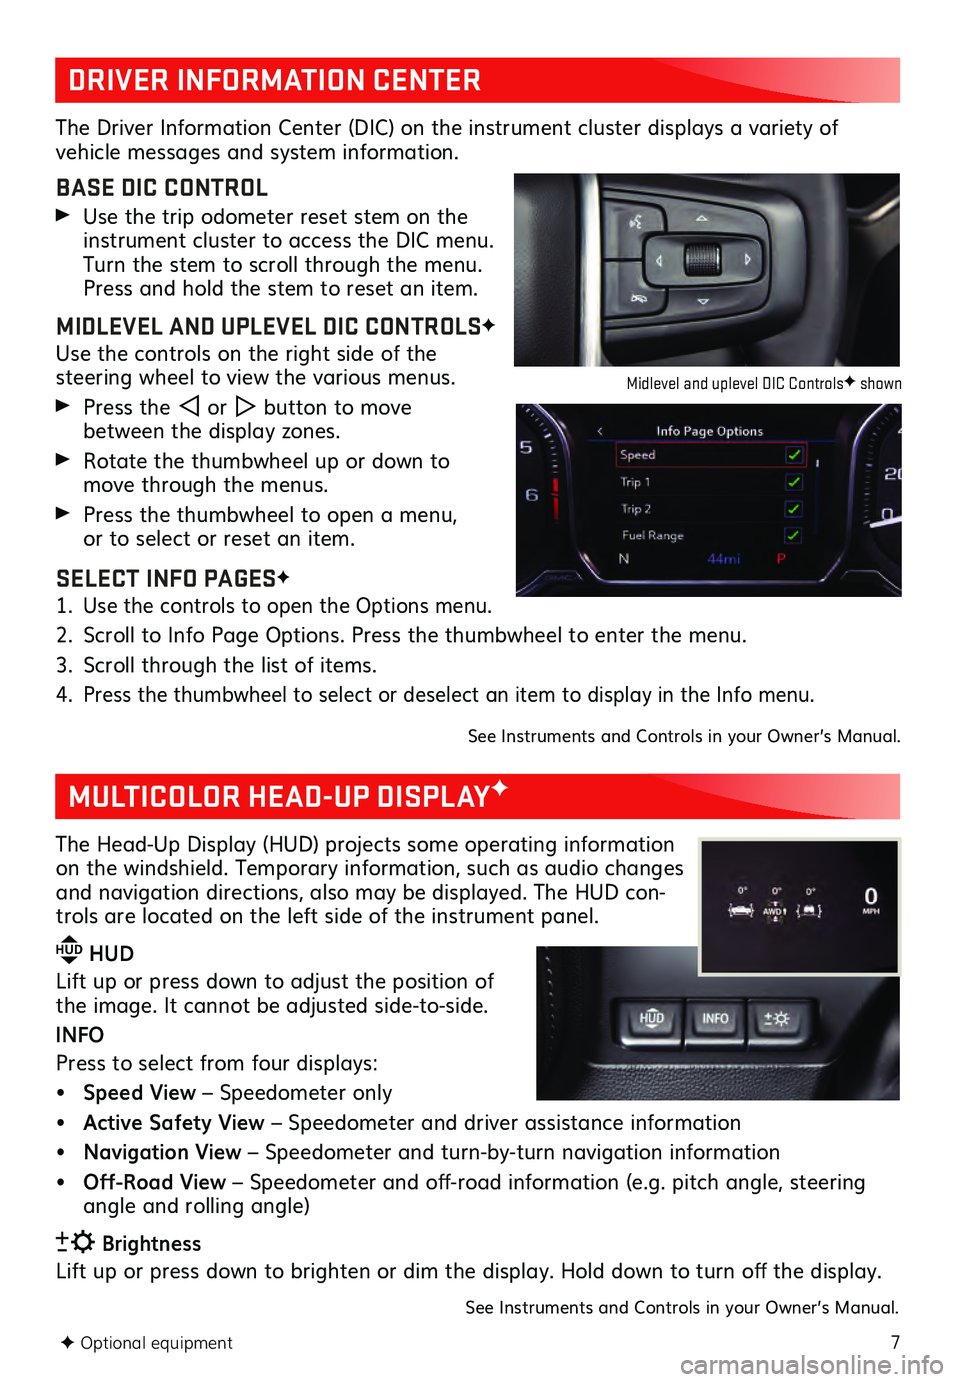
MIDLEVEL AND UPLEVEL DIC CONTROLSF
Use the controls on the right side of the steering wheel to view the various menus.
Press the or button to move
between the display zones.
Rotate the thumbwheel up or down to move through the menus.
Press the thumbwheel to open a menu, or to select or reset an item.
SELECT INFO PAGESF
1. Use the controls to open the Options menu.
2. Scroll to Info Page Options. Press the thumbwheel to enter the menu.
3. Scroll through the list of items.
4. Press the thumbwheel to select or deselect an item to display in the Info menu.
See Instruments and Controls in your Owner’s Manual.
The Head-Up Display (HUD) projects some operating information
on the windshield. Temporary information, such as audio changes
and navigation directions, also may be displayed. The HUD con-
trols are located on the left side of the instrument panel.
HUD HUD
Lift up or press down to adjust the position of
the image. It ca nnot be adjusted side-to-side.
INFO
Press to select from four displays:
• Speed View – Speedometer only
• Active Safety View – Speedometer and driver assistance information
• Navigation View – Speedometer and turn-by-turn navigation information
• Off-Road View – Speedometer and off-road information (e.g. pitch angle, steering
angle and rolling angle)
Brightness
Lift up or press down to brighten or dim the display. Hold down to turn off the display.
See Instruments and Controls in your Owner’s Manual.
Midlevel and uplevel DIC ControlsF shown
Page 14 of 20

14F Optional equipment
DRIVER ASSISTANCE SYSTEMSF
Safety or driver assistance features are not a substitute for the driver’s responsibility to operate
the vehicle in a safe manner. The driver should remain attentive to traffic, surroundings and
road conditions at all times. Read your Owner’s Manual for important feature limitations and
information.
SAFETY ALERT SEAT – The driver’s seat pulses — left side, right side or simultaneously
— to alert the driver of the direction of potential hazards.
Audible alerts or seat pulsing alerts may be selected. To change the alert settings, go to Settings > Vehicle > Collision/Detection Systems > Alert Type.
FORWARD COLLISION ALERT – The Vehicle Ahead Indicator is green when a vehicle is detected and is amber when following a vehicl e ahead much too closely. When approaching a vehicle directly ahead too rapidly, a red alert flashes on the windshield
and the Safety Alert Seat pulses or rapid beeps sound (if selected).
Press the Forward Collision Alert button on the steering wheel to set the alert
timing to Far, Medium, or Near.
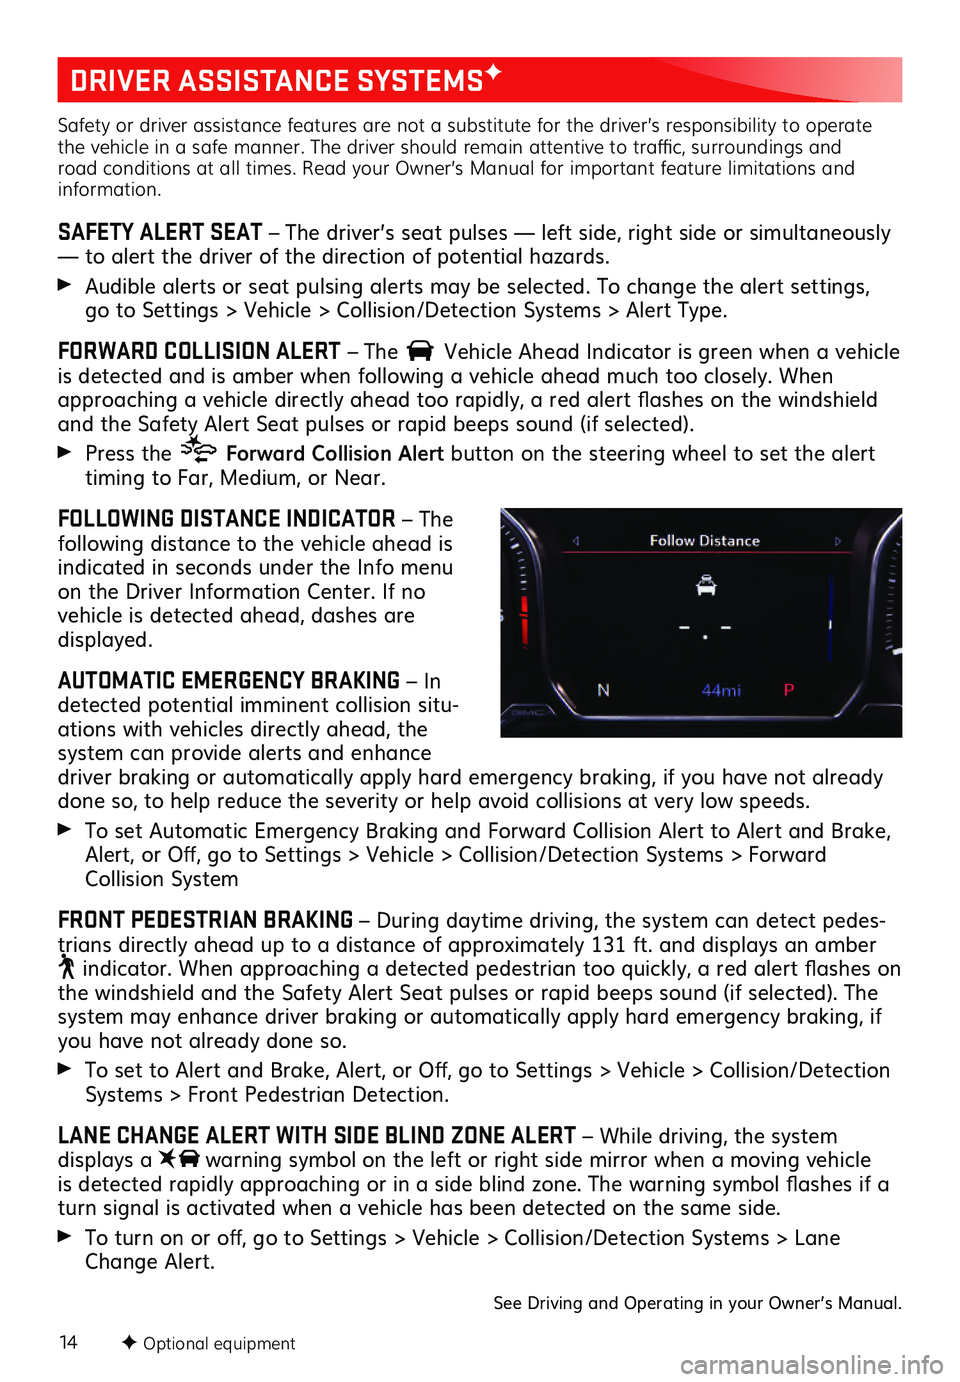
FOLLOWING DISTANCE INDICATOR – The
following distance to the vehicle ahead is
indicated in seconds under the Info menu
on the Driver Information Center. If no vehicle is detected ahead, dashes are displayed.
AUTOMATIC EMERGENCY BRAKING – In
detected potential imminent collision situ -
ations with vehicles directly ahead, the
system can provide alerts and enhance driver braking or automatically apply hard emergency braking, if you have not already
done so, to help reduce the severity or help avoid collisions at very low speeds.
To set Automatic Emergency Braking and Forward Collision Alert to Alert and Brake,
Alert, or Off, go to Settings > Vehicle > Collision/Detection Systems > Forward
Collision System
FRONT PEDESTRIAN BRAKING – During daytime driving, the system can detect pedes -
trians directly ahead up to a distance of approximately 131 ft. and displays an amber
indicator. When approaching a detected pedestrian too quickly, a red alert flashes on the windshield and the Safety Alert Seat pulses or rapid beeps sound (if selected). The system may enhance driver braking or automatically apply hard emergency braking, if you have not already done so.
To set to Alert and Brake, Alert, or Off, go to Settings > Vehicle > Collision/Detection
Systems > Front Pedestrian Detection.
LANE CHANGE ALERT WITH SIDE BLIND ZONE ALERT – While driving, the system displays a warning symbol on the left or right side mirror when a moving vehicle
is detected rapidly approaching or in a side blind zone. The warning symbol flashes if a
turn signal is activated when a vehicle has been detected on the same side.
To turn on or off, go to Settings > Vehicle > Collision/Detection Systems > Lane
Change Alert.
See Driving and Operating in your Owner’s Manual.
Page 16 of 20

16F Optional equipment required
CAMERA SYSTEM FEATURES
The available camera systems feature up to 8 camerasF with up to 15 viewsF to help
make it easier to hitch a trailer and provide better visibility while towing.
REAR VISION CAMERA
When the vehicle is in Reverse, a view of the area behind the vehicle dis plays on the infotainment screen. Camera view buttonsF are on the screen.
Touch the Guidance Lines or Hitch Guid ance button to change gu idelines.
Touch the Hitch View button for a zoomed-in view of the hitch area.
SURROUND VISIONF
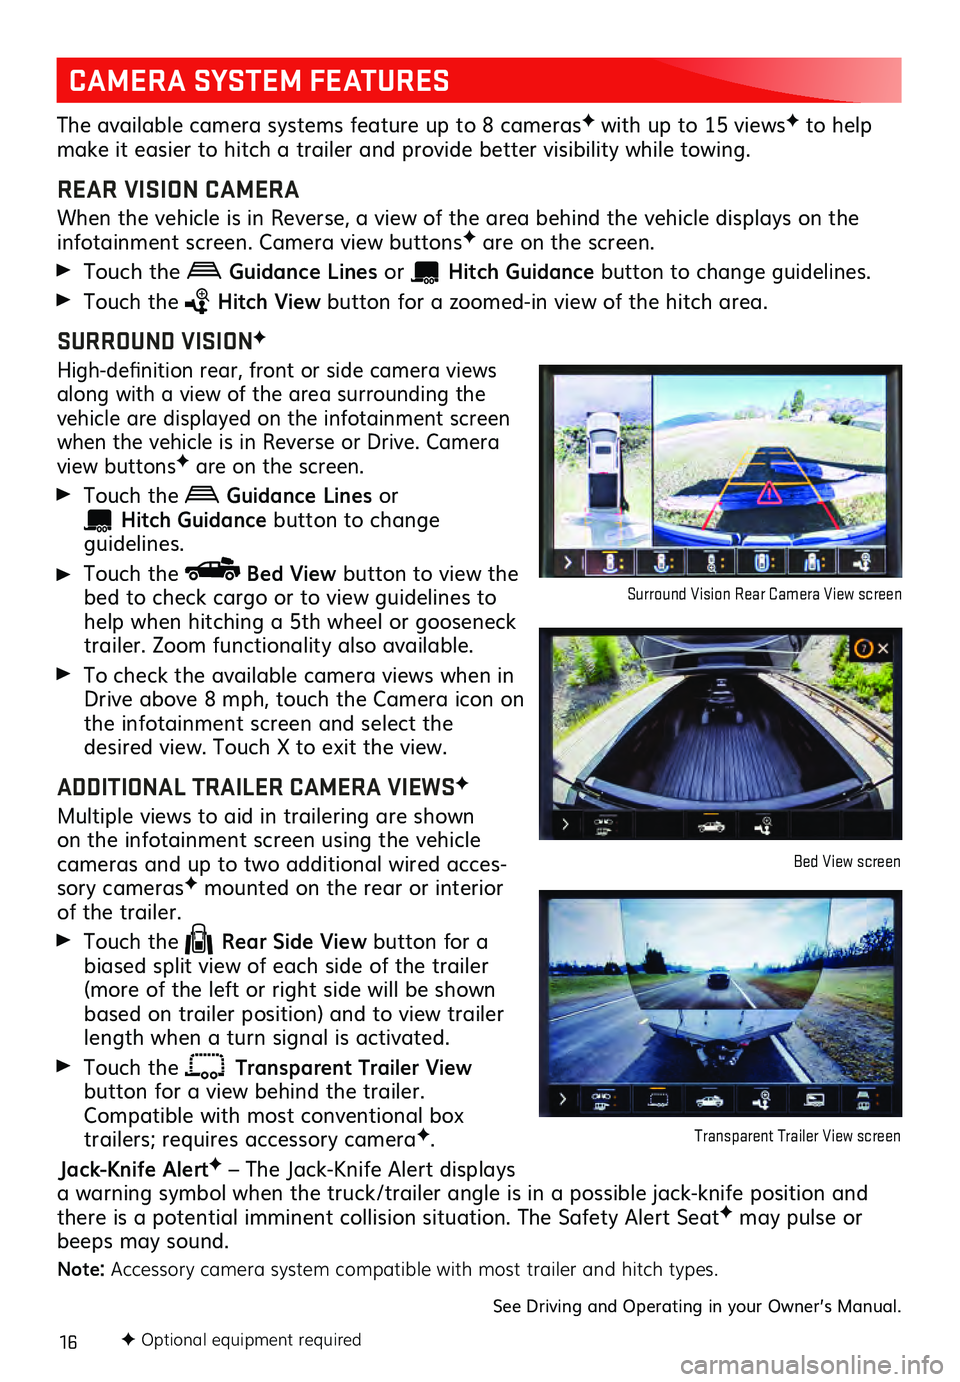
High-definition rear, front or side c amera views along with a view of the area surrounding the
vehicle are displayed on the infotainment screen
when the vehicle is in Reverse or Drive. Camera
view buttonsF are on the screen.
Touch the Guidance Lines or
Hitch Guidance button to change guidelines.
Touch the Bed View button to view the
bed to check cargo or to view guidelines to
help when hitching a 5th wheel or gooseneck
trailer. Zoom functionality also available.
To check the available camera views when in
Drive above 8 mph, touch the Camera icon on
the infotainment s creen and select the desired view. Touch X to exit the view.
ADDITIONAL TRAILER CAMERA VIEWSF
Multiple views to aid in trailering are shown on the infotainment screen using the vehicl e cameras and up to two additional wired acces-
sory camerasF mounted on the rear or interior of the trailer.
Touch the Rear Side View button for a
biased split view of each side of the trailer
(more of the left or right side will be shown
based on trailer position) and to view trailer
length when a turn signal is activated.
Touch the Transparent Trailer View button for a view behind the trailer.
Compatible with most conventional box
trailers; requires accessory cameraF.
Jack-Knife AlertF – The Jack-Knife Alert displays
a warning symbol when the truck/trailer angle is in a possible jack-knife position and
there is a potential imminent collision situation. The Safety Alert Seat
F may pulse or
beeps may sound.
Note: Accessory camera system compatible with most trailer and hitch types.
See Driving and Operating in your Owner’s Manual.
Surround Vision Rear Camera View screen
Bed View screen
Transparent Trailer View screen