engine coolant GMC SIERRA DENALI 2004 Owner's Manual
[x] Cancel search | Manufacturer: GMC, Model Year: 2004, Model line: SIERRA DENALI, Model: GMC SIERRA DENALI 2004Pages: 452, PDF Size: 3.02 MB
Page 321 of 452
{CAUTION:
Heater and radiator hoses, and other engine
parts, can be very hot. Do not touch them. If
you do, you can be burned.
Do not run the engine if there is a leak. If you
run the engine, it could lose all coolant. That
could cause an engine ®re, and you could be
burned. Get any leak ®xed before you drive the
vehicle.
If there seems to be no leak, start the engine again.
The engine cooling fan speed should increase when idle
speed is doubled by pushing the accelerator pedal
down. If it doesn't, your vehicle needs service. Turn off
the engine.
Notice:Engine damage from running your engine
without coolant is not covered by your warranty. See
ªOverheated Engine Protection Operating Modeº
in the Index for information on driving to a safe
place in an emergency.
Notice:Using coolant other than DEX-COOLžmay
cause premature engine, heater core or radiator
corrosion. In addition, the engine coolant may
require changing sooner, at 30,000 miles (50 000 km)
or 24 months, whichever occurs ®rst. Any repairs
would not be covered by your warranty. Always use
DEX-COOL
ž(silicate-free) coolant in your vehicle.
5-29
Page 322 of 452
How to Add Coolant to the Coolant
Surge Tank
If you haven't found a problem yet, check to see if
coolant is visible in the surge tank. If coolant is visible
but the coolant level isn't at or above the FULL
COLD mark, add a 50/50 mixture of
clean, drinkable
waterand DEX-COOLžcoolant at the coolant
surge tank, but be sure the cooling system, including
the coolant surge tank pressure cap, is cool before you
do it. See
Engine Coolant on page 5-21for more
information.
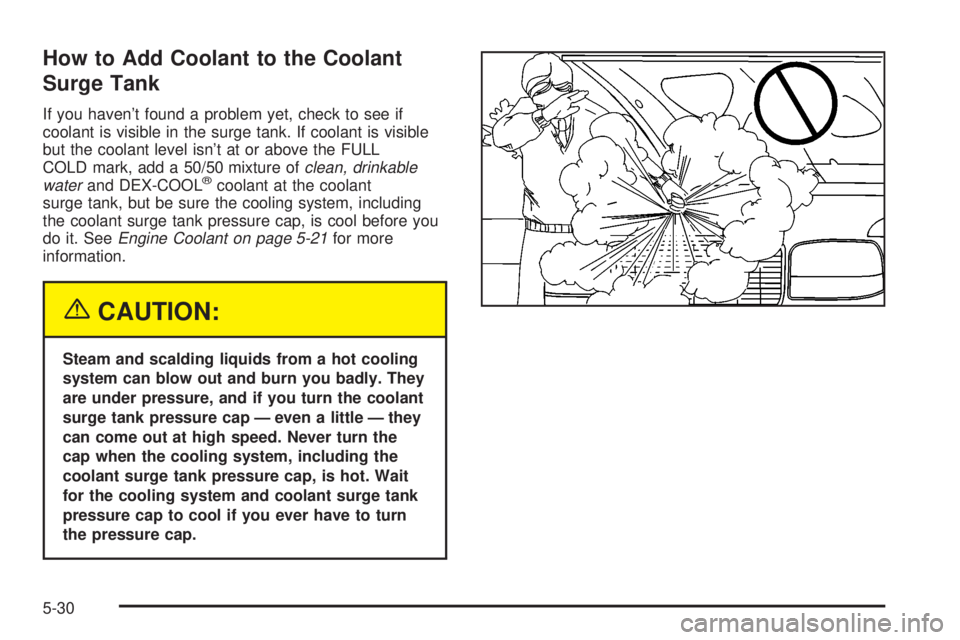
{CAUTION:
Steam and scalding liquids from a hot cooling
system can blow out and burn you badly. They
are under pressure, and if you turn the coolant
surge tank pressure cap Ð even a little Ð they
can come out at high speed. Never turn the
cap when the cooling system, including the
coolant surge tank pressure cap, is hot. Wait
for the cooling system and coolant surge tank
pressure cap to cool if you ever have to turn
the pressure cap.
5-30
Page 323 of 452
{CAUTION:
Adding only plain water to your cooling
system can be dangerous. Plain water, or
some other liquid such as alcohol, can boil
before the proper coolant mixture will.Your
vehicle's coolant warning system is set for the
proper coolant mixture. With plain water or the
wrong mixture, your engine could get too hot
but you would not get the overheat warning.
Your engine could catch ®re and you or others
could be burned. Use a 50/50 mixture of clean,
drinkable water and DEX-COOL
žcoolant.
Notice:In cold weather, water can freeze and crack
the engine, radiator, heater core and other parts.
Use the recommended coolant and the proper
coolant mixture.
{CAUTION:
You can be burned if you spill coolant on hot
engine parts. Coolant contains ethylene glycol
and it will burn if the engine parts are hot
enough. Do not spill coolant on a hot engine.
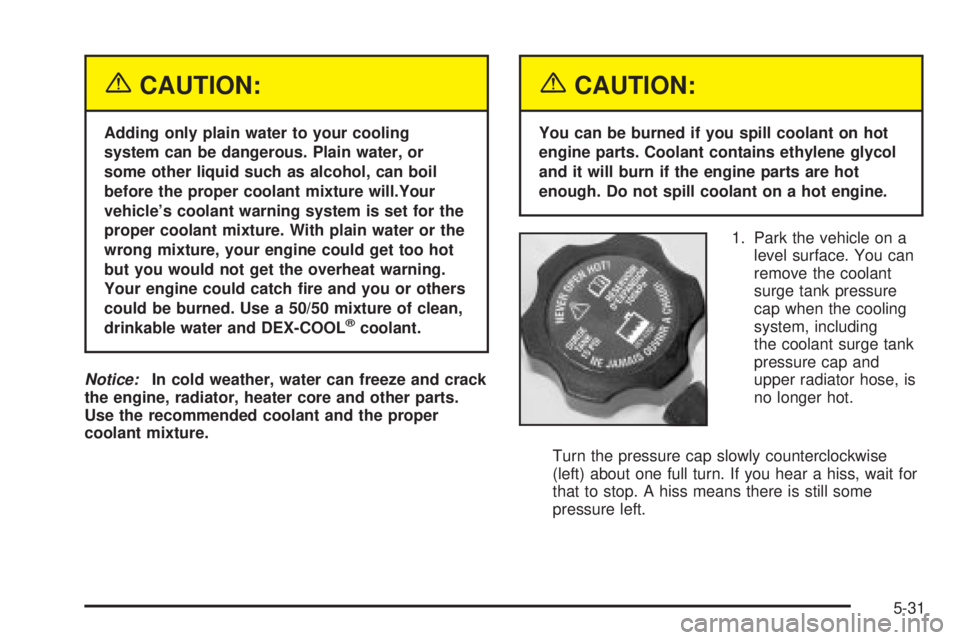
1. Park the vehicle on a
level surface. You can
remove the coolant
surge tank pressure
cap when the cooling
system, including
the coolant surge tank
pressure cap and
upper radiator hose, is
no longer hot.
Turn the pressure cap slowly counterclockwise
(left) about one full turn. If you hear a hiss, wait for
that to stop. A hiss means there is still some
pressure left.
5-31
Page 325 of 452
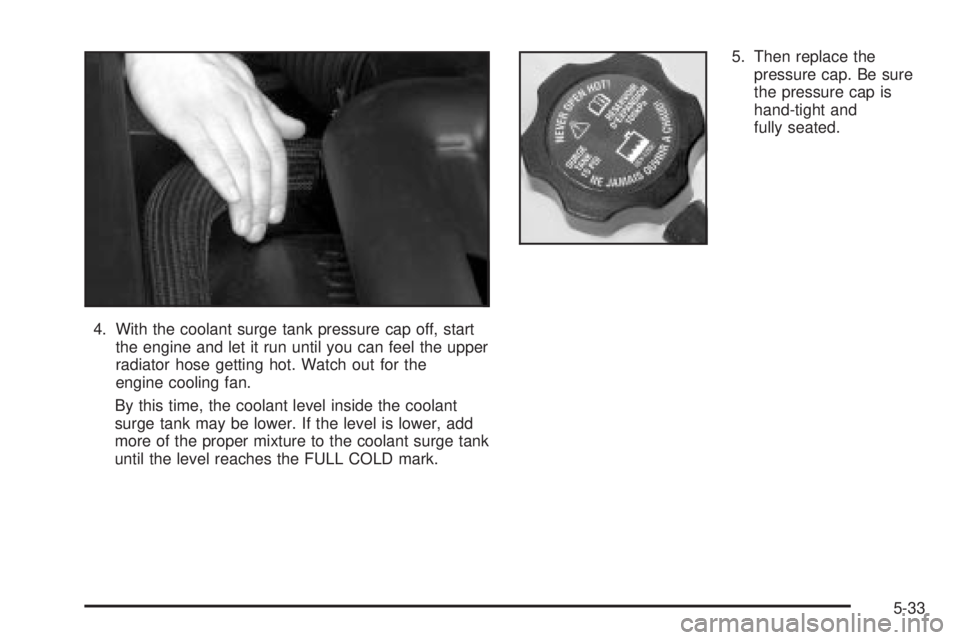
4. With the coolant surge tank pressure cap off, start
the engine and let it run until you can feel the upper
radiator hose getting hot. Watch out for the
engine cooling fan.
By this time, the coolant level inside the coolant
surge tank may be lower. If the level is lower, add
more of the proper mixture to the coolant surge tank
until the level reaches the FULL COLD mark.5. Then replace the
pressure cap. Be sure
the pressure cap is
hand-tight and
fully seated.
5-33
Page 328 of 452
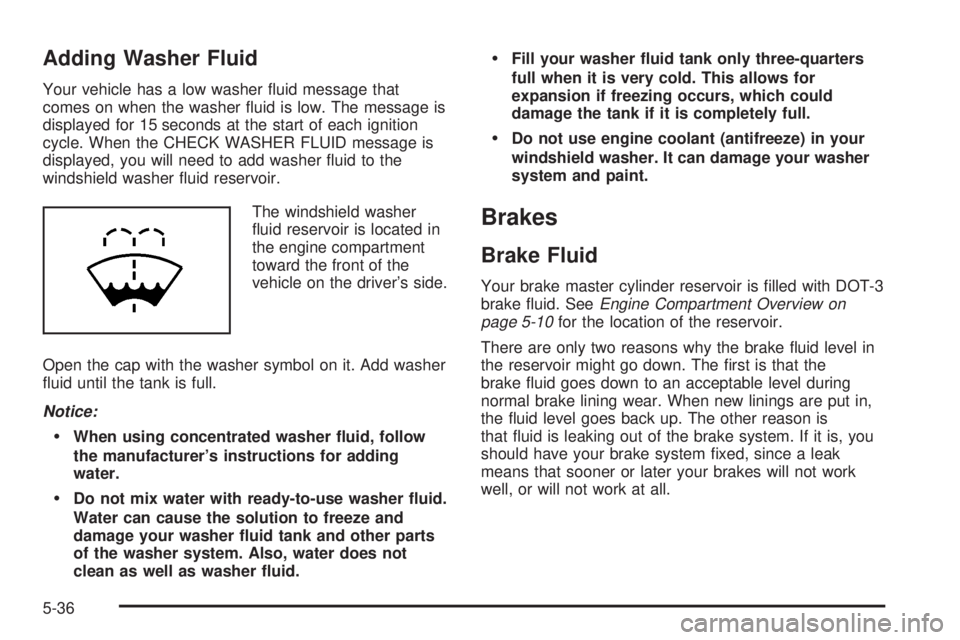
Adding Washer Fluid
Your vehicle has a low washer ¯uid message that
comes on when the washer ¯uid is low. The message is
displayed for 15 seconds at the start of each ignition
cycle. When the CHECK WASHER FLUID message is
displayed, you will need to add washer ¯uid to the
windshield washer ¯uid reservoir.
The windshield washer
¯uid reservoir is located in
the engine compartment
toward the front of the
vehicle on the driver's side.
Open the cap with the washer symbol on it. Add washer
¯uid until the tank is full.
Notice:
·When using concentrated washer ¯uid, follow
the manufacturer's instructions for adding
water.
·Do not mix water with ready-to-use washer ¯uid.
Water can cause the solution to freeze and
damage your washer ¯uid tank and other parts
of the washer system. Also, water does not
clean as well as washer ¯uid.
·Fill your washer ¯uid tank only three-quarters
full when it is very cold. This allows for
expansion if freezing occurs, which could
damage the tank if it is completely full.
·Do not use engine coolant (antifreeze) in your
windshield washer. It can damage your washer
system and paint.
Brakes
Brake Fluid
Your brake master cylinder reservoir is ®lled with DOT-3
brake ¯uid. SeeEngine Compartment Overview on
page 5-10for the location of the reservoir.
There are only two reasons why the brake ¯uid level in
the reservoir might go down. The ®rst is that the
brake ¯uid goes down to an acceptable level during
normal brake lining wear. When new linings are put in,
the ¯uid level goes back up. The other reason is
that ¯uid is leaking out of the brake system. If it is, you
should have your brake system ®xed, since a leak
means that sooner or later your brakes will not work
well, or will not work at all.
5-36
Page 411 of 452
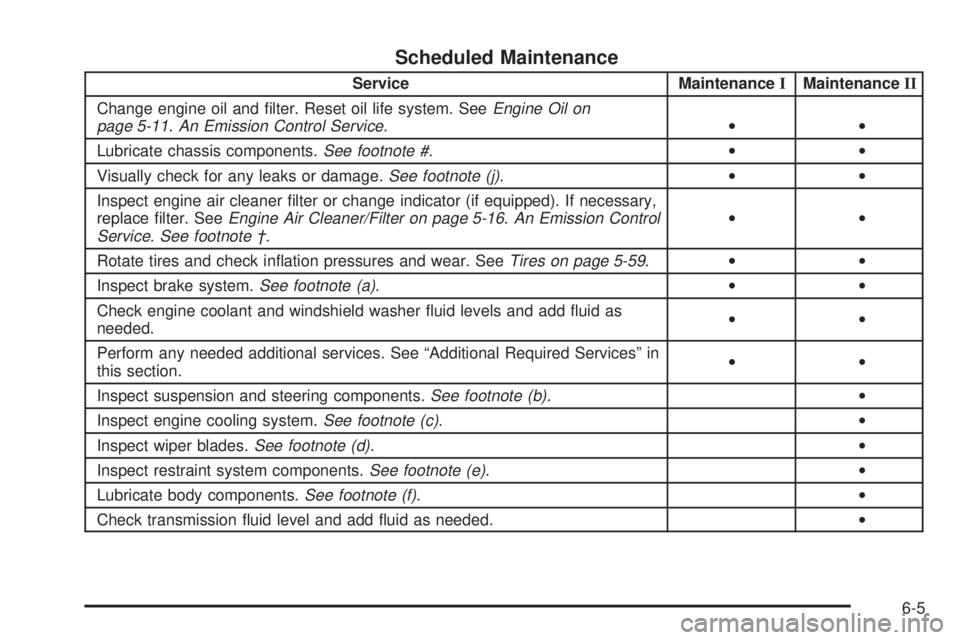
Scheduled Maintenance
Service MaintenanceIMaintenanceII
Change engine oil and ®lter. Reset oil life system. See
Engine Oil on
page 5-11.An Emission Control Service.··
Lubricate chassis components.
See footnote #.··
Visually check for any leaks or damage.
See footnote (j).··
Inspect engine air cleaner ®lter or change indicator (if equipped). If necessary,
replace ®lter. See
Engine Air Cleaner/Filter on page 5-16.An Emission Control
Service. See footnote ².··
Rotate tires and check in¯ation pressures and wear. See
Tires on page 5-59.··
Inspect brake system.
See footnote (a).··
Check engine coolant and windshield washer ¯uid levels and add ¯uid as
needed.··
Perform any needed additional services. See ªAdditional Required Servicesº in
this section.··
Inspect suspension and steering components.
See footnote (b).·
Inspect engine cooling system.
See footnote (c).·
Inspect wiper blades.
See footnote (d).·
Inspect restraint system components.
See footnote (e).·
Lubricate body components.
See footnote (f).·
Check transmission ¯uid level and add ¯uid as needed.·
6-5
Page 415 of 452
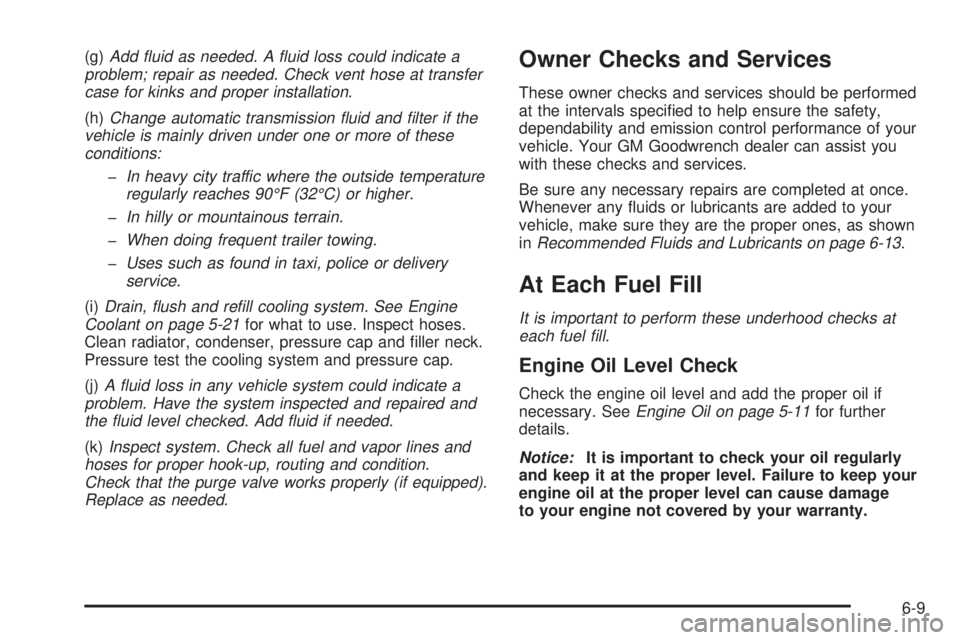
(g)Add ¯uid as needed. A ¯uid loss could indicate a
problem; repair as needed. Check vent hose at transfer
case for kinks and proper installation.
(h)Change automatic transmission ¯uid and ®lter if the
vehicle is mainly driven under one or more of these
conditions:
þIn heavy city traffic where the outside temperature
regularly reaches 90ÉF (32ÉC) or higher.
þIn hilly or mountainous terrain.
þWhen doing frequent trailer towing.
þUses such as found in taxi, police or delivery
service.
(i)Drain, ¯ush and re®ll cooling system. See Engine
Coolant on page 5-21for what to use. Inspect hoses.
Clean radiator, condenser, pressure cap and ®ller neck.
Pressure test the cooling system and pressure cap.
(j)
A ¯uid loss in any vehicle system could indicate a
problem. Have the system inspected and repaired and
the ¯uid level checked. Add ¯uid if needed.
(k)Inspect system. Check all fuel and vapor lines and
hoses for proper hook-up, routing and condition.
Check that the purge valve works properly (if equipped).
Replace as needed.
Owner Checks and Services
These owner checks and services should be performed
at the intervals speci®ed to help ensure the safety,
dependability and emission control performance of your
vehicle. Your GM Goodwrench dealer can assist you
with these checks and services.
Be sure any necessary repairs are completed at once.
Whenever any ¯uids or lubricants are added to your
vehicle, make sure they are the proper ones, as shown
in
Recommended Fluids and Lubricants on page 6-13.
At Each Fuel Fill
It is important to perform these underhood checks at
each fuel ®ll.
Engine Oil Level Check
Check the engine oil level and add the proper oil if
necessary. SeeEngine Oil on page 5-11for further
details.
Notice:It is important to check your oil regularly
and keep it at the proper level. Failure to keep your
engine oil at the proper level can cause damage
to your engine not covered by your warranty.
6-9
Page 416 of 452
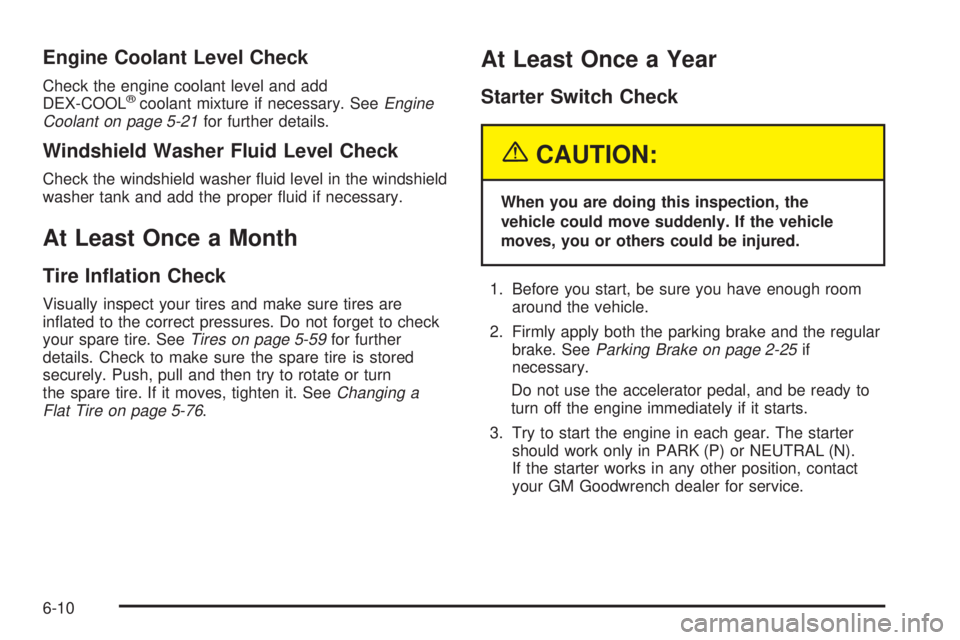
Engine Coolant Level Check
Check the engine coolant level and add
DEX-COOLžcoolant mixture if necessary. SeeEngine
Coolant on page 5-21for further details.
Windshield Washer Fluid Level Check
Check the windshield washer ¯uid level in the windshield
washer tank and add the proper ¯uid if necessary.
At Least Once a Month
Tire In¯ation Check
Visually inspect your tires and make sure tires are
in¯ated to the correct pressures. Do not forget to check
your spare tire. See
Tires on page 5-59for further
details. Check to make sure the spare tire is stored
securely. Push, pull and then try to rotate or turn
the spare tire. If it moves, tighten it. See
Changing a
Flat Tire on page 5-76.
At Least Once a Year
Starter Switch Check
{CAUTION:
When you are doing this inspection, the
vehicle could move suddenly. If the vehicle
moves, you or others could be injured.
1. Before you start, be sure you have enough room
around the vehicle.
2. Firmly apply both the parking brake and the regular
brake. See
Parking Brake on page 2-25if
necessary.
Do not use the accelerator pedal, and be ready to
turn off the engine immediately if it starts.
3. Try to start the engine in each gear. The starter
should work only in PARK (P) or NEUTRAL (N).
If the starter works in any other position, contact
your GM Goodwrench dealer for service.
6-10
Page 419 of 452
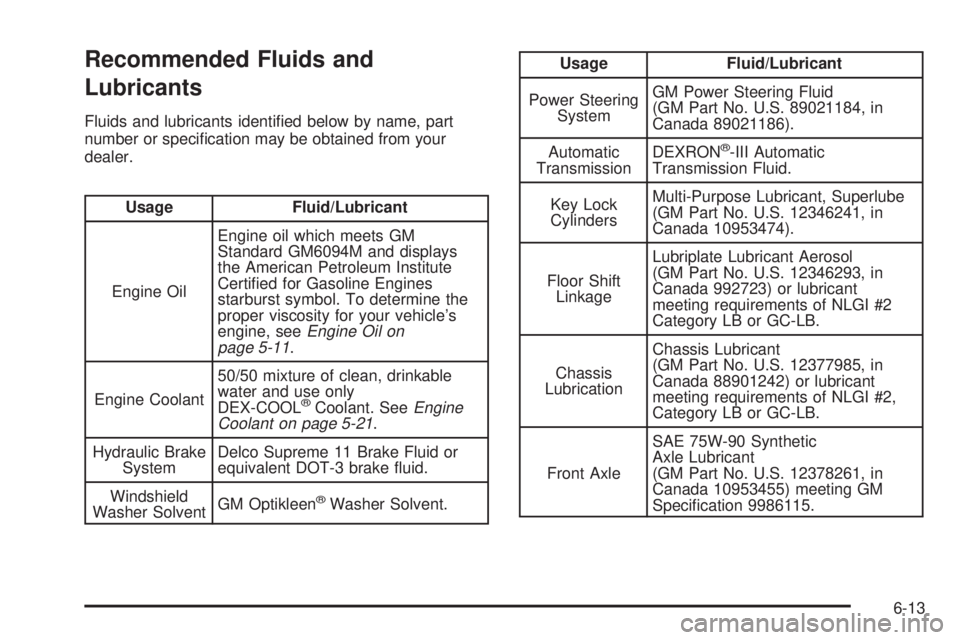
Recommended Fluids and
Lubricants
Fluids and lubricants identi®ed below by name, part
number or speci®cation may be obtained from your
dealer.
Usage Fluid/Lubricant
Engine OilEngine oil which meets GM
Standard GM6094M and displays
the American Petroleum Institute
Certi®ed for Gasoline Engines
starburst symbol. To determine the
proper viscosity for your vehicle's
engine, see
Engine Oil on
page 5-11.
Engine Coolant50/50 mixture of clean, drinkable
water and use only
DEX-COOL
žCoolant. SeeEngine
Coolant on page 5-21.
Hydraulic Brake
SystemDelco Supreme 11 Brake Fluid or
equivalent DOT-3 brake ¯uid.
Windshield
Washer SolventGM Optikleen
žWasher Solvent.
Usage Fluid/Lubricant
Power Steering
SystemGM Power Steering Fluid
(GM Part No. U.S. 89021184, in
Canada 89021186).
Automatic
TransmissionDEXRON
ž-III Automatic
Transmission Fluid.
Key Lock
CylindersMulti-Purpose Lubricant, Superlube
(GM Part No. U.S. 12346241, in
Canada 10953474).
Floor Shift
LinkageLubriplate Lubricant Aerosol
(GM Part No. U.S. 12346293, in
Canada 992723) or lubricant
meeting requirements of NLGI #2
Category LB or GC-LB.
Chassis
LubricationChassis Lubricant
(GM Part No. U.S. 12377985, in
Canada 88901242) or lubricant
meeting requirements of NLGI #2,
Category LB or GC-LB.
Front AxleSAE 75W-90 Synthetic
Axle Lubricant
(GM Part No. U.S. 12378261, in
Canada 10953455) meeting GM
Speci®cation 9986115.
6-13
Page 439 of 452
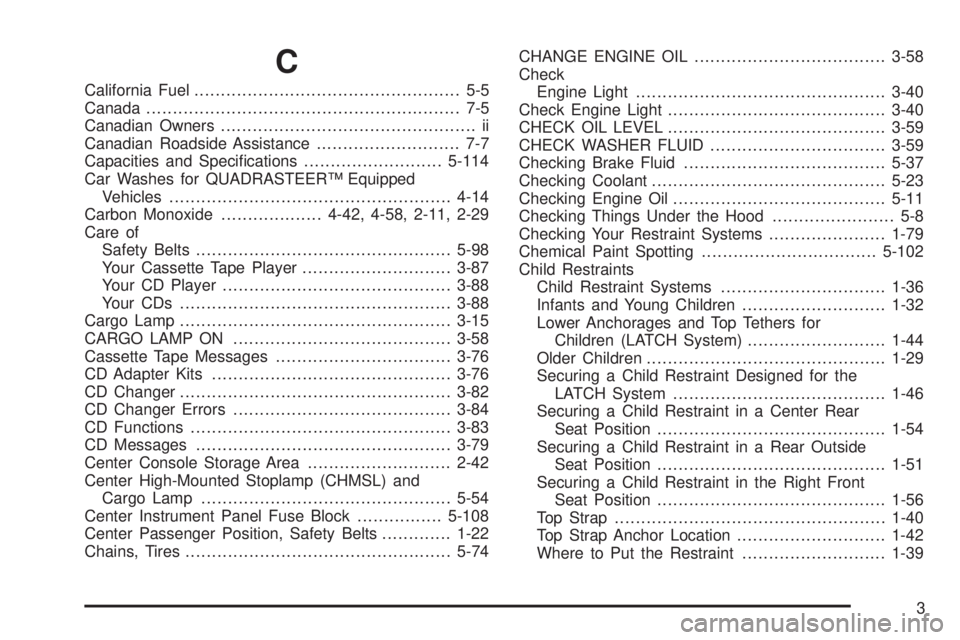
C
California Fuel.................................................. 5-5
Canada........................................................... 7-5
Canadian Owners................................................ ii
Canadian Roadside Assistance........................... 7-7
Capacities and Speci®cations..........................5-114
Car Washes for QUADRASTEERŸ Equipped
Vehicles.....................................................4-14
Carbon Monoxide...................4-42, 4-58, 2-11, 2-29
Care of
Safety Belts................................................5-98
Your Cassette Tape Player............................3-87
Your CD Player...........................................3-88
Your CDs ...................................................3-88
Cargo Lamp...................................................3-15
CARGO LAMP ON.........................................3-58
Cassette Tape Messages.................................3-76
CD Adapter Kits.............................................3-76
CD Changer...................................................3-82
CD Changer Errors.........................................3-84
CD Functions.................................................3-83
CD Messages................................................3-79
Center Console Storage Area...........................2-42
Center High-Mounted Stoplamp (CHMSL) and
Cargo Lamp...............................................5-54
Center Instrument Panel Fuse Block................5-108
Center Passenger Position, Safety Belts.............1-22
Chains, Tires..................................................5-74CHANGE ENGINE OIL....................................3-58
Check
Engine Light...............................................3-40
Check Engine Light.........................................3-40
CHECK OIL LEVEL.........................................3-59
CHECK WASHER FLUID.................................3-59
Checking Brake Fluid......................................5-37
Checking Coolant............................................5-23
Checking Engine Oil........................................5-11
Checking Things Under the Hood....................... 5-8
Checking Your Restraint Systems......................1-79
Chemical Paint Spotting.................................5-102
Child Restraints
Child Restraint Systems...............................1-36
Infants and Young Children...........................1-32
Lower Anchorages and Top Tethers for
Children (LATCH System)..........................1-44
Older Children.............................................1-29
Securing a Child Restraint Designed for the
LATCH System........................................1-46
Securing a Child Restraint in a Center Rear
Seat Position...........................................1-54
Securing a Child Restraint in a Rear Outside
Seat Position...........................................1-51
Securing a Child Restraint in the Right Front
Seat Position...........................................1-56
Top Strap...................................................1-40
Top Strap Anchor Location............................1-42
Where to Put the Restraint...........................1-39
3