audio HONDA ODYSSEY 2015 RC1-RC2 / 5.G Navigation Manual
[x] Cancel search | Manufacturer: HONDA, Model Year: 2015, Model line: ODYSSEY, Model: HONDA ODYSSEY 2015 RC1-RC2 / 5.GPages: 325, PDF Size: 17.97 MB
Page 155 of 325
154
Playing SiriusXM® RadioAudio Menu
Audio
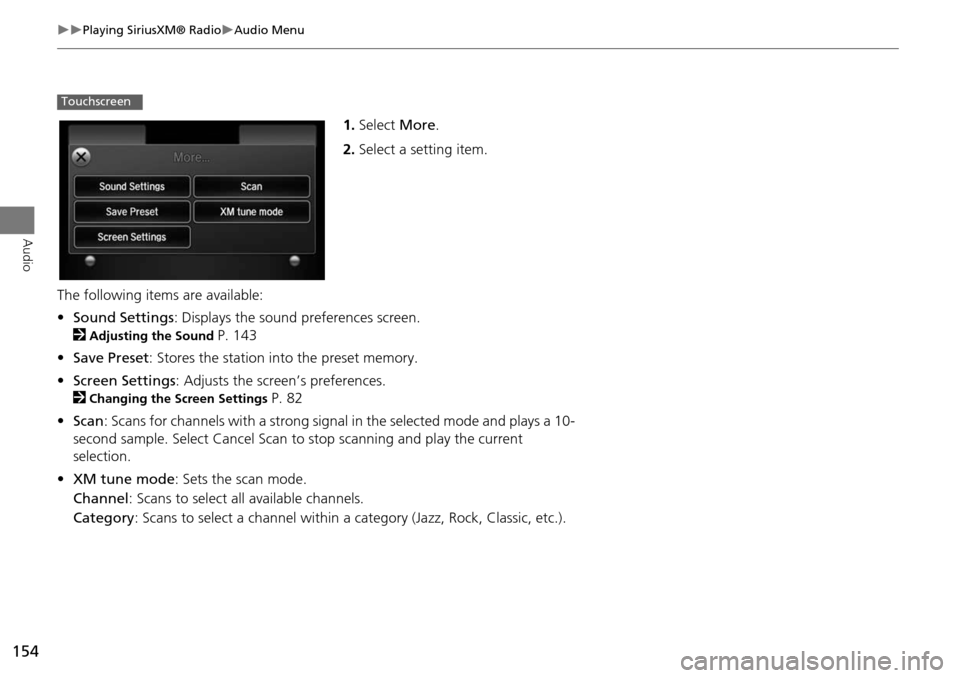
1.Select More.
2. Select a setting item.
The following item s are available:
• Sound Settings : Displays the sound preferences screen.
2
Adjusting the Sound P. 143
• Save Preset : Stores the station into the preset memory.
• Screen Settings : Adjusts the screen’s preferences.
2
Changing the Screen Settings P. 82
• Scan : Scans for channels with a strong signal in the selected mode and plays a 10-
second sample. Select Cancel Scan to stop scanning and play the current
selection.
• XM tune mode : Sets the scan mode.
Channel : Scans to select a ll available channels.
Category : Scans to select a channel within a category (Jazz, Rock, Classic, etc.).
Touchscreen
Page 156 of 325
155
Playing SiriusXM® RadioSiriusXM® Radio Service
Audio
SiriusXM® Radio Service
1.You need your radio ID read y before registering for subscription. To see the ID in
the display: Select c on the touchscreen until channel 0 appears.
2. Have your radio ID and credit card numb er ready, and either call or visit the
SiriusXM® website to subscribe.
Switch to the SiriusXM® mode by pressi ng the SOURCE button repeatedly or
operating the touchscreen, and stay in this mode for about 30 minutes until the
service is activated. Make sure your vehicle is in an open area with good reception.
Loading:
SiriusXM® is loading the audio or program information.
Ch off air:
The channel is not currently broadcasting.
Ch unauthorized:
SiriusXM® Radio is receiving information update from the network.
No signal:
The signal is too weak in the current location.
Ch unavailable:
No such channel exists, the channel is not part of your subscription, or the artist or
title information is unavailable.
Check antenna:
There is a problem with the Siri usXM® antenna. Contact a dealer.
1Subscribing to SiriusXM® Radio
Contact Information for SiriusXM® Radio:
SiriusXM® Radio at www.siriusxm.com or (800)
852-9696■ Subscribing to SiriusXM® Radio
■Receiving SiriusXM® Radio
■SiriusXM® Radio Display Messages
1 Receiving SiriusXM® Radio
The SiriusXM® satellites are in orbit over the
equator; therefore, objec ts south of the vehicle
may cause satellite re ception interruptions.
Satellite signals are more likely to be blocked by
tall buildings and mount ains the farther north
you travel from the equator.
You may experience re ception problems under
the following circumstances:
• In a location with an obstruction to the south
of your vehicle.
• In tunnels
• On the lower level of a multi-tiered road
• Large items carrie d on the roof rack
Page 157 of 325
156
Audio
Playing a Disc
Your audio system supports audio CDs, CD-Rs and CD-RWs in either MP3, WMA, or
AAC format. With the CD loaded, select the CD mode.
Selecting Disc Mode
1.Insert a disc into the disc slot.
The disc automatically being playing.
2. Press the MENU button. (in AUDIO mode)
3. Rotate i to select Change Source . Press u.
4. Rotate i to select CD. Press u.
2. Select Audio Source .
3. Select the CD icon.
1Playing a Disc
Do not use CDs with adhesive labels. The label
can cause the CD to jam in the unit.
WMA and ACC files protected by digital rights
management (DRM) cannot be played.
The audio system displays Unplayable File, then
skips to the next file.
Text data appears on the display under the
following circumstances:
• When you select a new folder, file, or track.
• When you change the audio mode to CD.
• When you insert a CD.
If you eject the CD but do not remove it from the
slot, the system reloads the CD automatically
after severa l seconds.
You can control a CD audio using voice
commands.
2 Voice Control Operation P. 5
NOTICE
Interface Dial
Touchscreen
Page 158 of 325
157
Playing a DiscAudio Screen Control
Audio
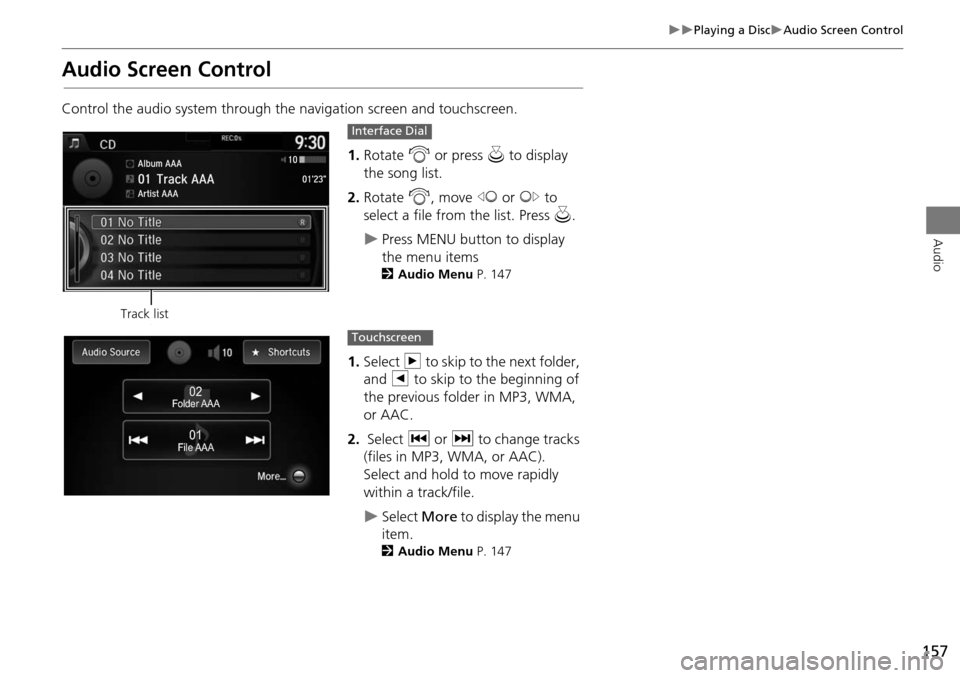
Audio Screen Control
Control the audio system through the navigation screen and touchscreen.
1. Rotate i or press u to display
the song list.
2. Rotate i, move w or y to
select a file from the list. Press u .
Press MENU button to display
the menu items
2Audio Menu P. 147
1.Select n to skip to the next folder,
and b to skip to the beginning of
the previous folder in MP3, WMA,
or AAC.
2. Select c or x to change tracks
(files in MP3, WMA, or AAC).
Select and hold to move rapidly
within a track/file.
Select More to display the menu
item.
2 Audio Menu P. 147
Track list
Interface Dial
File AAAFile AAAFile AAA010101
Folder AAAFolder AAAFolder AAA020202
Touchscreen
Page 159 of 325
158
Playing a DiscAudio Menu
Audio
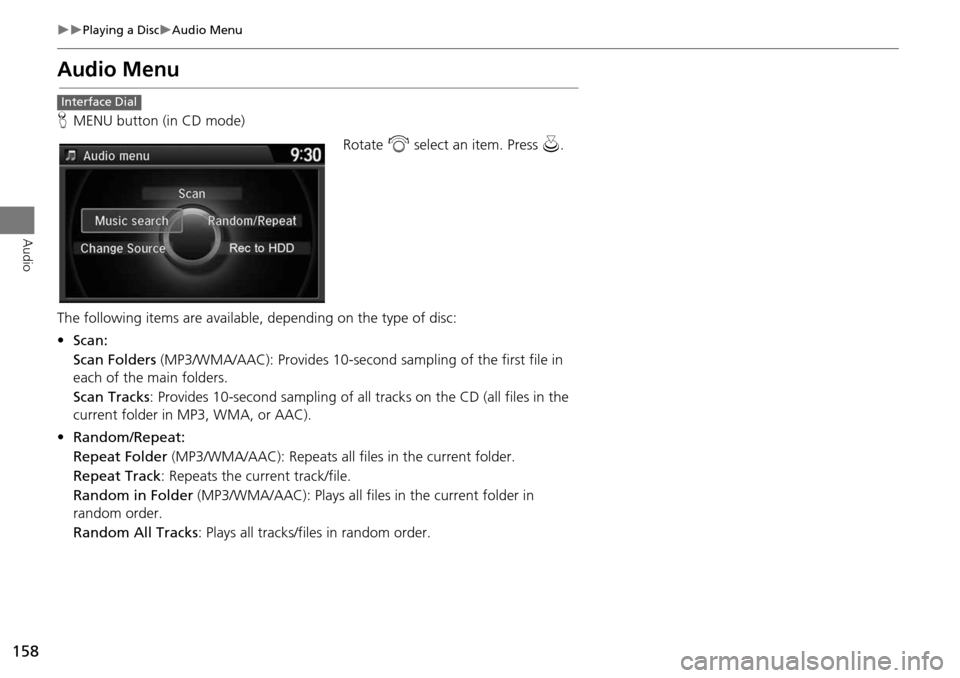
Audio Menu
HMENU button (in CD mode)
Rotate i select an item. Press u.
The following items are available, depending on the type of disc:
• Scan:
Scan Folders (MP3/WMA/AAC): Provides 10-second sampling of the first file in
each of the main folders.
Scan Tracks : Provides 10-second sampling of all tracks on the CD (all files in the
current folder in MP3, WMA, or AAC).
• Random/Repeat:
Repeat Folder (MP3/WMA/AAC): Repeats all f iles in the current folder.
Repeat Track : Repeats the current track/file.
Random in Folder (MP3/WMA/AAC): Play s all files in the current folder in
random order.
Random All Tracks : Plays all tracks/files in random order.
Interface Dial
Page 160 of 325
159
Playing a DiscAudio Menu
Audio
•Change Source : Changes the audio source mode.
• Rec to HDD : Records a music CD onto the HDD for playback using HDD Audio.
2
Recording a Music CD to HDD P. 164
• Music Search: Selects a file from the Music Search list.
2
How to Select a File from the Music Search List (MP3/WMA/AAC) P. 160
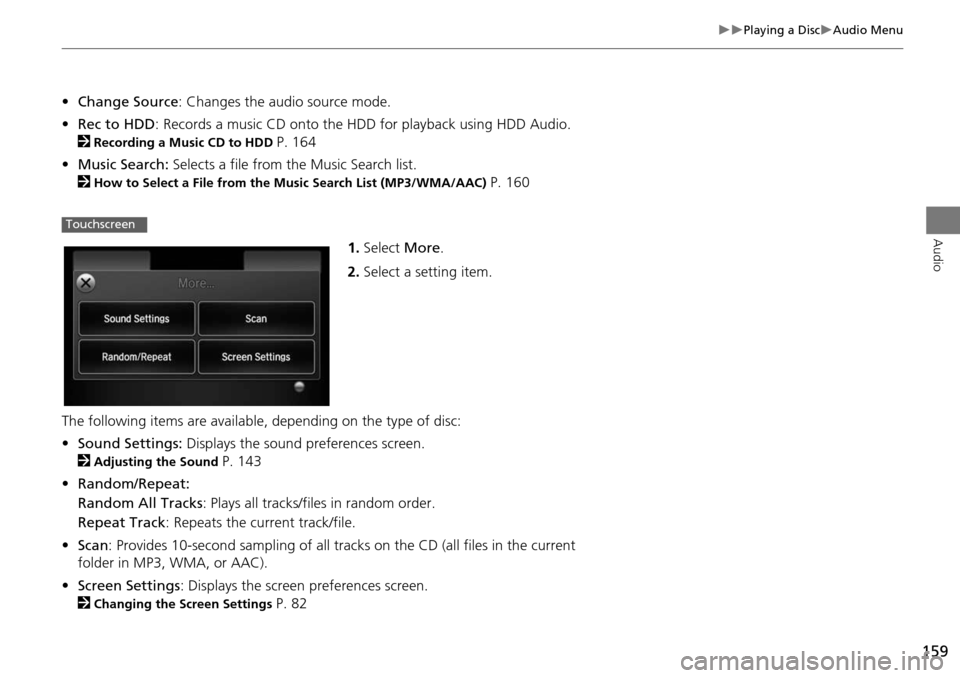
1. Select More.
2. Select a setting item.
The following items are available, depending on the type of disc:
• Sound Settings: Displays the sound preferences screen.
2
Adjusting the Sound P. 143
• Random/Repeat:
Random All Tracks : Plays all tracks/files in random order.
Repeat Track : Repeats the current track/file.
• Scan : Provides 10-second sampling of all tracks on the CD (all files in the current
folder in MP3, WMA, or AAC).
• Screen Settings : Displays the screen preferences screen.
2
Changing the Screen Settings P. 82
Touchscreen
Page 161 of 325
160
Playing a DiscAudio Menu
Audio
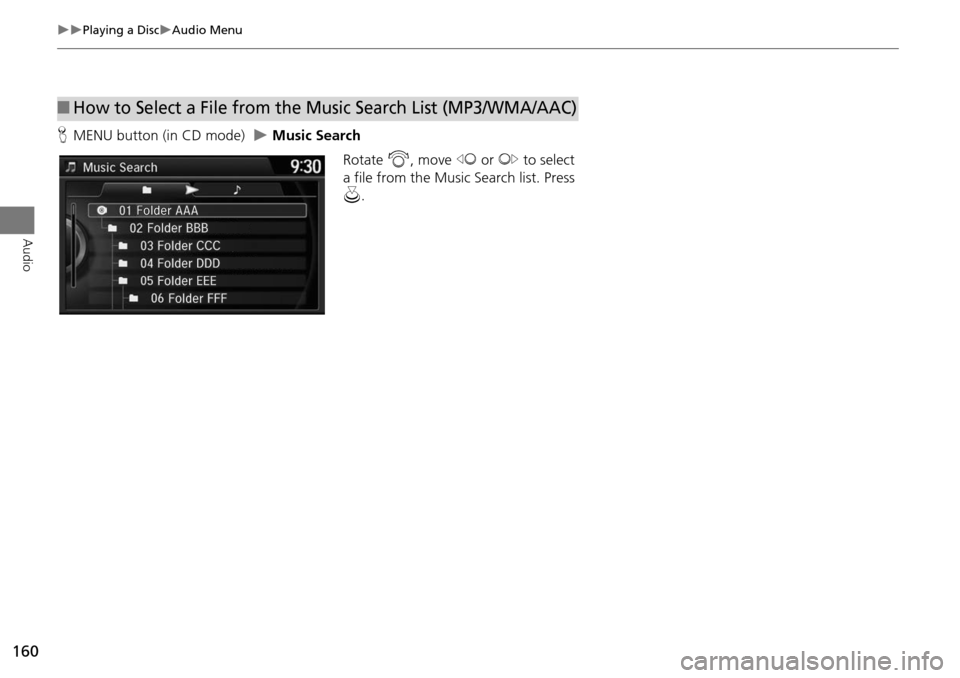
HMENU button (in CD mode) Music Search
Rotate i, move w or y to select
a file from the Music Search list. Press
u .
■How to Select a File from the Music Search List (MP3/WMA/AAC)
Page 162 of 325
161
Playing a DiscRecommended CDs
Audio
Recommended CDs
•Use only high-quality CD-R or CD-RW discs labeled for audio use.
• Use only CD-R or CD-RW discs on which the recordings are closed.
• Play only standard round-shaped CDs.
• Some software files may not allow for audio play or text data display.
• Some versions of MP3, WMA or AAC formats may be unsupported.1Recommended CDs
A Dual-disc cannot play on this audio unit. If
recorded under certain conditions, a CD-R or CD-
RW may not play either.
Manufactured under license under U.S. Patent
Nos: 5,956,674; 5,974,380; 6,487,535 & other
U.S. and worldwide patents issued & pending.
DTS, the Symbol, & DTS and the Symbol together
are registered trademar ks & DTS Digital Surround
and the DTS logos are trademarks of DTS, Inc.
Product includes software. © DTS, Inc. All Rights
Reserved.
Manufactured under licens e from DTS Licensing
Limited. DTS, the Symbol, & DTS and the Symbol
together are registered trademarks & DTS Neural
Surround is a trademark of DTS, Inc. Product
includes software. © DTS, Inc. All Rights
Reserved.
Manufactured under license from Dolby
Laboratories. Dolby, Pro Logic, MLP Lossless and
the double-D symbol are trademarks of Dolby
Laboratories.
■ CDs with MP3, WMA or AAC files
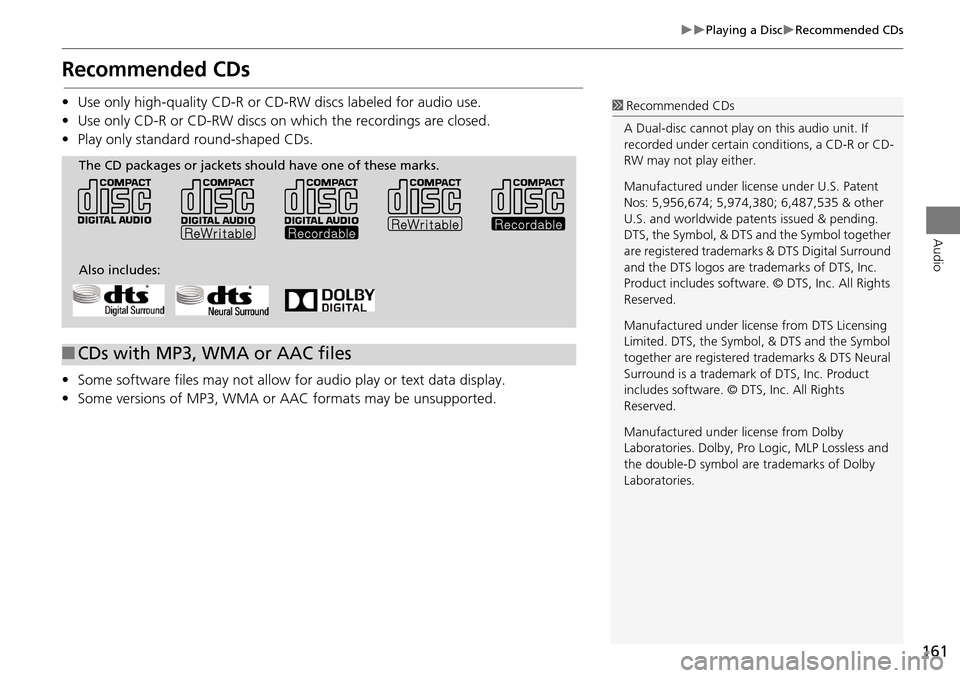
The CD packages or jackets should have one of these marks.
Also includes:
Page 163 of 325
162
Playing a DiscRecommended CDs
Audio
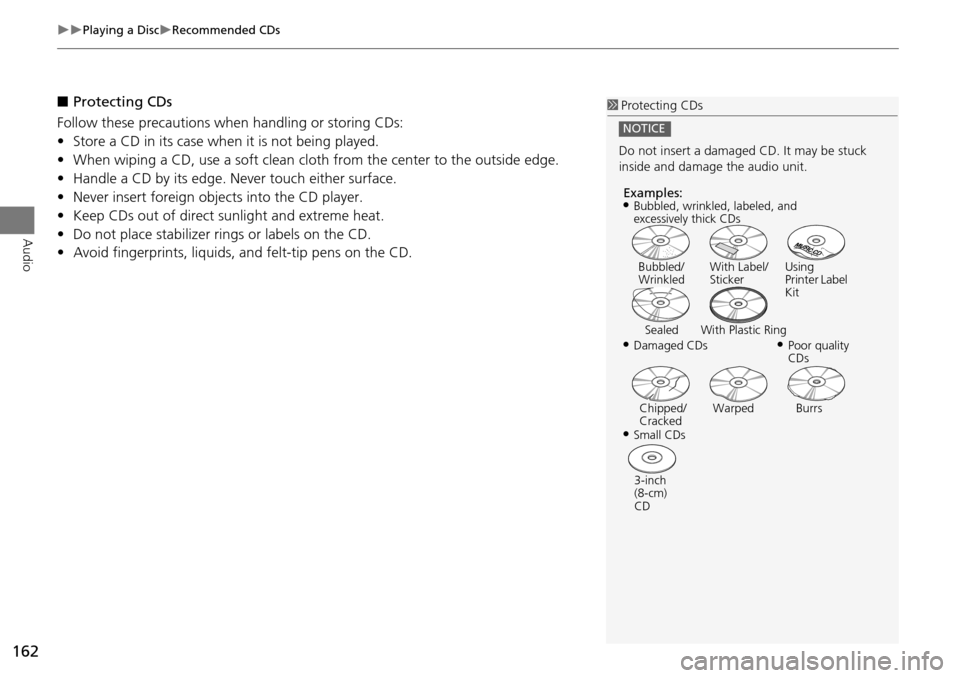
■Protecting CDs
Follow these precautions when handling or storing CDs:
• Store a CD in its case when it is not being played.
• When wiping a CD, use a soft clean clot h from the center to the outside edge.
• Handle a CD by its edge. Never touch either surface.
• Never insert foreign obje cts into the CD player.
• Keep CDs out of direct sunlight and extreme heat.
• Do not place stabilizer rings or labels on the CD.
• Avoid fingerprints, liquids, and felt-tip pens on the CD.1Protecting CDs
Do not insert a damaged CD. It may be stuck
inside and damage the audio unit.
NOTICE
Examples:
•Damaged CDs Bubbled/
Wrinkled
With Label/
Sticker Using
Printer Label
Kit
Sealed With Plastic Ring•Poor quality
CDs
Chipped/
Cracked Warped Burrs
•Small CDs
3-inch
(8-cm)
CD
•Bubbled, wrinkled, labeled, and
excessively thick CDs
Page 164 of 325
163
Audio
Playing Hard Disc Drive (HDD) Audio
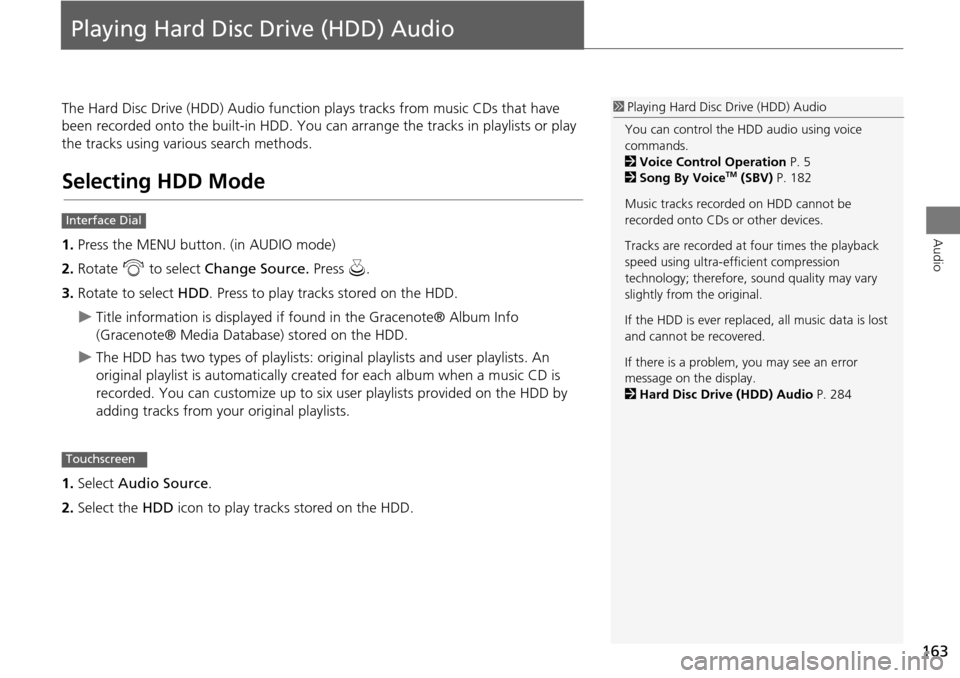
The Hard Disc Drive (HDD) Audio function plays tracks from music CDs that have
been recorded onto the built-in HDD. You ca n arrange the tracks in playlists or play
the tracks using various search methods.
Selecting HDD Mode
1. Press the MENU button. (in AUDIO mode)
2. Rotate i to select Change Source. Press u.
3. Rotate to select HDD. Press to play tracks stored on the HDD.
Title information is displayed if found in the Gracenote® Album Info
(Gracenote® Media Database) stored on the HDD.
The HDD has two types of playlists: original playlists and user playlists. An
original playlist is automatically created for each album when a music CD is
recorded. You can customize up to six us er playlists provided on the HDD by
adding tracks from your original playlists.
1. Select Audio Source .
2. Select the HDD icon to play tracks stored on the HDD.
1Playing Hard Disc Drive (HDD) Audio
You can control the HDD audio using voice
commands.
2 Voice Control Operation P. 5
2 Song By Voice
TM (SBV) P. 182
Music tracks recorded on HDD cannot be
recorded onto CDs or other devices.
Tracks are recorded at four times the playback
speed using ultra-efficient compression
technology; therefore, sound quality may vary
slightly from the original.
If the HDD is ever replaced, all music data is lost
and cannot be recovered.
If there is a problem, you may see an error
message on the display.
2 Hard Disc Drive (HDD) Audio P. 284
Interface Dial
Touchscreen