engine HONDA PRELUDE 1998 User Guide
[x] Cancel search | Manufacturer: HONDA, Model Year: 1998, Model line: PRELUDE, Model: HONDA PRELUDE 1998Pages: 278, PDF Size: 2.61 MB
Page 72 of 278
Keys and Locks
LOCK (0) — You can insert or
remove the key only in this position.
To switch from ACCESSORY to LOCK, you must push the key in
slightly as you turn it. If your vehicle
has an automatic transmission, it must also be in Park. The anti-theft
lock will lock the steering column
when you remove the key. If the front wheels are turned, the
anti-theft lock may sometimes make
it difficult to turn the key from
LOCK to ACCESSORY. Firmly turn
the steering wheel to the left or to
the right as you turn the key. ACCESSORY (I) — In this position,
you can operate the audio systemand the accessory power socket.
ON (II) — This is the normal key
position when driving. All features and accessories on the vehicle are
usable. Several of the lights on the
instrument panel come on as a test
when you turn the ignition switch
from ACCESSORY to ON (see page
51).
START (III) — Use this position
only to start the engine. The switch
returns to ON (II) when you let go of
the key.
The engine will not start if the Immobilizer System does not
recognize the key's coding (see page 69).
You will hear a reminder beeper if
you leave the key in the ignition switch in the LOCK (0) or
ACCESSORY (I) position and open the driver's door. Remove the key to
turn off the beeper.
Instruments and Controls
Removing the key from the
ignition switch while driving
locks the steering. This can
cause you to lose control.
Remove the key from the
ignition switch only when
parked.ProCarManuals.comMain Menu Table of Contents s t
Page 79 of 278
Seat Heaters
On Canadian models
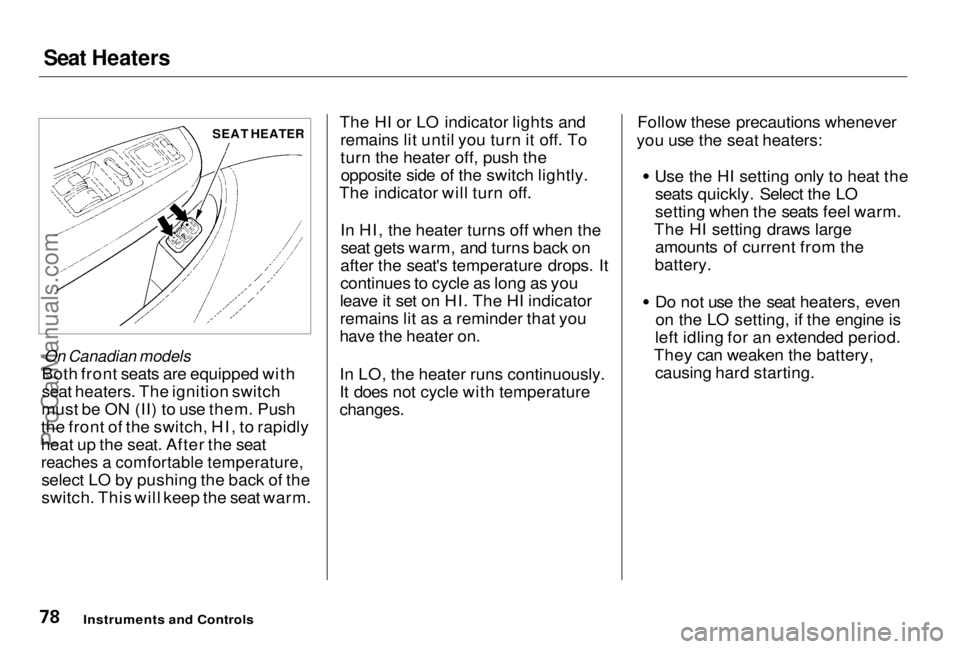
Both front seats are equipped with
seat heaters. The ignition switch
must be ON (II) to use them. Push
the front of the switch, HI, to rapidly
heat up the seat. After the seat
reaches a comfortable temperature,
select LO by pushing the back of the
switch. This will keep the seat warm. The HI or LO indicator lights and
remains lit until you turn it off. To
turn the heater off, push theopposite side of the switch lightly.
The indicator will turn off.
In HI, the heater turns off when theseat gets warm, and turns back on
after the seat's temperature drops. It
continues to cycle as long as you
leave it set on HI. The HI indicator
remains lit as a reminder that you
have the heater on.
In LO, the heater runs continuously.
It does not cycle with temperature
changes.
Follow these precautions whenever
you use the seat heaters:
Use the HI setting only to heat theseats quickly. Select the LO
setting when the seats feel warm.
The HI setting draws large amounts of current from the
battery. Do not use the seat heaters, even
on the LO setting, if the engine is
left idling for an extended period.
They can weaken the battery, causing hard starting.
Instruments and Controls
SEAT HEATERProCarManuals.comMain Menu Table of Contents s t
Page 95 of 278
Heating and Cooling
Vent Controls
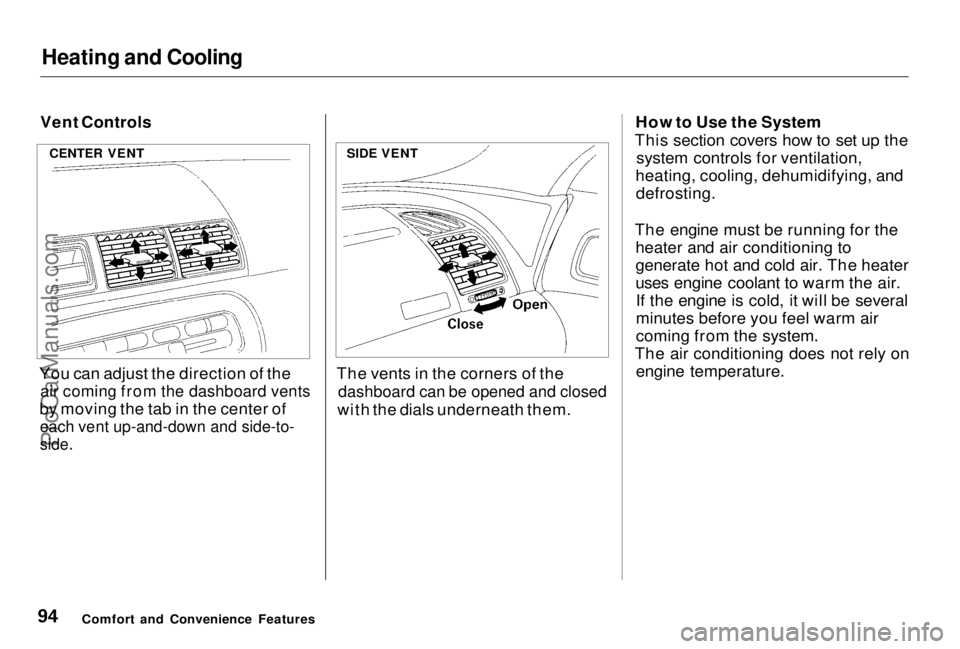
You can adjust the direction of the
air coming from the dashboard vents
by moving the tab in the center of
each vent up-and-down and side-to-
side.
The vents in the corners of the
dashboard can be opened and closed
with the dials underneath them. How to Use the System
This section covers how to set up the system controls for ventilation,
heating, cooling, dehumidifying, and defrosting.
The engine must be running for the heater and air conditioning to
generate hot and cold air. The heater
uses engine coolant to warm the air.If the engine is cold, it will be several
minutes before you feel warm air
coming from the system.
The air conditioning does not rely on engine temperature.
Comfort and Convenience Features
CENTER VENT
SIDE VENTProCarManuals.comMain Menu Table of Contents s t
Page 98 of 278
Heating and Cooling
If the interior is very warm from
being parked in the sun, you can cool it down more rapidly by setting up
the controls this way:
1. Start the engine.
2. Turn on the A/C by pressing the button. Make sure the tempera-
ture control lever is all the way to
the left.
3. Set the fan to maximum speed.
4. Open the windows partially. Select and Fresh Air mode.
When the interior has cooled down to a more comfortable temperature,close the windows and set the
controls as described for normal
cooling. Air conditioning places an extra load
on the engine. Watch the engine
coolant temperature gauge (see page 57) when driving in stop-and-go
traffic or climbing a long, steep hill. If it moves near the red zone, turnoff the A/C until the gauge reads
normally.
To Heat
To warm the interior: 1. Start the engine. 2. Select and Fresh Air mode.
3. Set the fan to the desired speed.
4. Adjust the warmth of the air with
the temperature control lever.
To Heat and Dehumidify with Air
Conditioning
Air conditioning, as it cools, removes moisture from the air. When used in
combination with the heater, itmakes the interior warm and dry.
1. Switch the fan on.
2. Turn on the air conditioning. 3. Select and Fresh Air mode.
4. Adjust the temperature control
lever so the mixture of heated and
cooled air feels comfortable.
This setting is suitable for all driving conditions whenever the outside
temperature is above 32°F (0°C).
CONTINUED
Comfort and Convenience FeaturesProCarManuals.comMain Menu Table of Contents s t
Page 100 of 278
Heating and Cooling
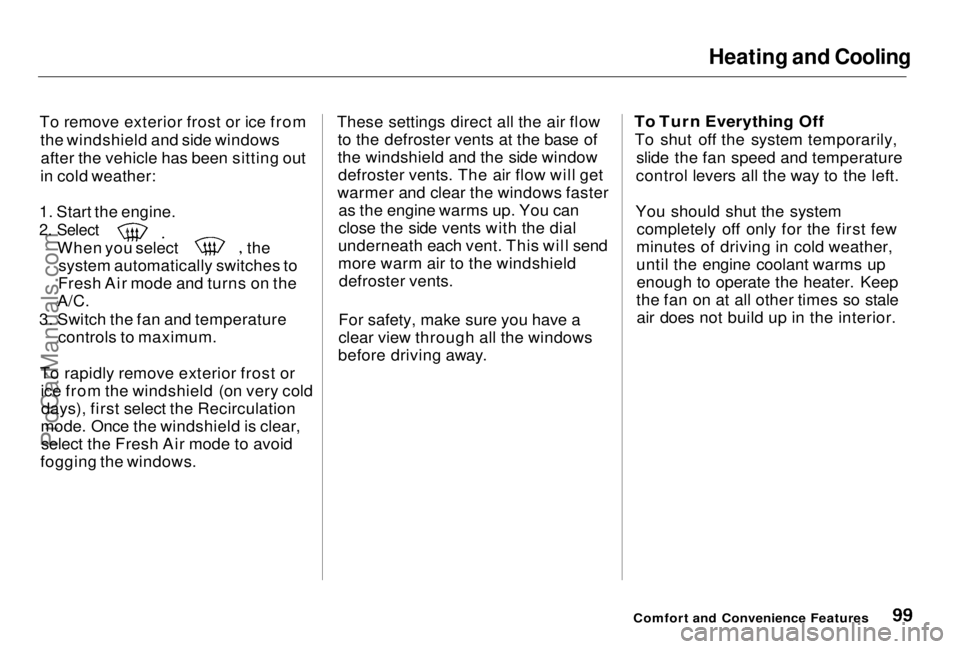
To remove exterior frost or ice from the windshield and side windowsafter the vehicle has been sitting out
in cold weather:
1. Start the engine.
2. Select
When you select the
system automatically switches to
Fresh Air mode and turns on the
A/C.
3. Switch the fan and temperature controls to maximum.
To rapidly remove exterior frost or ice from the windshield (on very colddays), first select the Recirculation
mode. Once the windshield is clear, select the Fresh Air mode to avoid
fogging the windows. These settings direct all the air flow
to the defroster vents at the base of
the windshield and the side windowdefroster vents. The air flow will get
warmer and clear the windows faster as the engine warms up. You can
close the side vents with the dial
underneath each vent. This will send
more warm air to the windshield defroster vents.
For safety, make sure you have a
clear view through all the windows
before driving away.
To Turn Everything Off
To shut off the system temporarily, slide the fan speed and temperature
control levers all the way to the left.
You should shut the system completely off only for the first few
minutes of driving in cold weather,
until the engine coolant warms up enough to operate the heater. Keep
the fan on at all other times so stale air does not build up in the interior.
Comfort and Convenience FeaturesProCarManuals.comMain Menu Table of Contents s t
Page 119 of 278

Before Driving
Before you begin driving your Honda,
you should know what gasoline to use, and how to check the levels of
important fluids. You also need to
know how to properly store luggage or packages. The information in this
section will help you. If you plan to
add any accessories to your vehicle,
please read the information in this section first. Break-in Period.............................. 120
Gasoline.......................................... 120
Service Station Procedures .......... 121 Filling the Fuel Tank................. 121
Opening the Hood..................... 122 Oil Check................................ 123
Engine Coolant Check.......... 124
Fuel Economy................................ 125
Vehicle Condition...................... 125Driving Habits............................ 125
Accessories and Modifications.... 126 Accessories................................. 126
Modifications............................. 127
Additional Safety Precaution.... 127
Carrying Cargo.............................. 128 Load Limit.................................. 129Carrying Items in the Passenger Compartment......................... 129
Carrying Cargo in the Trunk or on a Roof Rack....................... 130
Before DrivingProCarManuals.comMain Menu s t
Page 120 of 278

Break-in Period, Gasoline
Break-in Period
Help assure your vehicle's future
reliability and performance by paying
extra attention to how you drive
during the first 600 miles (1,000 km).
During this period: Avoid full-throttle starts and rapid
acceleration.
Avoid hard braking. New brakes need to be broken-in by moderate
use for the first 200 miles (300
km).
You should follow these same re- commendations with an overhauled
or exchanged engine, or when the
brakes are relined.
Gasoline
Your Honda is designed to operate on premium unleaded gasoline with a
pump octane number of 91 or higher.
If you are unable to find premium
unleaded gasoline, you may substi-
tute an unleaded regular gasoline.
The engine will compensate for the lower octane, but you may notice aslight decrease in power as a result.
We recommend gasolines containing detergent additives that help prevent
fuel system and engine deposits.
Using gasoline containing lead willdamage your vehicle's emission
controls. This contributes to air
pollution. In Canada, some gasolines contain
an octane-enhancing additive called
MMT. If you use such gasolines,
your emission control system performance may deteriorate and
the Malfunction Indicator Lamp on
your instrument panel may turn on. If this happens, contact your
authorized Honda dealer for service.
Before DrivingProCarManuals.comMain Menu Table of Contents s t
Page 121 of 278
Service Station Procedures
Filling the Fuel Tank
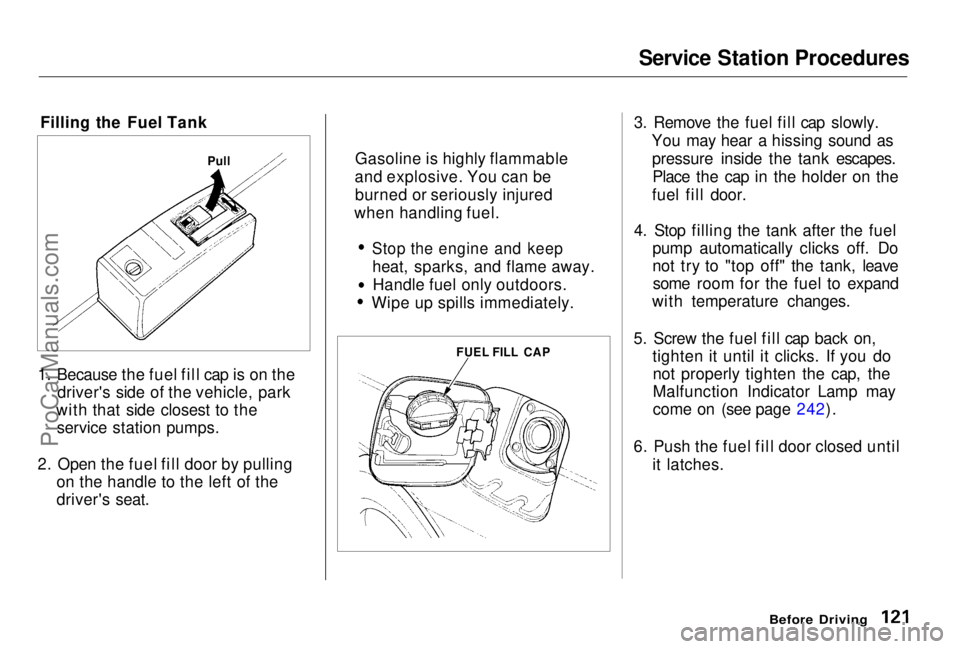
1. Because the fuel fill cap is on the driver's side of the vehicle, park
with that side closest to the service station pumps.
2. Open the fuel fill door by pulling on the handle to the left of the
driver's seat. 3. Remove the fuel fill cap slowly.
You may hear a hissing sound aspressure inside the tank escapes.Place the cap in the holder on the
fuel fill door.
4. Stop filling the tank after the fuel pump automatically clicks off. Do
not try to "top off" the tank, leavesome room for the fuel to expand
with temperature changes.
5. Screw the fuel fill cap back on, tighten it until it clicks. If you donot properly tighten the cap, the
Malfunction Indicator Lamp may
come on (see page 242).
6. Push the fuel fill door closed until it latches.
Before Driving
Pull
FUEL FILL CAP
Gasoline is highly flammable
and explosive. You can be burned or seriously injured
when handling fuel.
Stop the engine and keep
heat, sparks, and flame away.Handle fuel only outdoors.
Wipe up spills immediately.ProCarManuals.comMain Menu Table of Contents s t
Page 123 of 278
Service Station Procedures
Oil Check
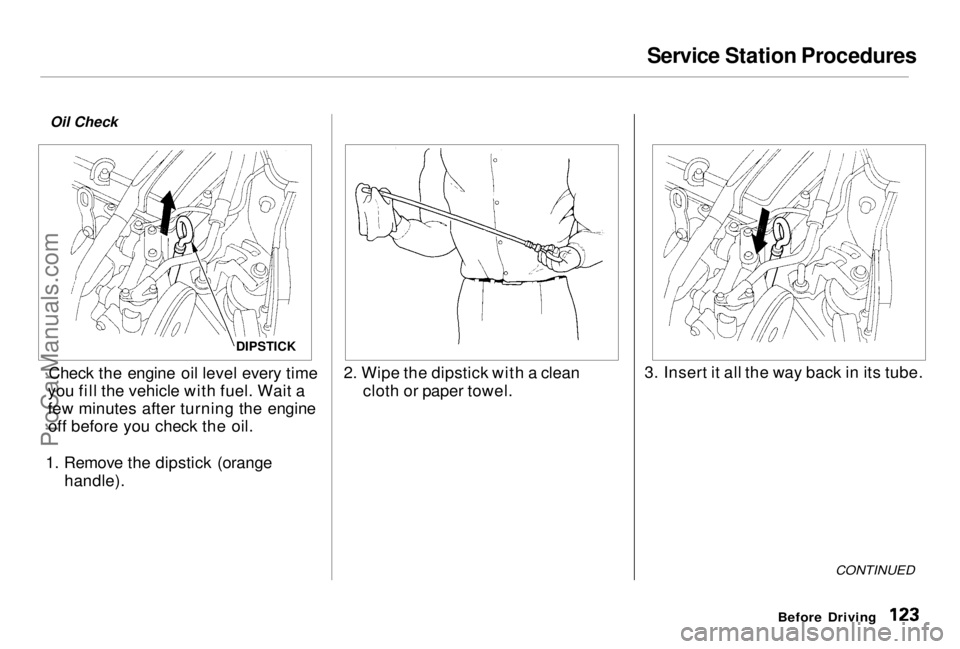
Check the engine oil level every time
you fill the vehicle with fuel. Wait a
few minutes after turning the engine off before you check the oil.
1. Remove the dipstick (orange handle). 2. Wipe the dipstick with a clean
cloth or paper towel. 3. Insert it all the way back in its tube.
CONTINUED
Before Driving
DIPSTICKProCarManuals.comMain Menu Table of Contents s t
Page 124 of 278
Service Station Procedures
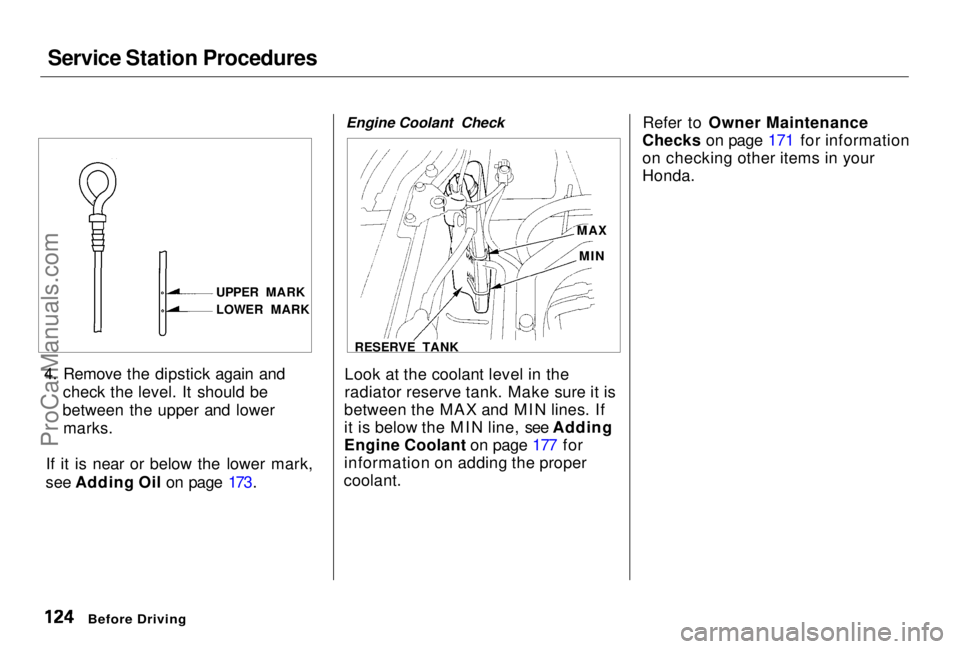
4. Remove the dipstick again and check the level. It should be
between the upper and lower marks.
If it is near or below the lower mark,
see Adding Oil on page 173. Engine Coolant Check
Look at the coolant level in the
radiator reserve tank. Make sure it is
between the MAX and MIN lines. If
it is below the MIN line, see Adding
Engine Coolant on page 177 for
information on adding the proper
coolant. Refer to Owner Maintenance
Checks on page 171 for information
on checking other items in your
Honda.
Before Driving
UPPER MARK
LOWER MARK
MAX
MIN
RESERVE TANKProCarManuals.comMain Menu Table of Contents s t