check engine light Hyundai Elantra 2006 User Guide
[x] Cancel search | Manufacturer: HYUNDAI, Model Year: 2006, Model line: Elantra, Model: Hyundai Elantra 2006Pages: 277, PDF Size: 10.18 MB
Page 174 of 277
2
DRIVING YOUR HYUNDAI
21
C160I01A-AAT Don't Let Your Parking Brake Freeze Under some conditions your parking brake can freeze in the engaged posi-tion. This is most likely to happen when there is an accumulation of snow or ice around or near the rear brakes orif the brakes are wet. If there is a risk the parking brake may freeze, apply it only temporarily while you put the gearselector lever in "P" (automatic) or in first or reverse gear (manual transaxle) and block the rear wheels so the carcannot roll. Then release the parking brake. C160J01A-AAT Don't Let Ice and Snow Accumu- late Underneath Under some conditions, snow and ice can build up under the fenders andinterfere with the steering. When driv- ing in severe winter conditions where this may happen, you should periodi-cally check underneath the car to be sure the movement of the front wheels and the steering components is notobstructed. C160K01A-AAT Carry Emergency Equipment Depending on the severity of the weather where you drive your car, you should carry appropriate emergency equipment. Some of the items youmay want to carry include tire chains, tow straps or chains, flashlight, emer- gency flares, sand, a shovel, jumpercables, a window scraper, gloves, ground cloth, coveralls, a blanket, etc. C170A01A-AAT HIGHER SPEED MOTORING Pre-Trip Inspections 1. Tires: Adjust the tire inflation pressures tospecification. Low tire inflation pres- sures will result in overheating and possible failure of the tires.Avoid using worn or damaged tires which may result in reduced traction or tire failure. NOTE: Never exceed the maximum tire in- flation pressure shown on the tires. 2. Fuel, engine coolant and engine oil: High speed travel consumes more fuel than urban motoring. Do not forget tocheck both engine coolant and engine oil. 3. Drive belt: A loose or damaged drive belt may result in overheating of the engine.
Page 175 of 277
2 DRIVING YOUR HYUNDAI
22TRAILER OR VEHICLE TOWING
C190A02A-GAT If you are considering towing with your car, you should first check with your Province Department of Motor Vehicles to determine their legal requirements.Since laws vary from province to prov- ince, the requirements for towing trail- ers, cars, other types of vehicles, orapparatus may differ. Ask your Hyundai dealer for further details before towing.
CAUTION:
Do not do any towing with your carduring its first 2,000 km (1,200 miles) in order to allow the engine to prop-erly break in. Failure to heed this caution may result in serious en- gine or transaxle damage.
! C190B01S-AAT Trailer Hitches Select the proper hitch and ball combi- nation, making sure that it's location iscompatible with that of the trailer or vehicle being towed. Use a quality non-equalizing hitch whichdistributes the tongue load uniformly throughout the chassis. The hitch should be bolted securely to the car and installed by a qualified technician. DO NOT USE A HITCHDESIGNED FOR TEMPORARY IN- STALLATION AND NEVER USE ONE THAT ATTACHES ONLY TO THEBUMPER. C190C03S-GAT Trailer Brakes If your trailer is equipped with a braking system, make sure it conforms to fed-eral and/or local regulations and that it is properly installed and operating cor- rectly.
C180A01A-AAT USE OF LIGHTS Check your lights regularly for correct operation and always keep them clean.When driving during the day in condi- tions of poor visibility, it is helpful to drive with headlights on low beam.This enables you to be seen as well as to see.
Page 178 of 277
2
DRIVING YOUR HYUNDAI
25
C190F01E-GAT Trailer or Vehicle Towing Tips
1. Before towing, check hitch and safety chain connections as well as proper operation of the trailer run- ning lights, brake lights, and turn signals.
2. Always drive your vehicle at a mod- erate speed (Less than 100 km/H)
3. Trailer towing requires more fuel than normal conditions.
4. To maintain engine braking effi-
ciency and electrical charging per-formance, do not use fifth gear (manual transmission) or overdrive (automatic transmission).
5. Always secure items in the trailer to prevent load shift while driving.
6. Check the condition and air pres- sure of all tires on the trailer and your vehicle. Low tire pressure can seriously affect the handling. Alsocheck the spare tire.
7. The vehicle/trailer combination is
more affected by crosswind andbuffeting. When being passed by a large ve-hicle, keep a constant speed andsteer straight ahead. If there is too much wind buffeting, slow down to get out of the other vehicle's airturbulence.
8. When parking your vehicle and trailer,
especially on a hill, be sure to followall the normal precautions. Turn your front wheel into the curb, set the parking brake firmly, and put thetransmission in 1st or Reverse (manual) or Park (automatic). In addition, place wheel chocks at eachof the trailer's tires.
9. If the trailer has electric brakes,
start your vehicle and trailer mov-ing, and then apply the trailer brake controller by hand to be sure the brakes are working. This lets youcheck your electrical connection at the same time.
10.During your trip, check occasion- ally to be sure that the load issecure, and that the lights and any trailer brakes are still working.
11.Avoid jerky starts, sudden accel- eration or sudden stops.
12.Avoid sharp turns and rapid lane changes. 13. Avoid holding the brake pedal down
too long or too frequently. This couldcause the brakes to overheat, re- sulting in reduced braking efficiency.
14.When going down a hill, shift into a lower gear and use the engine brak-ing effect. When ascending a long grade,downshift the transmission to a lower gear and reduce speed to reduce chances of engine over-loading and/or overheating.
15.If you have to stop while going
uphill, do not hold the vehicle inplace by pressing on the accelera- tor. This can cause the automatic transmission to overheat. Use theparking brake or footbrake.
NOTE: When towing check transaxle fluid more frequently.
Page 181 of 277
3 WHAT TO DO IN AN EMERGENCY
2
!
IF THE ENGINE WILL NOT START
D010A01A-AAT D010B02A-AAT
If Engine Doesn't Turn Over or Turns Over Slowly
1. If your car has an automatic transaxle, be sure the gear selector lever is in "N" or "P" and the emer-gency brake is set.
2. Check the battery connections to be
sure they are clean and tight.
3. Turn on the interior light. If the light dims or goes out when you operatethe starter, the battery is discharged.
4. Check the starter connections to be sure they are securely tightened.
5. Do not push or pull the vehicle to start it. See instructions for "Jump Starting". D010C01A-AAT If Engine Turns Over Normally but Does Not Start
D010B02E
WARNING:
If the engine will not start, do not push or pull the car to start it. This could result in a collision or causeother damage. In addition, push or pull starting may cause the cata- lytic converter to be overloaded andcreate a fire hazard.
1. Check fuel level.2. With the key in the "OFF" position,check all connectors at ignition coilsand spark plugs(For Gasoline En-gine) or check all connectors at glow plug and glow plug relay(For Diesel Engine). Reconnect any thatmay be disconnected or loose.
3. Check fuel line in the engine room.4. If engine still refuses to start, call a
Hyundai dealer or seek other quali- fied assistance. D010C01E
Page 183 of 277
3 WHAT TO DO IN AN EMERGENCY
4IF THE ENGINE OVERHEATS
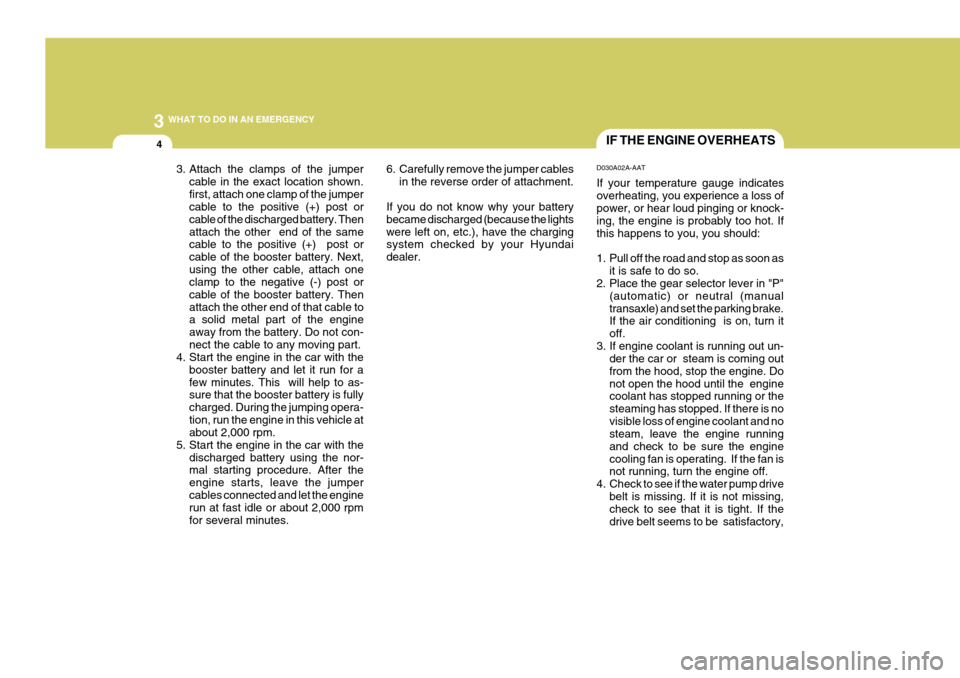
D030A02A-AAT If your temperature gauge indicates overheating, you experience a loss of power, or hear loud pinging or knock- ing, the engine is probably too hot. Ifthis happens to you, you should:
1. Pull off the road and stop as soon as it is safe to do so.
2. Place the gear selector lever in "P"
(automatic) or neutral (manual transaxle) and set the parking brake. If the air conditioning is on, turn it off.
3. If engine coolant is running out un- der the car or steam is coming outfrom the hood, stop the engine. Donot open the hood until the engine coolant has stopped running or the steaming has stopped. If there is novisible loss of engine coolant and no steam, leave the engine running and check to be sure the enginecooling fan is operating. If the fan is not running, turn the engine off.
4. Check to see if the water pump drive belt is missing. If it is not missing,check to see that it is tight. If the drive belt seems to be satisfactory,
3. Attach the clamps of the jumper
cable in the exact location shown.first, attach one clamp of the jumper cable to the positive (+) post or cable of the discharged battery. Thenattach the other end of the same cable to the positive (+) post or cable of the booster battery. Next,using the other cable, attach one clamp to the negative (-) post or cable of the booster battery. Thenattach the other end of that cable to a solid metal part of the engine away from the battery. Do not con-nect the cable to any moving part.
4. Start the engine in the car with the
booster battery and let it run for afew minutes. This will help to as- sure that the booster battery is fully charged. During the jumping opera-tion, run the engine in this vehicle at about 2,000 rpm.
5. Start the engine in the car with the discharged battery using the nor-mal starting procedure. After the engine starts, leave the jumpercables connected and let the engine run at fast idle or about 2,000 rpm for several minutes. 6. Carefully remove the jumper cables
in the reverse order of attachment.
If you do not know why your batterybecame discharged (because the lightswere left on, etc.), have the charging system checked by your Hyundai dealer.
Page 210 of 277
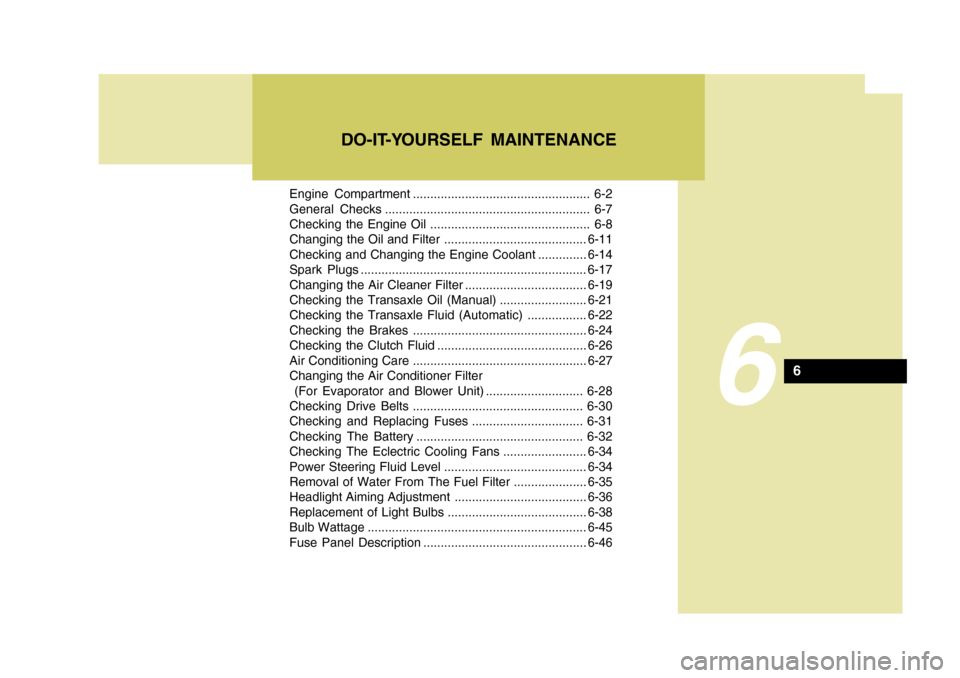
Engine Compartment ................................................... 6-2
General Checks ........................................................... 6-7
Checking the Engine Oil .............................................. 6-8 Changing the Oil and Filter ......................................... 6-11
Checking and Changing the Engine Coolant ..............6-14
Spark Plugs ................................ ................................. 6-17
Changing the Air Cleaner Filte r ...................................6-19
Checking the Transaxle Oil (Manual) ......................... 6-21
Checking the Transaxle Fluid (Automatic) .................6-22
Checking the Brakes .................................................. 6-24
Checking the Clutch Fluid ........................................... 6-26
Air Conditioning Care .................................................. 6-27
Changing the Air Conditioner Filter
(For Evaporator and Blower Unit) ............................ 6-28
Checking Drive Belts ................................................. 6-30
Checking and Replacing Fuses ................................ 6-31
Checking The Battery ................................................ 6-32
Checking The Eclectric Cooling Fans ........................6-34
Power Steering Fluid Level ......................................... 6-34
Removal of Water From The Fuel F ilter..................... 6-35
Headlight Aiming Adjustment ...................................... 6-36
Replacement of Light Bulbs ........................................6-38
Bulb Wattage ............................................................... 6-45
Fuse Panel D escription ............................................... 6-46
DO-IT-YOURSELF MAINTENANCE
6
6
Page 216 of 277
6
DO-IT-YOURSELF MAINTENANCE
7GENERAL CHECKS
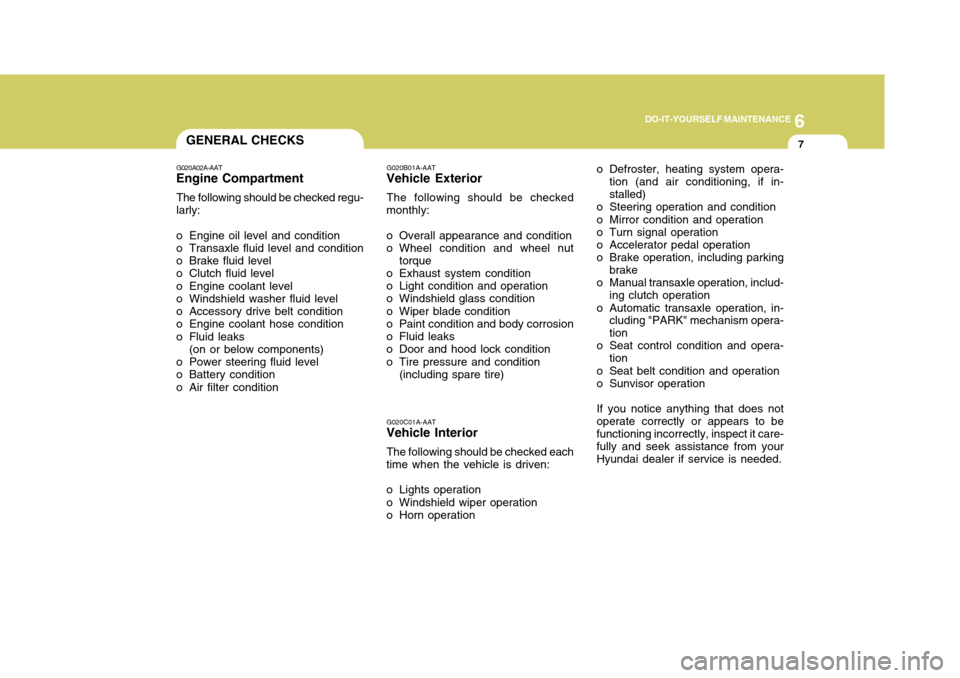
G020A02A-AAT
Engine Compartment
The following should be checked regu- larly:
o Engine oil level and condition
o Transaxle fluid level and condition
o Brake fluid level
o Clutch fluid level
o Engine coolant level
o Windshield washer fluid level
o Accessory drive belt condition
o Engine coolant hose condition
o Fluid leaks (on or below components)
o Power steering fluid level
o Battery condition
o Air filter condition o Defroster, heating system opera-
tion (and air conditioning, if in- stalled)
o Steering operation and condition
o Mirror condition and operation
o Turn signal operation
o Accelerator pedal operation
o Brake operation, including parking brake
o Manual transaxle operation, includ-
ing clutch operation
o Automatic transaxle operation, in- cluding "PARK" mechanism opera-tion
o Seat control condition and opera-
tion
o Seat belt condition and operation
o Sunvisor operation If you notice anything that does not operate correctly or appears to be functioning incorrectly, inspect it care- fully and seek assistance from yourHyundai dealer if service is needed.
G020B01A-AAT
Vehicle Exterior
The following should be checked
monthly:
o Overall appearance and condition
o Wheel condition and wheel nut
torque
o Exhaust system condition
o Light condition and operation
o Windshield glass condition
o Wiper blade condition
o Paint condition and body corrosion
o Fluid leaks
o Door and hood lock condition
o Tire pressure and condition (including spare tire)
G020C01A-AAT
Vehicle Interior
The following should be checked each
time when the vehicle is driven:
o Lights operation
o Windshield wiper operation
o Horn operation
Page 238 of 277
6
DO-IT-YOURSELF MAINTENANCE
29CHECKING THE FREEPLAY
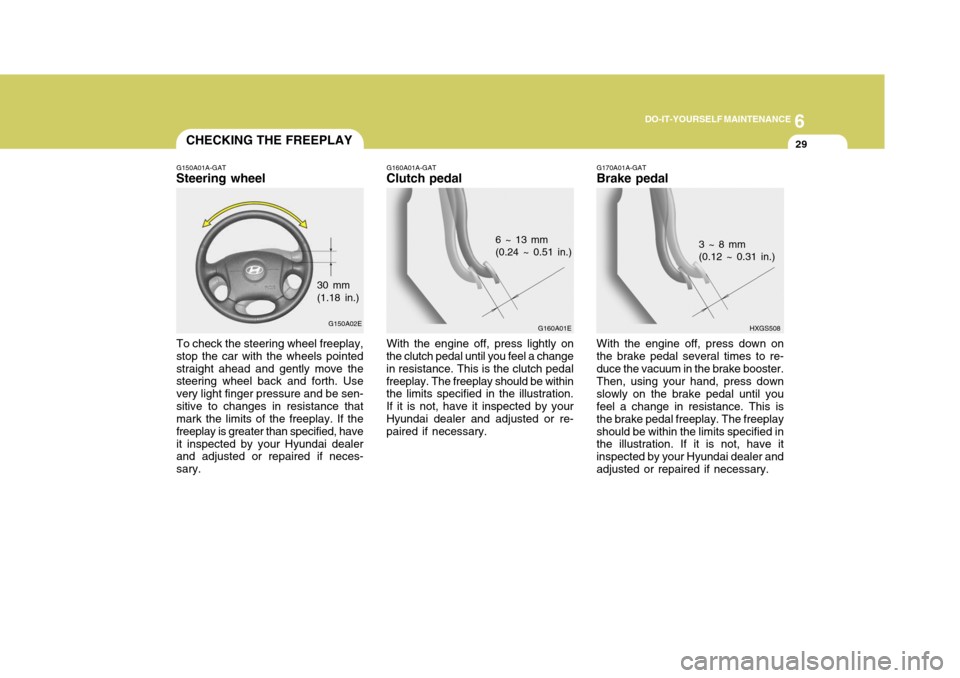
G160A01A-GAT
Clutch pedal
G160A01E
6 ~ 13 mm (0.24 ~ 0.51 in.)
With the engine off, press lightly on
the clutch pedal until you feel a change in resistance. This is the clutch pedalfreeplay. The freeplay should be within the limits specified in the illustration. If it is not, have it inspected by yourHyundai dealer and adjusted or re- paired if necessary.
G150A01A-GAT
Steering wheel
G150A02E
To check the steering wheel freeplay, stop the car with the wheels pointedstraight ahead and gently move the steering wheel back and forth. Use very light finger pressure and be sen-sitive to changes in resistance that mark the limits of the freeplay. If the freeplay is greater than specified, haveit inspected by your Hyundai dealer and adjusted or repaired if neces- sary. 30 mm (1.18 in.)
G170A01A-GAT Brake pedal
HXGS508
3 ~ 8 mm (0.12 ~ 0.31 in.)
With the engine off, press down on the brake pedal several times to re-duce the vacuum in the brake booster.Then, using your hand, press downslowly on the brake pedal until you feel a change in resistance. This is the brake pedal freeplay. The freeplayshould be within the limits specified in the illustration. If it is not, have it inspected by your Hyundai dealer andadjusted or repaired if necessary.
Page 245 of 277
6 DO-IT-YOURSELF MAINTENANCE
36HEADLIGHT AIMING ADJUSTMENT
G290A02E-GAT Before performing aiming adjustment,
make sure of the following.
1. Keep all tires inflated to the correct
pressure.
2. Place the vehicle on level ground and press the front bumper and rear bumper down several times.(Place the vehicle at a distance of 3,000 mm (118 in.) from the test wall.)
3. See that the vehicle is unloaded
(except for full levels of coolant,engine oil and fuel, and spare tire, jack, and tools). Have the driver or equivalent weight placed in driver'sseat.
4. Clean the head lights lenses and
turn on the headlights (low beam).
!WARNING:
Be sure to carefully wipe away any water drained out in this manner, because the fuel mixed in the wa-ter might be ignited and result in a fire.
G300B01A
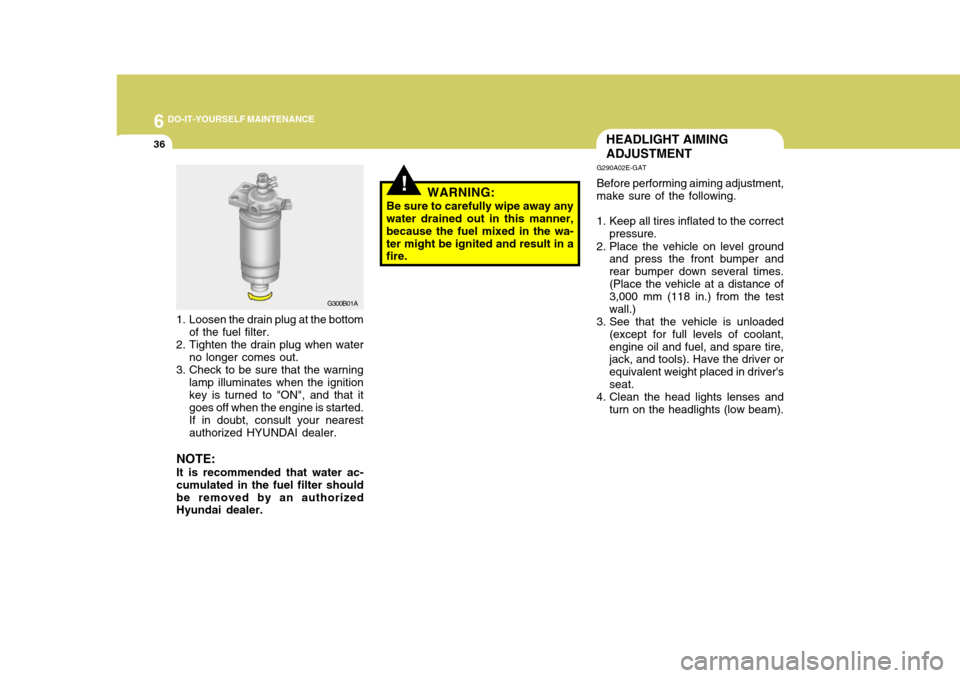
1. Loosen the drain plug at the bottom of the fuel filter.
2. Tighten the drain plug when water no longer comes out.
3. Check to be sure that the warning lamp illuminates when the ignition key is turned to "ON", and that it goes off when the engine is started. If in doubt, consult your nearest authorized HYUNDAI dealer.
NOTE: It is recommended that water ac- cumulated in the fuel filter shouldbe removed by an authorized Hyundai dealer.
Page 274 of 277
10
INDEX
3
D Door Central door locks .................................................... 1-9
Door locks ................................................................ 1-7
Locking, unlocking front doors with a key ............... 1-8
Drink Holder .............................................................. 1-67
Drive Belts ................................................................ 6-30
Driving Economical driving ................................................. 2-17
Smooth cornering ................................................... 2-19
Winter driving ......................................................... 2-19
EEmission Control Syst em ........................................... 7-2
Engine
Before starting the engine ....................................... 2-3
Compartment ........................................................... 6-2
Coolant ................................................................... 6-14
Coolant temperature gauge ................................... 1-53
If the engine overheats ............................................ 3-4
Number .................................................................... 8-2
Oil ............................................................................. 6-8
Starting ..................................................................... 2-5
Engine Exhaust Can Be Dangerous ........................... 2-2F
Folding Rear Seatbacks .
.......................................... 1-17
Front Fog Light ......................................................... 1-60
Front Seats Adjustable front seats ............................................ 1-14
Adjustable headrest s .............................................. 1-16
Adjusting seat forward and rear ward..................... 1-15
Adjusting seatback angle .......................................1-15
Lumbar support control .................. ........................ 1-16
Seat cushion height adjustment............................ 1-17
Seat warmer ........................................................... 1-19
Fuel Capacity ................................................................... 9-2
Gauge .................................................................... 1-15
Recommendations ................................................... 1-2
Fuel Filler Lid Remote release ...................................................... 1-80
Fuses ........................................................................ 6-31
Fuse Panel description ............................................. 6-46
GGeneral Checks .......................................................... 6-7
Glove Box ................................................................. 1-74