ECO mode Hyundai Elantra 2009 Инструкция по эксплуатации (in Russian)
[x] Cancel search | Manufacturer: HYUNDAI, Model Year: 2009, Model line: Elantra, Model: Hyundai Elantra 2009Pages: 308, PDF Size: 15.03 MB
Page 91 of 308
Features of your vehicle
36
4
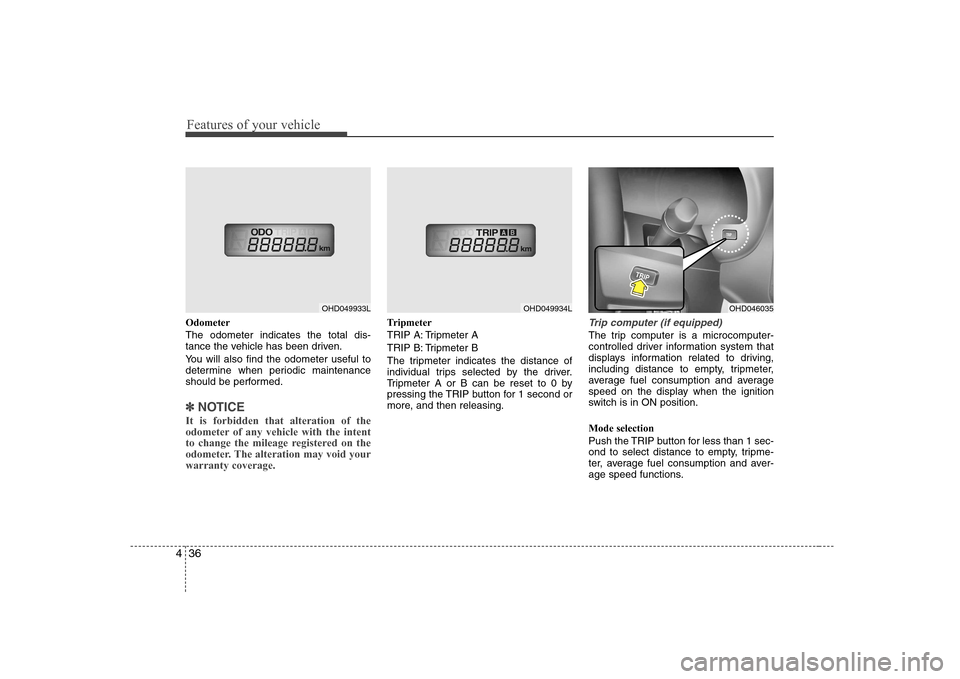
Odometer The odometer indicates the total dis-
tance the vehicle has been driven.
You will also find the odometer useful to
determine when periodic maintenance
should be performed.
✽✽
NOTICE
It is forbidden that alteration of the
odometer of any vehicle with the intent
to change the mileage registered on the
odometer. The alteration may void yourwarranty coverage.
Tripmeter
TRIP A: Tripmeter A
TRIP B: Tripmeter B
The tripmeter indicates the distance of
individual trips selected by the driver.
Tripmeter A or B can be reset to 0 by
pressing the TRIP button for 1 second or
more, and then releasing.Trip computer (if equipped)
The trip computer is a microcomputer-
controlled driver information system that
displays information related to driving,
including distance to empty, tripmeter,
average fuel consumption and average
speed on the display when the ignition
switch is in ON position. Mode selection
Push the TRIP button for less than 1 sec-
ond to select distance to empty, tripme-
ter, average fuel consumption and aver-
age speed functions.
OHD049933LOHD049934LOHD046035
Page 93 of 308
Features of your vehicle
38
4
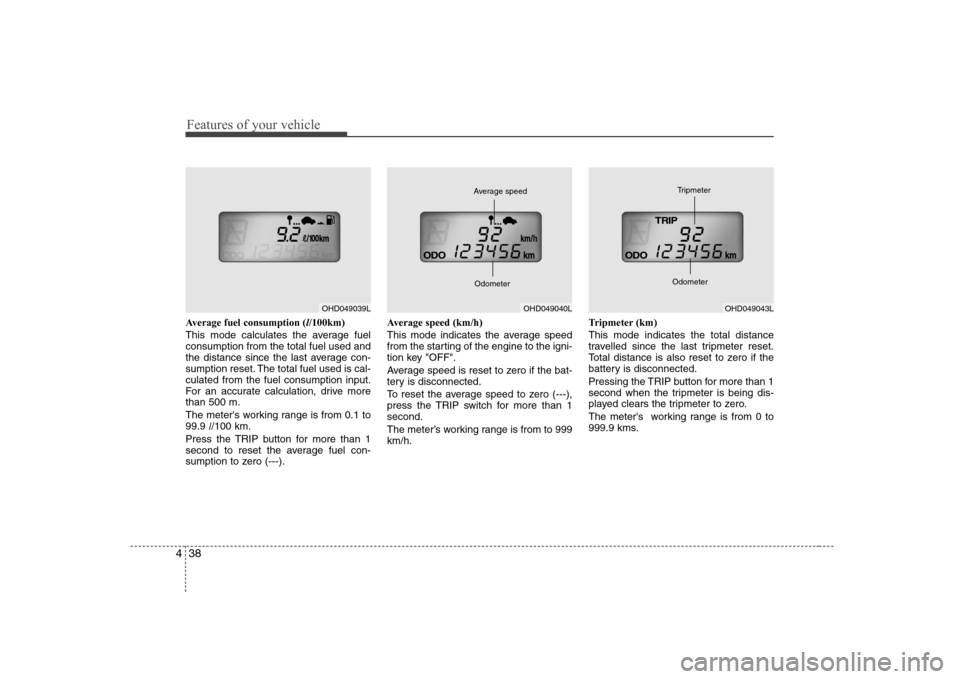
Average fuel consumption ( l/100km)
This mode calculates the average fuel consumption from the total fuel used and
the distance since the last average con-
sumption reset. The total fuel used is cal-culated from the fuel consumption input.
For an accurate calculation, drive morethan 500 m.
The meter's working range is from 0.1 to 99.9 l/100 km.
Press the TRIP button for more than 1
second to reset the average fuel con-
sumption to zero (---). Average speed (km/h)
This mode indicates the average speed
from the starting of the engine to the igni-
tion key "OFF".
Average speed is reset to zero if the bat-
tery is disconnected.
To reset the average speed to zero (---),
press the TRIP switch for more than 1second.
The meter’s working range is from to 999 km/h.
Tripmeter (km) This mode indicates the total distance
travelled since the last tripmeter reset.
Total distance is also reset to zero if the
battery is disconnected.
Pressing the TRIP button for more than 1
second when the tripmeter is being dis-
played clears the tripmeter to zero.
The meter's working range is from 0 to
999.9 kms.
OHD049039LOHD049040L
Average speed
OdometerOHD049043L
Tripmeter
Odometer
Page 99 of 308
Features of your vehicle
44
4
CRUISE
ESP
OFF✽✽ NOTICE
If the engine coolant temperature warn- ing light illuminates, it indicates over-heating that may damage the engine.ESP indicator (Electronic Stability Program) (if equipped)
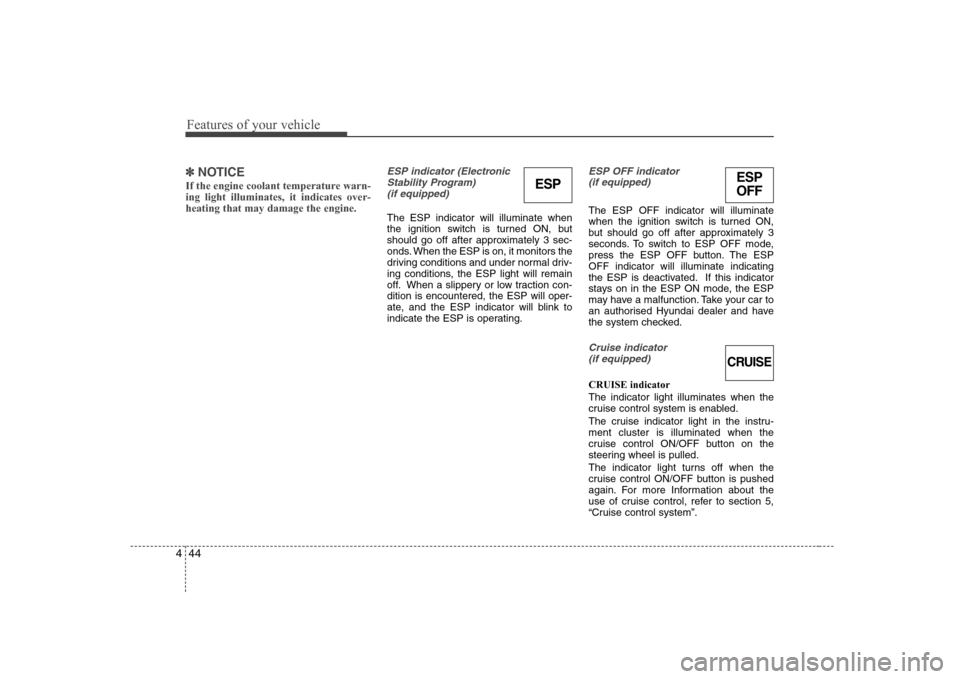
The ESP indicator will illuminate when
the ignition switch is turned ON, but
should go off after approximately 3 sec-
onds. When the ESP is on, it monitors the
driving conditions and under normal driv-
ing conditions, the ESP light will remain
off. When a slippery or low traction con-dition is encountered, the ESP will oper-
ate, and the ESP indicator will blink to
indicate the ESP is operating.
ESP OFF indicator (if equipped)
The ESP OFF indicator will illuminate
when the ignition switch is turned ON,
but should go off after approximately 3
seconds. To switch to ESP OFF mode,
press the ESP OFF button. The ESPOFF indicator will illuminate indicating
the ESP is deactivated. If this indicator
stays on in the ESP ON mode, the ESP
may have a malfunction. Take your car to
an authorised Hyundai dealer and have
the system checked.
Cruise indicator
(if equipped)
CRUISE indicator The indicator light illuminates when the
cruise control system is enabled.
The cruise indicator light in the instru- ment cluster is illuminated when the
cruise control ON/OFF button on the
steering wheel is pulled.
The indicator light turns off when the
cruise control ON/OFF button is pushed
again. For more Information about the
use of cruise control, refer to section 5,
“Cruise control system”.
ESP
Page 112 of 308
457
Features of your vehicle
Mode selection
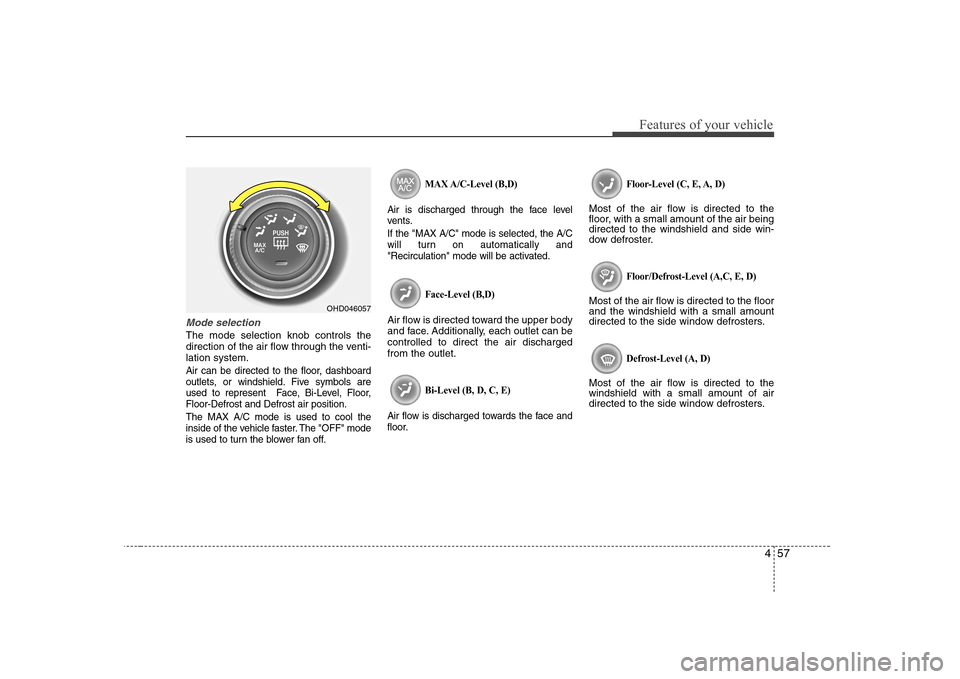
The mode selection knob controls the
direction of the air flow through the venti-lation system.
Air can be directed to the floor, dashboard
outlets, or windshield. Five symbols are
used to represent Face, Bi-Level, Floor,Floor-Defrost and Defrost air position. The MAX A/C mode is used to cool the
inside of the vehicle faster. The "OFF" mode
is used to turn the blower fan off.MAX A/C-Level (B,D)
Air is discharged through the face level
vents. If the "MAX A/C" mode is selected, the A/C
will turn on automatically and
"Recirculation" mode will be activated.
Face-Level (B,D)
Air flow is directed toward the upper body
and face. Additionally, each outlet can becontrolled to direct the air dischargedfrom the outlet.
Bi-Level (B, D, C, E)
Air flow is discharged towards the face and
floor. Floor-Level (C, E, A, D)
Most of the air flow is directed to the
floor, with a small amount of the air beingdirected to the windshield and side win-
dow defroster.
Floor/Defrost-Level (A,C, E, D)
Most of the air flow is directed to the floorand the windshield with a small amount
directed to the side window defrosters.
Defrost-Level (A, D)
Most of the air flow is directed to thewindshield with a small amount of air
directed to the side window defrosters.
OHD046057
Page 116 of 308
461
Features of your vehicle
Operation Tips
To keep dust or unpleasant fumes fromentering the car through the ventilation
system, temporarily set the air intakecontrol to the recirculated air position.
Be sure to return the control to the
fresh air position when the irritation
has passed to keep fresh air in the
vehicle. This will help keep the driver
alert and comfortable.
Air for the heating/cooling system is drawn in through the grilles just ahead
of the windshield. Care should be
taken that these are not blocked by
leaves, snow, ice or other obstructions.
To prevent interior fog on the wind- shield, set the air intake control to the
fresh air position and fan speed to the
desired position, turn on the air condi-
tioning system, and adjust temperature
control to desired temperature.
Air conditioning (if equipped)
All Hyundai Air Conditioning Systems are
filled with environmentally friendly
R-134a refrigerant which is not damag-
ing to the ozone layer.
1. Start the engine. Push the air condi- tioning button.
2. Set the mode to the position.
3. Set the air intake control to the outside air or recirculated air position.
4. Adjust the fan speed control and tem- perature control to maintain maximum
comfort.
When maximum cooling is desired, set the temperature control to the extremeleft position, set the mode control to
the MAX A/C position, then set the fanspeed control to the highest speed.✽✽ NOTICE
Page 117 of 308
Features of your vehicle
62
4
Air conditioning system operation tips
If the vehicle has been parked in direct
sunlight during hot weather, open the
windows for a short time to let the hot
air inside the vehicle escape.
To help reduce moisture inside of win- dows on rainy or humid days, decrease
the humidity inside the vehicle by oper-ating the air conditioning system.
During air conditioning system opera- tion, you may occasionally notice aslight change in engine speed as the
air conditioning compressor cycles.
This is a normal system operation
characteristic.
Use the air conditioning system every month if only for a few minutes to
ensure maximum system perform-
ance.
When using the air conditioning sys- tem, you may notice clear water drip-
ping (or even puddling) on the ground
under the passenger side of the vehi-
cle. This is a normal system operation
characteristic.
Operating the air conditioning system in the recirculated air position does
provide maximum cooling, however,
continual operation in this mode may
cause the air inside the vehicle to
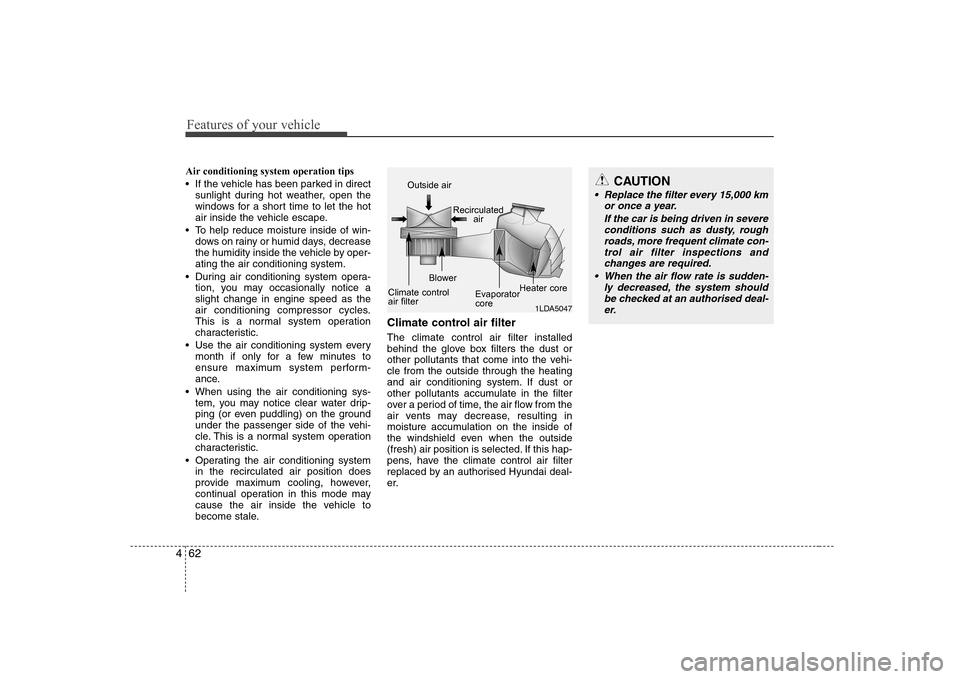
become stale. Climate control air filter The climate control air filter installed
behind the glove box filters the dust or
other pollutants that come into the vehi-cle from the outside through the heating
and air conditioning system. If dust or
other pollutants accumulate in the filter
over a period of time, the air flow from the
air vents may decrease, resulting in
moisture accumulation on the inside of
the windshield even when the outside
(fresh) air position is selected. If this hap-
pens, have the climate control air filter
replaced by an authorised Hyundai deal-
er.
1LDA5047
Outside air
Recirculatedair
Climate control air filter Blower
EvaporatorcoreHeater core
CAUTION
Replace the filter every 15,000 km
or once a year.
If the car is being driven in severeconditions such as dusty, roughroads, more frequent climate con-
trol air filter inspections and changes are required.
When the air flow rate is sudden- ly decreased, the system shouldbe checked at an authorised deal-
er.
Page 121 of 308
Features of your vehicle
66
4
Manual heating and air condition- ing The heating and cooling system can be
controlled manually as well by pushing
buttons other than the AUTO button. In
this case, the system works sequentially
according to the order of buttons select-ed.
When pressing any button except AUTO
button while automatic operation, the
functions of the buttons not selected will
be controlled automatically.
1. Start the engine.
2. Set the mode to the desired position.
3. Set the temperature control to the
desired position.
4. Set the air intake control to the outside (fresh) air position.
5. Set the fan speed control to the desired speed.
6. If air conditioning is desired, turn the air conditioning system (if equipped) on.
Press the AUTO button in order to con-
vert to full automatic control of the sys-tem.
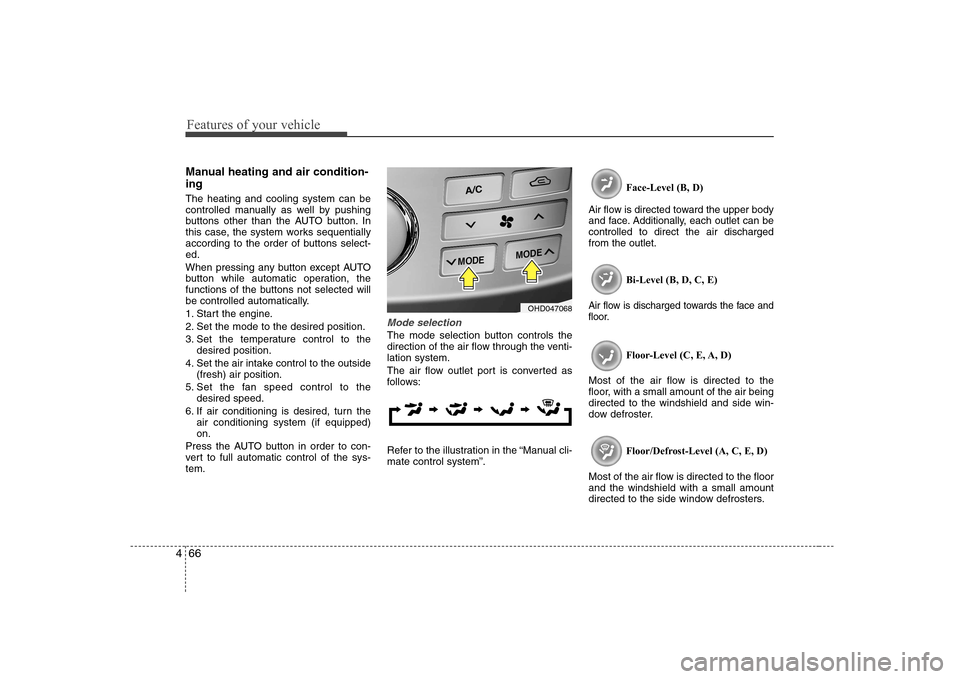
Mode selection
The mode selection button controls the
direction of the air flow through the venti-lation system.
The air flow outlet port is converted as
follows:
Refer to the illustration in the “Manual cli- mate control system”. Face-Level (B, D)
Air flow is directed toward the upper body
and face. Additionally, each outlet can becontrolled to direct the air dischargedfrom the outlet.
Bi-Level (B, D, C, E)
Air flow is discharged towards the face and
floor.
Floor-Level (C, E, A, D)
Most of the air flow is directed to the
floor, with a small amount of the air beingdirected to the windshield and side win-
dow defroster.
Floor/Defrost-Level (A, C, E, D)
Most of the air flow is directed to the floorand the windshield with a small amount
directed to the side window defrosters.
OHD047068
Page 123 of 308
Features of your vehicle
68
4
Temperature conversion
If the battery has been discharged or dis-
connected, the temperature mode dis-
play will reset to Centigrade.
This is normal condition. You can switch
the temperature mode between
Centigrade to Fahrenheit as follows;
While depressing the AUTO button,
depress the OFF button for 3 seconds or
more. The display will change from
Centigrade to Fahrenheit, or from
Fahrenheit to Centigrade.
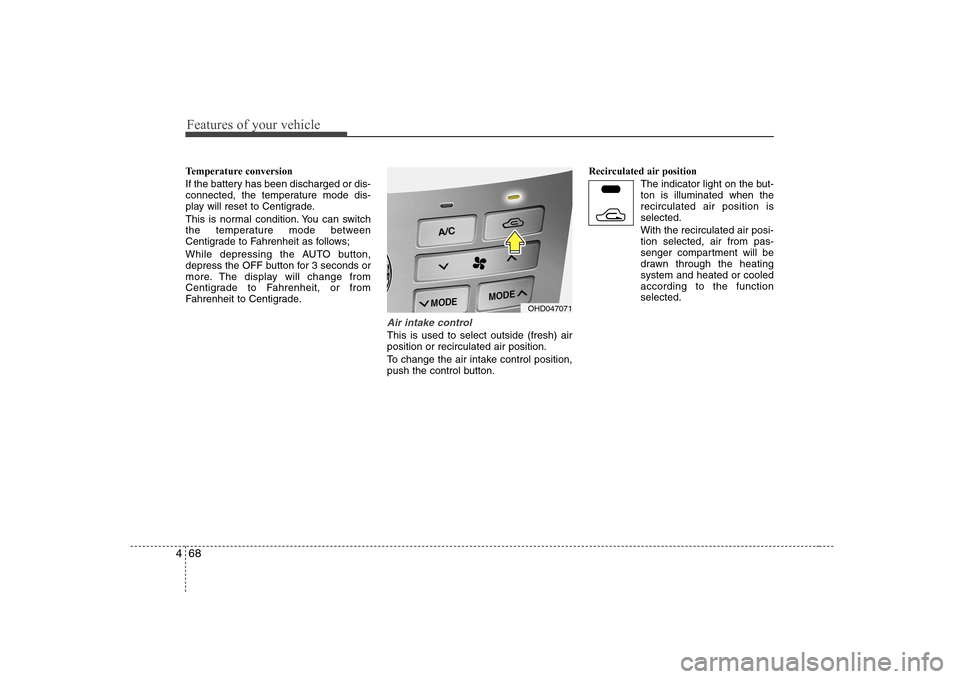
Air intake control
This is used to select outside (fresh) air position or recirculated air position.
To change the air intake control position,
push the control button. Recirculated air position
The indicator light on the but-ton is illuminated when therecirculated air position isselected.
With the recirculated air posi- tion selected, air from pas-
senger compartment will be
drawn through the heatingsystem and heated or cooledaccording to the function
selected.
OHD047071
Page 129 of 308
Features of your vehicle
74
4
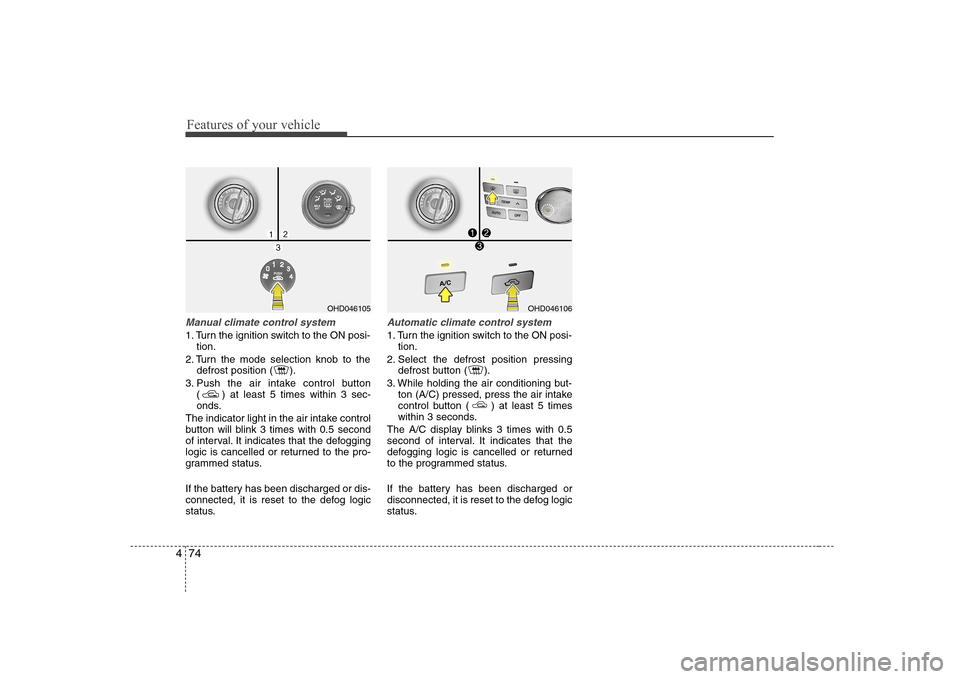
Manual climate control system
1. Turn the ignition switch to the ON posi-
tion.
2. Turn the mode selection knob to the defrost position ( ).
3. Push the air intake control button ( ) at least 5 times within 3 sec-
onds.
The indicator light in the air intake control
button will blink 3 times with 0.5 second
of interval. It indicates that the defogging
logic is cancelled or returned to the pro-
grammed status.
If the battery has been discharged or dis-
connected, it is reset to the defog logic
status.
Automatic climate control system
1. Turn the ignition switch to the ON posi- tion.
2. Select the defrost position pressing defrost button ( ).
3. While holding the air conditioning but- ton (A/C) pressed, press the air intake
control button ( ) at least 5 times
within 3 seconds.
The A/C display blinks 3 times with 0.5
second of interval. It indicates that the
defogging logic is cancelled or returned
to the programmed status.
If the battery has been discharged or
disconnected, it is reset to the defog logic
status.
OHD046105OHD046106
Page 138 of 308
483
Features of your vehicle
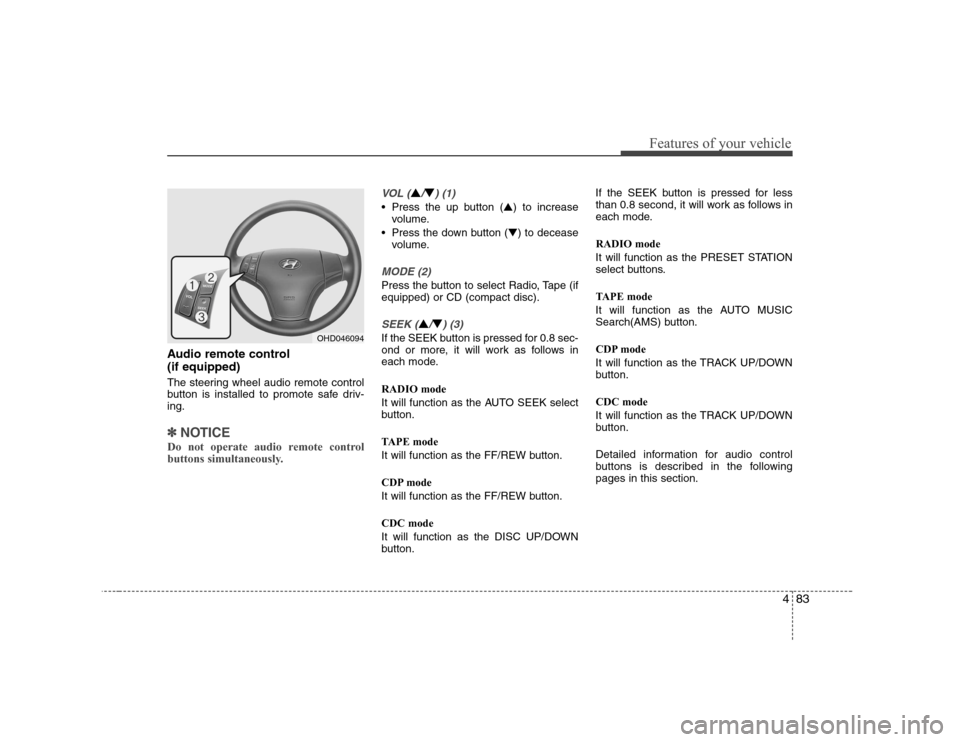
Audio remote control (if equipped)
The steering wheel audio remote control
button is installed to promote safe driv-ing.
✽✽NOTICE
Do not operate audio remote control
buttons simultaneously.
VOL (▲/▼) (1)
• Press the up button ( ▲) to increase
volume.
Press the down button ( ▼) to decease
volume.
MODE (2)
Press the button to select Radio, Tape (if equipped) or CD (compact disc).
SEEK (▲/▼) (3)
If the SEEK button is pressed for 0.8 sec-
ond or more, it will work as follows in
each mode. RADIO mode
It will function as the AUTO SEEK select
button.
TAPE mode
It will function as the FF/REW button.
CDP mode
It will function as the FF/REW button. CDC mode
It will function as the DISC UP/DOWN
button. If the SEEK button is pressed for less
than 0.8 second, it will work as follows in
each mode. RADIO mode
It will function as the PRESET STATION
select buttons.
TAPE mode
It will function as the AUTO MUSIC
Search(AMS) button.
CDP mode
It will function as the TRACK UP/DOWN
button. CDC mode
It will function as the TRACK UP/DOWN
button.
Detailed information for audio control
buttons is described in the followingpages in this section.OHD046094